Hi!
I am by no means an expert, so I’m sure there are improvements to be made to this, but I figured out one way to get it going with the Enhanced input system (as the old one is deprecated now).
I got the gist of it from here.
Here’s a step-by-step of how I did it:
-
I started by deleting all the action and axis mappings that were already in Project Settings->Input, just to have a clean slate for the Enhanced input system.
-
Add “EnhancedInput” to The
PublicDependencyModuleNames.AddRangeinToonTanks.Build.cs, so you end up with something likePublicDependencyModuleNames.AddRange(new string[] { "Core", "CoreUObject", "Engine", "InputCore", "EnhancedInput" });. -
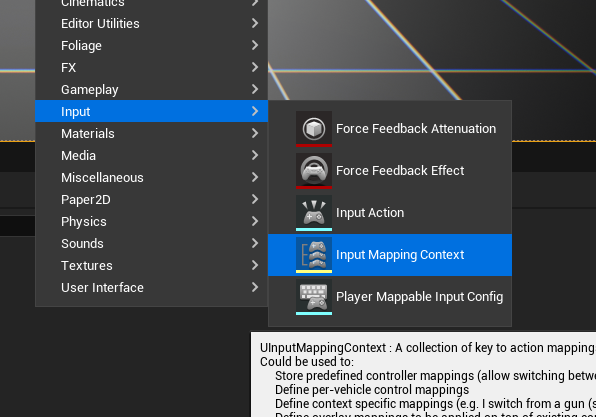
Set up Input Mapping Context and Input Actions in the Unreal Editor. I made a folder called Input under Content in the Content Browser. Right-click in the content browser, select Input->Input Mapping Context to create a new one.
I named mineIMC_PlayerInput.
To create the Input Actions, select Input->Input Action after right-clicking.
My folder contents now look like this:

One Input Action for each action that Stephen has.
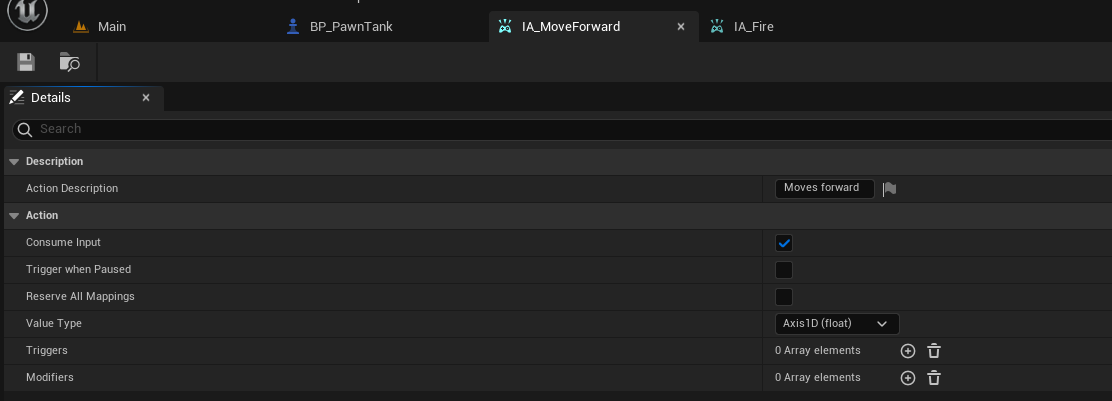
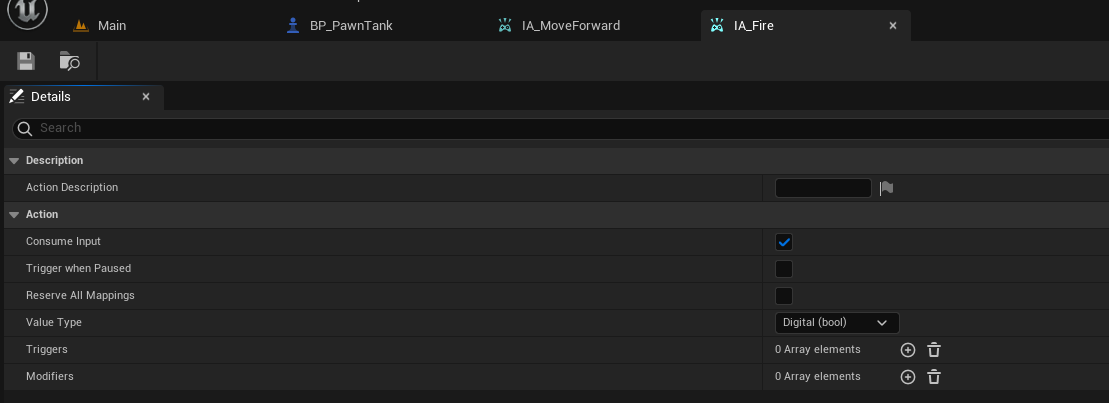
Opening the Input Actions, one can set their Value Types.Axis1D (float)gives the equivalent of an Axis mapping, andDigital (bool)gies an Action mapping, in the old system terms. Two examples:
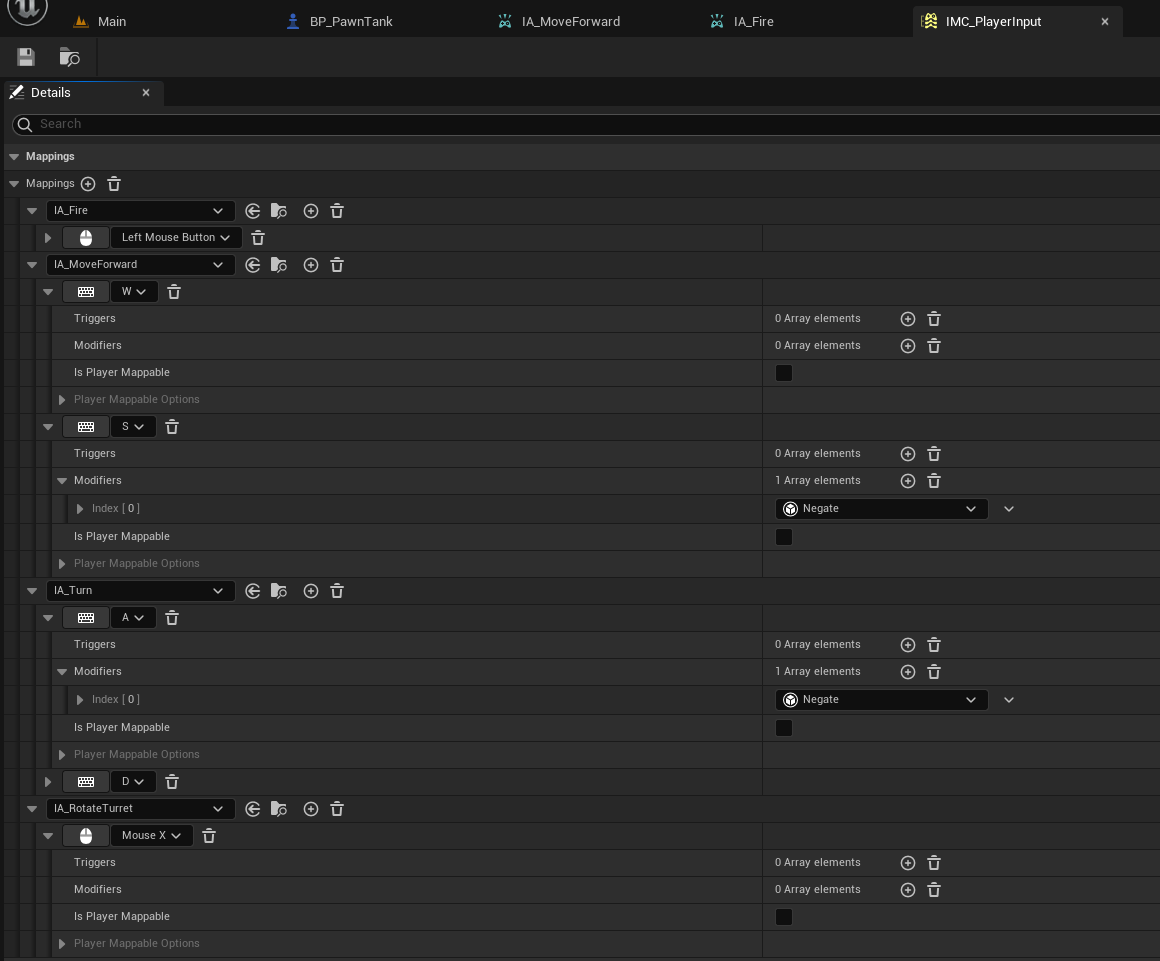
The button mappings are set in the Input mapping Context;
Note theNegatemodifier on the S and A keys, as we want them to give a value of -1. -
We want our Tank C++ class to have acess to all of these. One way to do this is to make varaibles with UPROPERTY, that we can then input in the blueprint. Something like this:
	//Setting up inputs. Mapping context and Input Action variables, to be set in Blueprint
	UPROPERTY(EditDefaultsOnly, BlueprintReadOnly, Category = "Enhanced Input", meta = (AllowPrivateAccess = "true"))
    class UInputMappingContext * inputMapping;
	UPROPERTY(EditDefaultsOnly, BlueprintReadOnly, Category = "Enhanced Input", meta = (AllowPrivateAccess = "true"))
	class UInputAction * inputMoveForward;
	UPROPERTY(EditDefaultsOnly, BlueprintReadOnly, Category = "Enhanced Input", meta = (AllowPrivateAccess = "true"))
	class UInputAction * inputTurn;
	UPROPERTY(EditDefaultsOnly, BlueprintReadOnly, Category = "Enhanced Input", meta = (AllowPrivateAccess = "true"))
	class UInputAction * inputRotateTurret;
	UPROPERTY(EditDefaultsOnly, BlueprintReadOnly, Category = "Enhanced Input", meta = (AllowPrivateAccess = "true"))
	class UInputAction * inputFire;
I do forward declarations to keep things tidy, as suggested in the course. These are somewhat dangling pointers however, which I’m uncomfortable with, but hey ho… One could do nullptr checks later, if one fancies.
-
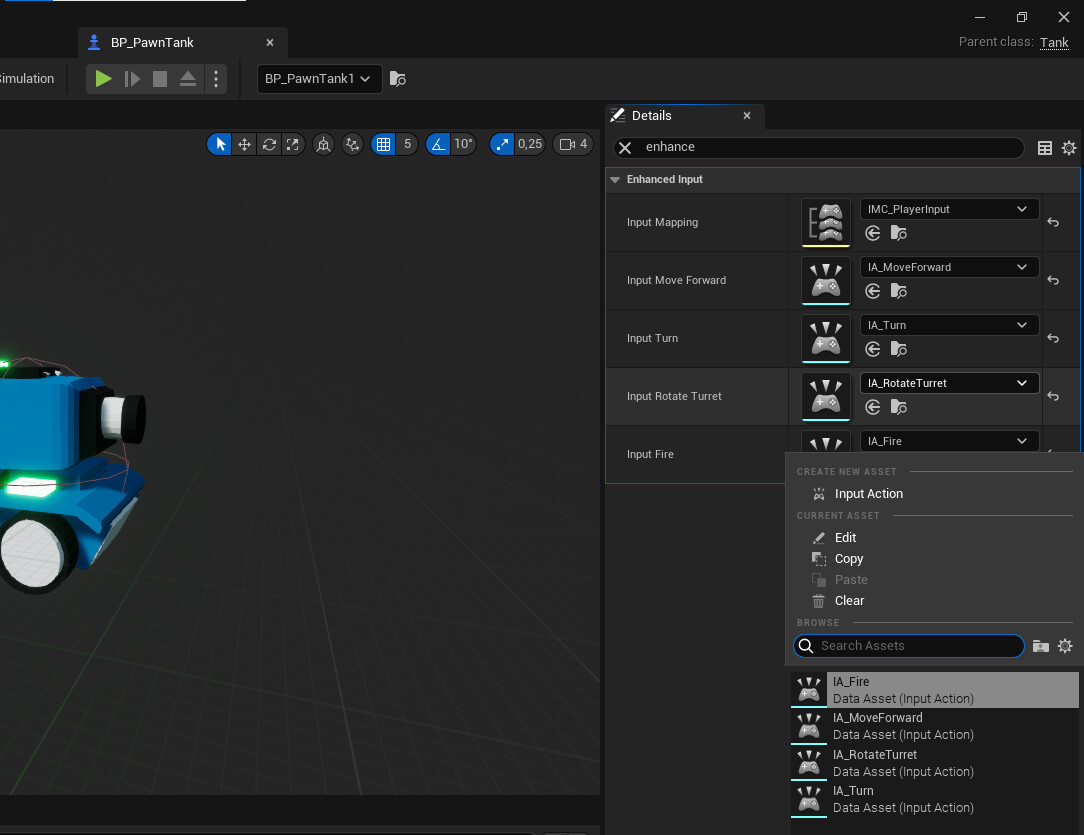
Compile! Then we can add our input mapping context and input actions in our blueprint. As I gave them a tag, it’s easy to find in the Details panel;
These start out sayingNone, but you can find your nice Input Actions in the dropdown lists. -
Now back to the code. Time for our
ATank::SetupPlayerInputComponent, where we have to do things a little differently;
// Called to bind functionality to input
void ATank::SetupPlayerInputComponent(UInputComponent * PlayerInputComponent) {
	Super::SetupPlayerInputComponent(PlayerInputComponent); //Call the parent version

	// Get the player controller
    auto playerController = Cast<APlayerController>(GetController());

    // Get the local player enhanced input subsystem
    auto eiSubsystem = ULocalPlayer::GetSubsystem<UEnhancedInputLocalPlayerSubsystem>(playerController->GetLocalPlayer());
    //Add the input mapping context
    eiSubsystem->AddMappingContext(inputMapping, 0);

    // Get the EnhancedInputComponent
    auto playerEIcomponent = Cast<UEnhancedInputComponent>(PlayerInputComponent);

	//Bind Move() to the mapping
	//BindAction for enhanced system takes Action, ETriggerEvent, object, and function
	//ETriggerEvent is an enum, where Triggered means "button is held down".
	playerEIcomponent->BindAction(inputMoveForward, ETriggerEvent::Triggered, this, &ATank::Move);
}
We have to get the UEnhancedInputLocalPlayerSubsystem, and then add our Input Mapping Context to it. This makes the mapping context active.
Then we want to cast the PlayerInputComponent to a UEnhancedInputComponent. Using this after the cast (in my case under the variable name playerEIcomponent), we can call BindAction(), which is like what BindAxis was in the old system, but more general.
You can read more about the ETriggerEvent options that are now needed here. The rest is very similar to what’s in the video.
We also have to add some includes, to get this compiling:
#include "InputMappingContext.h"
#include "InputAction.h"
#include "EnhancedInputSubsystems.h"
#include "EnhancedInputComponent.h"
- Since things are more general, we also have to edit our
Move()function. The argument is now not afloat, but anFInputActionValue. I did it like this, in Tank.h:
void Move(const FInputActionValue & Value);
Note that we here need to add an extra include: #include "InputActionValue.h"
And in Tank.cpp:
void ATank::Move(const FInputActionValue & Value) {
	//To bind to axis mapping: SetupPlayerInputComponent
	UE_LOG(LogTemp, Display, TEXT("Float value: %f"), Value.Get<float>());
}
Note that Value is more general now, so we have to use Value.Get<float>() to get the axis value out. The reason for this being a templated function is that we might have a bool instead, for an “Action mapping” (i.e. Digital (bool) in the new system), or an FVector2D if we do an Axis2D input action type, for example.
And with that, we’re caught up with the end of this video, using the Enhanced Input system!
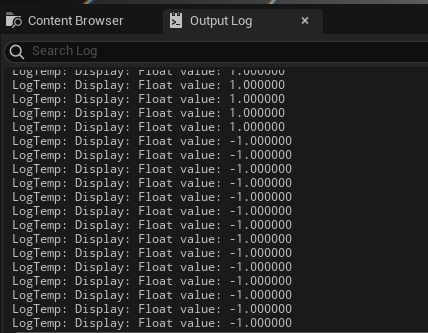
The values change between 1 and -1, dependent on if I hold down W or S.
So, things seem to work! Hopefully there won’t be any big surprises coming up concerning the input, and then this should work for all our buttons, just using Value.Get() with the right type for the functions we call.
Kind regards,
Håkan
