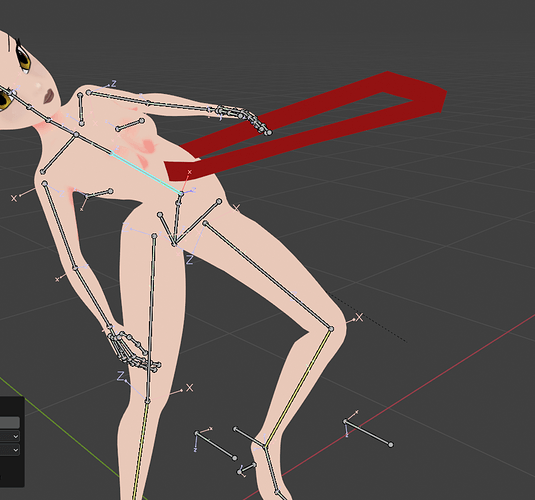
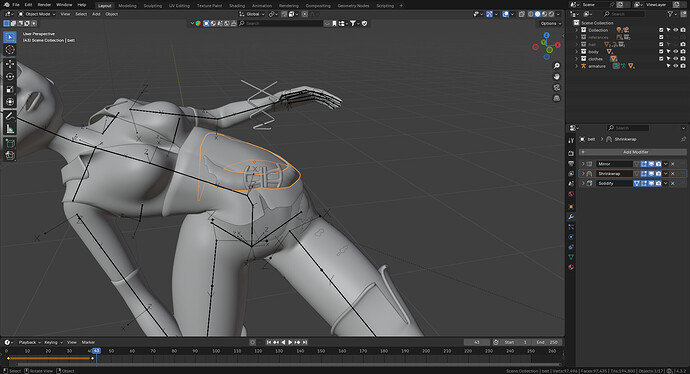
Hi. To ensure that you can get some help, you will benefit from providing some details as the screenshot may not be sufficient.
I’d recommend giving a summary of what you were doing, what lecture it was in, etc.
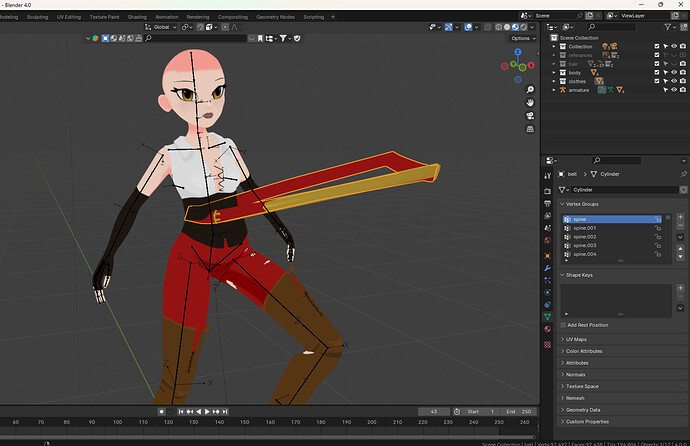
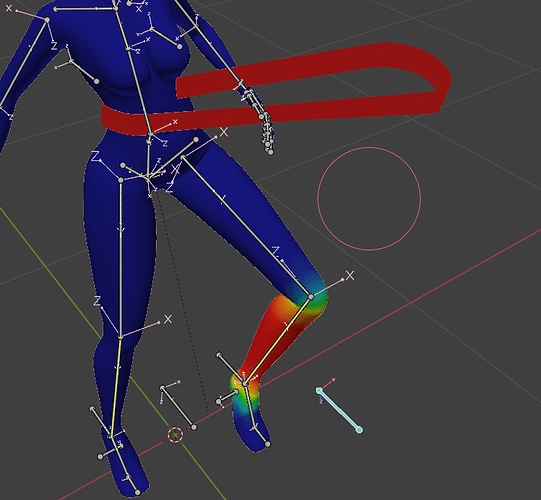
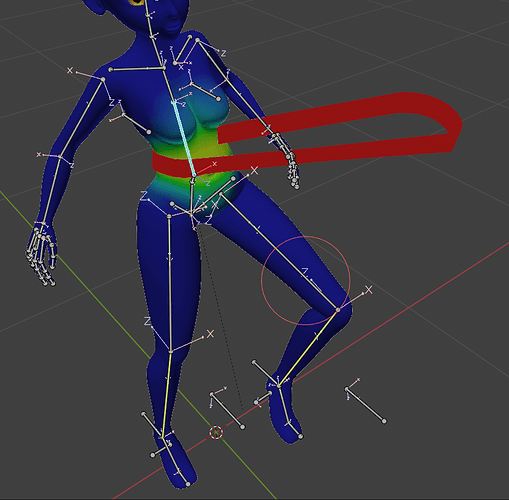
This looks like a weight painting issue.
Check lectures 58 - Weight painting ,59 - Rigging and 60 - Masking.
Good idea, especially because it looks like a mirrored belt.
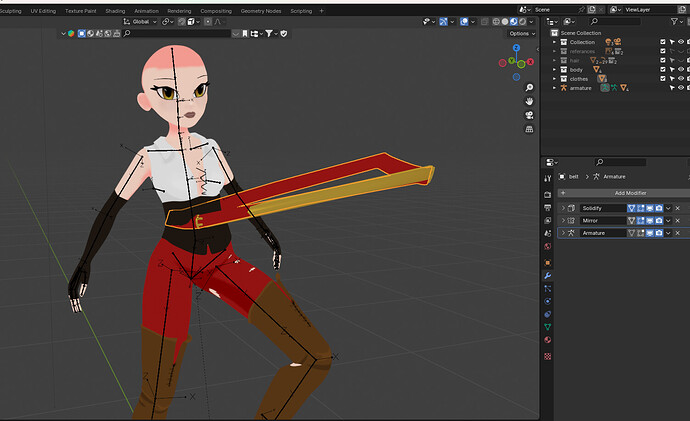
maybe apply mirror for the belt?
Hello again. First of all, I may write badly, I don’t know English well.
I looked at all the bones, weight paint, but I couldn’t find a problem
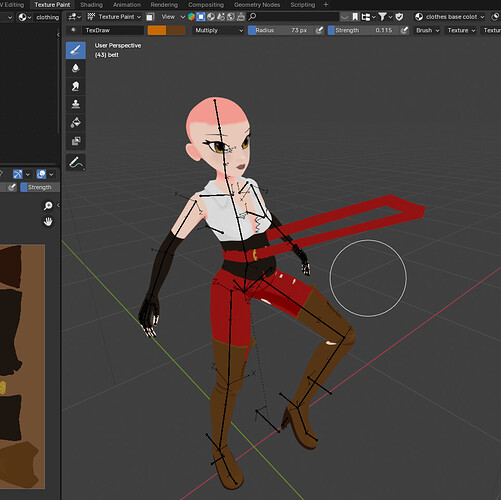
I’m in the 59th lesson of the “Anime Character Creator: Make 3D Anime Characters in Blender” course. (7th minute)
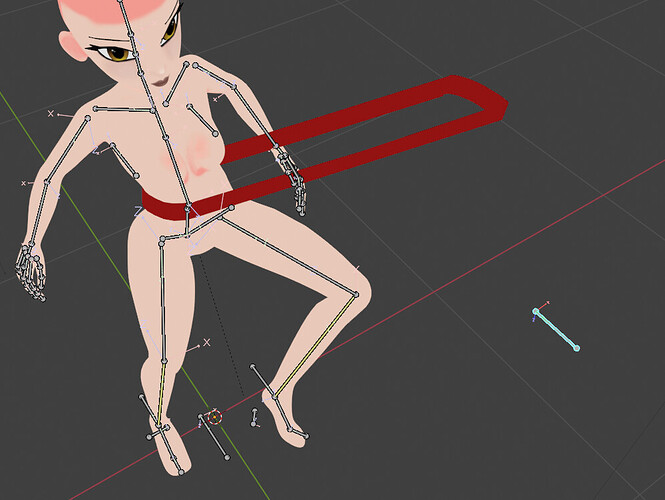
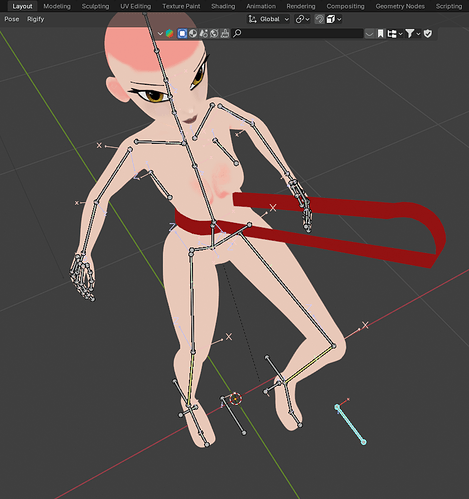
As far as I understand, he is aiming for “pole target”. “mask” is not checked
On my machine / Blender version it works well!
Nice deformation of the belt when manipulating a pose bone.
- An old solution could be to start with a new Blend file. And Use
File > Appendto import the object. This will ensure that your Blender configuration (in the file) is set to default.
When we add armature from add modifire it breaks (when armature is selected) :’(
Hmm, I didn’t do the course. Just using my basic Blender knowledge.
Why would you do that? Why is this step needed?
Because the armature in your uploaded file looks good (at first glance).
Mr. Grant does it that way in the course content. That’s why I was trying, actually.
Not such a big problem, you can try to using Google translation …
yes i use 
yes, I understand 
But what is he trying to do? adding a additional bone for the staff?
Still, you can try the solution of opening a=new file and use FILE > APPEND … object | collection.
Basically Blender will do all the work. And you don’t lose your work!
Don’t forget to use a different filename !!
Good!
I sometimes do from my language to English and then switch back to my native language to see if the translation is correct. If not, I change some words/phrases
ahahah.  I do the same thing. I double check if it’s the correct translation.

by the way, i tried your solution suggestion but the belt is still targeting the “pole target”.
this strange, are we using the same Blender version? 4.3.2
I am using version 4.0. By the way, I think I found the solution. After adding the belt armature, in the “weight paint” section, tool window, click the “auto normalize” button from the options and paint it. (I reviewed the subject of lesson 60)
The problem seems to be solved now. Thank you very much though!!
Okay, then you’ve probably inverted the mesh, with the face normal inside.
Have fun!
And show your end result.
This topic was automatically closed 24 hours after the last reply. New replies are no longer allowed.


