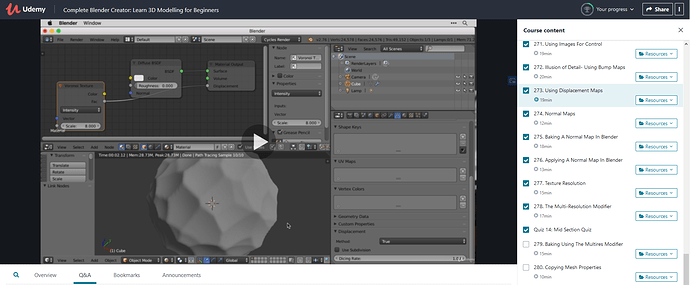
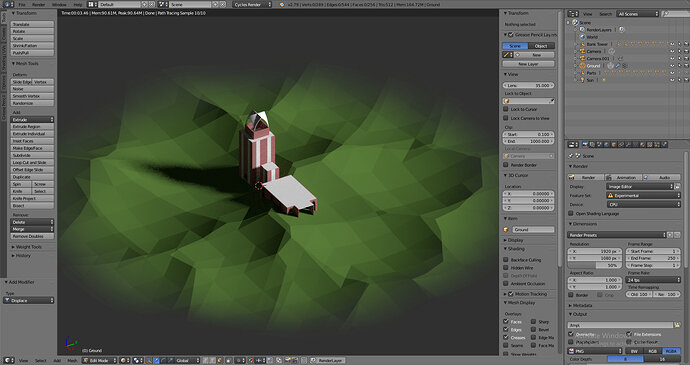
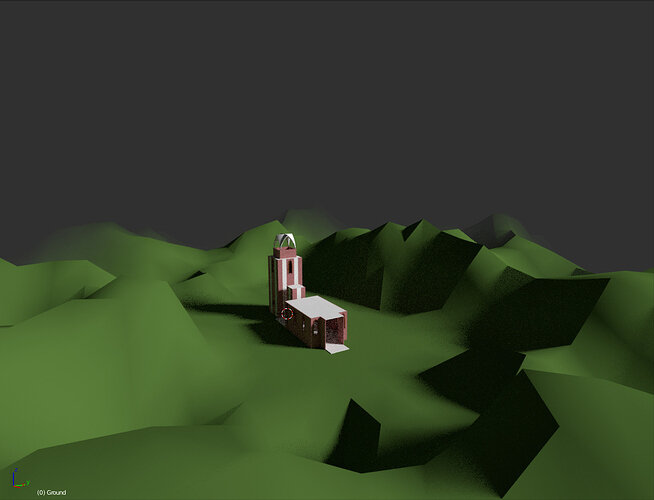
Okay, I’m having a little trouble here. When it comes time for me to apply the displacement to my ground, when I add a displace modifier, I don’t get that texture option that Mike gets in the video. I’m not sure what I’m missing out on.
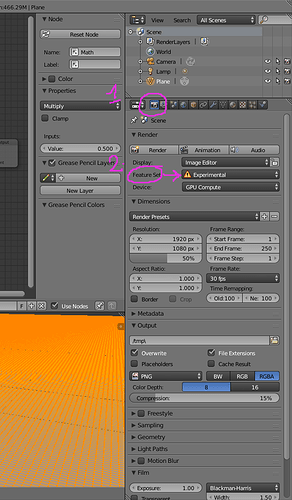
Switch on Cycles AND Experimental in the render properties !
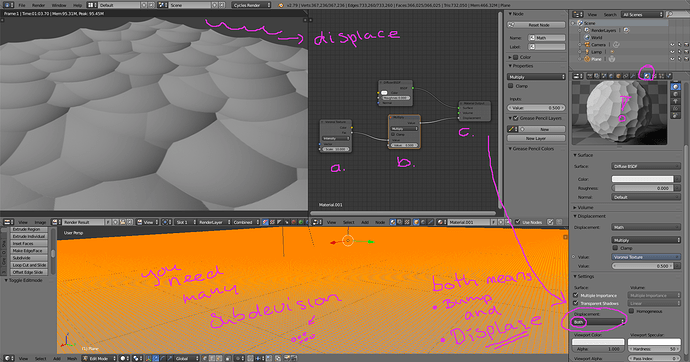
Then in the material panel > Settings > Surface > Displacement = Displacement or displacement and bump. I find this option also difficult to find.
So I’m on version 2.79
I’m going to try out what you’ve mentioned above
As I can remember, it’s the same technique. but probable the buttons, options, etc on a different panel.
For me, too much work, to check that.
But I did the 2.79 course and I know it is possible.
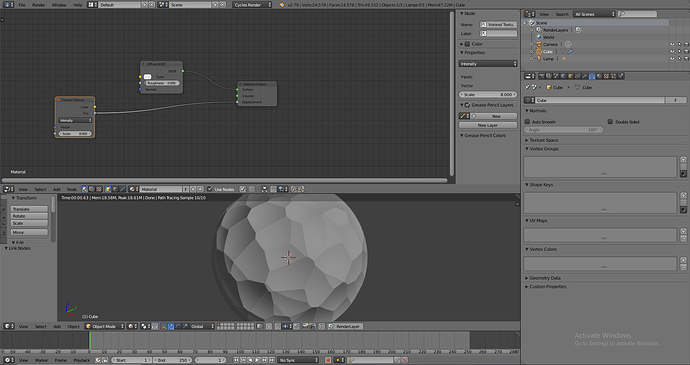
See I’ve reached the stage where after switching to Cycles render, I add a material to the cube (that has been subdivided) and in the Node Editor, I link the Voronoi Texture’s color output to ‘Displacement’ in the Material Output node. However, at that stage, I do not get the new ‘Displacement’ section under the Mesh data section.
Screenshot below
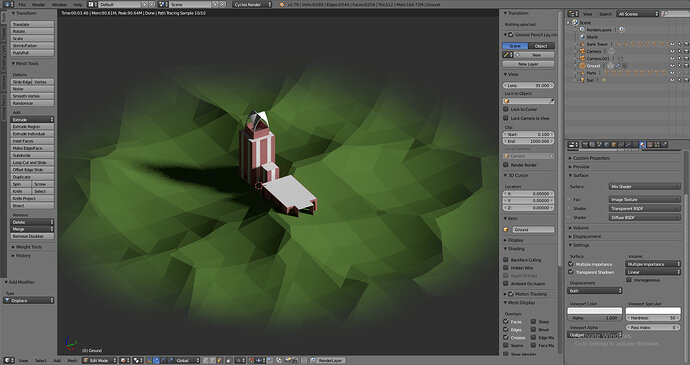
My Blender Window
Lecture Screenshot
When you select cycles in the same panel, choose also EXPERIMENTAL option. It activates the missing panel.
I did.
Sorry I’m not posting my problem correctly.
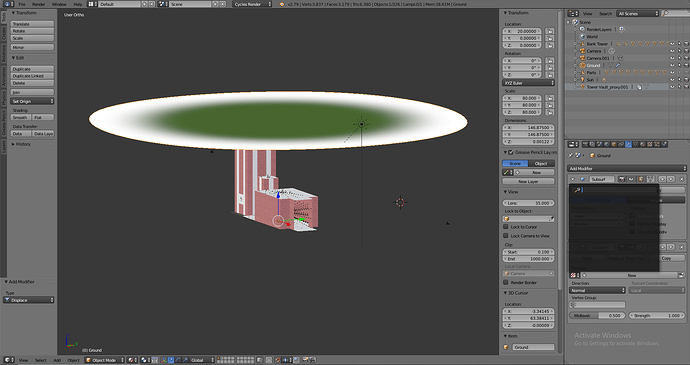
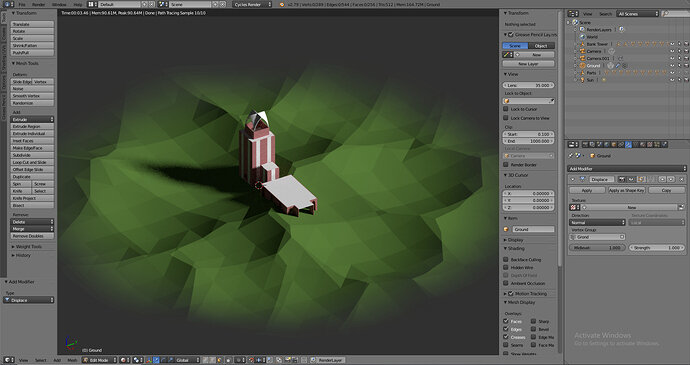
In my tower scene, I don’t get any Displacement option in the Modifier.
I’ve dowloaded a blender 2.79 version to make screen dumps!
Experimental needs to be turned on
Select "both to show displacement and bumps.
Hey,
Thanks for taking the time out to help me out.
So I’ve reached this far as of now.
I’ve added the displacement in the materials section
Added the displacement modified and assigned it to the ground vector group
Doing all this while experimental is turned on
And some how the geometry is getting warped even in my tower. I tried to assign the material to the selected vector group but that isn’t helping either.
I’m still going to try figuring it out tho.
Thanks once again.
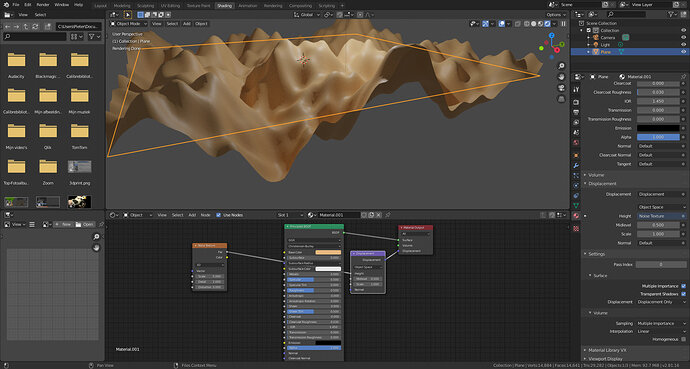
It’s like the multiplier node, which controls the strength of the hills. It need to be controlled by an other input, which tells the multiplier where not to have hills.
The vector group isn’t helping here.
You can assign two or more materials to the ground. In edit mode you can assign a material to a specific set of faces. A material with or without displacement active.
But that is easy way out. But not the best practice.
The best way is to manipulate the multiplier node by a black and white bitmap. Black means no displacement and white full. But it’s better to follow the course. which will explain some of these techniques.
First of all thank you so much for coming back to help!
I was totally ignoring the fact that in edit mode I can add another material.
Finally got it. 
Ahh! Nice birdsview.
I’m glad you’ve managed it.
There are other (better) solutions. And if you follow the course it will be clear tot you.
Have fun!


