[Help] Need help with tiled roofing

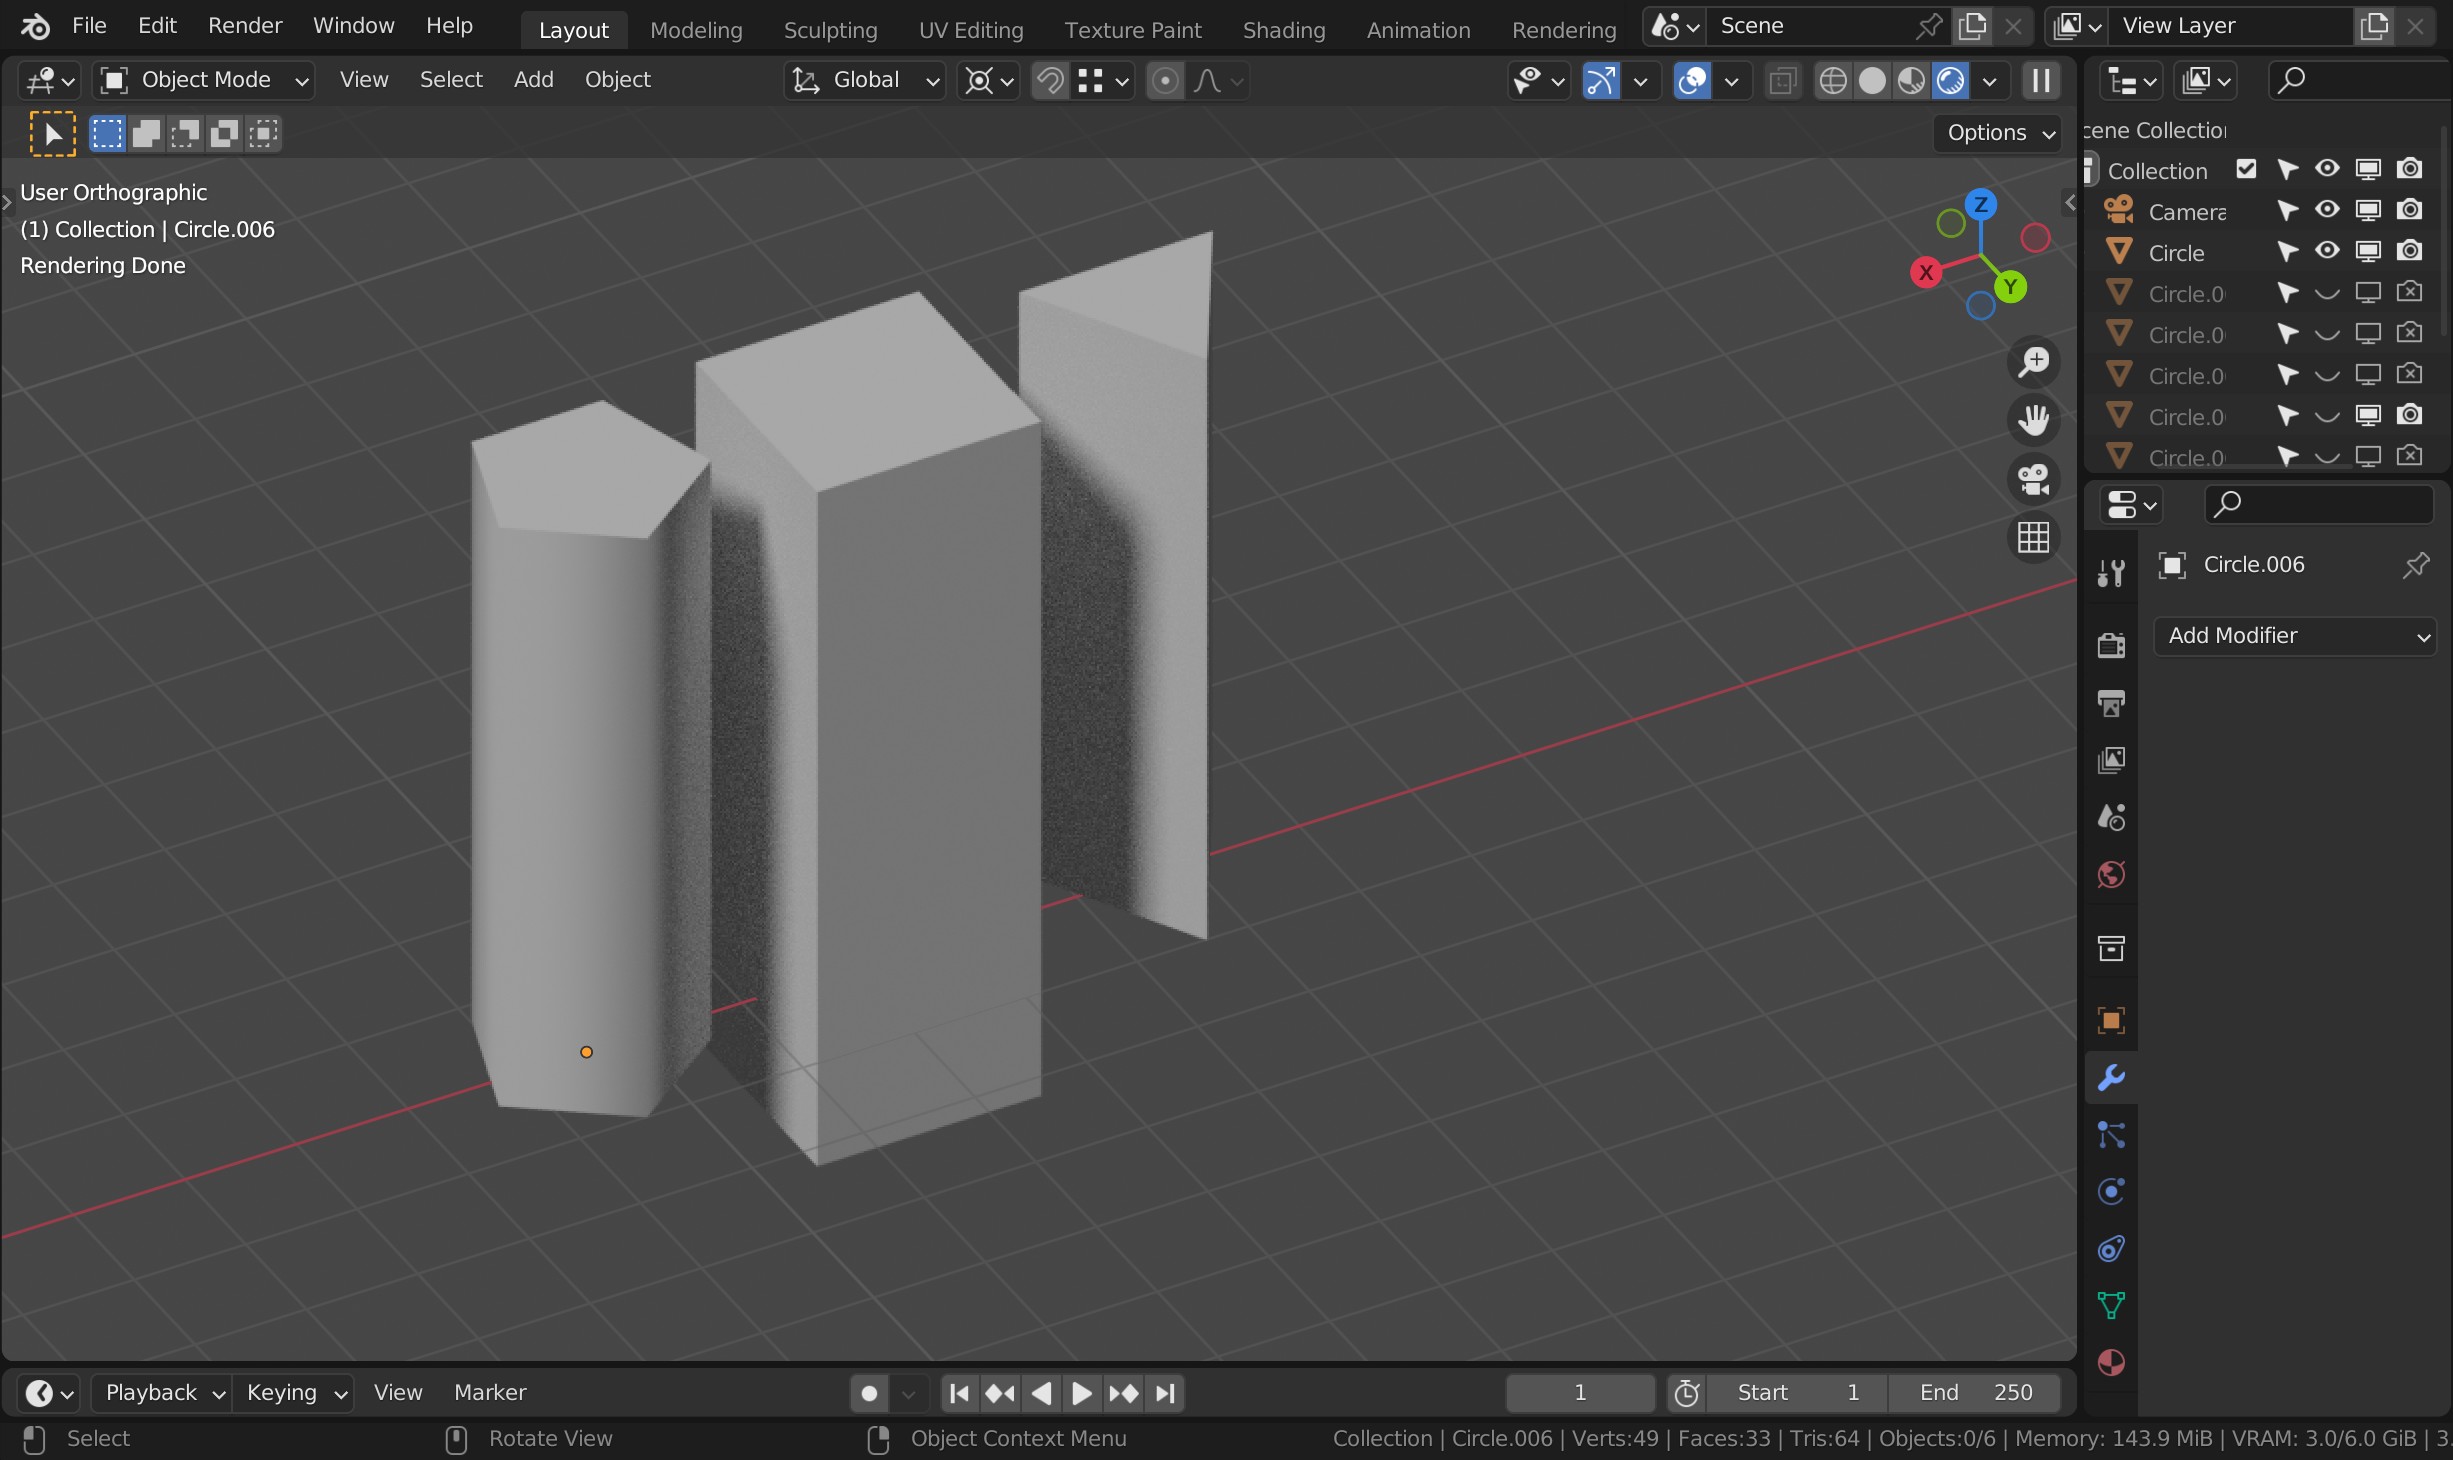
Hi, I have been taking a few blender courses on here and they are great. I have been trying to go my own way, and create models that interest me. I am trying to create a tiled roof(terecota) but it using way more triangles than I would like, as I am importating in a game I want to create a nice look, without relaying to much on textures/height maps to make it look like its there? (maybe this is still the best way)

The steps I took.

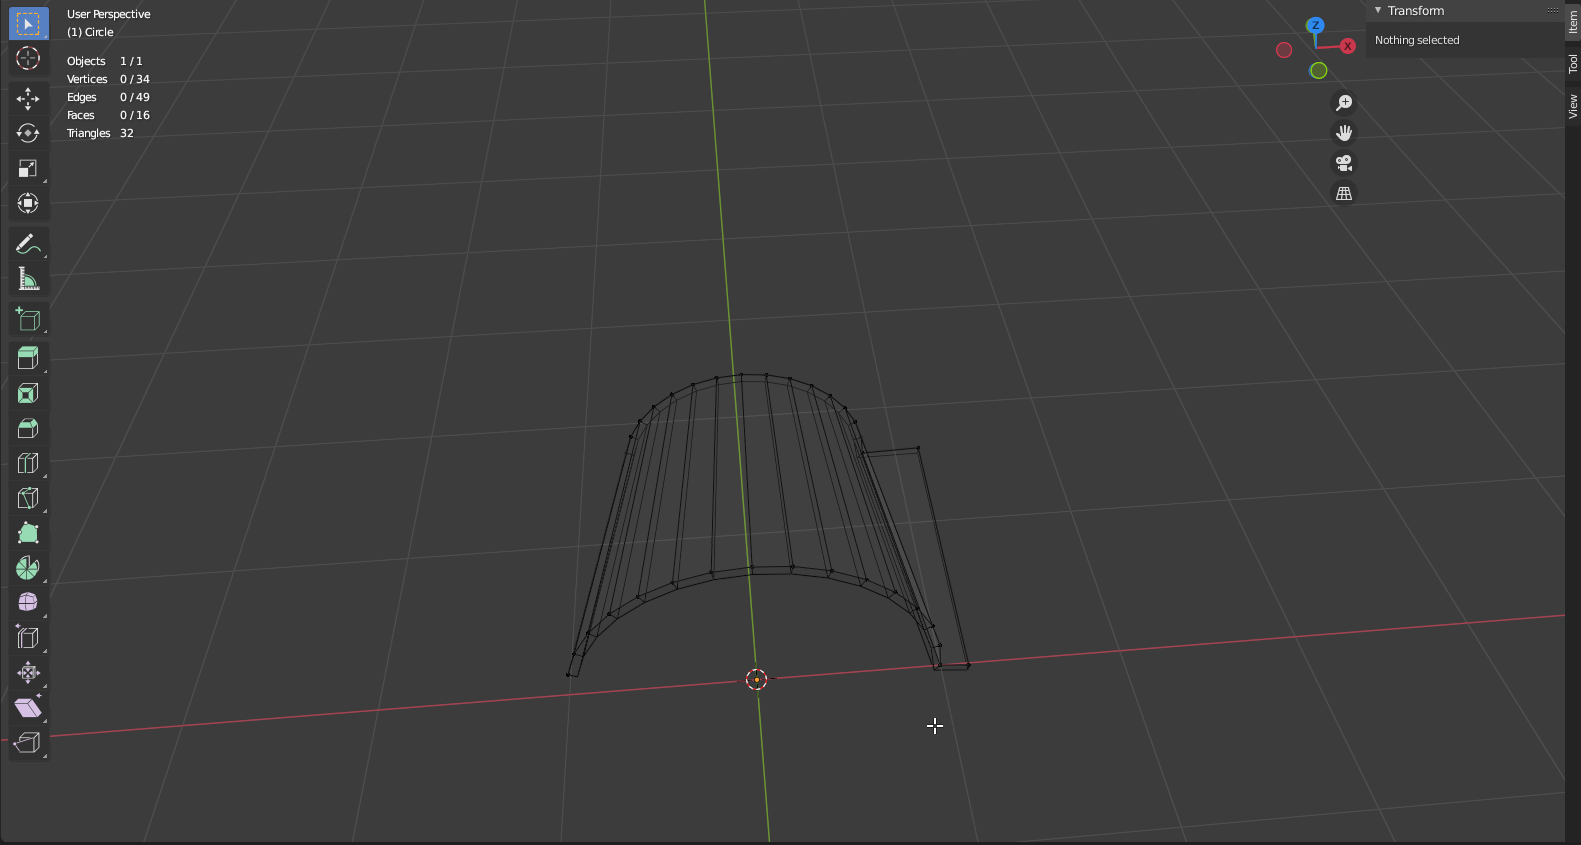
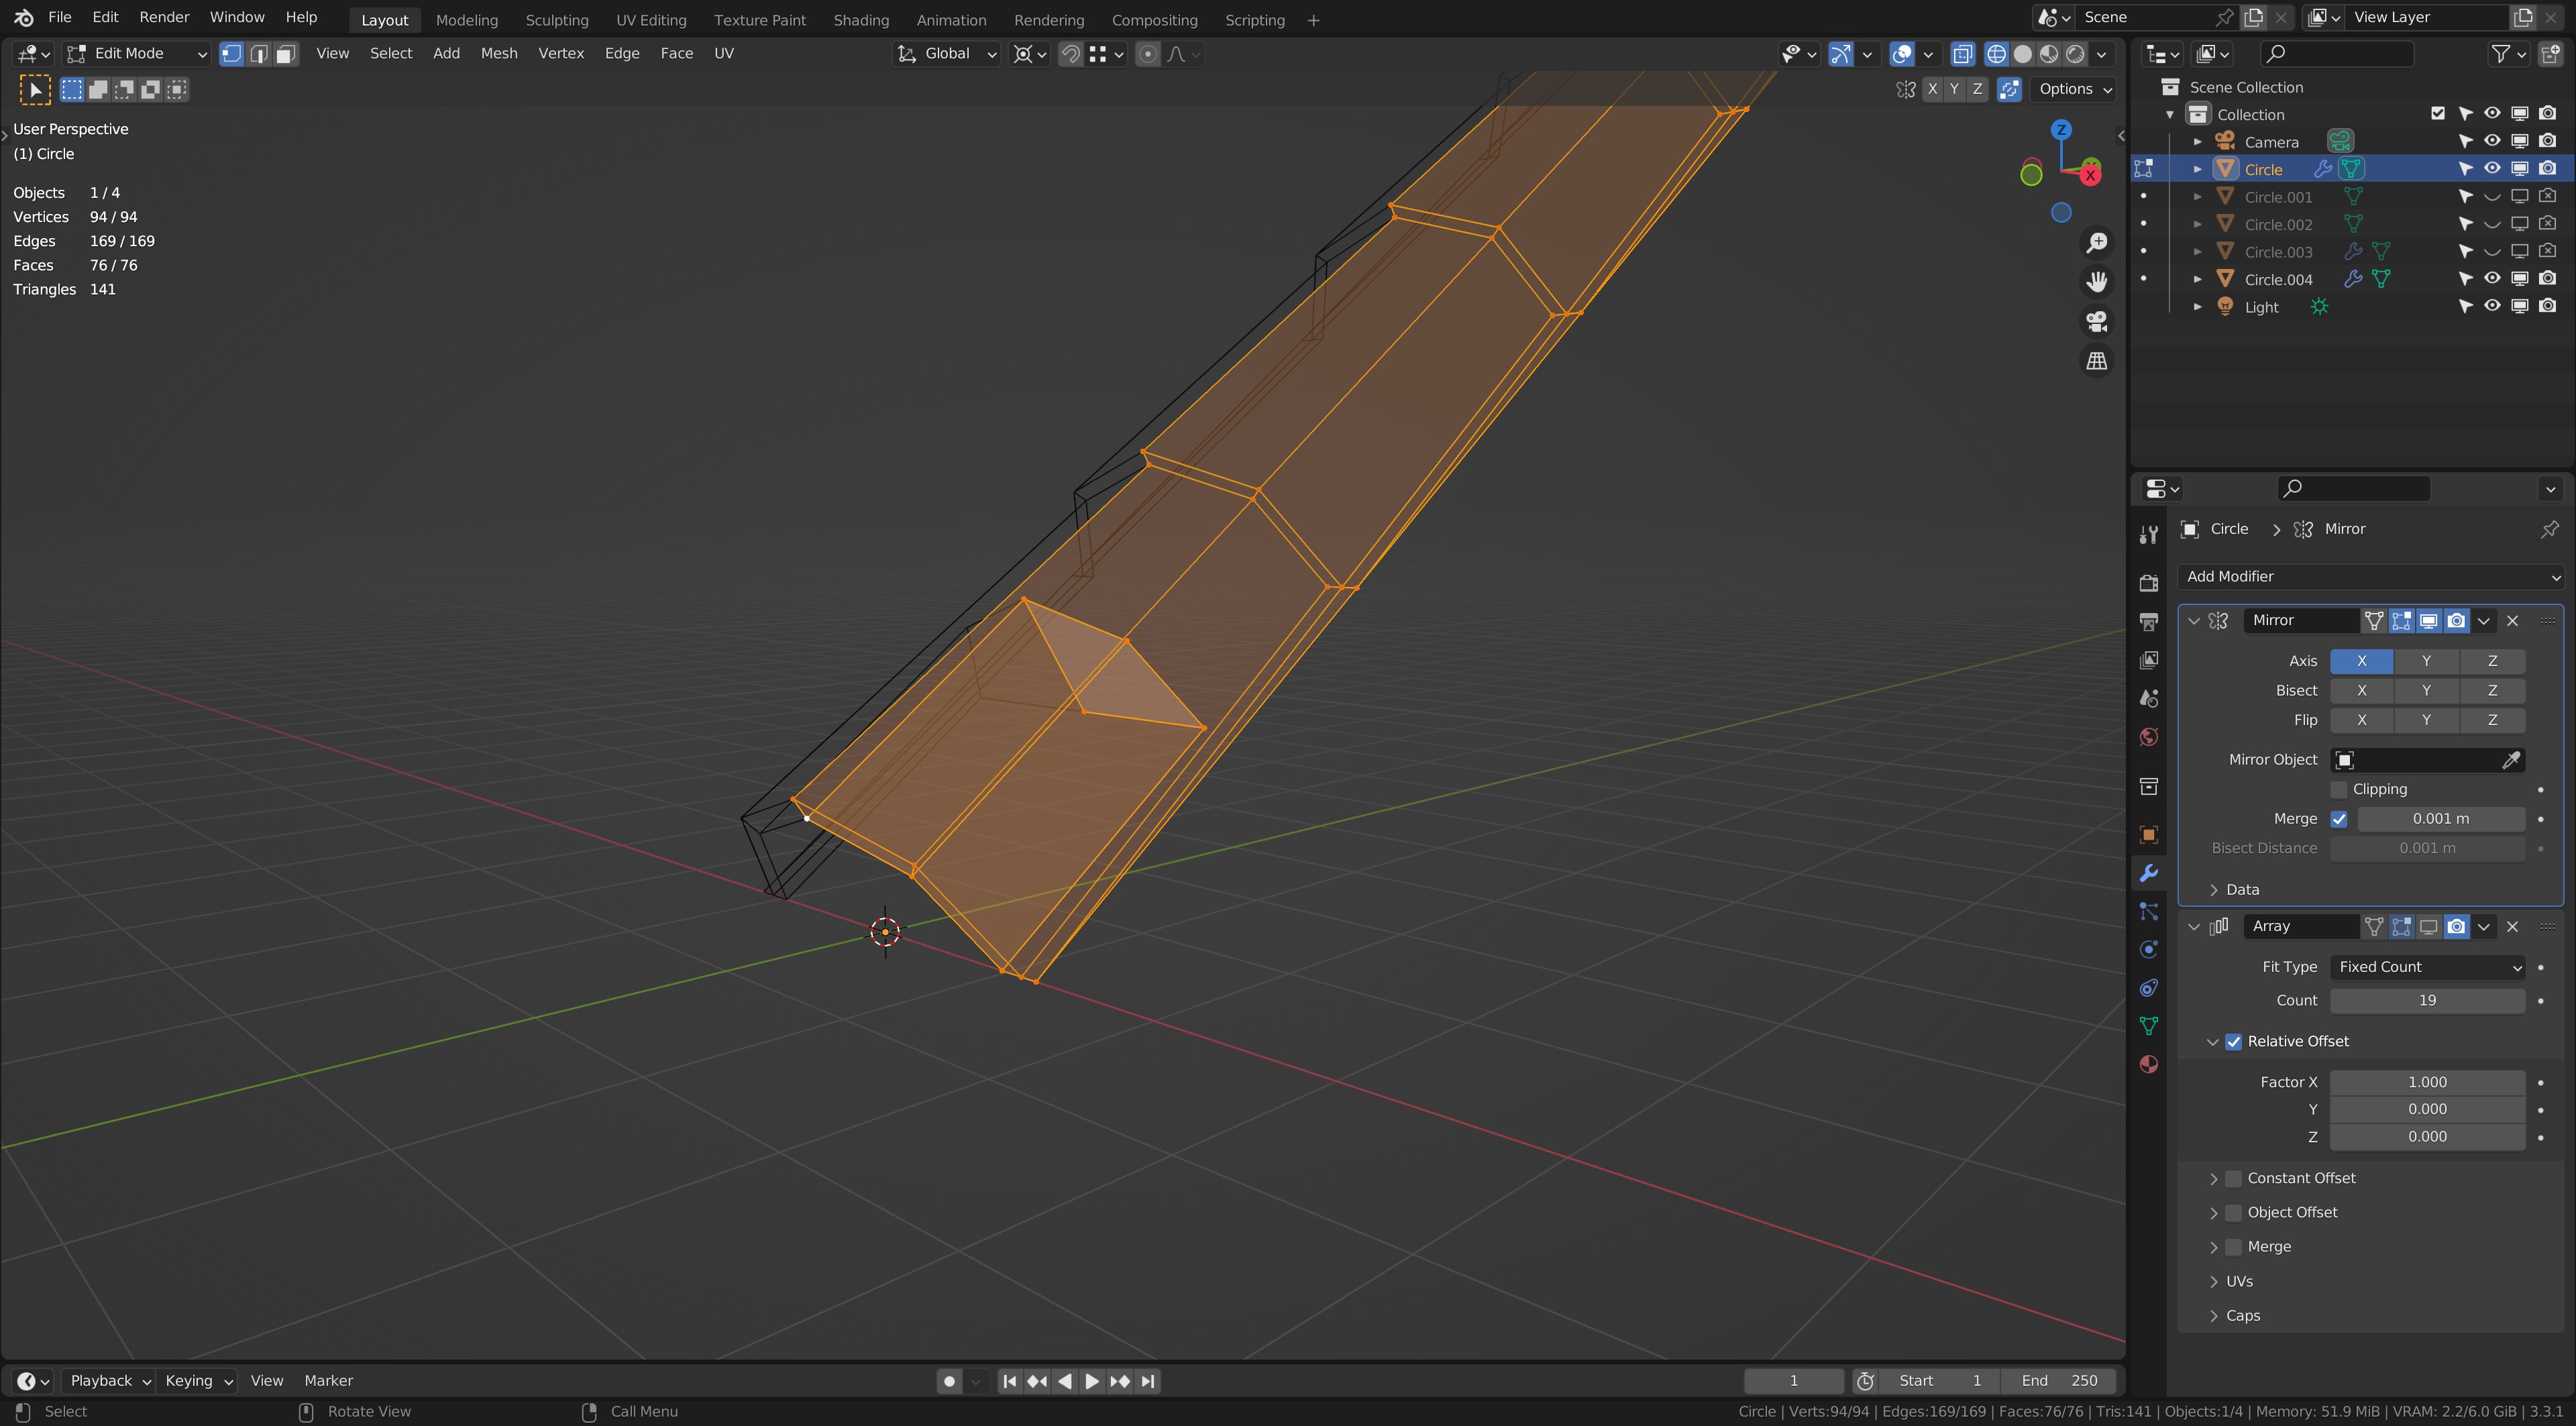
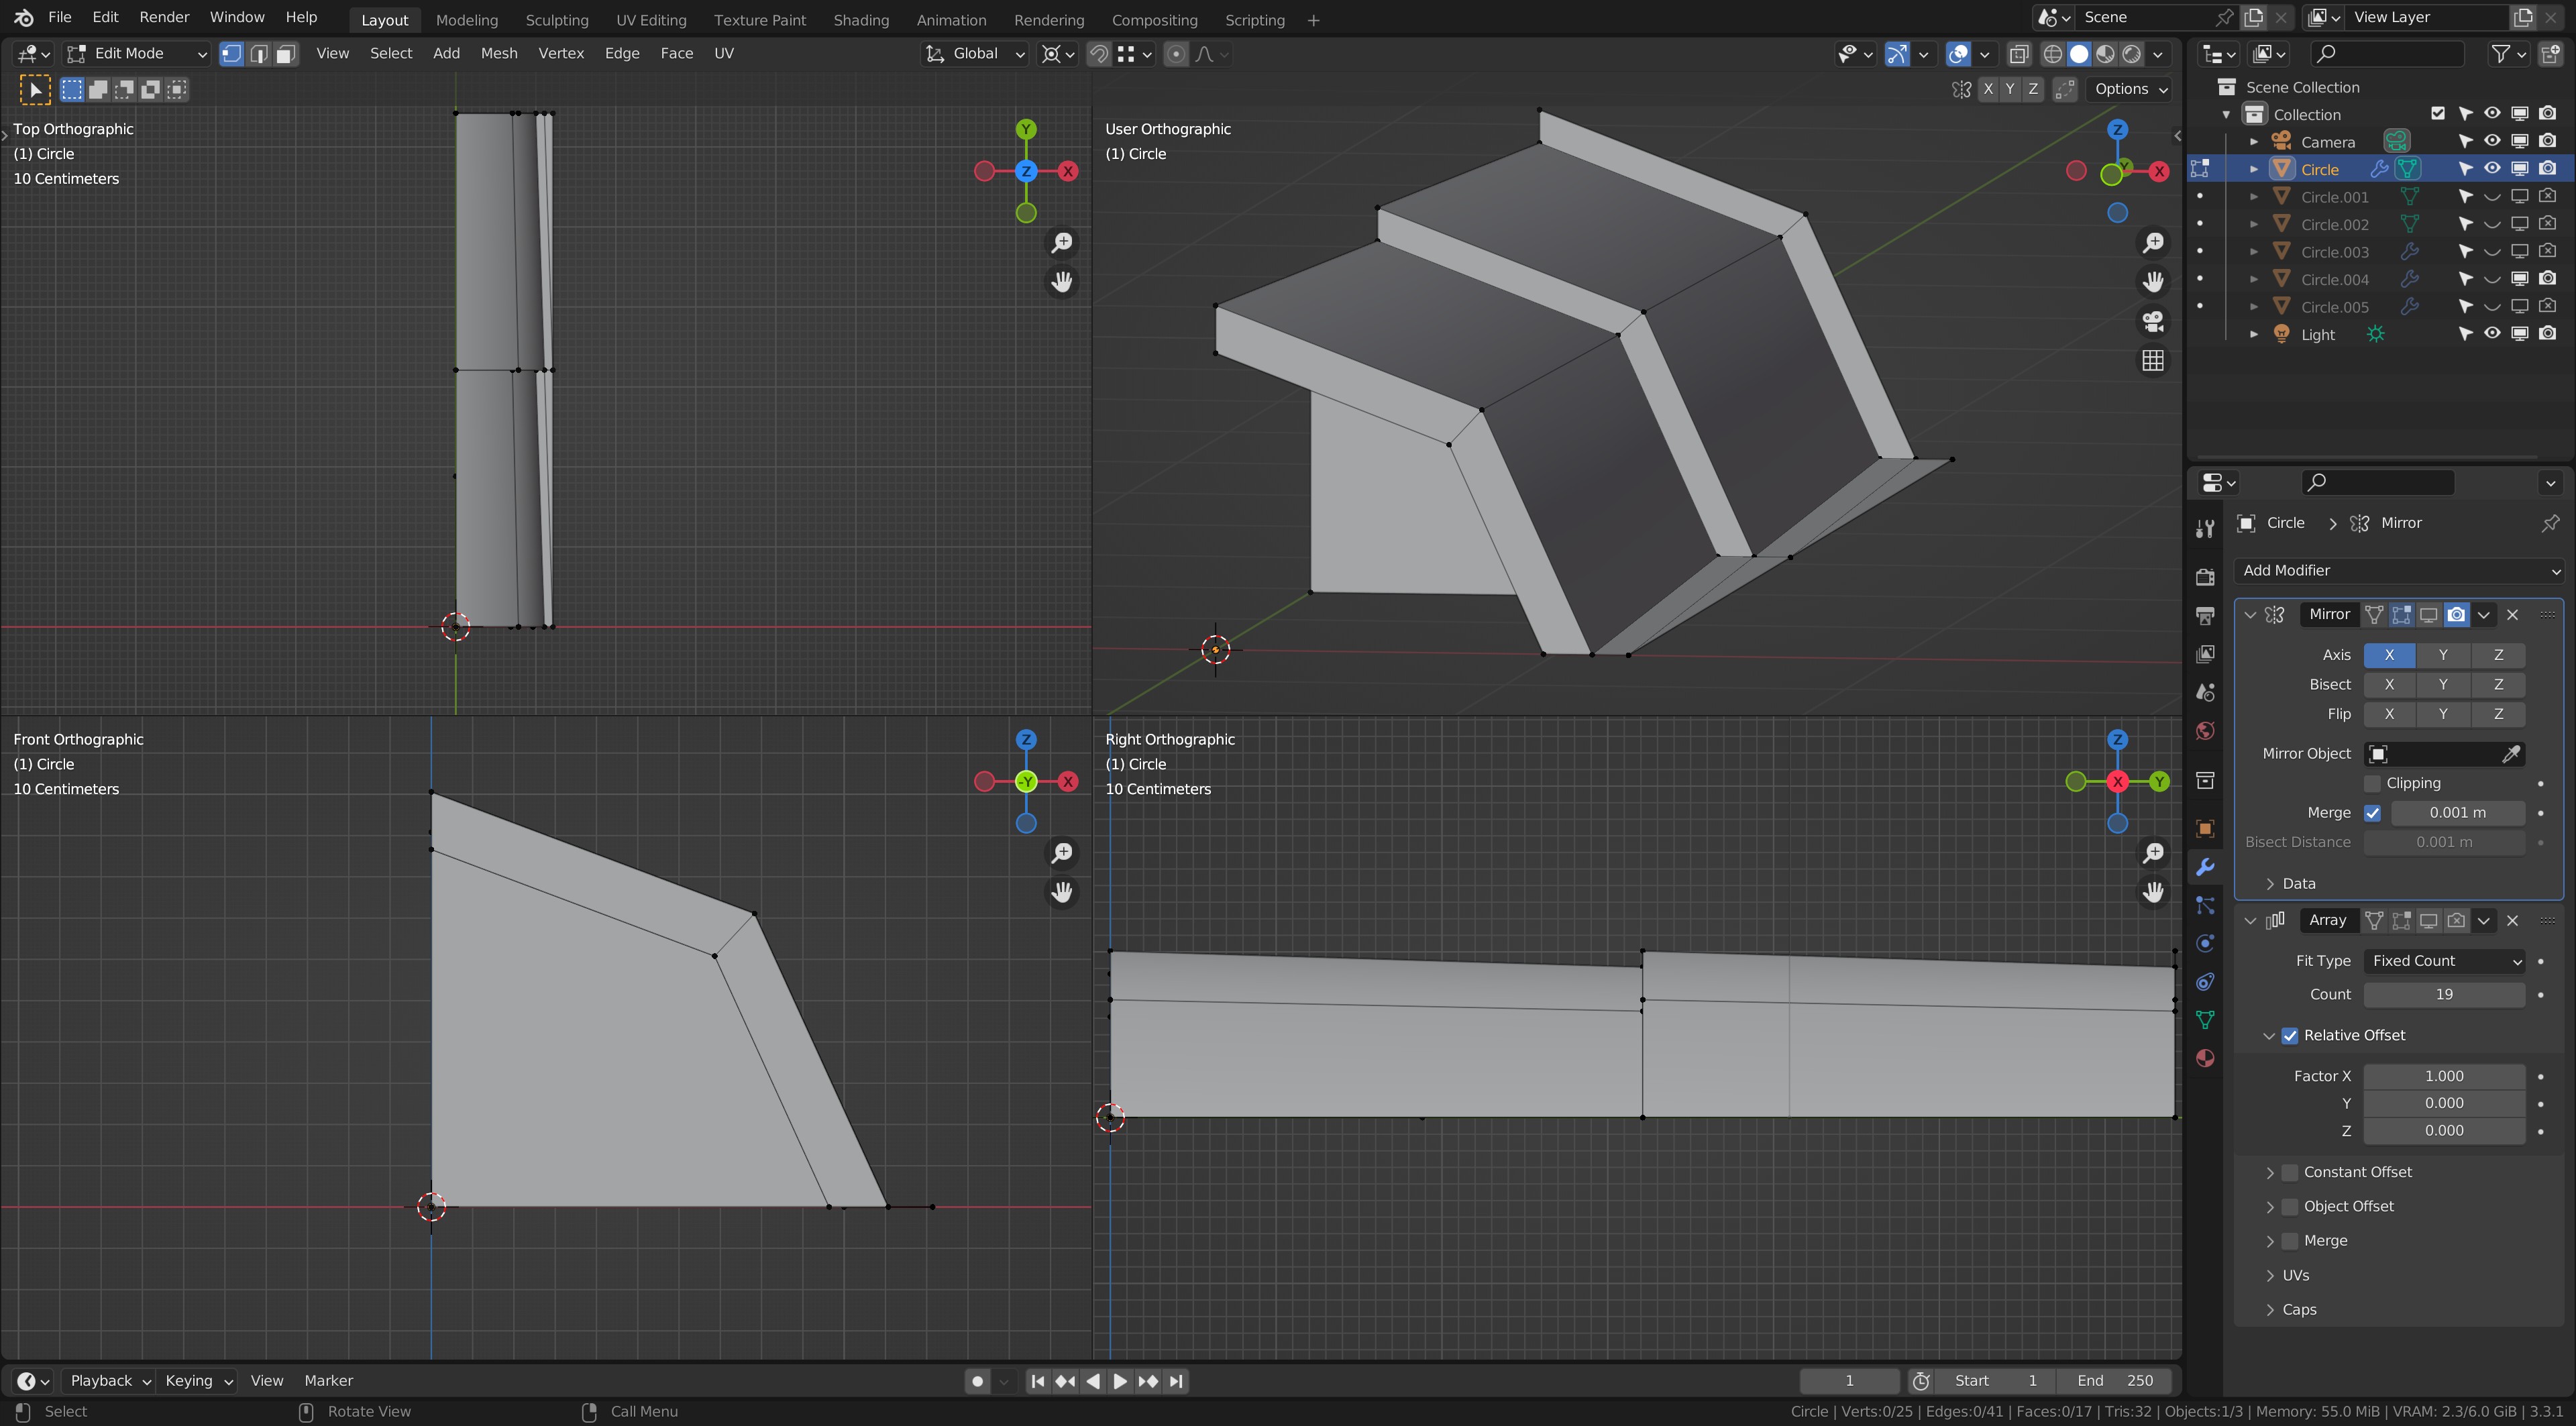
  1. Created a circle and edited the vertices/extrude to make the basic shape.
  2. Used a solidify modifer to create depth
  3. used an array to create the duplicates to achieve the even spacing.

I would really appreciate if anyone has any suggestions on the best way moving forward?

1 Like

Could you show us the wireframe of your individual roof tile that you’re using for this array?

Edit: Also little bit of feedback: I think the rows of the roof are reversed! The row on the rooftop should be the ones laying on top. In your screenshot the row at the edge of the building are on top

1 Like

Thanks for getting back to me, I will accept any help at this point. Just want to keep the triangle numbers as low as possible.

Is this an ok screenshot?

I hadnt finalized placemeent thats why it seemed off i was putting it on the building, Just so i could visualize. Thanks for the feedback

1 Like

Let me know if this helps, Or any other information to help

thanks.

1 Like

Well, you could use fewer verts on the curve. Grant in doing game stuff LP makes round stems for example from just 5 vert circles. 4 look square 3 triangular, and 5 auto smoothed can pass as round.

You could also make a full roof length tile and use texture to make the tile divisions along up it. Or even geometry shape divisions and not have the back faces.


1 Like

This a perfect explanation, This reduces the count a lot. I will try this method and see if it works the texture idea is also cool thank you.

1 Like

After tryign your method im getting confused on how to implement it. As in the part 5 vert circles. 4 look square 3 triangular, and 5 auto smoothed can pass as round.

I reduced the verts on my circle, and tried mirroing on the x axis and i have came no where close to your count and how good it looks.

Could you please explain a bit more. Sorry Not very advanced.

1 Like

Oh To make my LP tiles look smooth I did have to increase the normals smoothing angle, a parameter in the mesh(green triangle), attributes, normals, properties panel I had 51 degrees, just move it about and see it work.

Does this help. Two tile sections only. For the front one I just made something to go up inside so as not to leave a hole.

But it all stems from one tile half section repeated backwards to make the long ridge of a set of tiles.

Looking end on you can see I started with an octagon, then cut 3/4 of it away and mirrored half back. So my half circle tile has only 5 verts, but represents a section of an 8 sided circle.

This is what I meant by the smallest number of verts round something like a stalk or stem can be 5. If you cover the ends so you do not know how many sided they have the 5 sided one could be round, the 4 and 3 could not. Well you can wind up the smoothing angle in the mesh ‘Normals dropdown’ but it struggles to fake it for 4 and below.

2 Likes

This Helps me really Understand. Thank you kindly.

You are very good at explaining it, much apprecited.

2 Likes

This topic was automatically closed 24 hours after the last reply. New replies are no longer allowed.

Privacy & Terms