Help! Bone Heat Weighting: failed to find solution for one or more bones

Ive tried every solution and none are working!
Ive merged by distance and up scaled, still no weight painting
Ive separated by loose parts still no
the


only thing Ive noticed is that there is z fighting when I scroll that camera far away
what do I do…?

1 Like

i removed an armature modifier I had for some reason
then tried it
well it did with this result what is going on?

2 Likes

If you’re seeing this, you definitely have something extra in your scene that shouldn’t be there. What that might be, I don’t know, but I’m sure others will have some ideas for you =)

2 Likes

Z-fighting because of:

  • High- & low-poly models?
  • Because of clothing (slim margin between body and cloth)?
  • Mesh inside the body mesh (can be so, if objects are joined)?

Start debugging:

  • Check if all object are scale 1 (apply scale)
  • If you tried a lot, be sure to remove the old weight paint data, before you do automatic bone weight painting.
  • Use only the body (with standard rig)

After removing the rig:

  • Bones do use the mesh data (not the object data), that’s why apply scale
  • Bones use often “Offsets”, meaning different orientation location (than standard). Mesh (weighted vertices) will ‘travel’ to that relative offset coordinated.
3 Likes

I agree with the others sort out that mesh first. Impossible for us to tell if you have duplicate objects in the same space or double geometry in many objects.

But clean up the model and then redo the whole bones is probably the simplest route rather than trying to solve this as it is.

2 Likes

First thing first. Heat problem occurs when you have overlapping faces or your vertices are 2 close together for the size of the bones.
Clean up Mesh: Select mesh in 3D Viewport. In object mode press Alt+p->clear parent. Press Alt+p->Clear Parent Inverse. Tab into edit mode, press A to select all, and press ctrl+G->Remove all groups. Make sure it’s remove all groups and not remove from all groups. This will delete all vertex groups assigned to this mesh. Tab back to object mode. Ctrl+a->Rotation and scale. You can do all transforms and this is better, but in some you may not want to reset the origin by applying the location. On the modifier tab of the properties editor remove all armature modifiers. If you have multiple meshes then do this for each one.
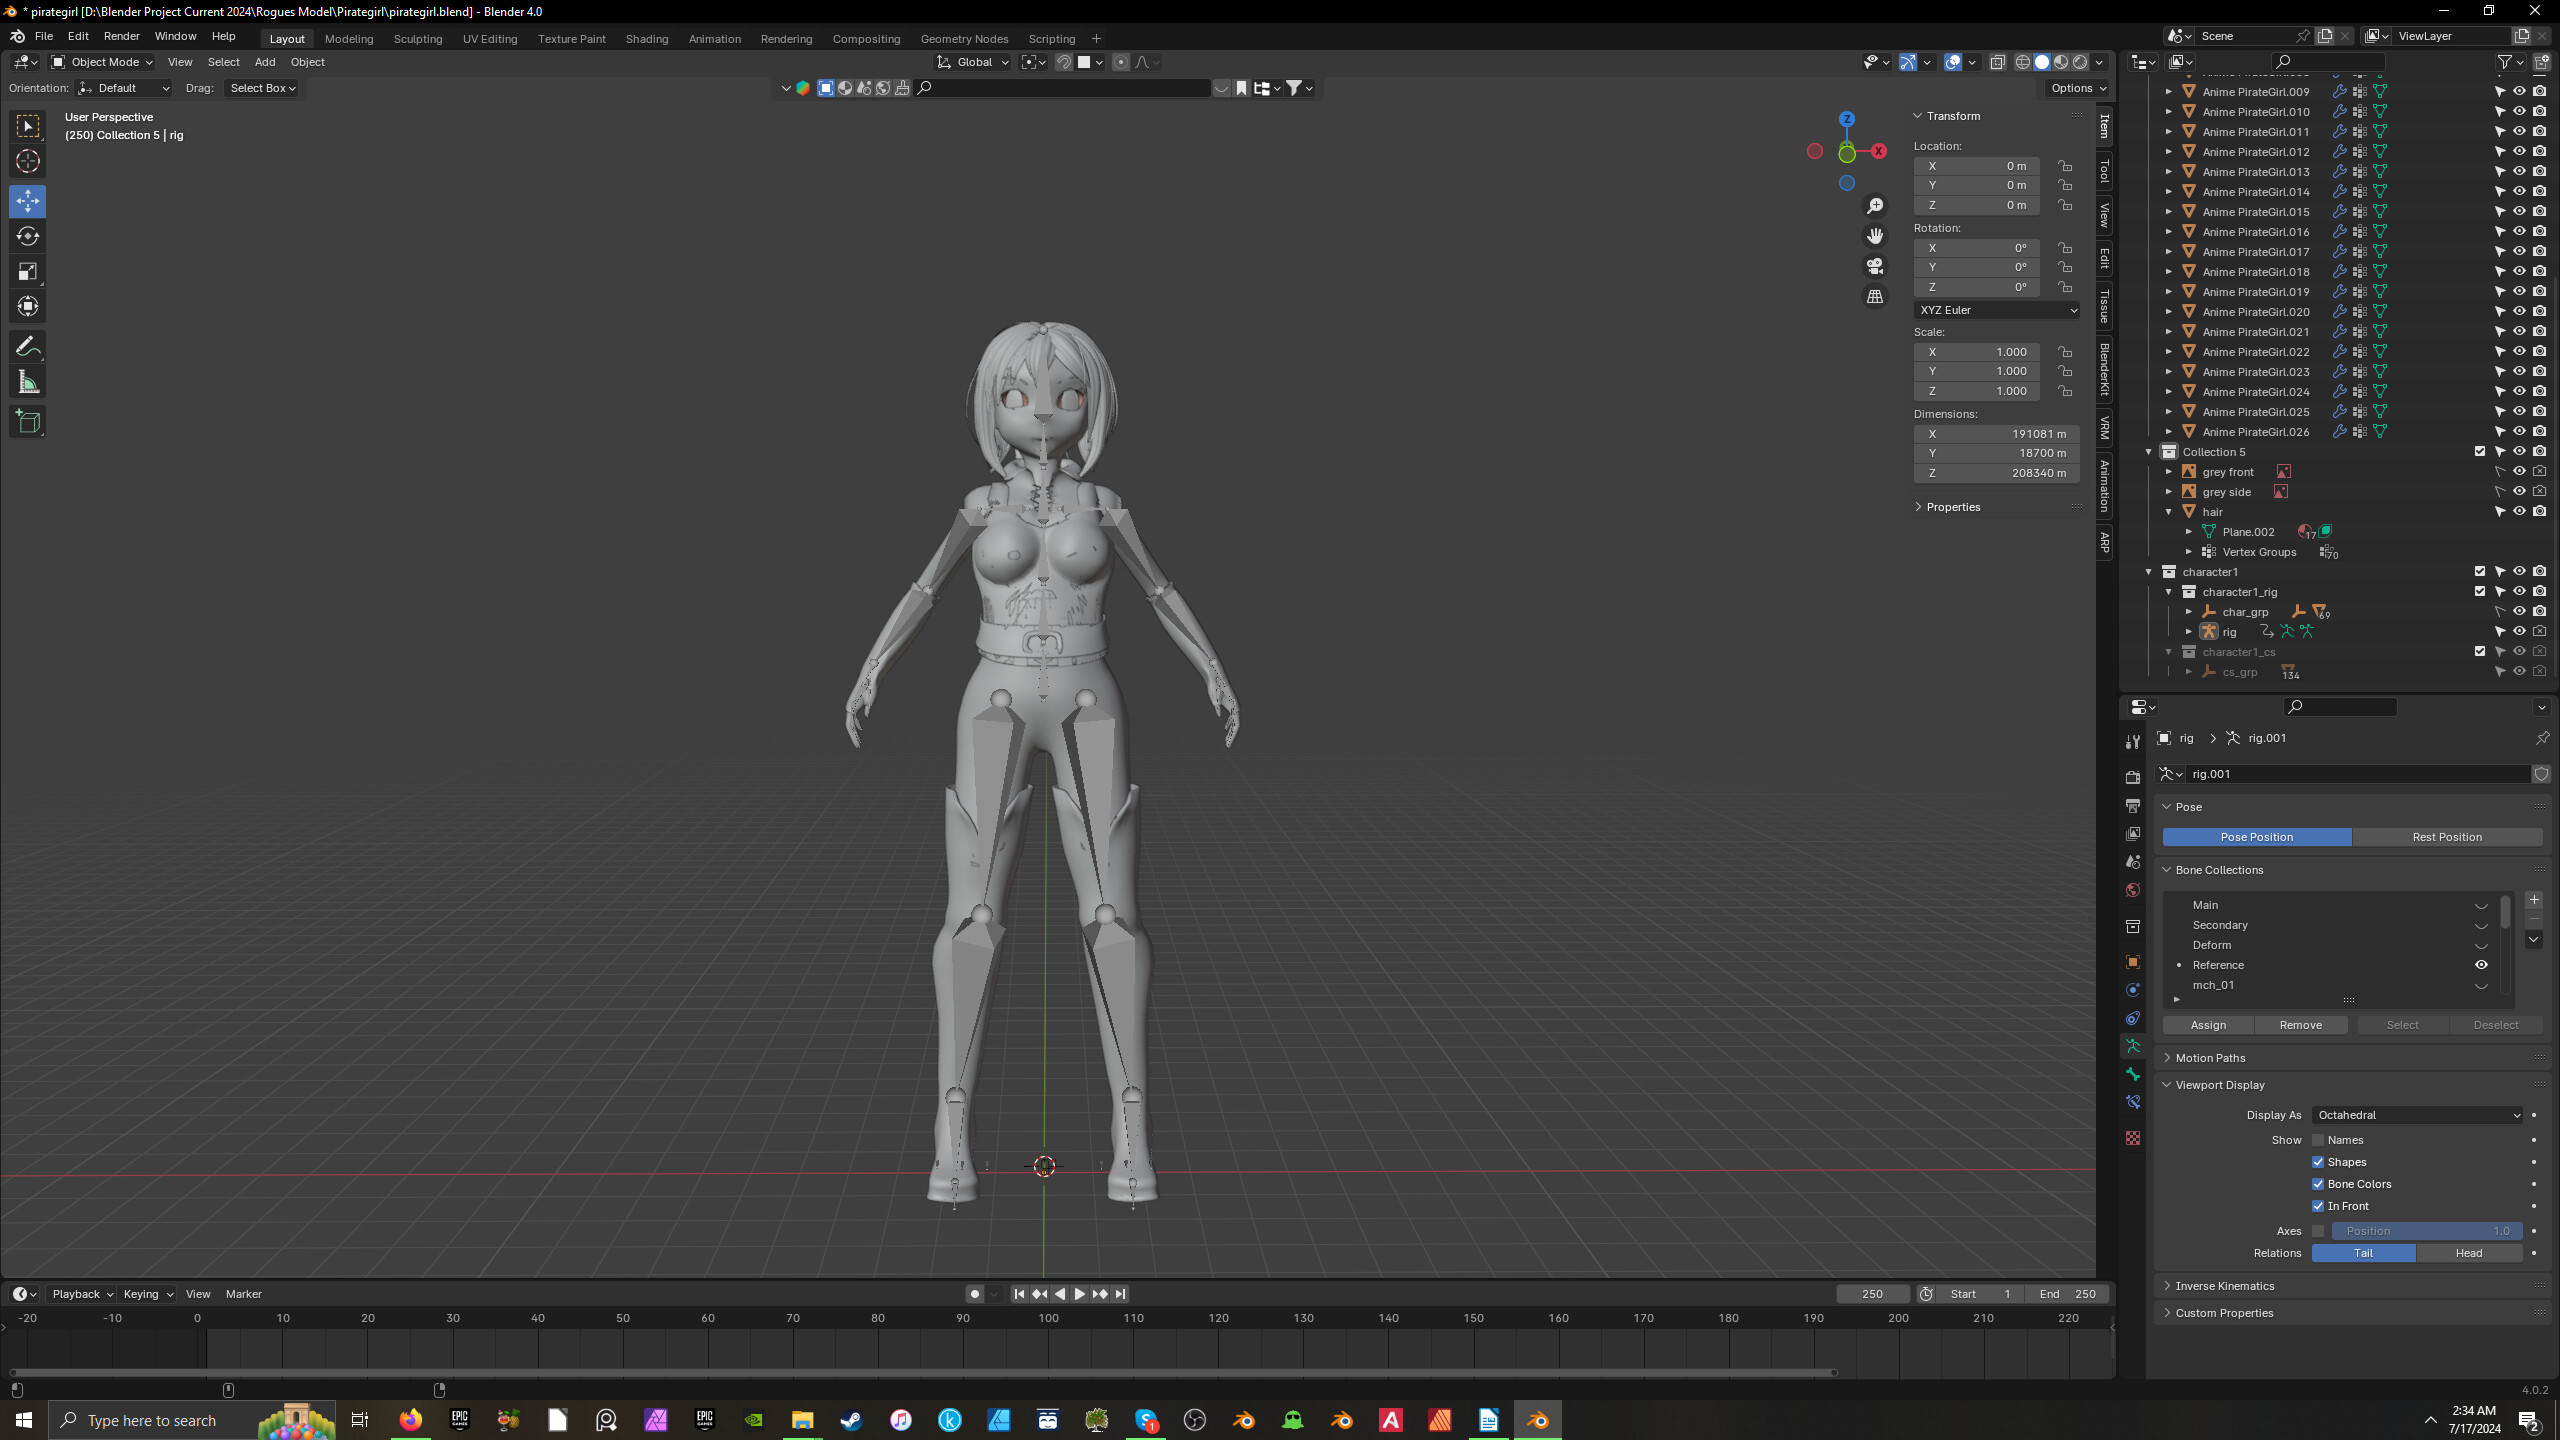
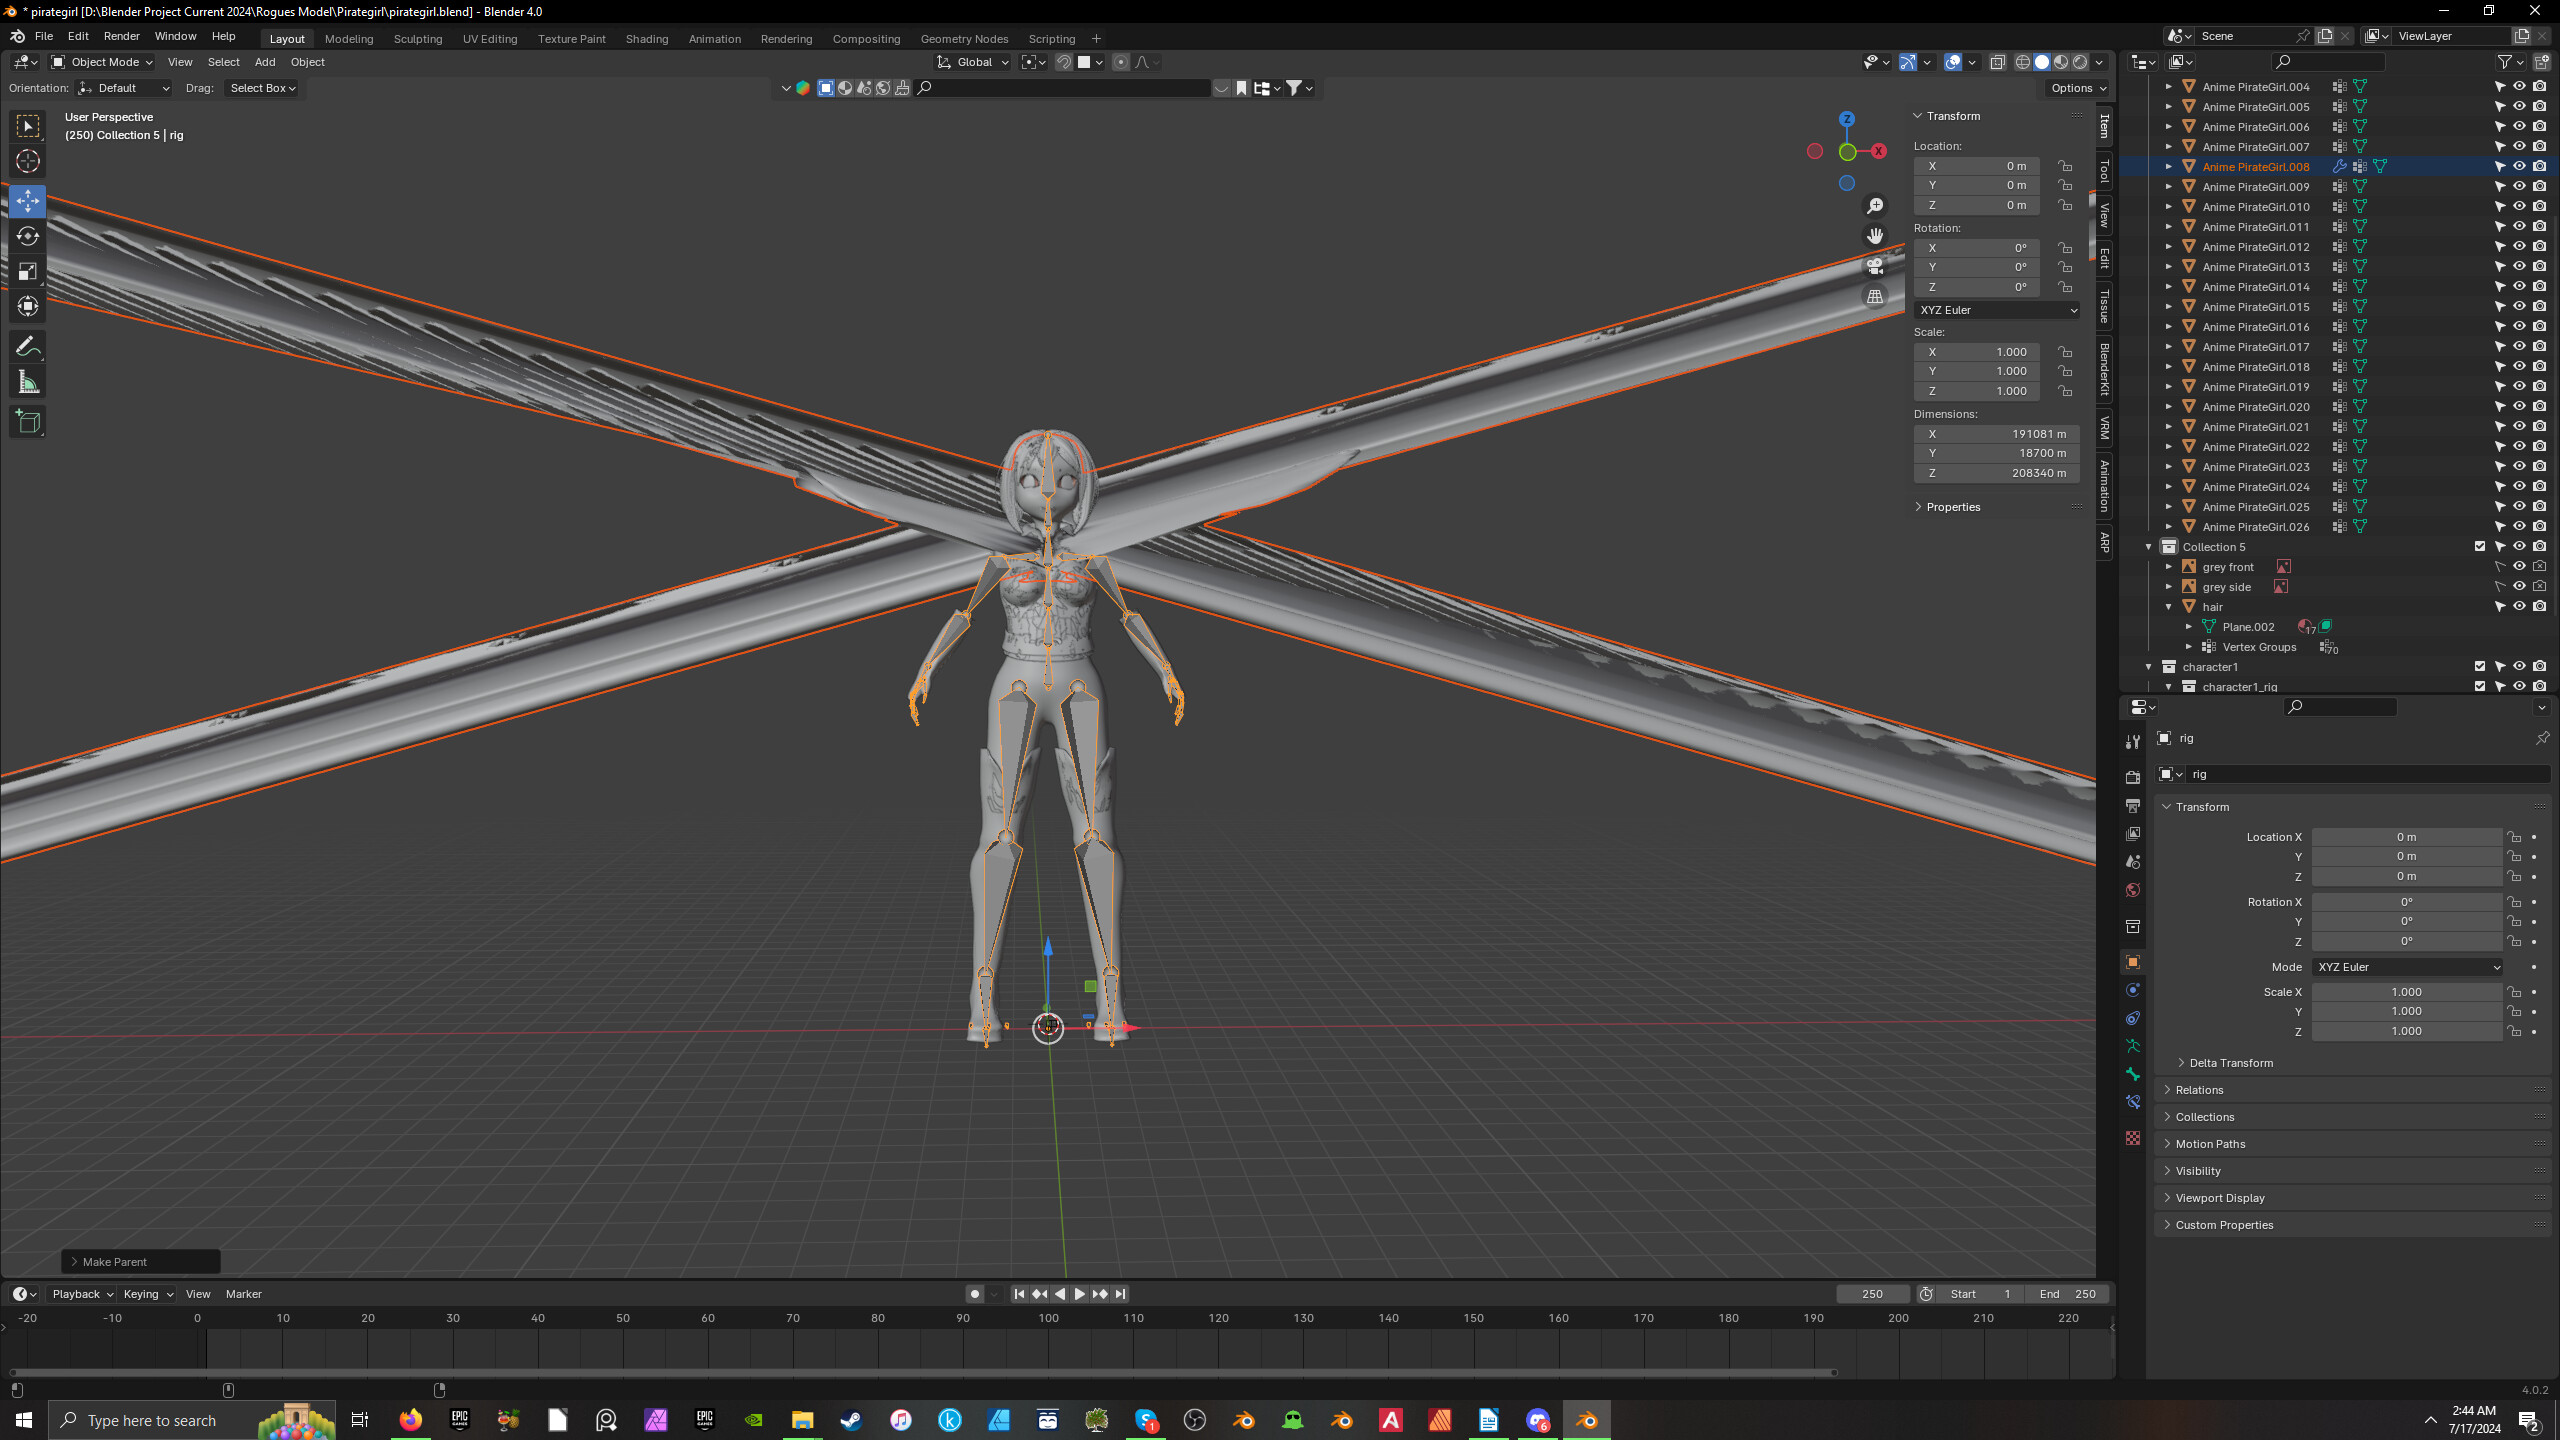
Clean up Armature: Select armature, Ctrl+Tab into pose mode and press A to select all. Press Alt+G, Alt+R, and Alt+S to clear all transforms(Posing). Ctrl+Tab back to object mode. Ctrl+A->All Transforms. On constraints tab of the properties editor remove all constraints. Constraints should be on the bone constraints not armature constraints.

Now select mesh, then Shift+select Armature, and press Ctrl+P->Automatic weights. Select mesh, then on modifier tab of properties editor make sure any subsurface division modifiers are after the armature modifier. All other should be before it(Usually).

5 Likes

Privacy & Terms