Having problems with bones in armature

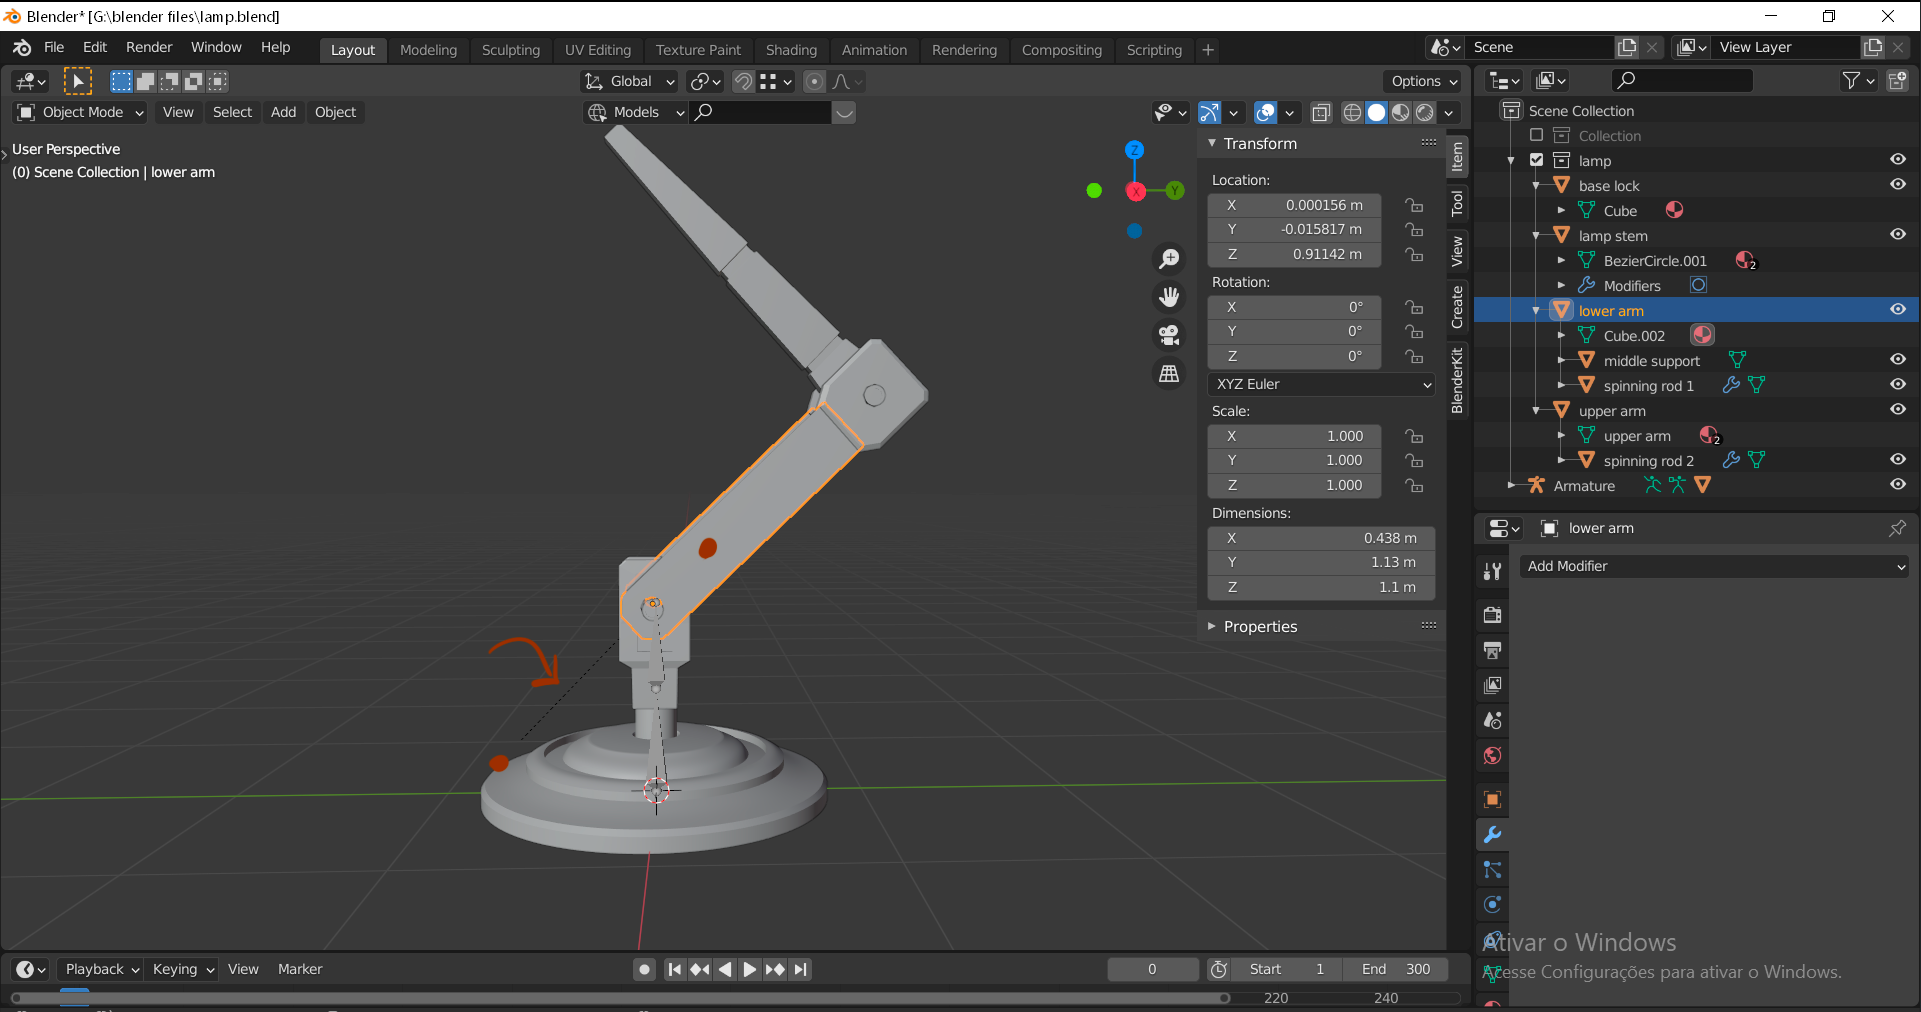
there is a problem with the bones, they don’t move the mesh, re-watched the tutorials and didn’t find anything about this, at least not well enough, I have the lamp base, lower arm and upper arm but when I try to apply location, the origin goes to the 3d cursor or the mesh changes position and if I edit the mesh to put the origin in the right place the same thing happens again, the object are not parented, I am stuck here for a couple hours now and I am starting to think about not doing the animation at all, this is very frustrating.


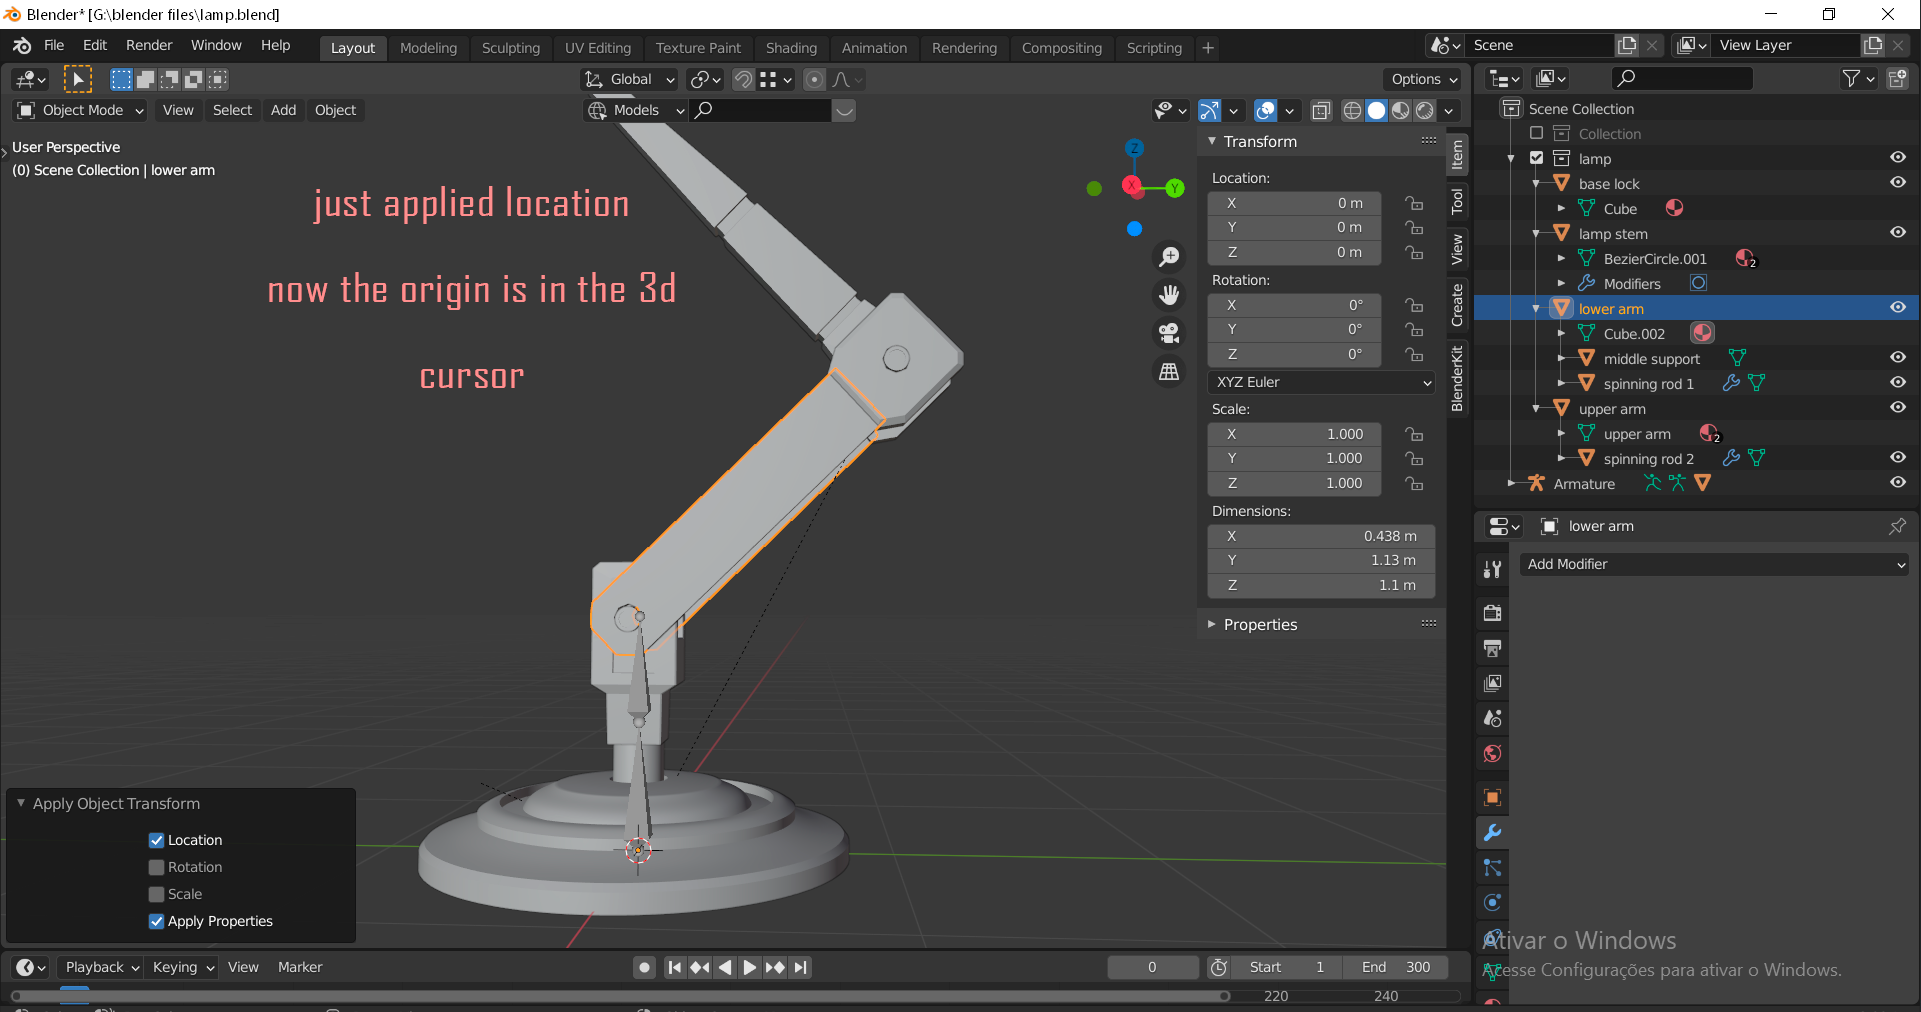
the dotted line seems to appear in the mesh and in the bones too, I am going to try making the armature with the location of meshs being out of place if this doesn’t work I don’t know if I will finish this project.

To me, it looks normal Blender behaviour.

The origin point (pivot) is in principal the gravity point of an object. There is no need to change that and placing it at the centre of the grid (0,0,0). The default position of the 3D-cursor.
Because that is what the Blender function apply location does. The local object coordinates become the world coordinates. And this pivot point (object origin) is what the bone uses to manipulate the object inner mesh. So if you change this point the bones act strangely.

best is to un-parent everything.
Apply scale on every object, to overcome problems with bones.
Check if the object origin is in a logical place. Correct accordingly for every object.
Then connect bones to the objects.

In these lessons, it is important to apply the scale of the objects! Because the object scale is different (world related) that the inner mesh scale, where the bones have an influence on.

Privacy & Terms