Hello guys!  I finished the complete Blender course last year and now I’m gonna dedicate some time to show you some quick sketches and some really cool models I’ll be doing; all of them made after hours and hours of practice and evolution.
I’ll begin simple with this gargoyle sketch. If you like it, I may post more complex models like a Transformers head (a draft, in this case) I did for reference in a 3d printing of a crow and some similar stuff for 3d printing.
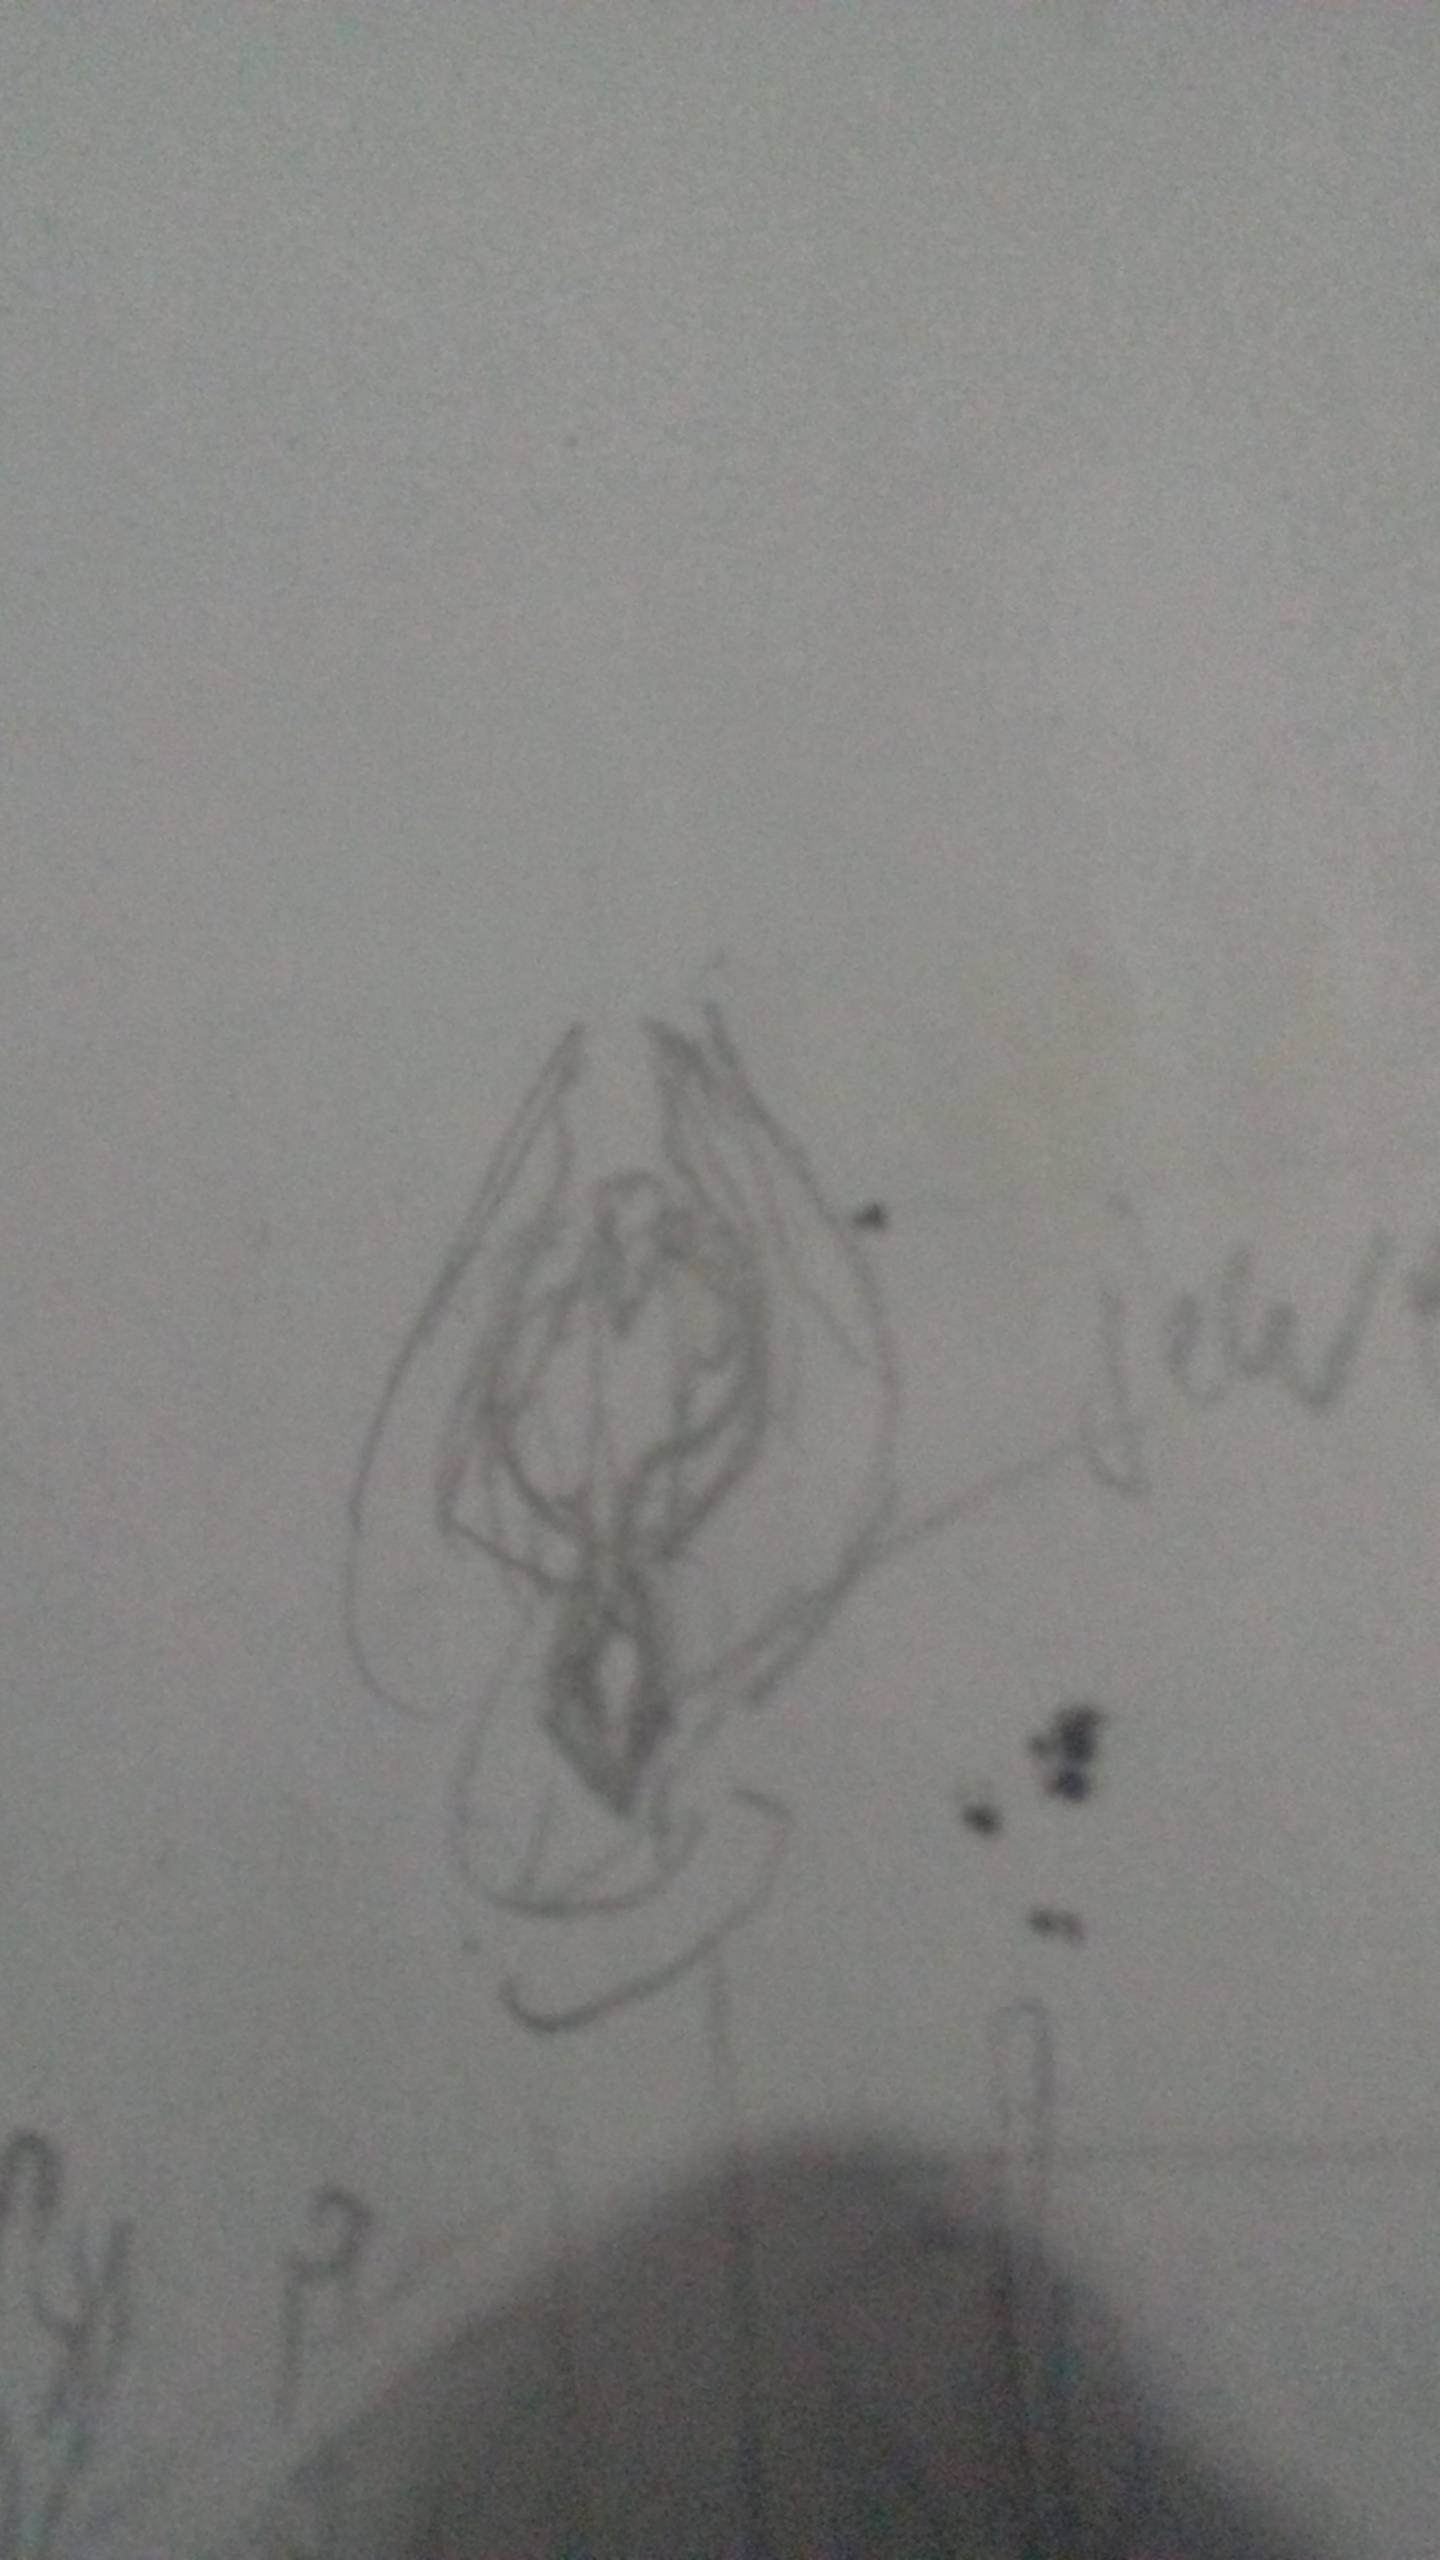
draft
WIP (work in progress)
I’ll update this post on the go. I really hope begginers may get inspired through these photos 


 update 1:
I’ll number these WIP (work in progress) photos and comment each one so that people may know what I did and try it in their own projects.
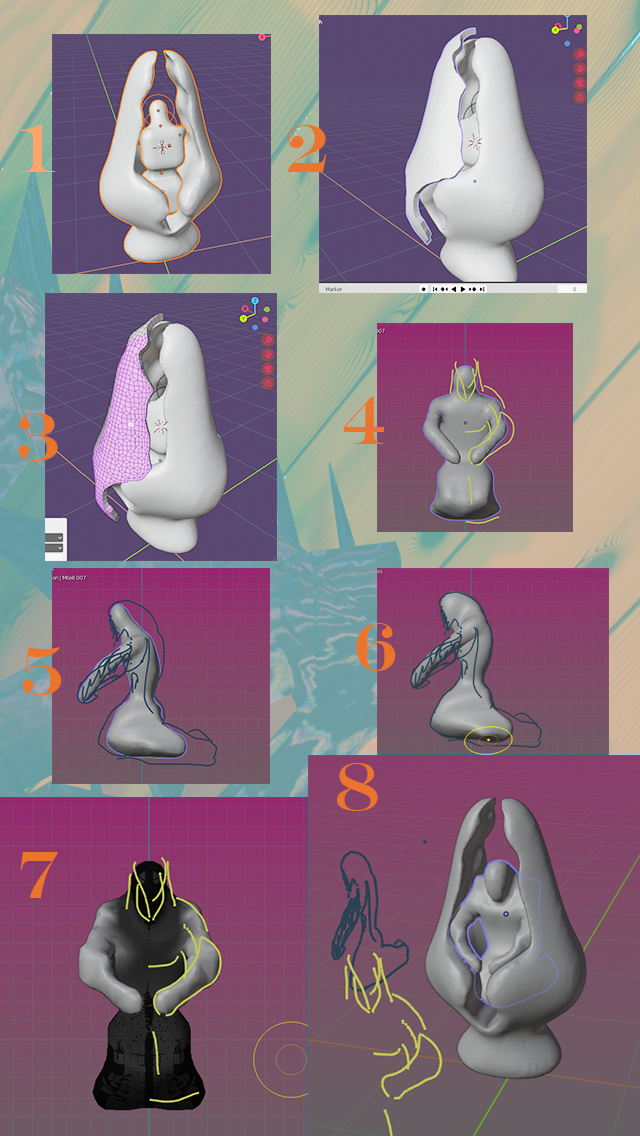
click on the image to enlarge
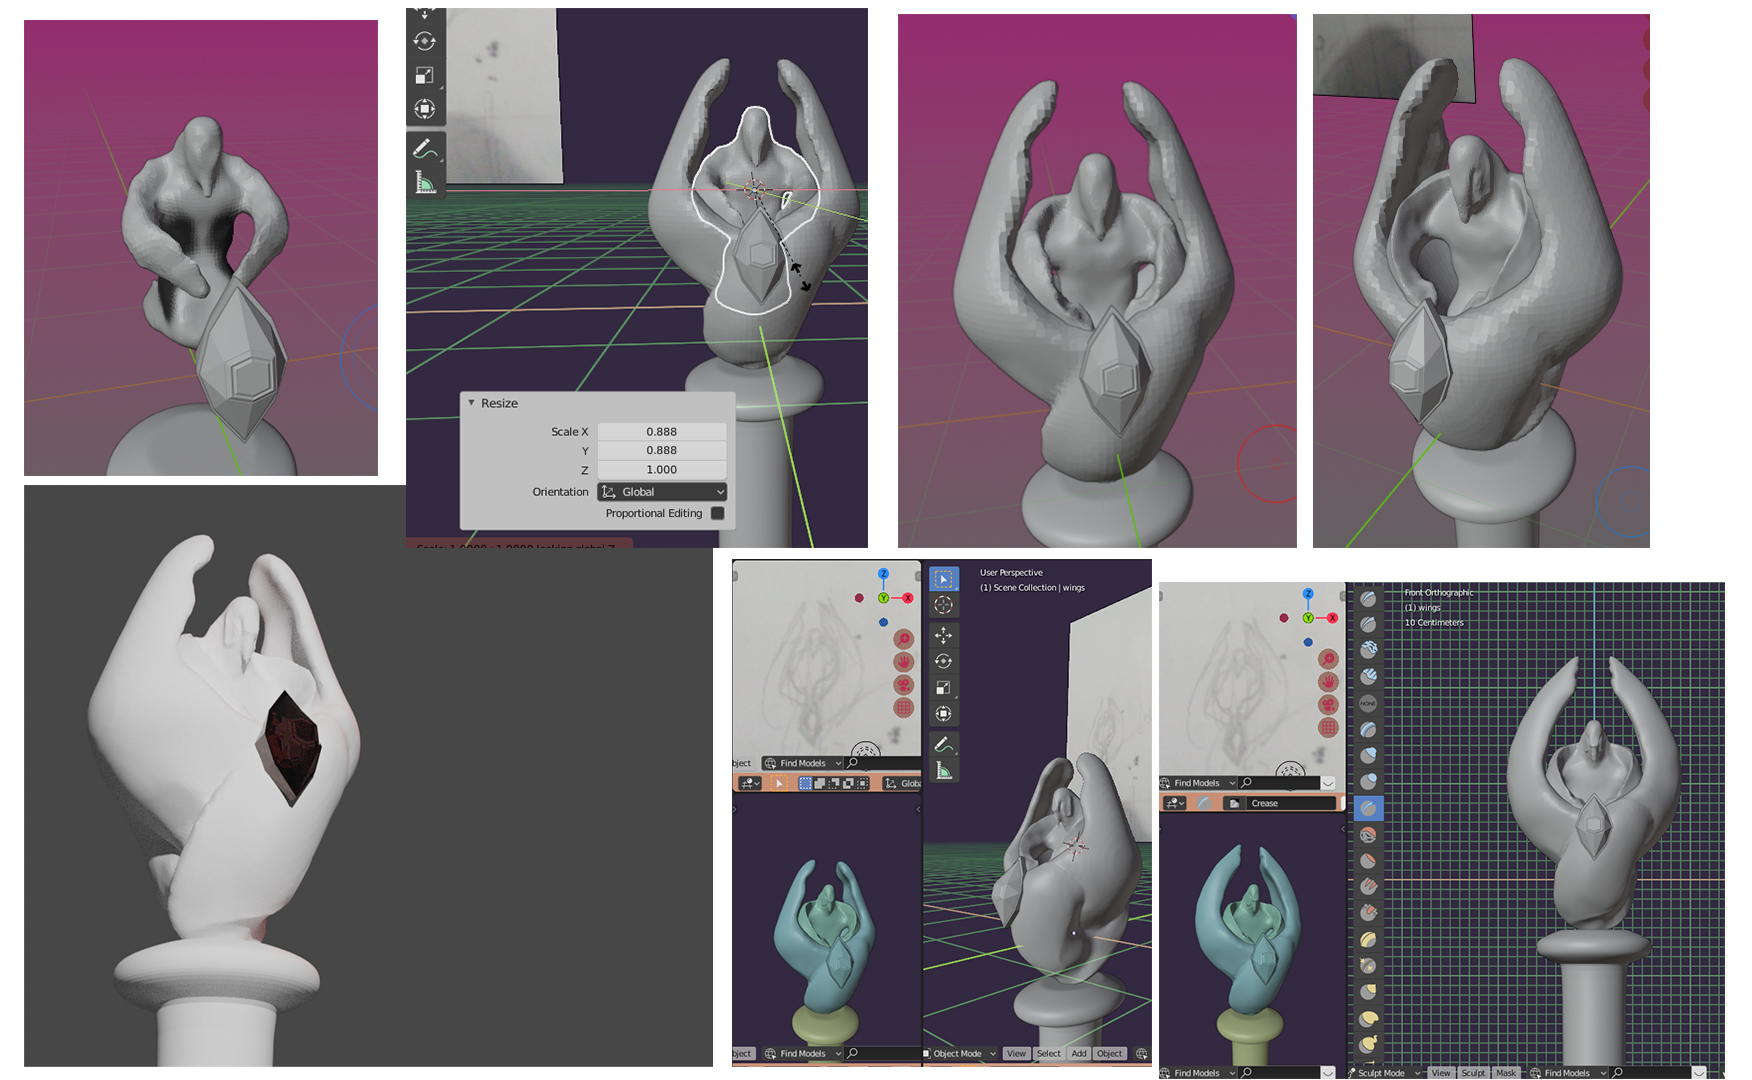
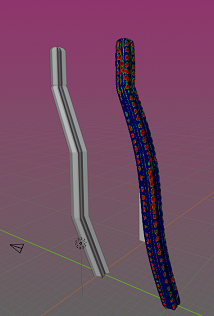
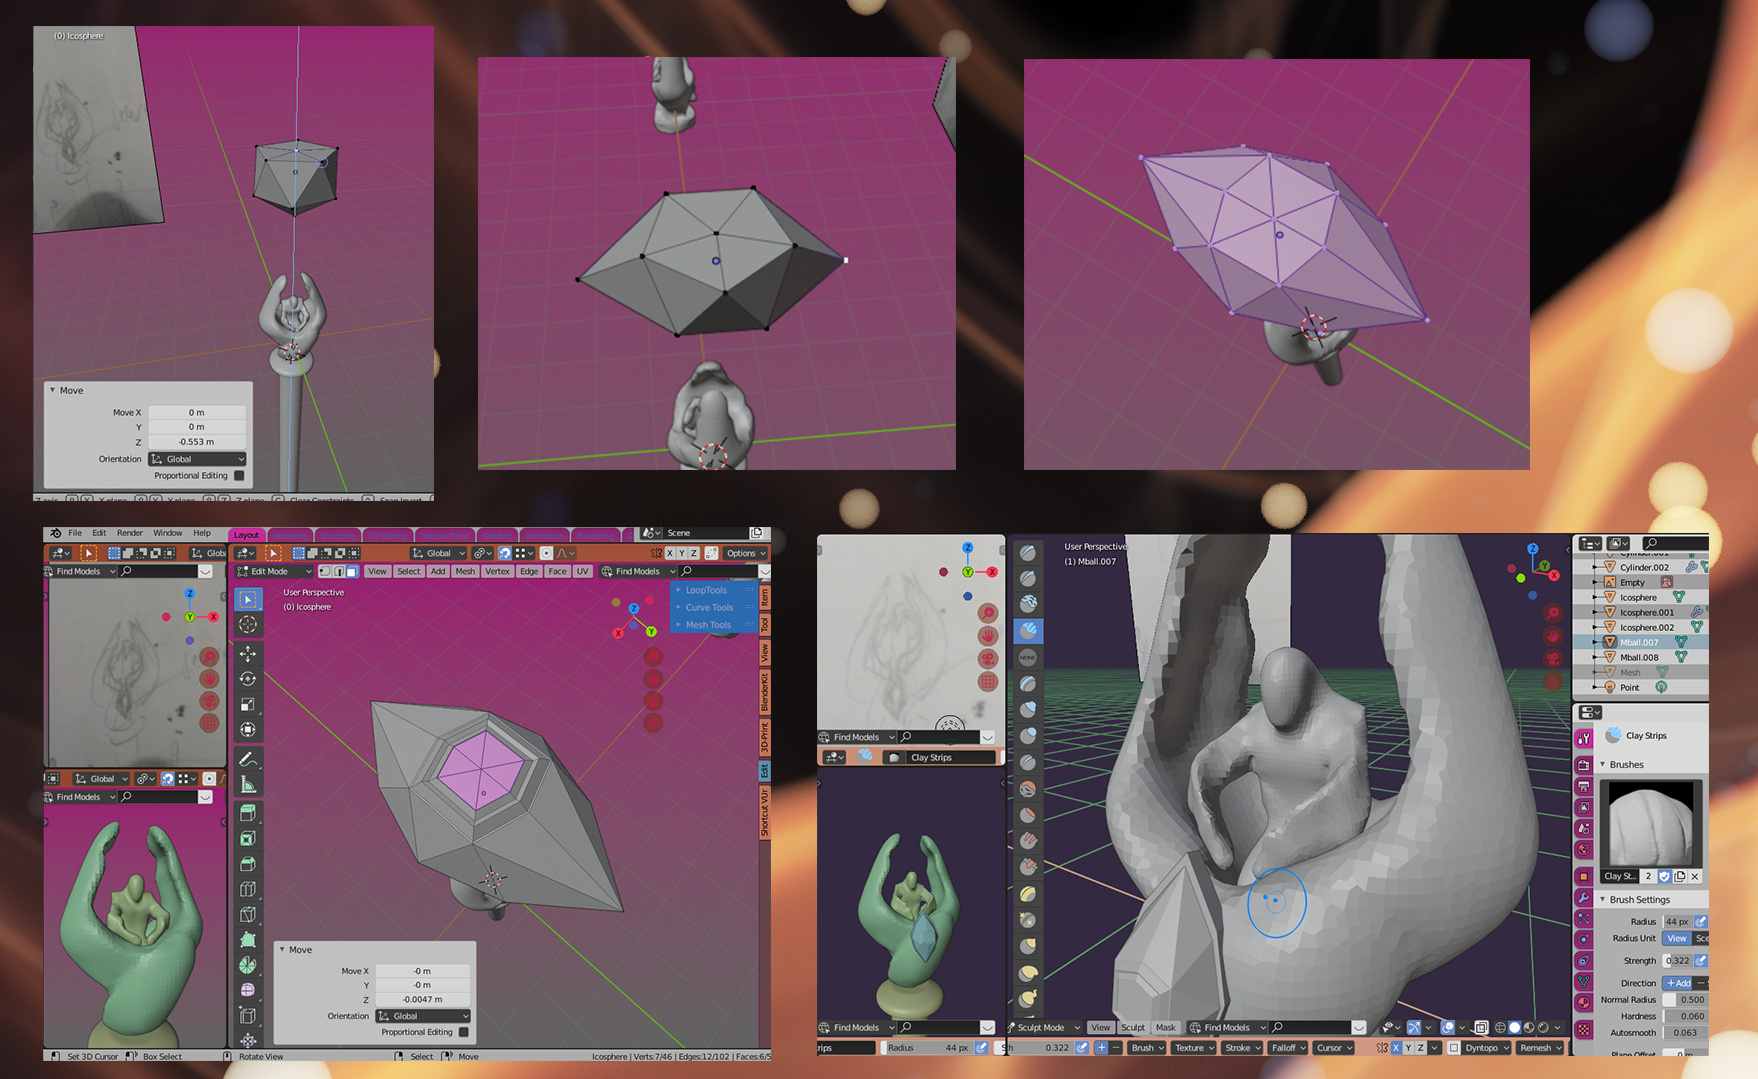
Step # 1 - I added another cubic metaball (cube shape) bellow it to represent the skirt/dressing of the angel and then I converted those metaballs to mesh (Object > Convert to > Mesh From Curve/Meta/Surf/Text), keeping the originals and moving it to a new collection (shortcut “M” key). So I mirrored the generated mesh and remeshed it; also I snapped the cursor to selected (Shift + S) and applied all transforms (Ctrl +A); then I selected the object and hit Object > Set Origin > to 3D Cursor.
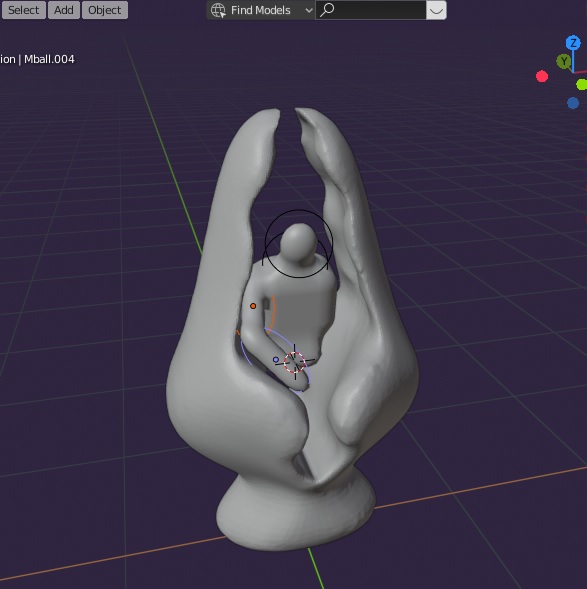
Step # 2 - I put this photo above (and also this one below) to explain how I carved the mesh for the wings, in that separated object, but it is better explained in image below. I masked the area of the egg-like object then I extracted the mesh as you can see in the image (With MASK BRUSH selected and the mask already drawn, click in Mask > Mask Extract).
https://drive.google.com/uc?id=1CUFKrIVMZ5KhFcG3I6inRMFld4VuRavE
As masking is something very important in sculpting workflow, you should test its shortcuts and read documentation > here <, in Blender docum. site.
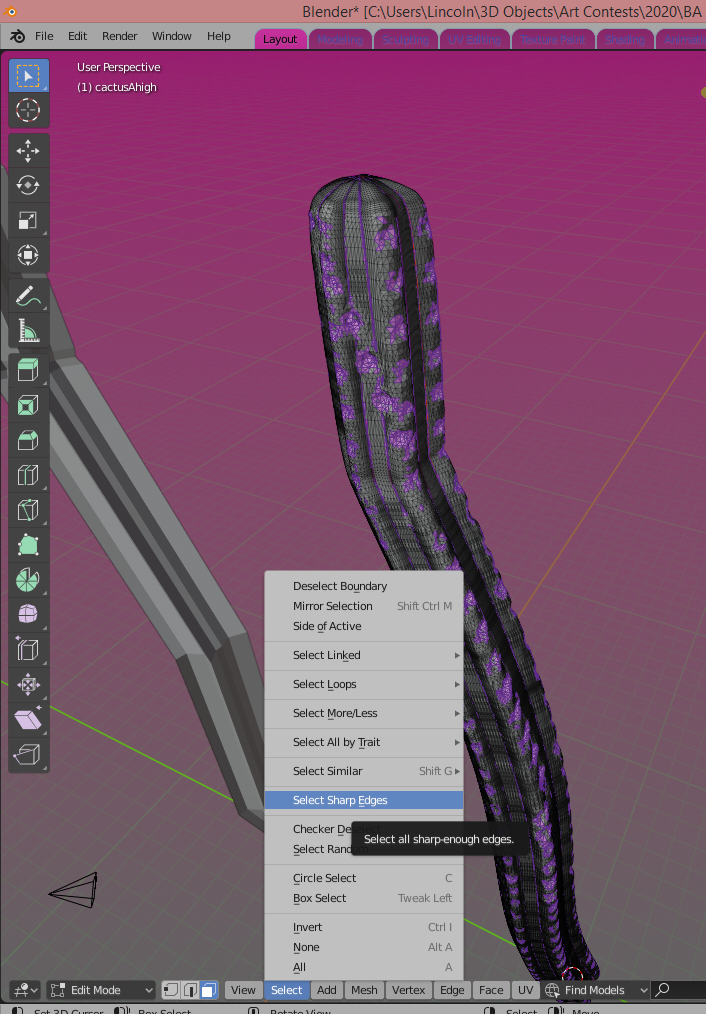
Step # 3 - Then I went to modifiers tab in extracted mesh and applied it. I then put the extracted mesh in Edit Mode and selected one face of the outer/upper part; then I selected similar or co-planar ones (with at least one face selected, go in the menu Select > Select Similar > Co-planar); if it gets messy and select more than intended, clean it unsellecting undesired faces.
Then hit P to seParate it from the mesh (Or go into Mesh > Separate > Selection). Then click outside and, in Obj. Mode click on the new object. Hit Edit Mode and scale it to the Y (or X, according to the orientation you choose) by 0 (zero), to make it plannar. Then extrude it and voilà! You have a carving object to boolean the Egg-shaped object for the wings.
Step # 4 - *Isolate the angel using Shift +H to hide everything but your model. You can reverse this with Alt+H to unhide.
Put the document in front view (shortcut “1”) and on the Tools tab, select the annotation pencil and draw some strokes to mark the approx. shape you wanna reach.
You can change its color/hide it/and add more traces in the “N” shortcut tab (View > Annotations). {You can also change the placement of it in the Properties Panel’ Screwdriver and Wrench menu tab}
Step # 5 - Draw some strokes to mark in the sideview too (shortcut “3”).
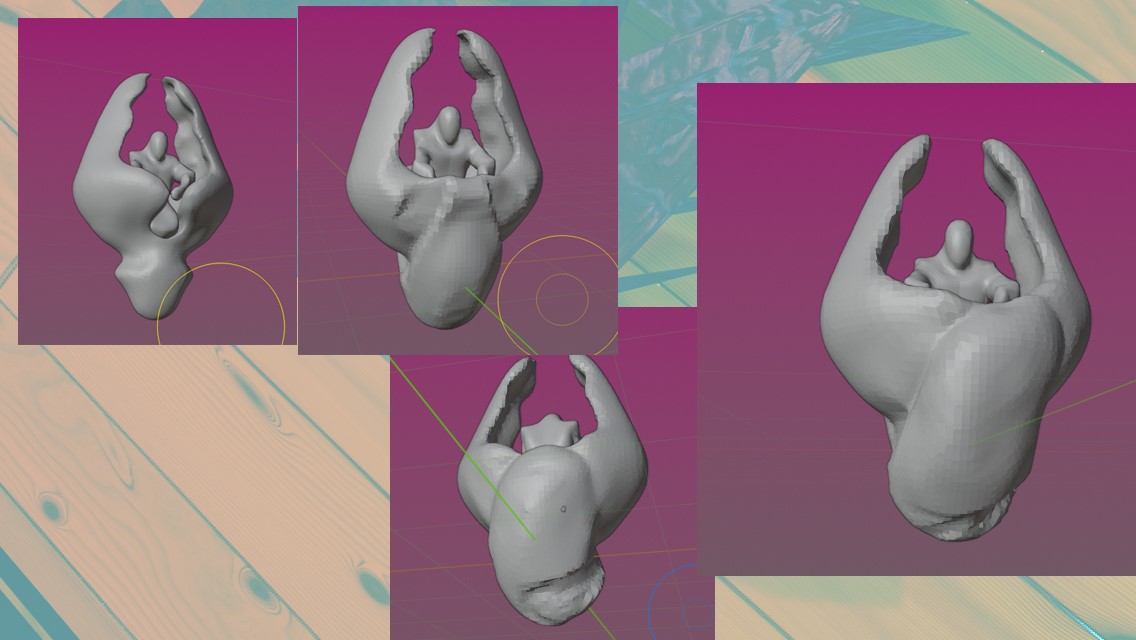
Step # 6 - Then CLICK BACK IN THE SPACE BOX SELECTION (first item in the tools panel) to exit annotations mode. Go into sculpt mode and start to push and pull with Grab brush or (even better, sometimes) with Snake Hook brush, because Snake Hook brush generates geometry on every stroke, so that it avoids stretching.
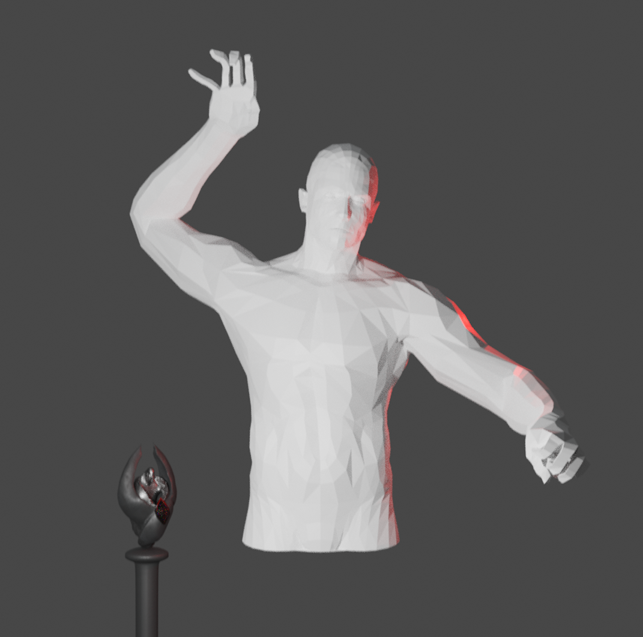
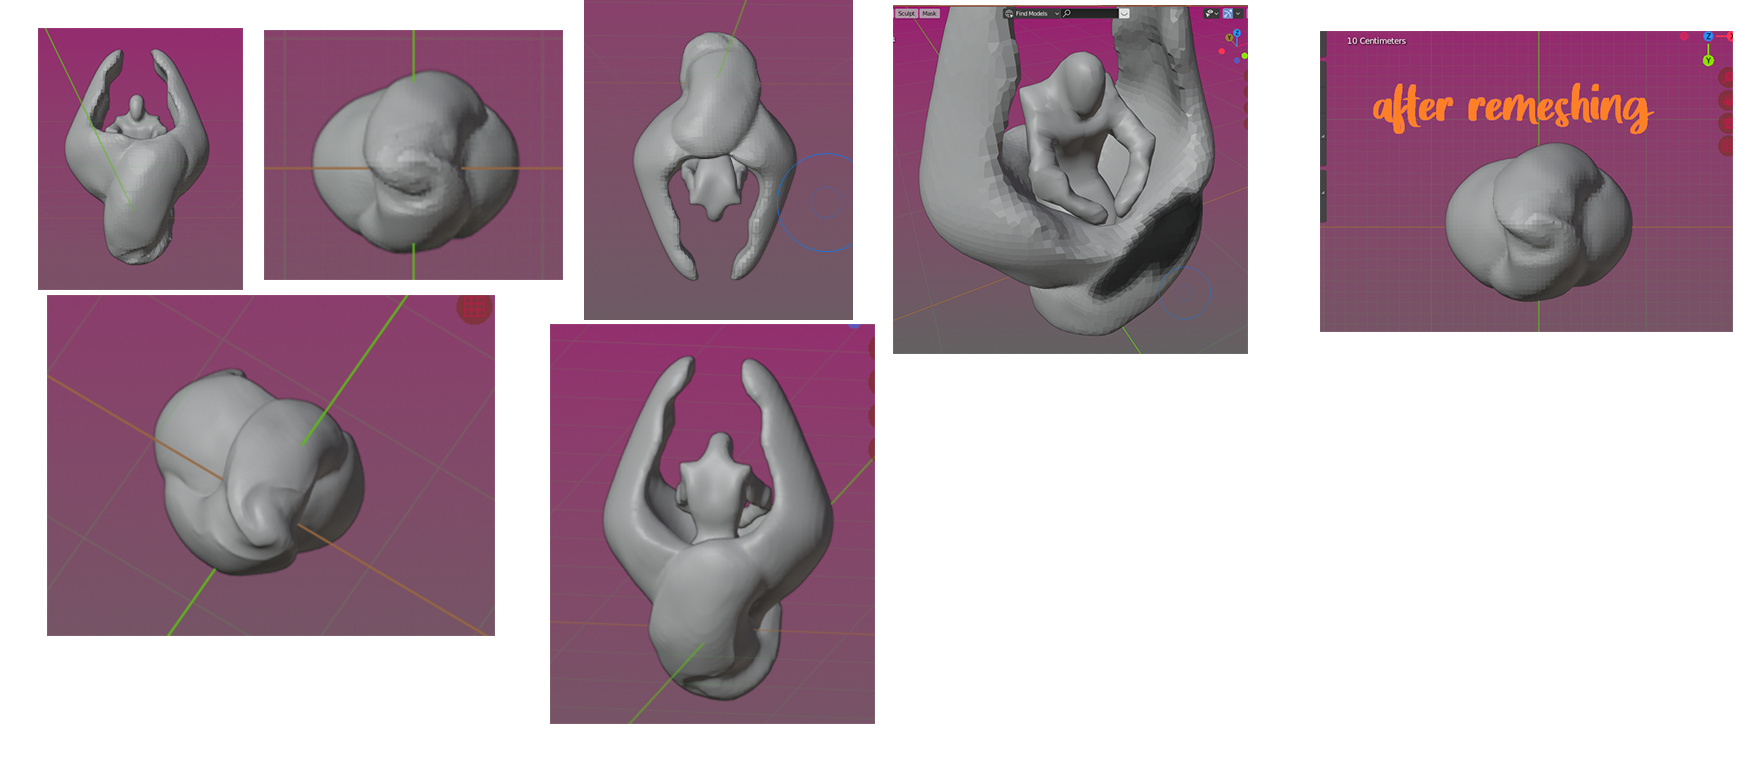
Step # 7 - By the way, if it gets too stretchy you can always remesh it in Obj. Mode and then apply transforms and come back to sculpt mode. While doing the arms, I used the Mask Expand Along Surface masking utility to mask everything except the arms (Shortcut: Shift + A, sliding the mouse along the arms). Then I used the mask brush with Ctrl pressed (to unmask) and cleaned the shoulders a little bit. Then and only then I continued stretching some muscles. You can use other brushes too. Dont be very perfectionist in this early stage of modelling.
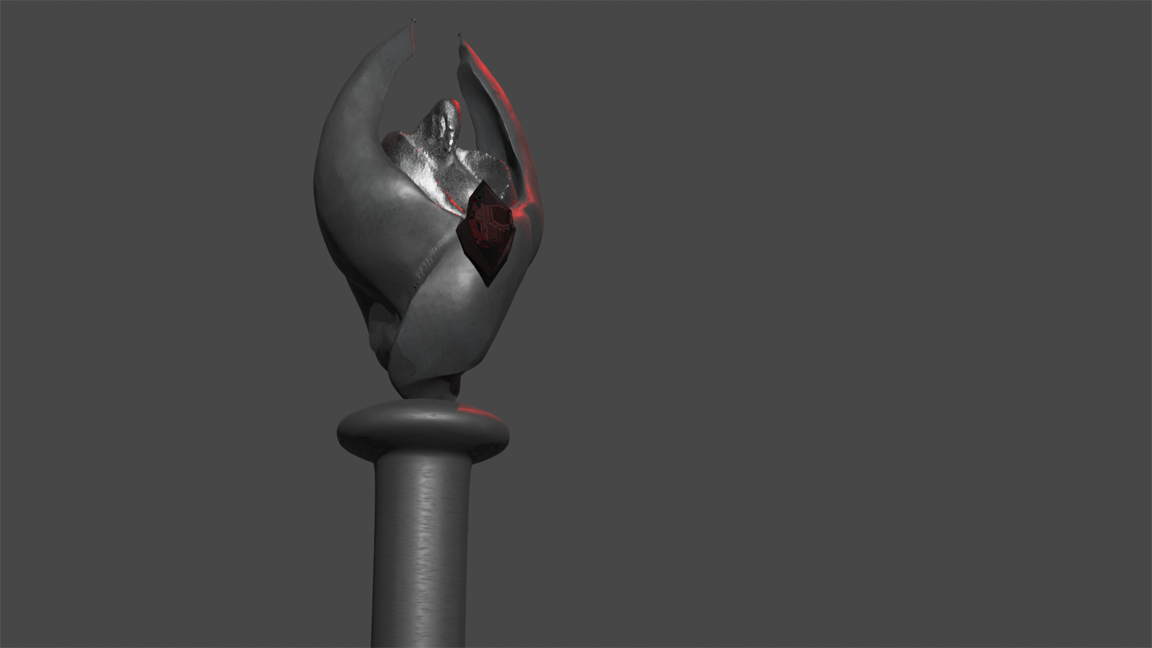
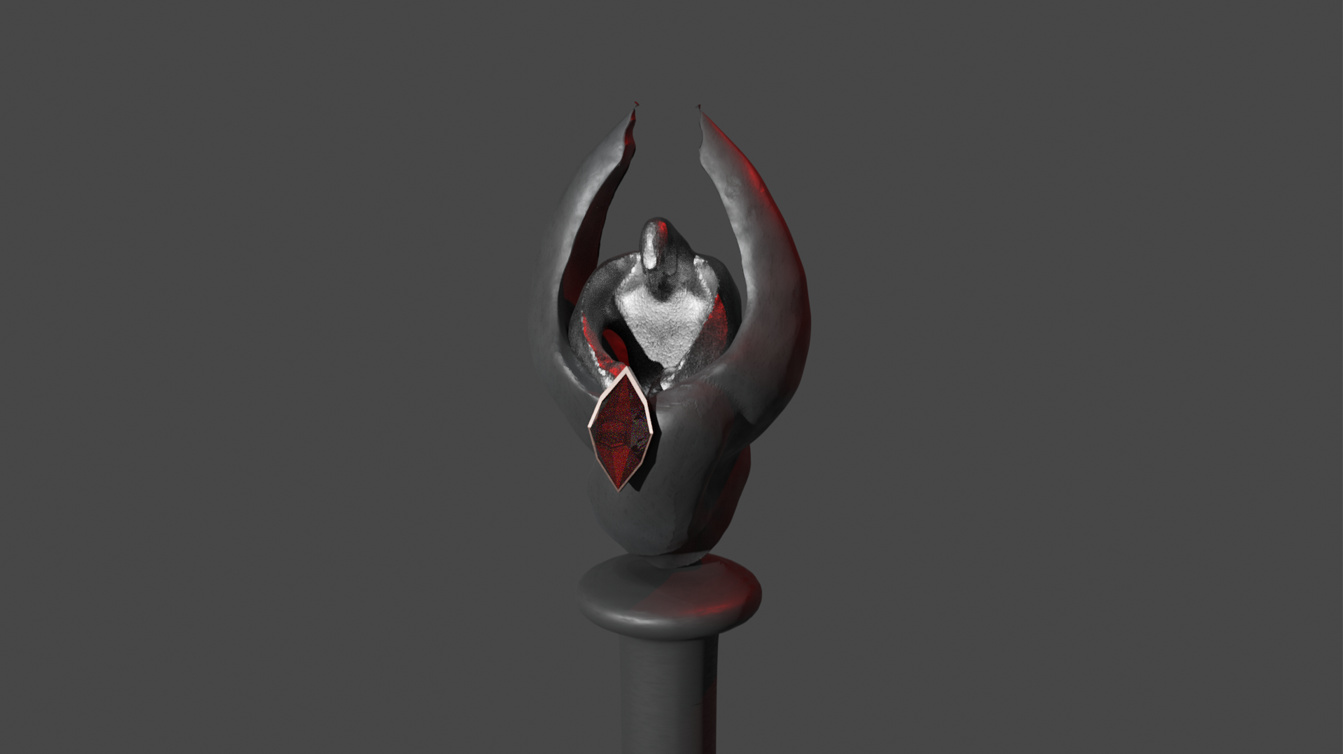
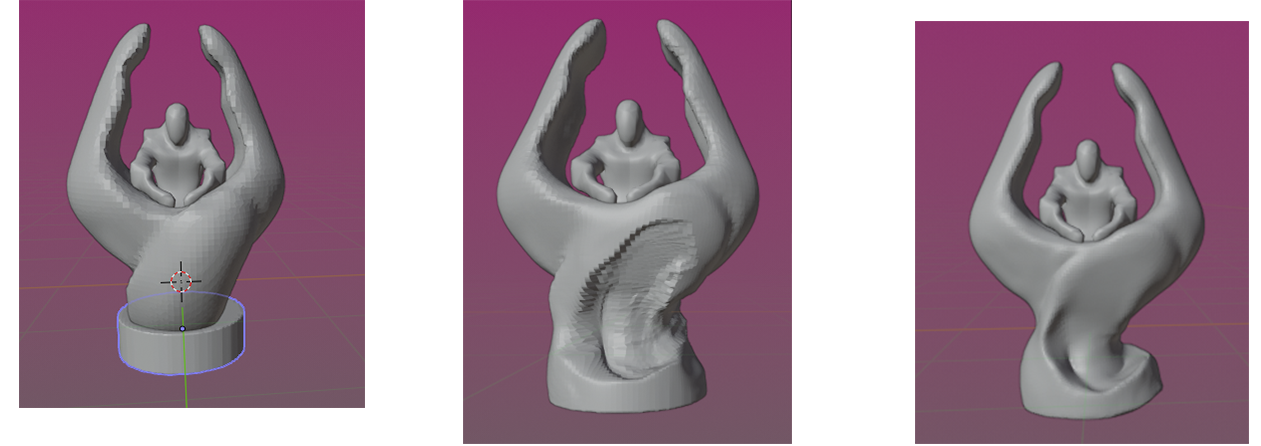
Step # 8 - Go into object mode and unhide/reveal (Alt + H) things to get an overall look of the model and model the wings too if you like. I changes the sizing of the wings so that the angel looked bigger than before.
If you’ve got questions, let them below. I’m open to suggestions and also corrections. I’ll end this with one or more updates.

 you kept me motivated along the process