My full time gig is in print design, but I figure I’m not too old to learn new stuff. I picked up 3ds Max a few years ago and ran with the Educational Version for a while but didn’t do a whole heck of a lot with it. Even though Autodesk is pretty generous with their Edu licenses, time was winding down for me and the program is too expensive for me because I’m not advanced enough to turn this interest into much of anything.
So, Blender seemed like a good bet. I love that the people who work so hard to develop it have turned out a real full-featured package. Modelling, animation, physics, texturing… it’s all here. Unfortunately, I think that they were all drunk when they came up with the UI, because I have never seen a more unintuitive setup in my entire life. I get that they have their reasons for designing the interface the way that they did and that, in a bizzaro world where this is the only program I had ever used, it would be much more efficient than anything else on the market. But coming to the table from an Adobe and 3ds Max background, I wanted to set fire to Blender after about 5 minutes.
I appreciate what I’ve learned in the course so far because I used the instruction to find my way around well enough until I figured out how to set most stuff up like 3ds Max. This involves more than just hitting the Preferences switch, there are plenty of windows/panels to be reorganized, terminology to relearn, and a few add-ons to install. Without the course I would have torn out my beard some time ago.
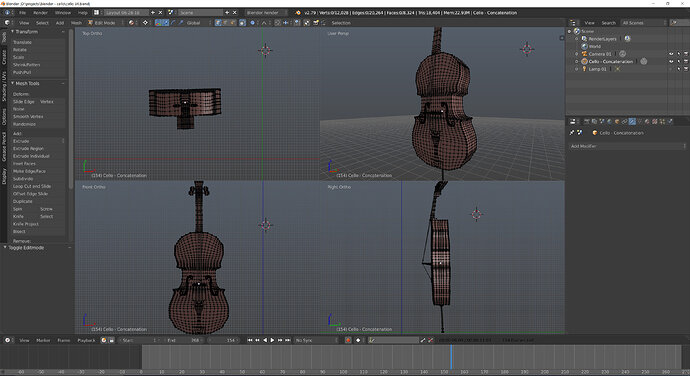
My first model is this cello. I’ve been dividing it up so it’s fairly high-poly now, but the lower poly version is saved and looks decent as well. Now I have to tackle how Blender handles materials, unwrapping, and such.
Given the interface for modeling, I am not optimistic, but I am hopeful. 

