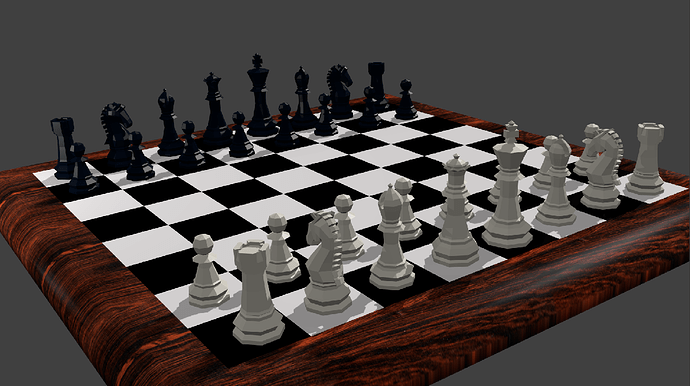
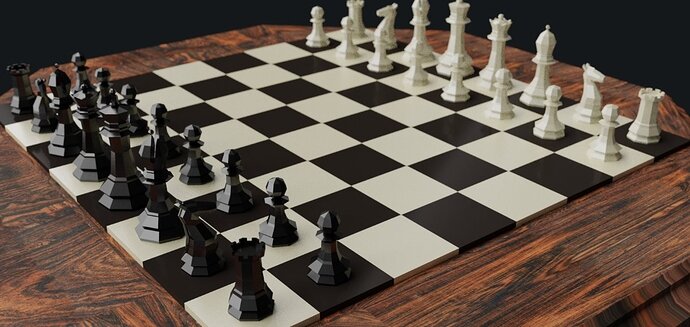
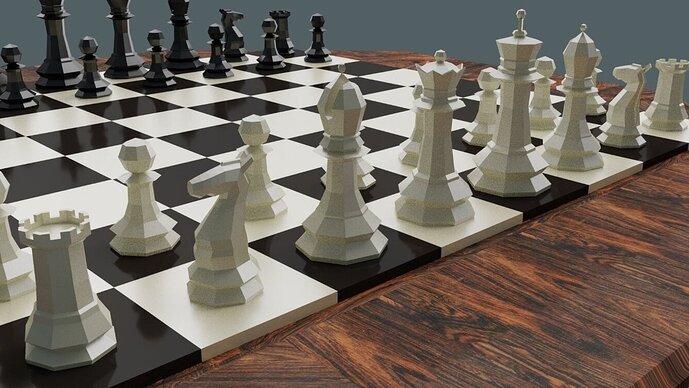
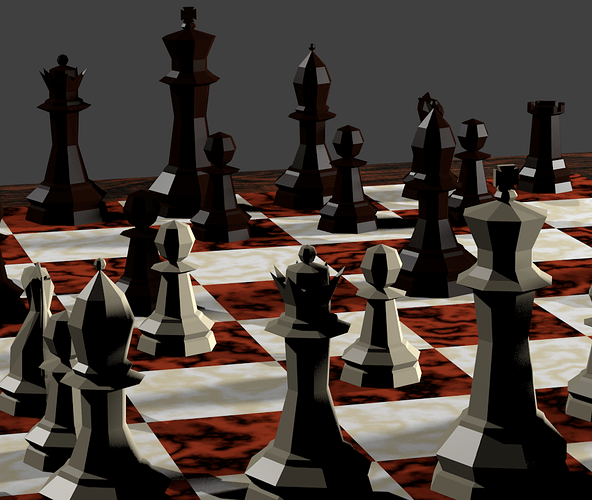
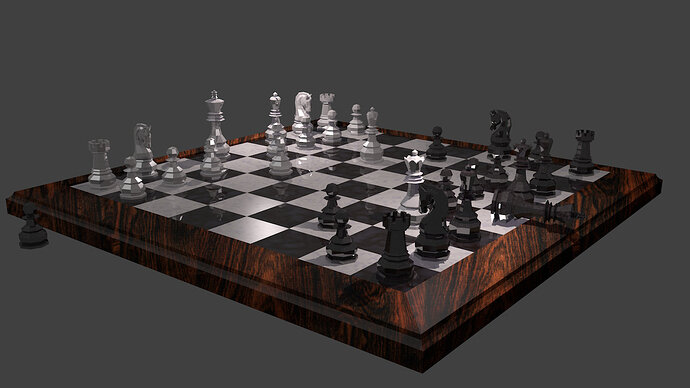
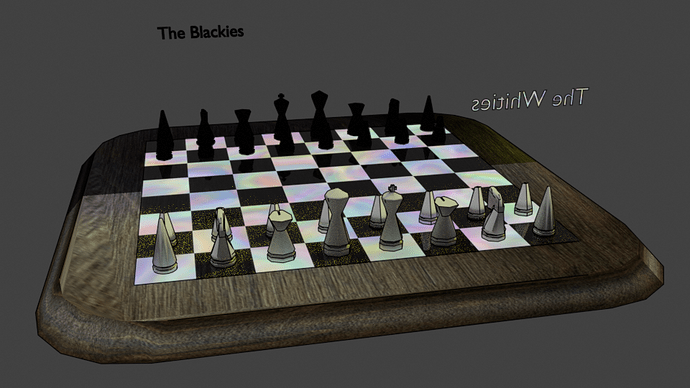
I was very tempted to keep playing with textures and lights etc, but eventually decided to keep it simple. Some really cool scenes on here!
It’s good to see so many different executions of the same idea, good work everyone.
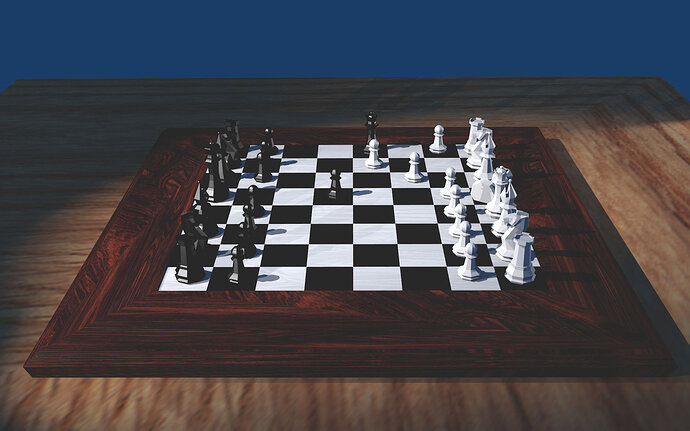
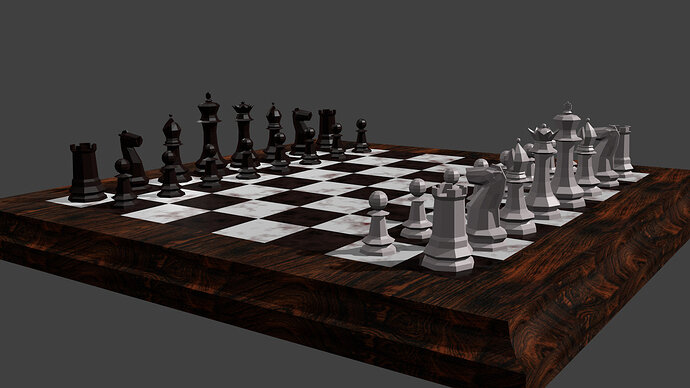
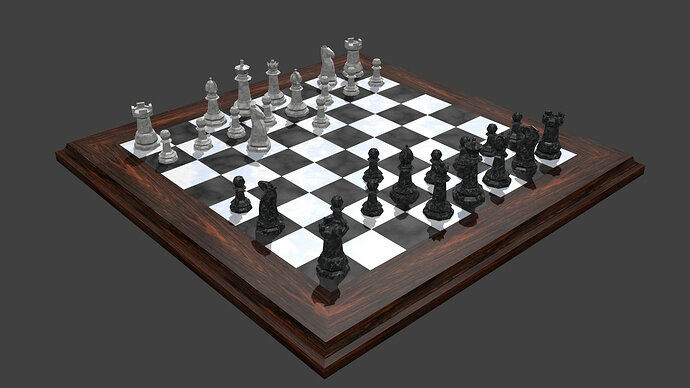
Here is my board (using cycles), I didn’t want to disorganize the distribution.
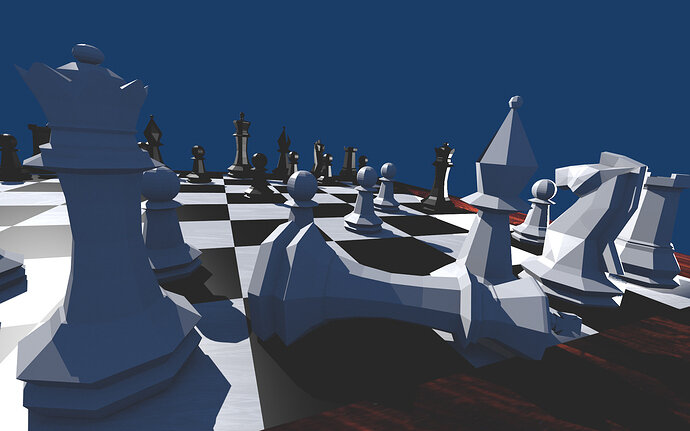
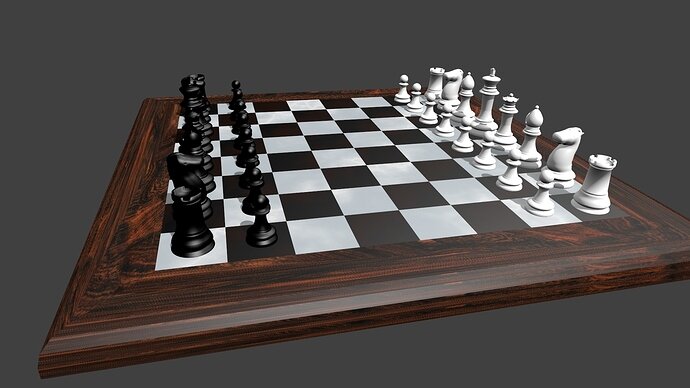
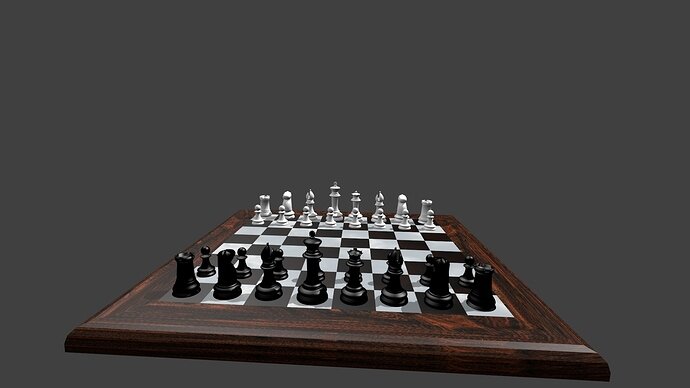
My finished chess set! All about those Camera angles 
-
Ready for War
-
Power Couple
-
‘Rotated’ axis of power.
-
Fight!
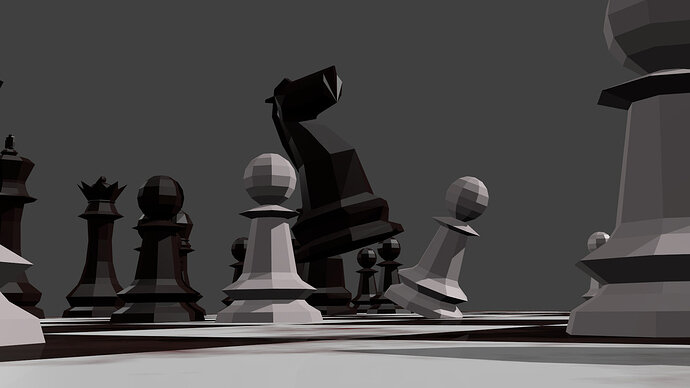
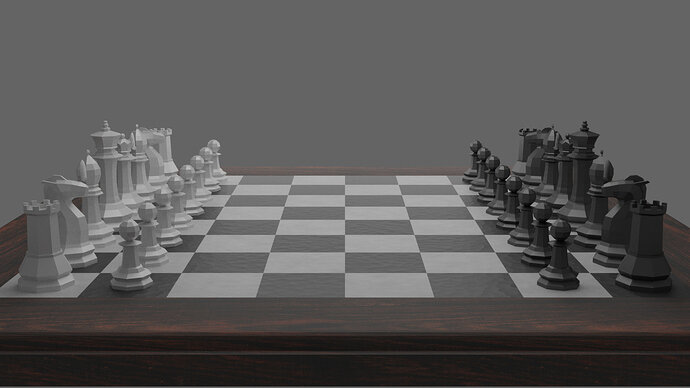
Some amazing work from everyone on this page. What a fun class. This was a great way to learn. The only problem I had was during rendering, I would love to have some depth of field and some blurred images in the background… I couldn’t seem to get it to work though. Oh well. Another day. If anyone knows how to do this, let me know!
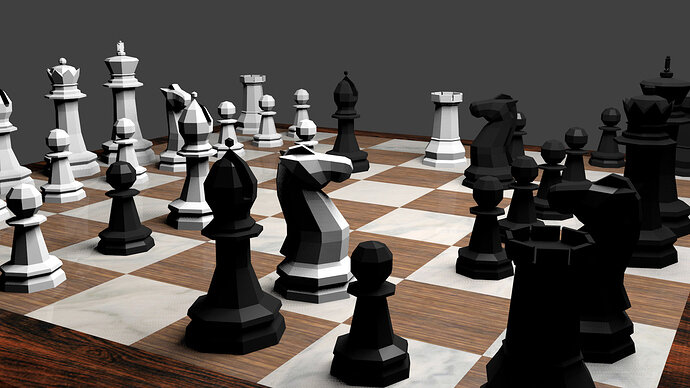
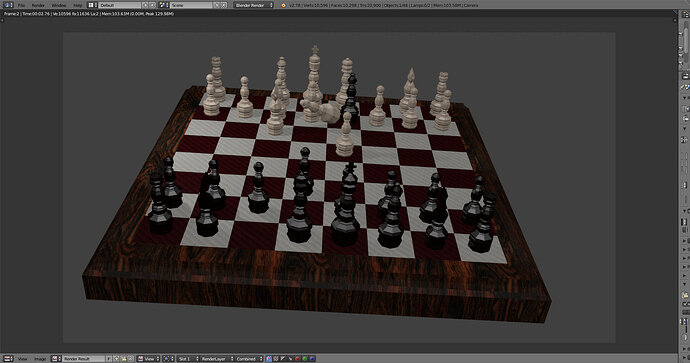
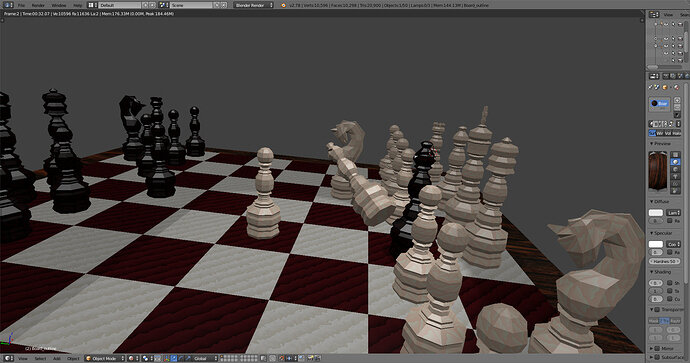
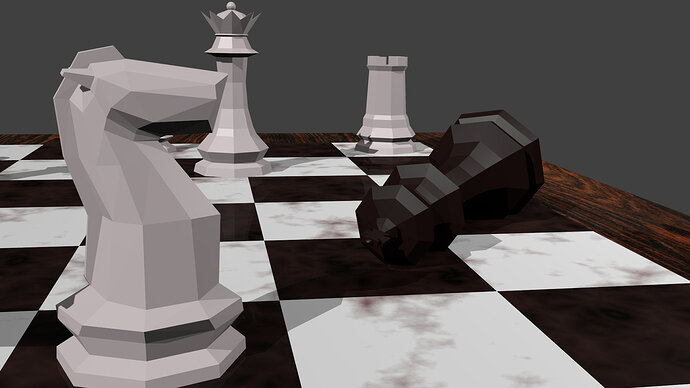
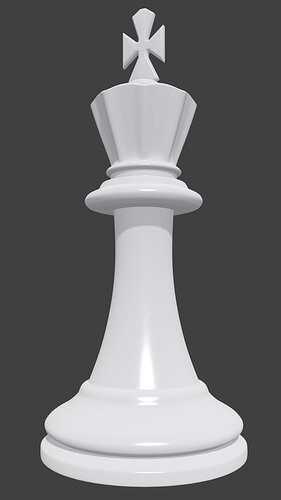
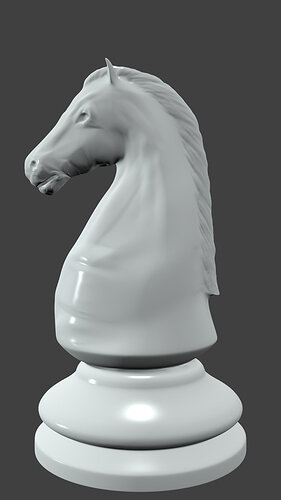
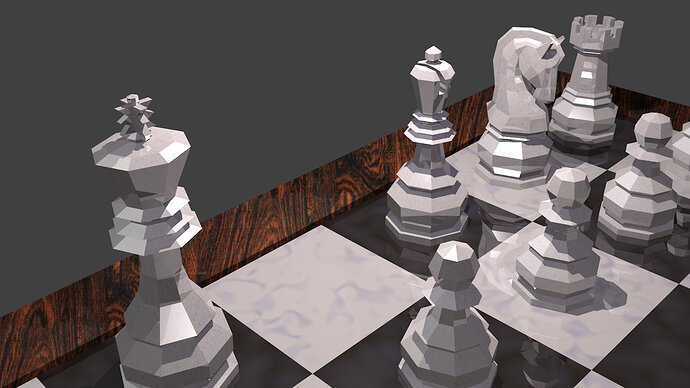
Hi there! Here is my final chess. The Hardest thing to me was to make planar all the square faces of the knight!
aWould you be willing to show me the mesh for you’re knight? I couldn’t get my knight to have all planar faces… I gave up. I’m literally the post above you. lol. But I do like how my knight looks, but I couldn’t make it planar, and some spots are obvious. I love the texturing you did on you’re pieces… I didn’t think to do that. It looks awesome!
Low Poly Knight 02.blend (435.4 KB)
That is my knight if you want to see the actual blend file. I think it looks decent… and advice would be appreciated though. Thanks!
Yes, of course! Here I atatch the blend file.
Yes… it isn’t easy. I moved lots of vertexs of several faces… (sometimes I select the vertex and use the the Normal selection instead of Global) and because of that the final mesh ended a bit distorted. The texture I used hide this “wierd” mesh.
I’ve made them planar up to 1°, so… there are a few triangles…
I think using another blender tool like a “Skin Modifier” could help to avoid this problem, but I didn’t test it yet (You could search the video “How to Create a Forest in Blender : Custom Trees - 1 of 6” on yotube, if you want to know what I’m thinking)
(I had accidentally distortion the mesh of the base  )
)
And thank you very much for the review! For the texturing I used Uv coordinates with Flat Projection and I did the UV for all pieces. To do that select all the mesh in EditorMode then press “U” (UvMapping menu), “Smart UV Project” and enter. But for the horse and the rock I made the seams by hand (selecting the edges and press “Ctrl+E”, “Mark seam”) after that do the comon Unwraped (Select all with “A”, “U”, “Unwrap”).
To get the image, I downloaded from a “free textures web”, so I select the “Image or Movie” type texture option of the texture panel and open that image.
I hope I was clear, and I really like your Chess! Specially the texture of the white chess board squares =)
See you later!
Knight [LP].blend (434.4 KB)
Thanks so much for sharing that info. It’s very impressive. The UV unwrapping is a very complicated process. That’s awesome that you know how to do it. What do you plan to do with modeling when you finish the course?
Oooh I love the cracked texture on your chessboard! Especially on the tiles/checkers 
Queen’s quick checkmate!
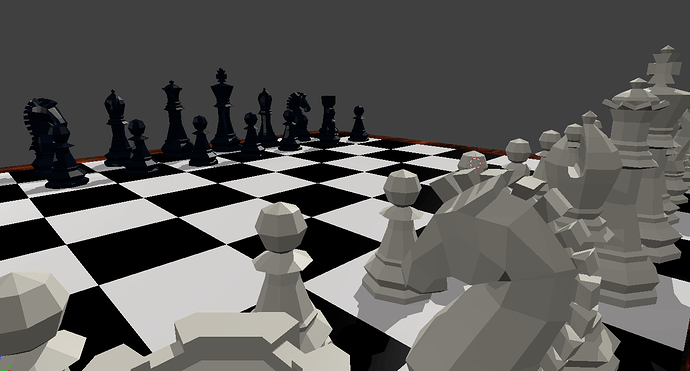
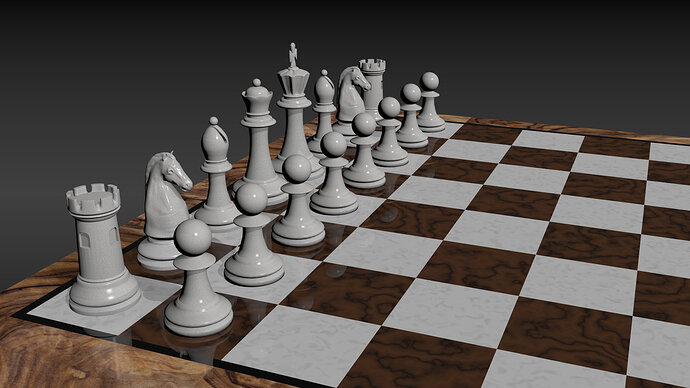
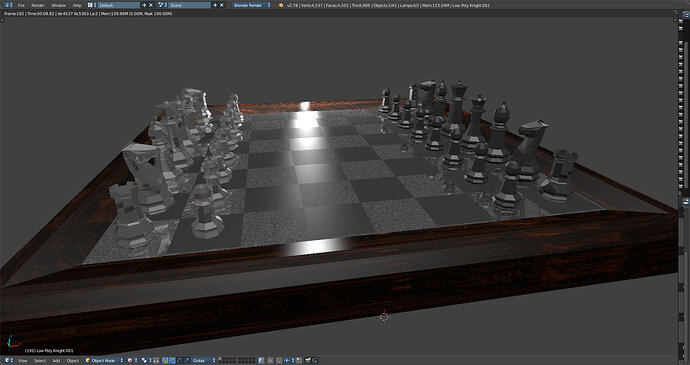
Here’s my LP Chess Set! Ah what fun to learn & see everyone’s creations! I really want to invest more time learning about lighting a scene nicely, though I am happy with how this turned out 
Finished my Chess Board! Since I already worked with Cycles before it’s done in there.
This was a really nice exercise for modeling since I never did a low poly render before.

