Feedback to my very first own object :-)

Hello all,
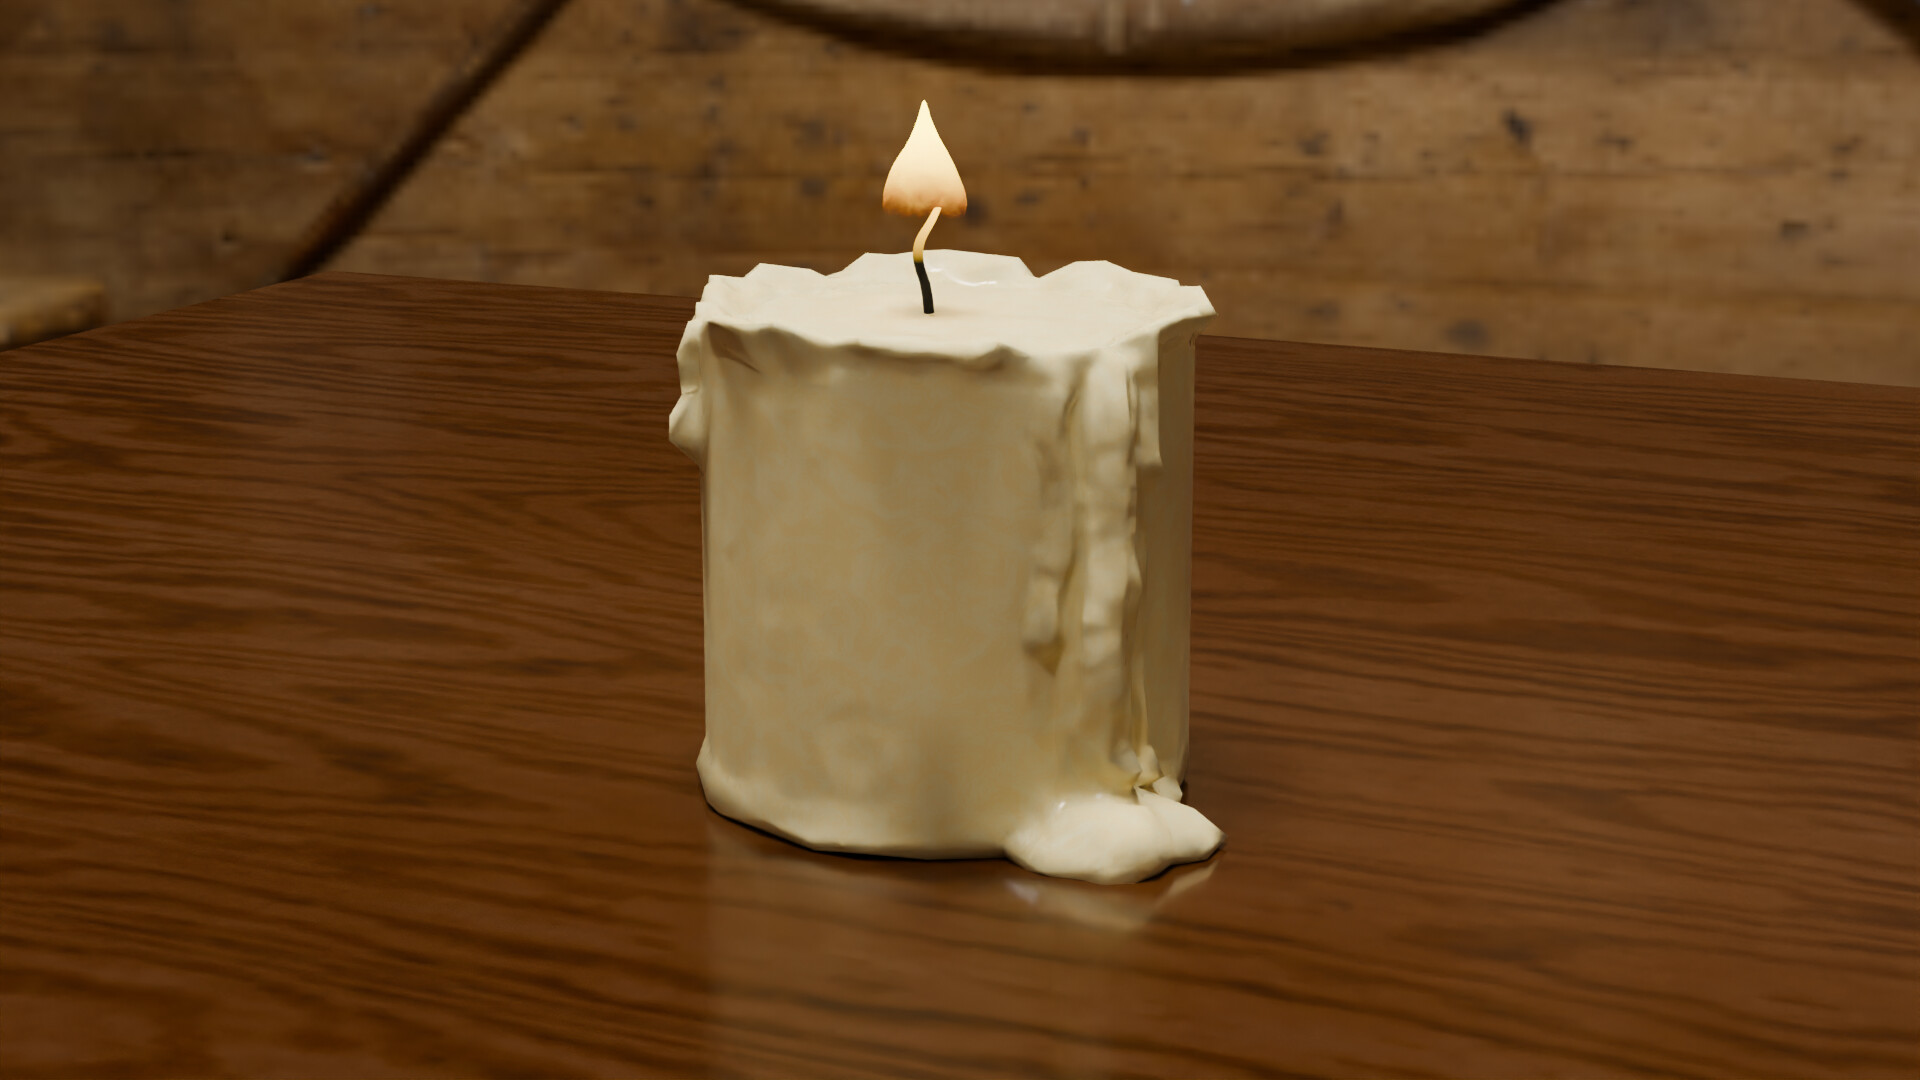
I want to ask you about a small piece of feedback on my candle.

Besides the background and the table (both are textures from texture.com) I did all by myself.
I first created a high-poly object, baked the normal and the cavity and created then a low-poly object.
I created it as a low-poly object since I do not have a really strong laptop. Just a simple Asus Zenbook. Afterwards, for the candle material, I used noise textures to get this mixture of colours.
I also animated the flame but I haven´t finished rendering it yet.

My question is, what could I do that it looks more professional?
Thank you all for your feedback :slight_smile:

Greetings
Sebastian


4 Likes

Low poly objects are needed for animation, like in game usage.
To render just one frame going from high to low is a lot of extra work.
Your last image shows a low poly version where you probably forget to add a subdivision modifier.

With Blender compositor, and Blender scene configurations. You can can render the candle in high poly, are reuse it to animate in the flame animation. There are many optimization possibilities in Blender (like baking). But it takes time and understanding of Blender.

Some people think you need a high-end system to do 3D stuff. But that is not entirely true!. Be clever with the resources you have. My laptop is 12 year old. And I do everything with it. If you like animation like me, learn more about EEVEE.

3 Likes

Hello FedPete,
thank you very much for your answer.
You are right, I didn´t use the subdivision modifier.
But it looks like this because I used the decimate modifier to reduce the faces. I thought this would help to render it easier.

I will consider your tip to learn more about EEVEE and how to use Blender Compositor and Scene configuration.
It´s good to know that a high-end system is not necessary.

Thank you very much :slight_smile:

3 Likes

If you do cycle renders, I usually lower my Render max samples to anywhere between 15-50 depending on the project. I have waited for the +100 sample renders but found the wait time just wasn’t worth it for small projects that are for personal growth rather than for a portfolio piece or clients in the future.
Eevee has become so powerful with the right adjustments though that it’s definitely worth learning that and seeing how it compares for the projects you want to do in the future.

My only other tip would be consider trying out the Depth of field to get the background more blurry/unfocused. When you begin playing with multiple items in a scene or larger scenes it’ll make a huge difference in the professional look. Great job so far, I can’t wait to see what else you’ll create!

3 Likes

Hi HobbyPirates,
Sorry for my late answer. I was quite busy.
That´s a good point to reduce the samples — a constructive tip.

If I understand it correctly, if it would be an object for clients it would be better to have a high number of samples.

The depth of field is an amazing recommendation. Some days ago I saw a short video on how to use it. It is a cool function.

How can I learn more about EEVEE? Do you have any recommendations?

Thank you

2 Likes

By default, EEVEE has turned of a lot of options to increase render speed.
It’s a good thing if you don’t need them. But some of the options will create a better looking scene render.
Shadows are very basic, if you need better results you need to toggle options on (like occlusion) or in crease values (shadow samples, and or shadow details sizes). For this you can reed the manual ofcourse or follow a tutorial on YouTube.

2 Likes

Hi FedPete,
thank you.
I will look for some tutorials for EEVEE :slight_smile:

2 Likes

Hey Sebas,

Eevee is about to change quite a bit in the new version of Blender 4.2 which is due for reease in the next couple of weeks. Southern Shotty on YouTube just did a short video on the new features.

3 Likes

Privacy & Terms