
- I started off deleting one vertex from the corner and resizing the cube by half on Z. I then extruded it back up to give the edges/faces in the middle. (Normally I would have just loop-cut, but the challenge was to use extrude).
- For the camera angle, I used an addon “IsoCam” for simplicity but the same result can be gotten easily by setting a normal camera to Orthographic and moving it to look down at the corner from a roughly 45-degree angle.
- I then extruded out the lower facings to give those platforms. Since it left the back-face hollow, I selected the edges and Filled them. I did similar to add that slight thickness to the outer walls.
- For the spikes I just used a cone with 8ish divisions. I used Linked-Duplication (Alt-D) instead of the normal duplication (Shift-D) in case I needed to edit it later I wouldn’t have to edit them all (or re-duplicate everything). Later on I decided to make them look more like boody spikes so I extruded the bottom out and applied a red material to the top part. The Linked-Duplication I did before really saved me some headaches here. I would have gone a bit more detailed, but the idea of this challenge was to just get the ideas down, not go for realism or other high details.
- For the “doors” leading in/out of the chamber, I wanted to keep with the low poly old game feel so I just added a cube and colored it pure black. For the one closer to the camera, I extruded it out the back and created a wedge out of it.
- The “torch” is just a cube with a secondary small extrusion out of the tip. Once I got a color I liked, I applied it to the emission color as well and put the emission strength to 10 just to give it a little brightness.
- The light itself, was a normal point light I placed overlapping the glowy bit of the torch using a torch-like color (Hex #FF7C09 for the curious)
- For lighting the outside a bit, instead of using the environment setting (it would light the interior and remove the black background) I just added 2 extra point lights and arranged them similarly to a 3-point lighting set up covered earlier in this course. I chose a red-orange color to maintain the ominous torch-lit feel.
…and then I remembered the challenge was to make a BUILDING, not a scene. lol
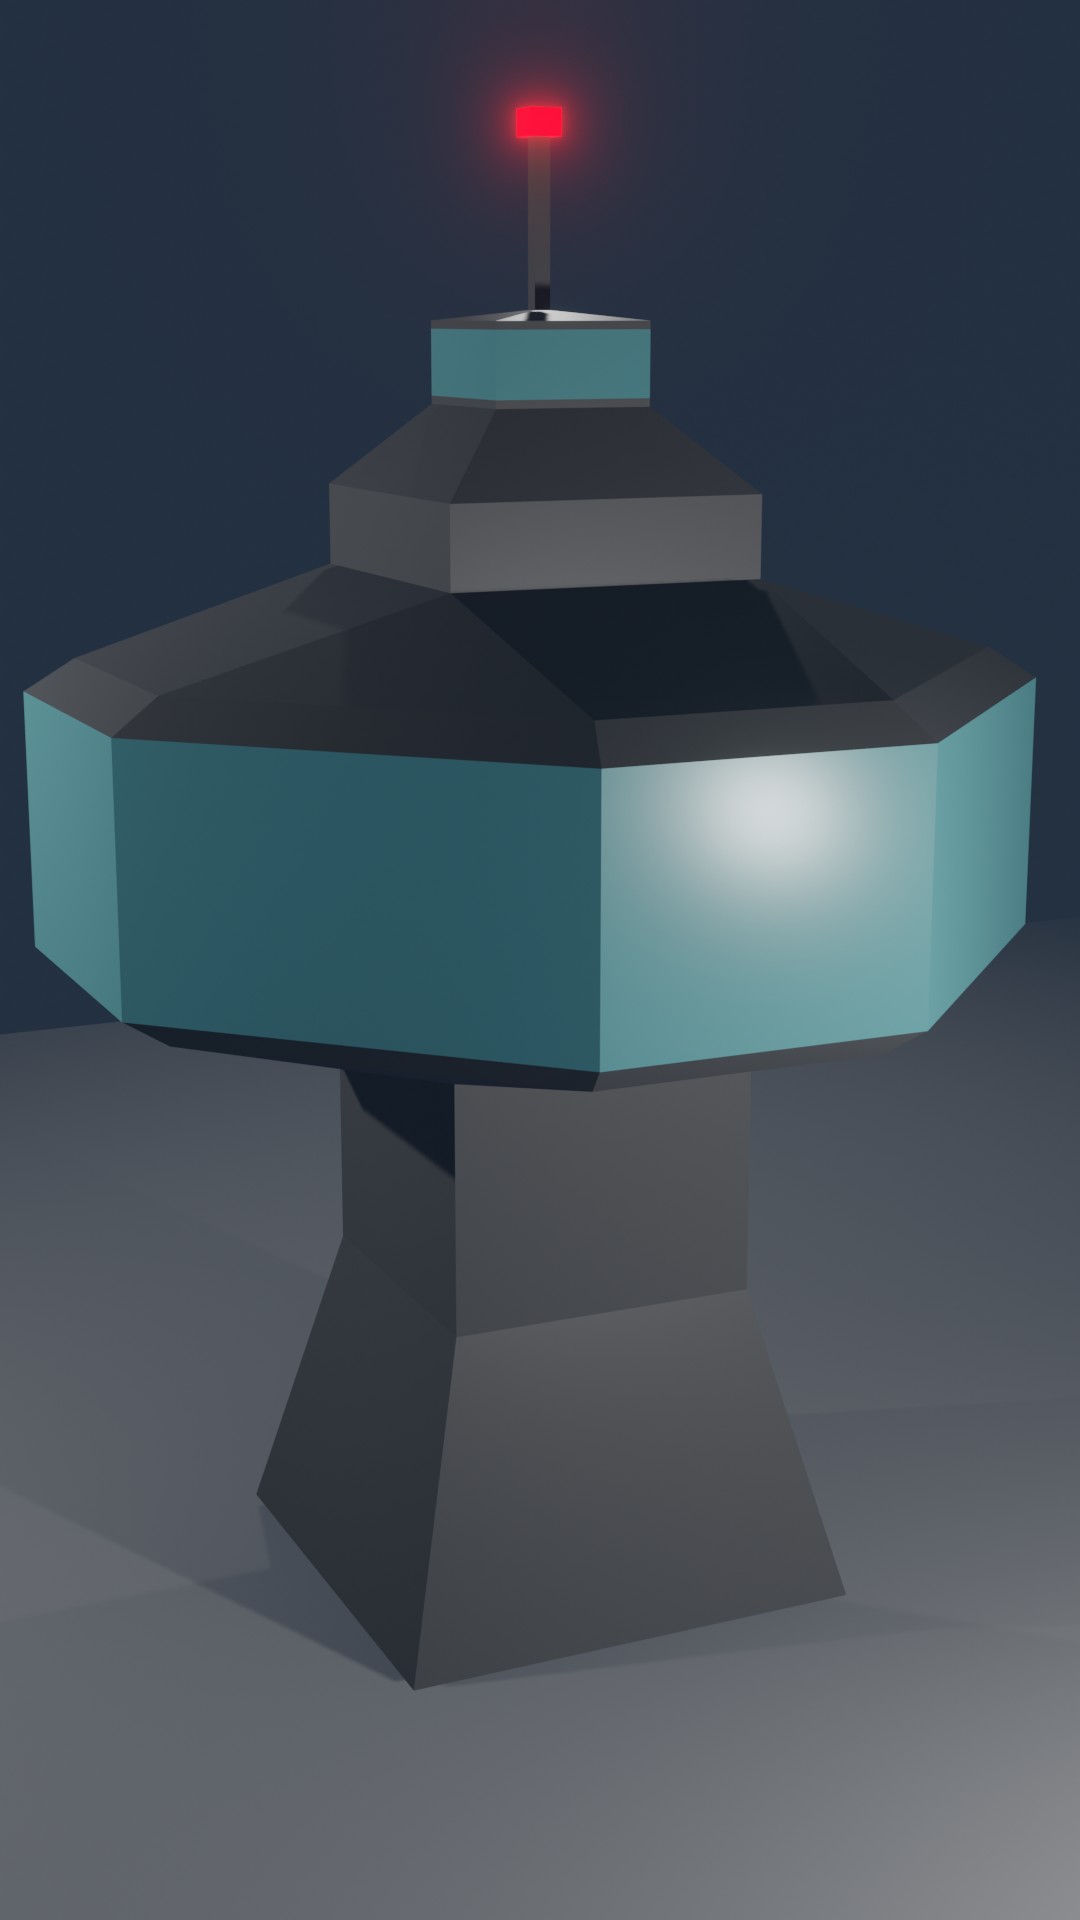
- First I extruded the default cube up a few times to give me extra edges. I wasn’t sure what I was going for originally except a taller building. Originally the third segment up just had 4 cubes sticking out the sides. Later I filled the edges and some other edge selection/resizing stuff to give it that rounded look. Using X-Ray I was able to select/delete the excess facings left on the inside.
- To get that inset lip and the windows, I pressed E to extrude, then canceled it (right click) and resized it inward on the Z. This could be similarly accomplished with the Inset tool ( i ). This technique was used heavily after the initial few extrusions.
- I applied a bluish-green color to simulate windows. Also played with the roughness setting to give it a bit of shiney reflective property.
- The red light at the top is just a red emission with a strength of 10. Eevee’s “Bloom” setting enabled gave it the little glow.
- Changed the environment to a blue and dropped it’s value down so it looked a bit nicer than the default grey, but didn’t overpower the lighting. Likewise, I just added a grey plane for a ‘floor’.
- For actual lighting, I just applied a fairly standard three-point lighting set up.
Overall had some fun with this challenge and was nice practice. I can definitely see using that tower in later low-poly city designs and the spike-room was pretty interesting to build almost exclusively from the default-cube using only extrusions and basic movements.
If I were to revisit these, I’d add more detailed texturing probably using some UV mapping and some smaller details to make it look less ‘perfect’, especially in the spike room where I feel it should have more wear and tear of ancient ruins than clean hard angles. Overall though I’m actually really happy with them as is 


