I just don’t know how to color the faces individually.
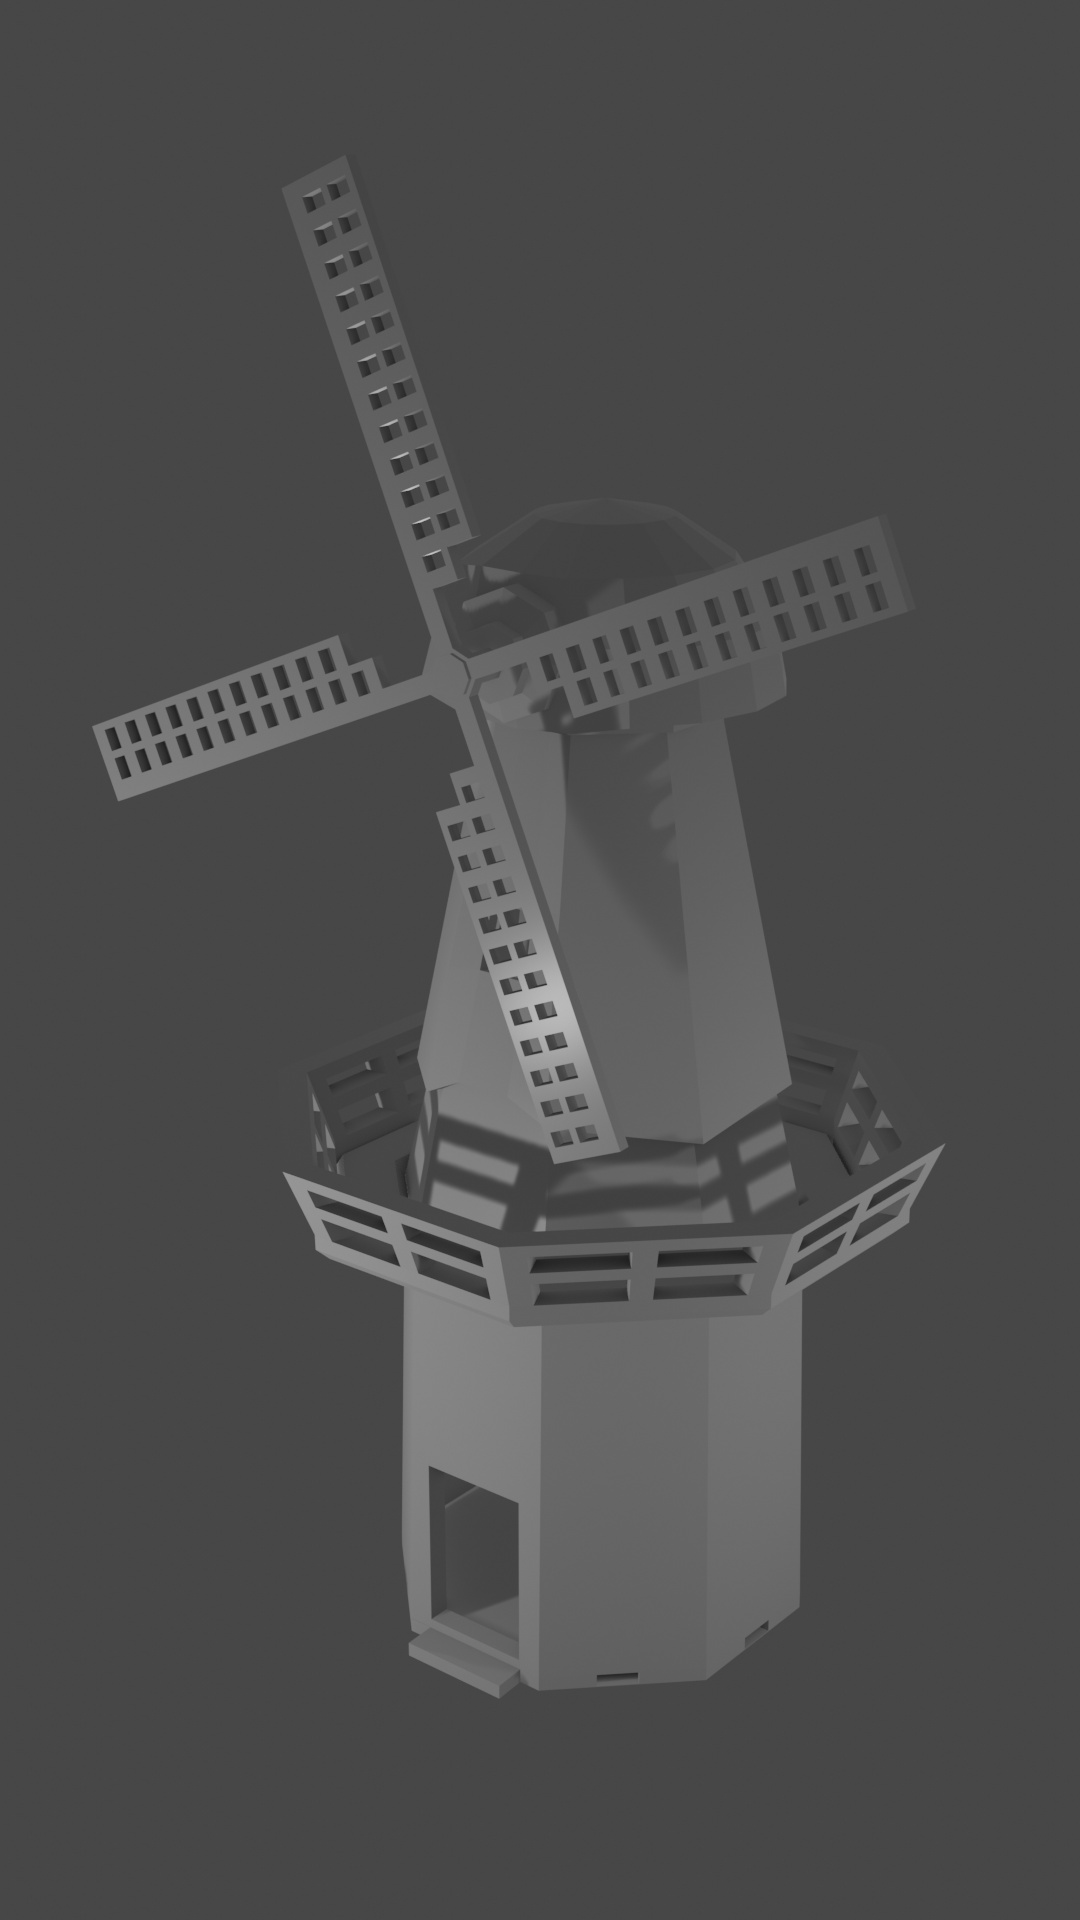
I hope it looks like a Windmill.

Nice Job! To color individual faces, you first go into edited more, then you select the faces you want to color, go to materials tab and hit the assign button with the material you want to assign it with! 

Oh!
Thank you very much!
I’m painting and then I’ll update here.
I don’t know what the problem is exactly. Which faces do you want to have what material? Looking good so far!
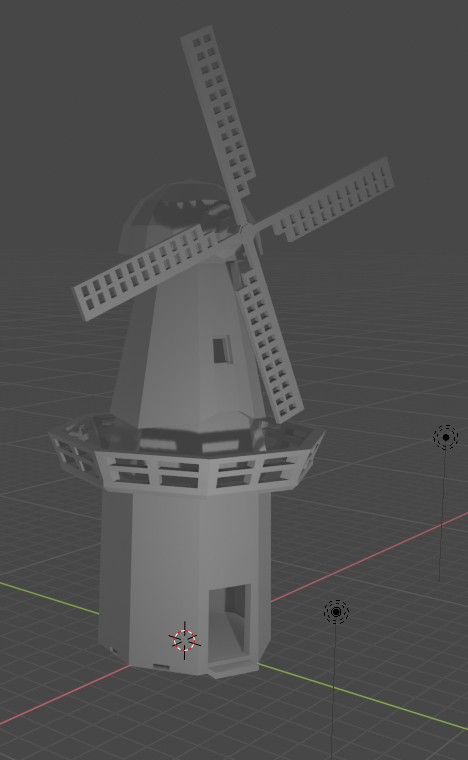
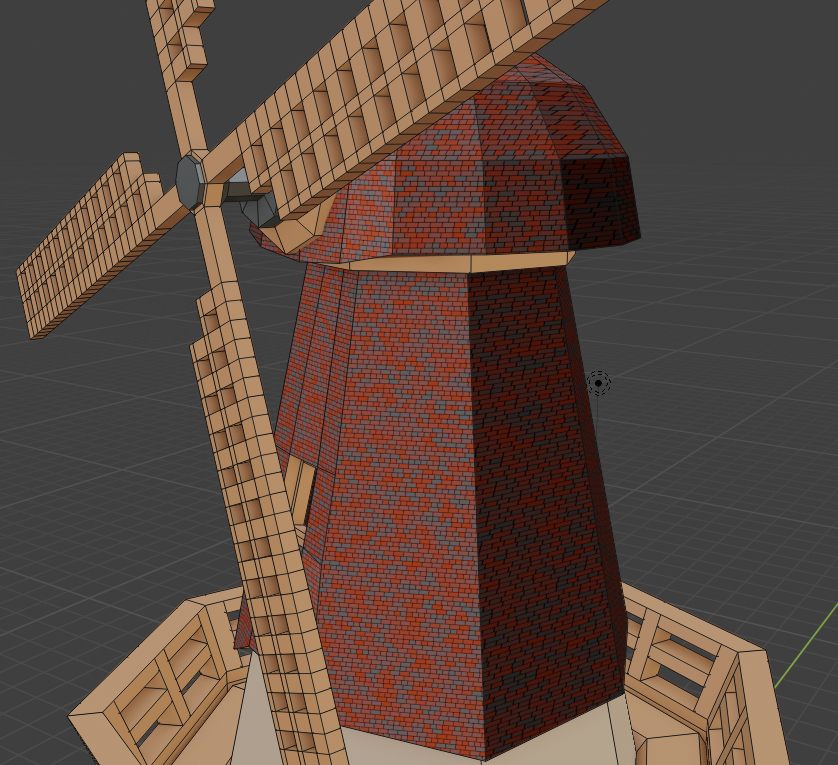
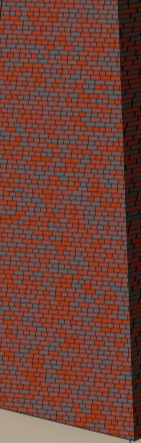
Look, they are distorted, and all faces should be like the second photo below.

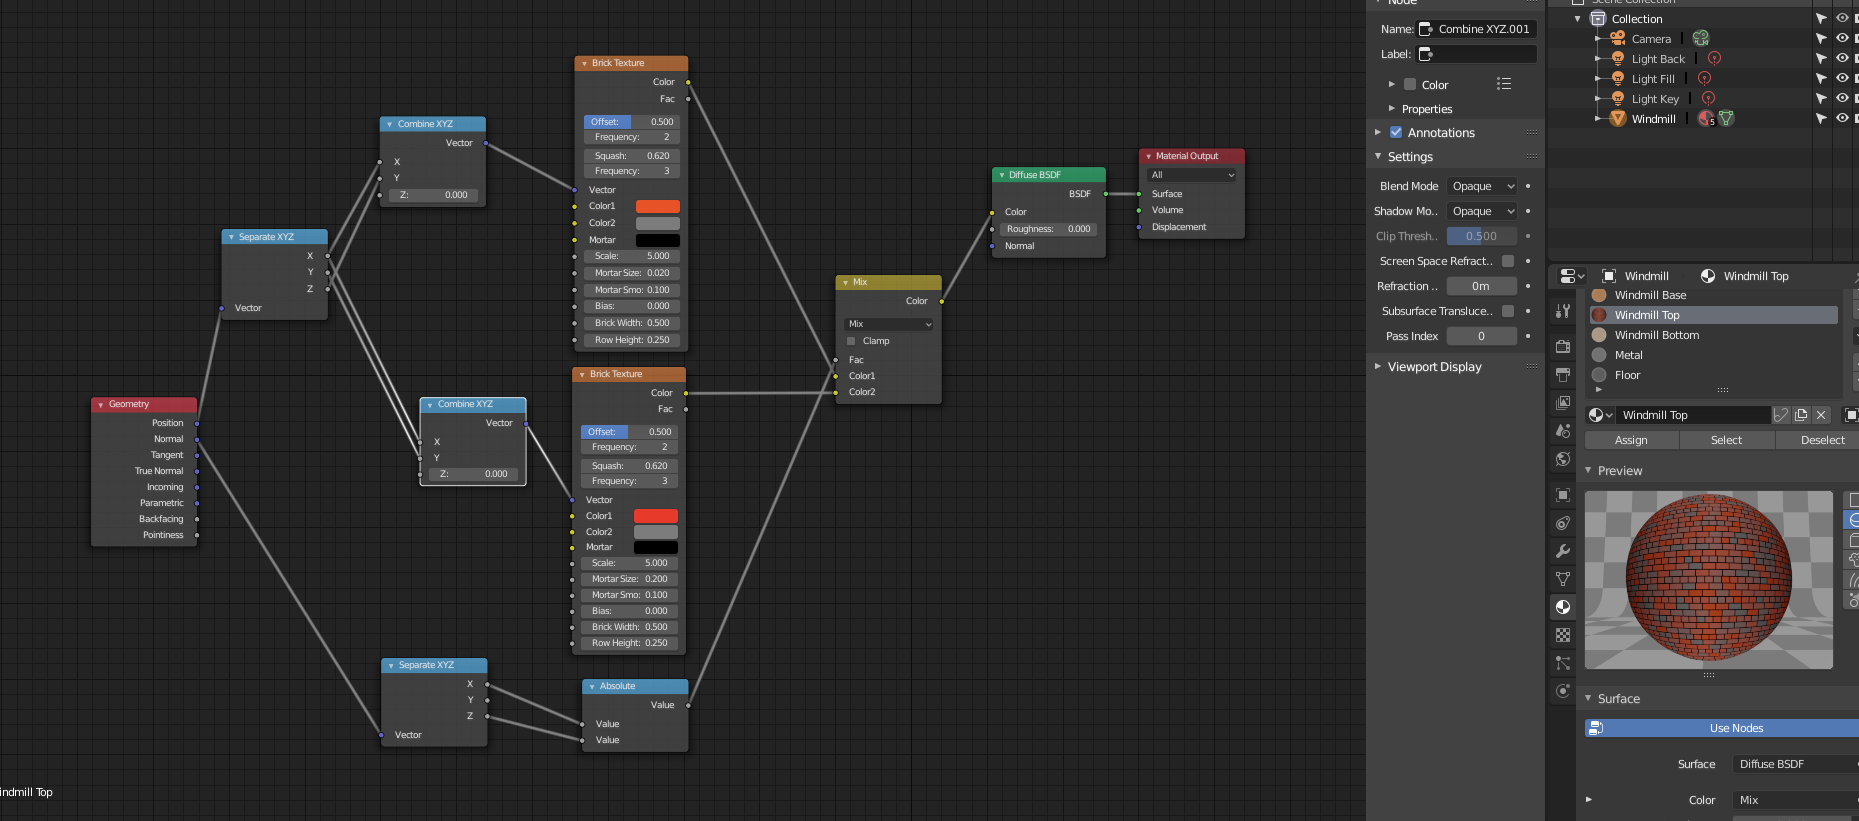
I see now. Have you UV unwrapped your model yet? When using textures, you need to unwrap it because textures are a little different from just materials. The texture needs info on where to be laid onto the model whereas a material just knows how to be shows. 
For a quick UV unwrap, just go to the UV editing tab. Select you whole model in edited mode (I think) and press U. A small window will pop up and press Smart UV Project and your done.
You can do some research on UV mapping for blender if you didn’t understand me well enough or just research UV mapping because it can get complicated for more complex thing but otherwise, what I said should work! 
I think if you look closely, you will realize there is some distortion in all of your faces. In this instance, you will need to do a UV Unwrap to place the texture properly. Michael will cover doing that later in the course so you could move ahead knowing that you can come back to fix it once you have the skills, or you can spend the time learning all the skills about UV Unwrapping. Unfortunately, I think your model is a bit too complex to get a good unwrap from “Smart Project”.
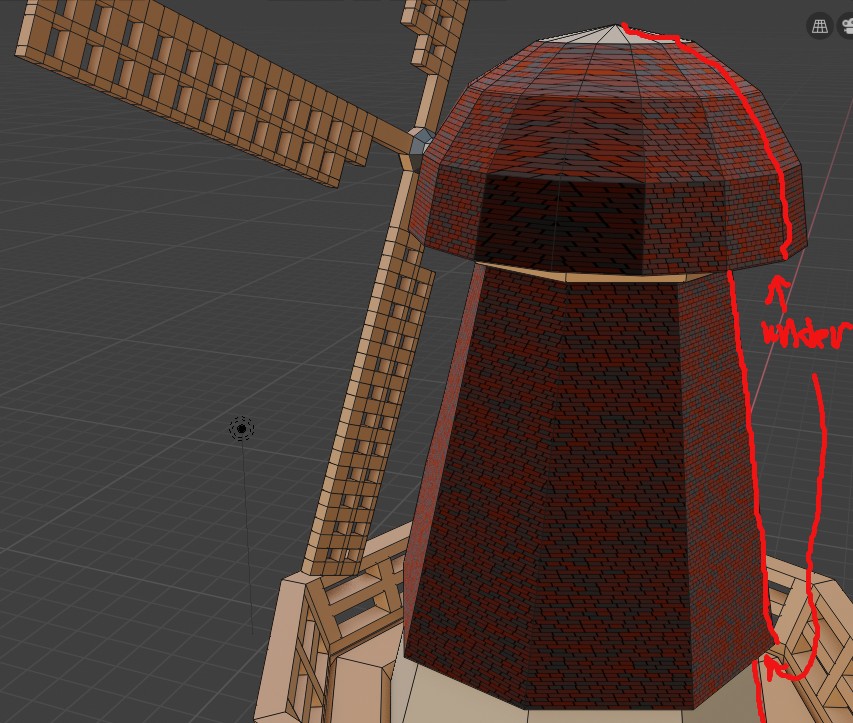
You could separate the windmill spinning part from the body then smart UV project! You could also mark a seam along the aside of the body after separating the windmill spinning part from the body. Here’s where to mark the seam in red:
To mark a seam, select the edges you want to mark (the edge I highlighted in red) and press Ctrl + E! Hope this helps. 
Well guys… I’m really thankful for all your help and attention, but I’m not able to understand you right now.
I’ll keep moving through the course and in the future I’ll return to fix it.
I’m sorry to have take you time.
It’s fine! I took my time to do this, so don’t feel bad! Hope you learn how to fix it.