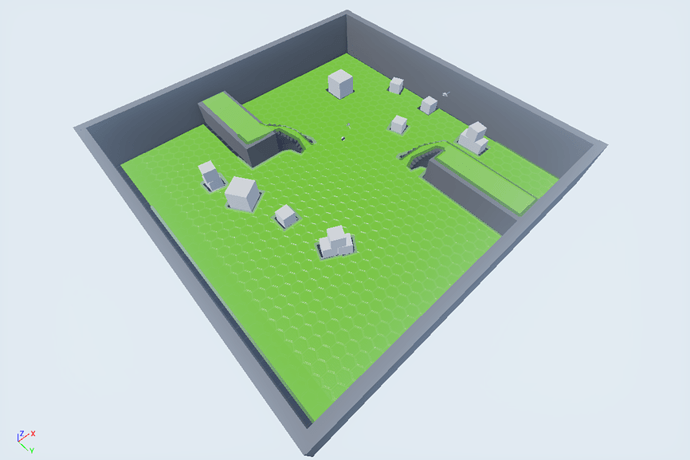
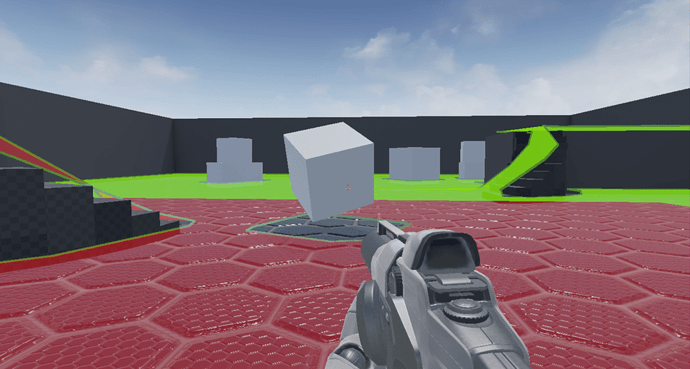
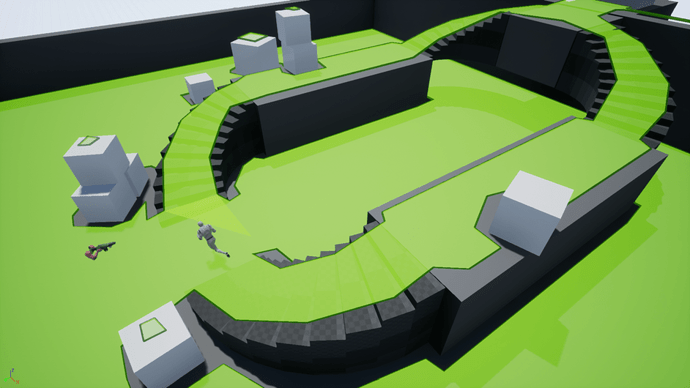
Here is a screenshot of the navmesh I’ve generated. I like the stairs idea so I’ve doubled up.
If you’re as into flipping switches as I am, you’ll also want to set the navmesh so that it automatically updates when the boxes are moved in-game. This is a lot easier than it sounds:
- Find the cube asset that the white “boxes” are using. For me this was
Geometry/Meshes/1M_Cube.uasset. - Create a clone of this asset so that it can be safely modified without changing unrelated actors.
- Open the cloned asset and in the details tab of the asset editor find the “Navigation” section. In this section tick the
Is Dynamic Obstaclecheckbox, and save the asset. - Flip back to the level and change each box so that it uses the new (cloned) dynamic box asset. This is only a part of the solution, but you should already notice the small bits of navmesh data disappear from the boxes.
- Open the project settings (
Edit>Project Settings). Under the “Engine” section (on the left), find the “Navigation Mesh” settings. - At the bottom of this list there should be a “Runtime” section. For the
Runtime Generationoption, selectDynamic Modifiers Only. This offers a compromise in terms of performance, in that, only moving the boxes will trigger a navmesh update. - Run your game, and in the console (the in-game console that opens with the tilde (~) key) type in the
show Navigationcommand. The navmesh should be shown in game. Moving any of the boxes should automatically update the navmesh.
Note, I haven’t finished the section so I don’t know if this is covered in later lessons. It’s an awesome feature though, and I thought it would cool to include it at the start.


