Duplication - Selection issue (blender)

Hello, I am starting the Blender course. Following everything step by step, I can’t figure out why my duplicated blocks to build the well are not snapping together.

In the video, the teacher select shift+D to duplicate, then I select the 4 blocks to make them rotate but only 1 block rotates, I can’t figure out how to snap the 4 blocks together so they rotate all together.

What am I missing?

Thanks
Bugsy

1 Like

If they are separate objects they all need to be selected to move together.

General Q&A note
Help us all to help you.
Please give full screenshots with any questions. With the relevant panels open.
Also, include the lecture time and name/number that is relevant to the problem/issue.
This can be done by Blender itself, via the ‘Window’ menu bar top left hand side.
On that menu drop down is ‘save screenshot’.
Close ups additionally where they help.

1 Like

It’s difficult to see and understand what’s happening. Rotation behavior depends on many things in Blender. So probably you have switched on/off and option (can happen with hotkeys). Or a different object setup.

See comments NP5.

1 Like

Hi and thank you for your answer.

The lecture is concerning “blender for beginners” and it is the one named “Duplication”. At 11:05 minutes, the teacher duplicates, which I can do, using shift-D. Although when selecting the blocks, I cannot make them move as “one” like him. When selecting multiple blocks, there always only one on a particular color and the others won’t follow.

1 Like

Your bricks will rotate on the average (median) point of the two selected bricks.
That is what you are set for.

Ok that is actually How Mikey does it I see after checking. He then grabs them and places them roughly in the right place. This works and perhaps he though it too early to introduce the proper way I illustrate below.

Create your brick.
Go top view which is proper orthographic.
Move the first brick up a suitable distance away from the centre of the 3D world.
Set the pivot point to the 3D cursor. Red marked top of window on the first image.
If the 3D cursor is not in the world centre for some reason, Shift S, and choose cursor to World Origin.
Shift D duplicate it, R rotate it to the next brick location.
Now you can duplicate the pair and repeat the rotating.
Repeat as often as needed or select the 4 and repeat, as Mikey does.


2 Likes

Thank you for your response. I must admit that I feel embarassed by the fact that it’s not working for me as intended. The fact is by using “R”, it rotates from the center of the world, right? What I am trying to do is to rotate on the “Z” rotation axis only.

I have uploaded a video on Youtube to show you.

Again, sorry to bother with this so simple obstacle and thank you for helping a dumb beginner.

2 Likes

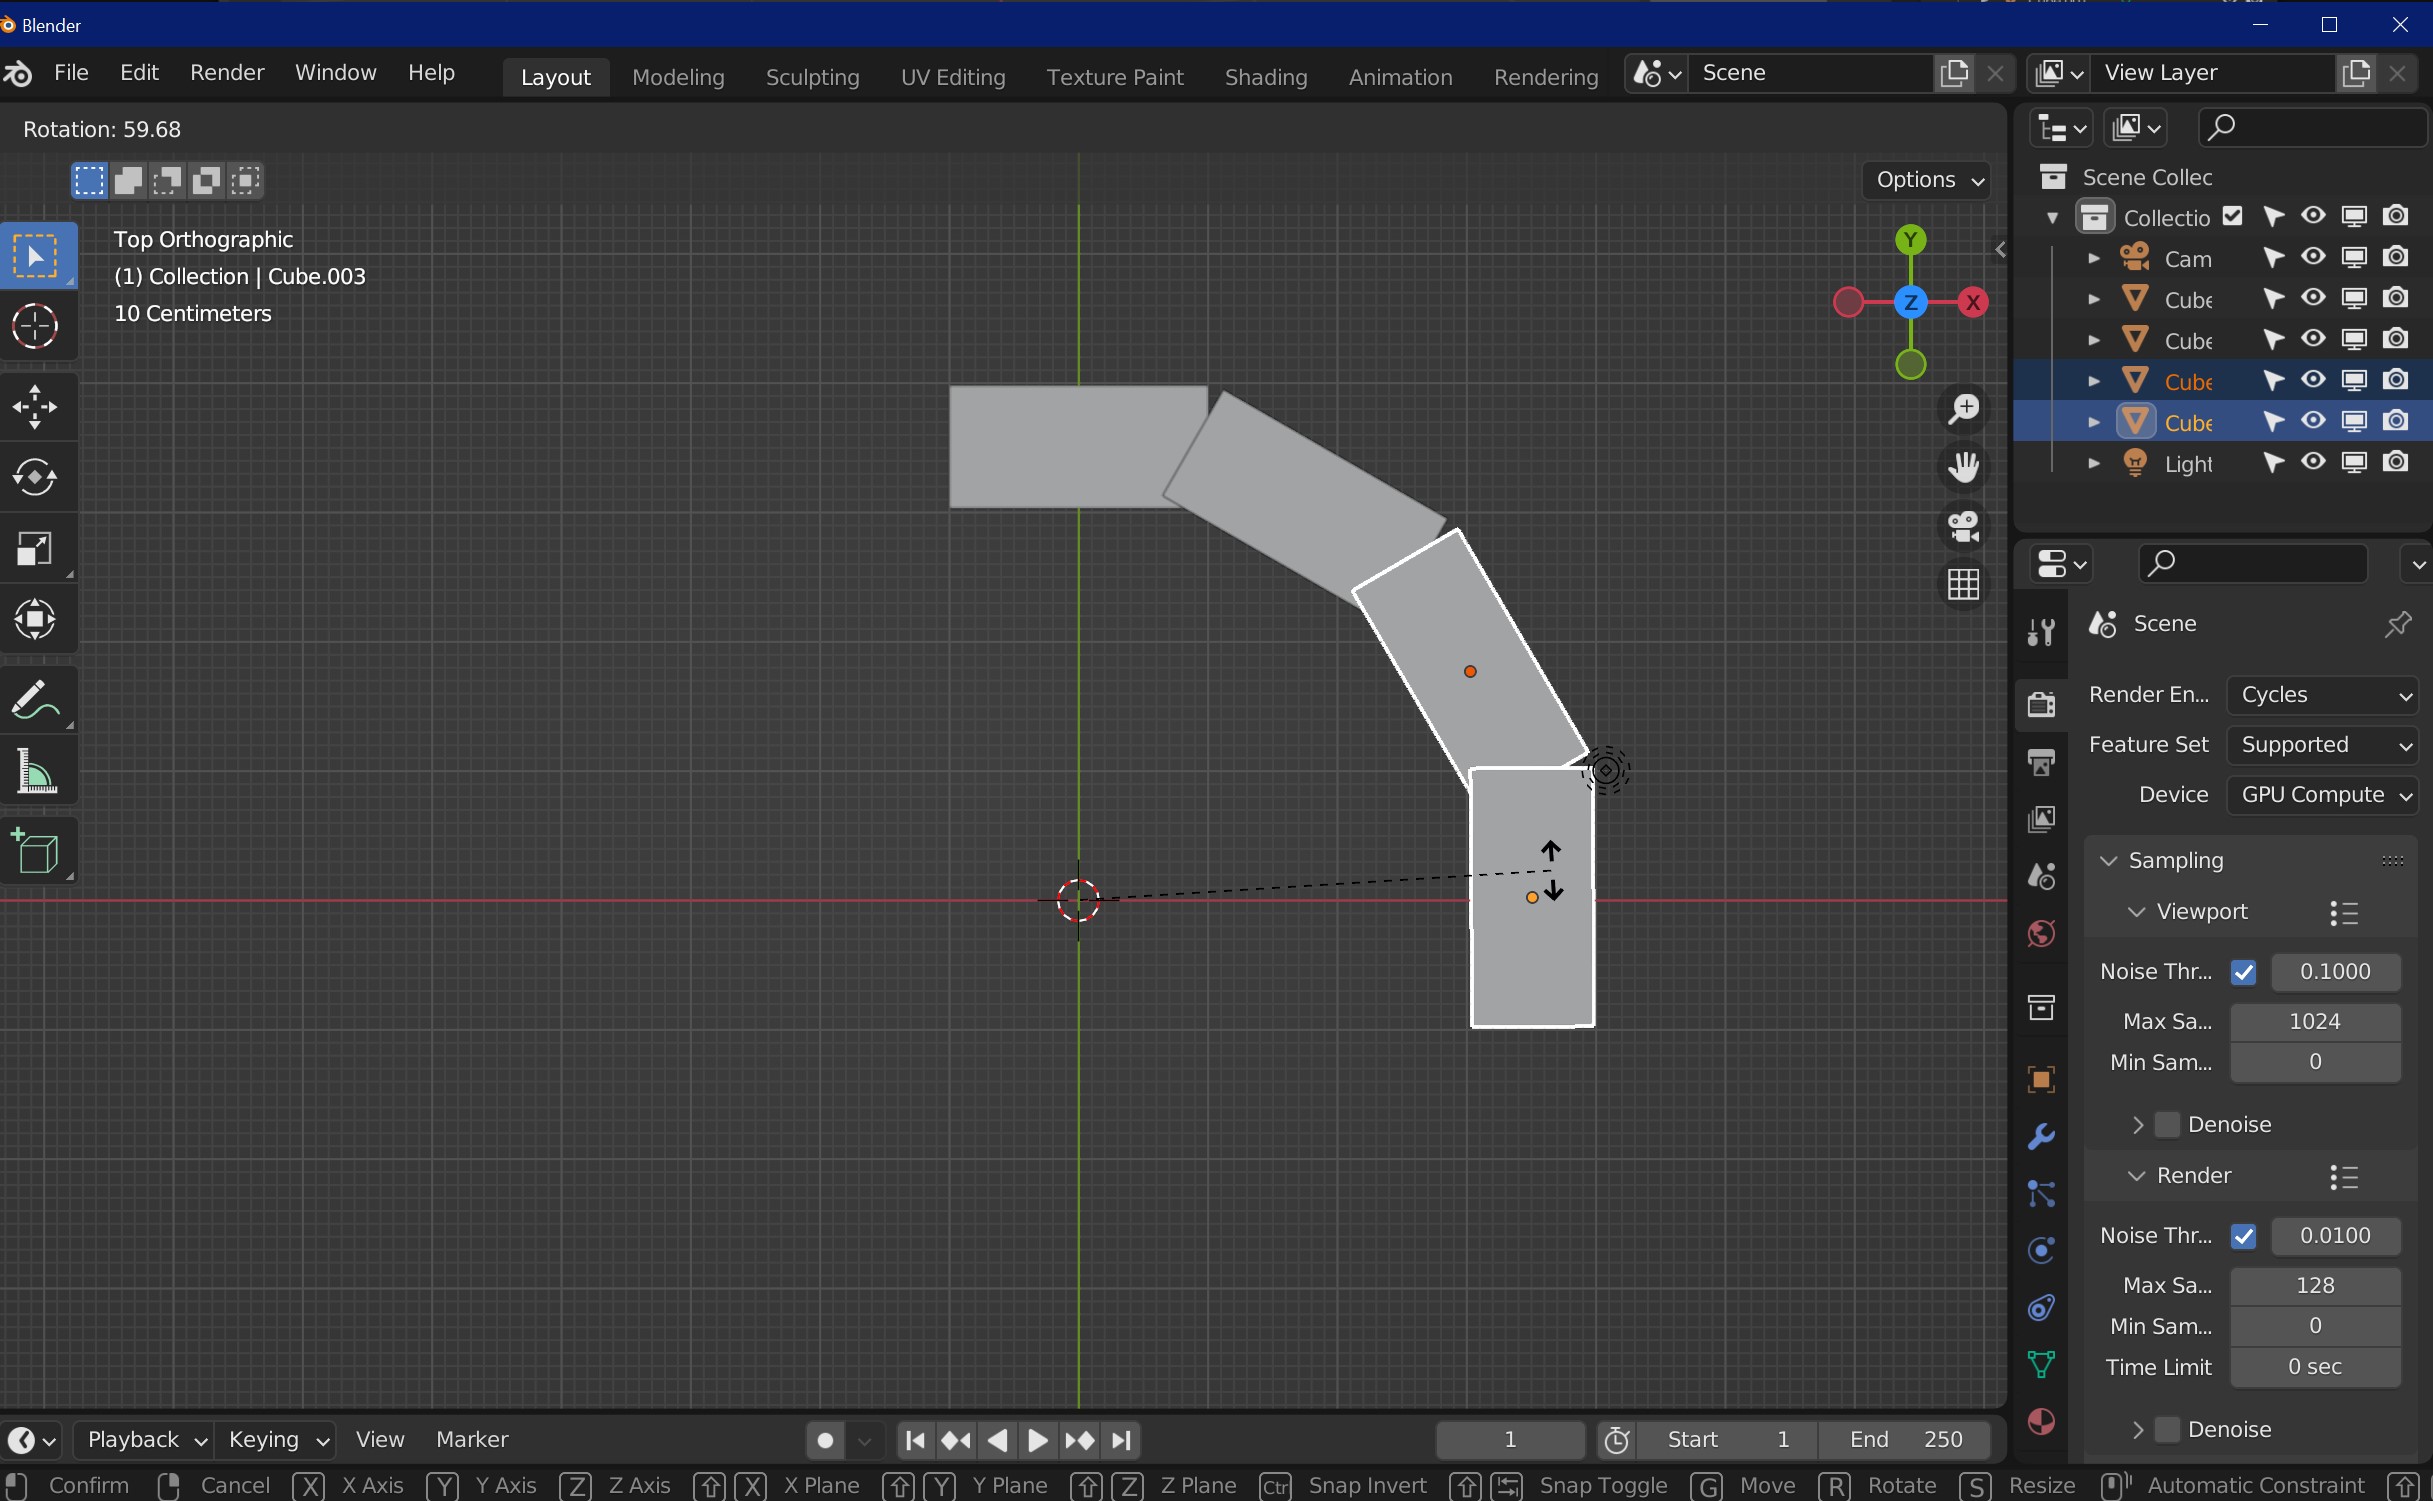
In the video you are inputting the number in the panel manually instead of using the shortcut to rotate your objects. To rotate all of the objects together, you can press these buttons on your keyboard individually, G to grab, R to rotate, and Z for Z-axis, then you can move your mouse to rotate.

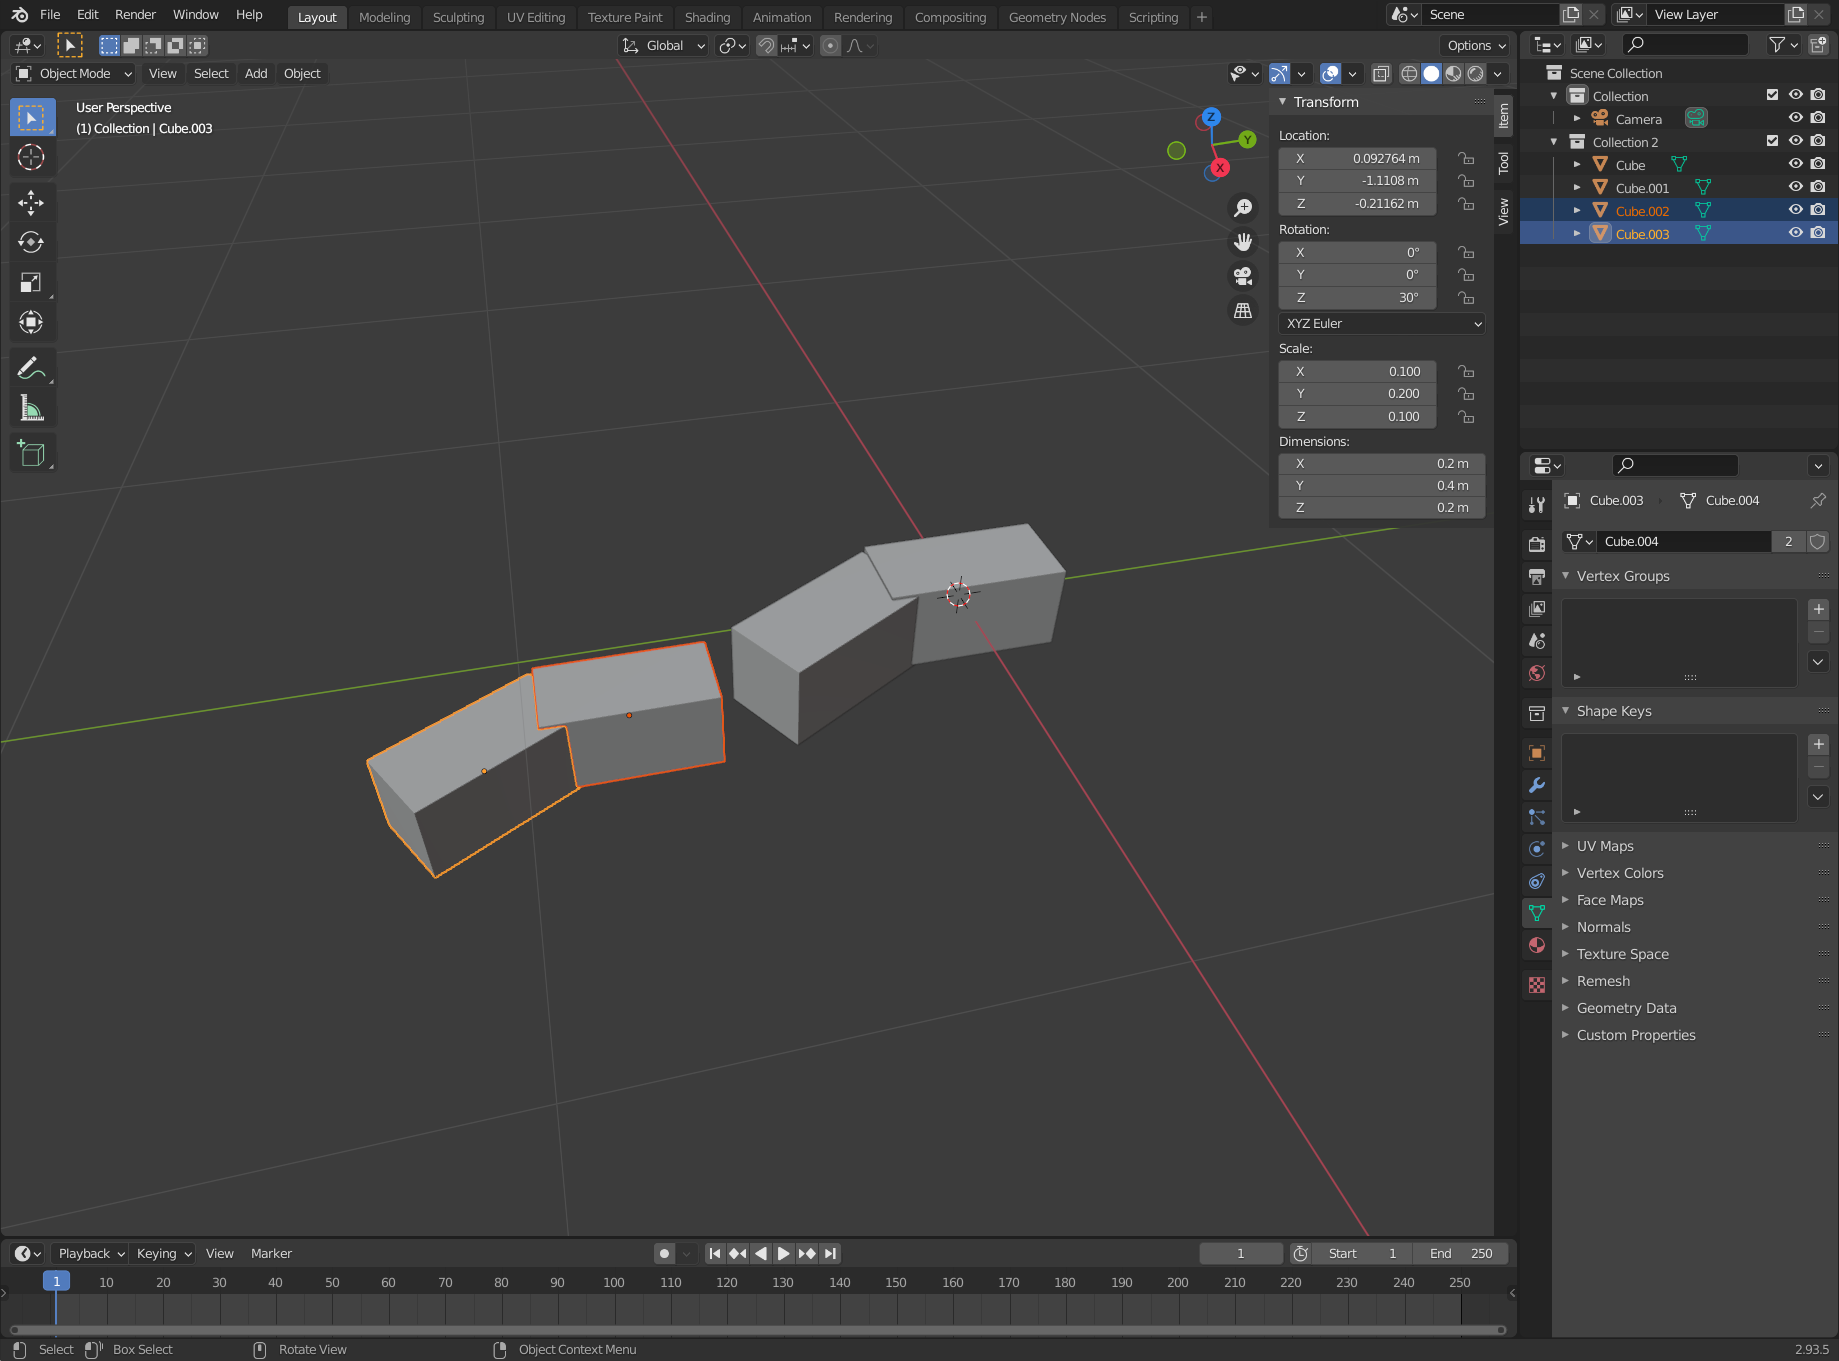
The numbers for location, rotation, scale, etc. that you see in the side panel belong to only one of the objects, which is the active object highlighted in yellow. You can see that the rest of the selected objects are highlighted in a more orangy color. So when you adjust the rotation in the panel, it only adjusts it for the active yellow object.

image

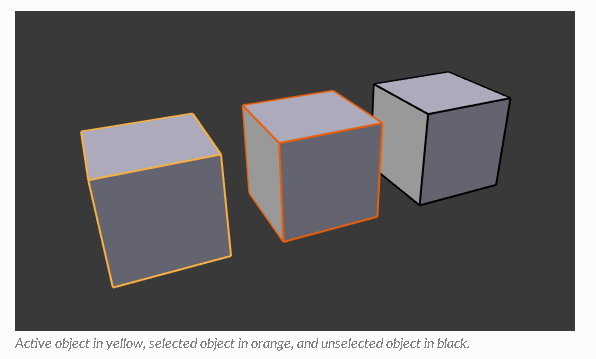
So while you might think that the values in the sidepanel represent all the selected objects, it is actually only for the yellow one.

This is because each object has its own location, rotation, etc., because they are not in the exact same spot and rotated the same right? And it will be too messy to display all of the values in one big panel. So they only show you the numbers for the active object.

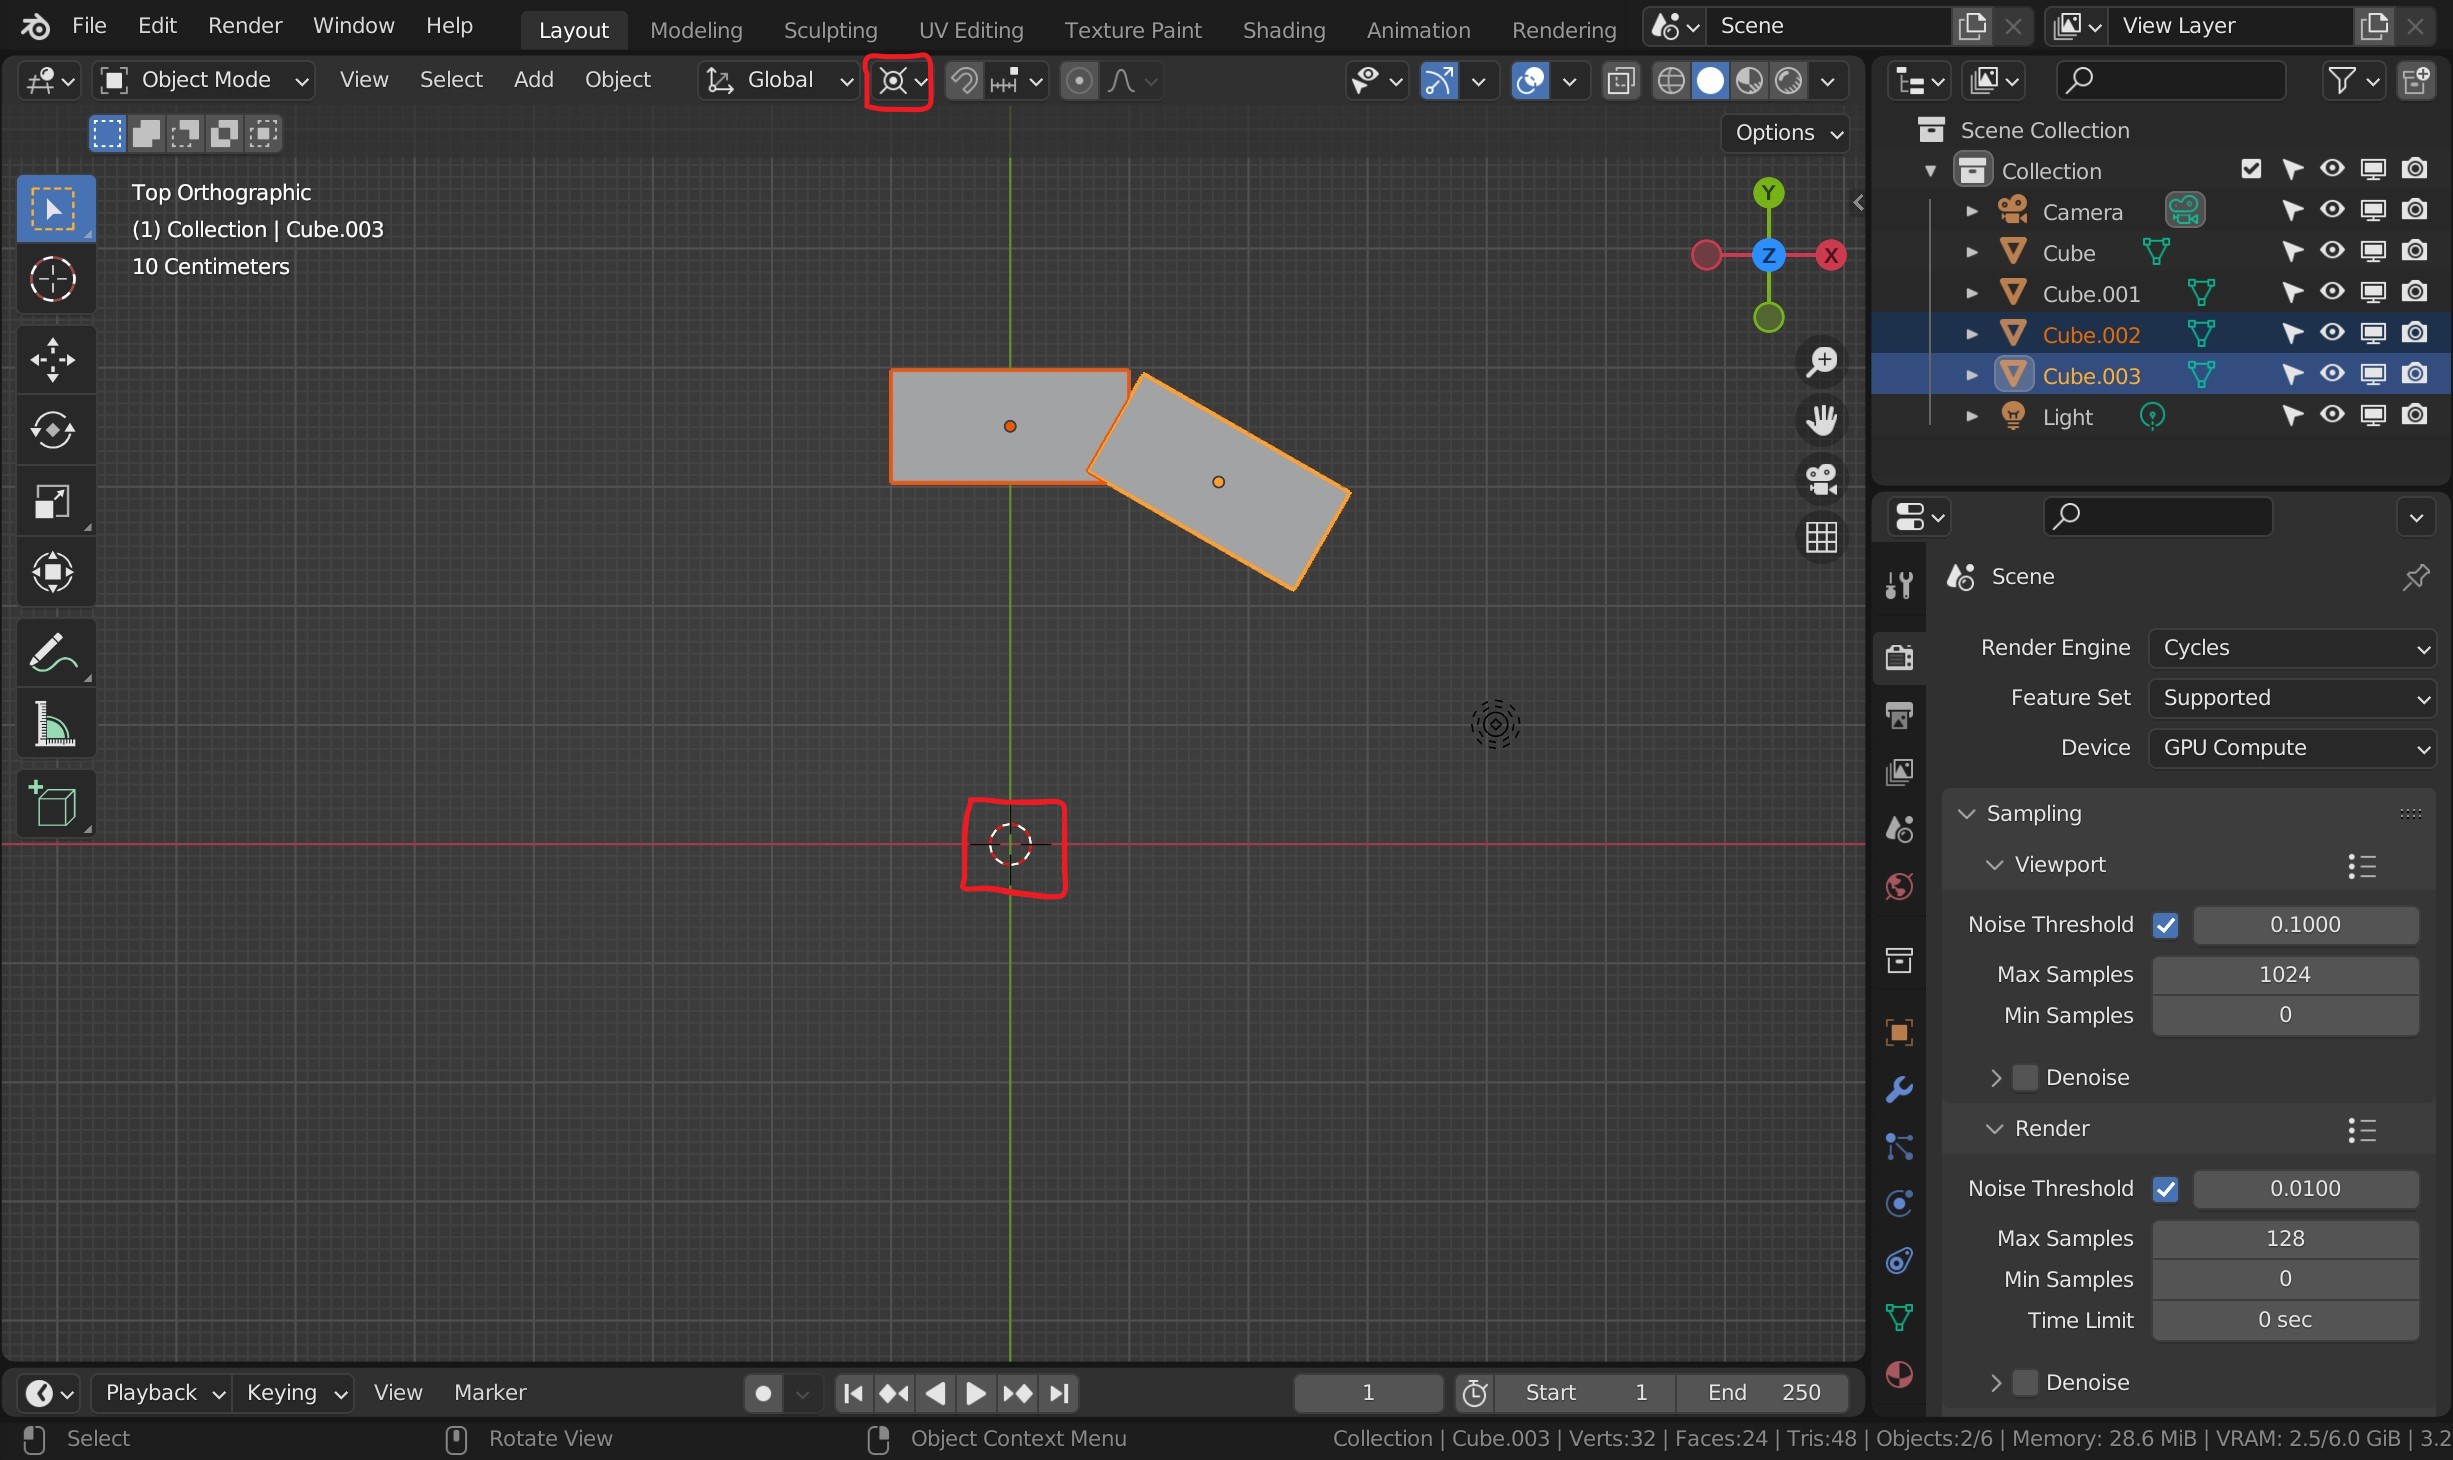
To change the active object, when you have both cubes selected, try holding down shift, and left-mousebutton-clicking the orange highlighted cube. You will then see that this cube turns yellow instead and has become the new active object, and the values in the sidepanel changes to show that cube’s location and rotation.

All this will become second nature to you and you will get the hang of it very soon. Just keep on going with the videos, and don’t hesitate to ask questions. There are many people willing to help here. Good luck!

2 Likes

Wrong.
R only tells Blender to rotate, the pivot point on which that rotation is based can/has to be set up beforehand.
Blender default pivot point is the median point of ‘all’ that is selected.
Though you are set to the 3D cursor as the rotation pivot point!

In the video, you selected the lamp as well, which would confuse everything in normal circumstances, something to be aware of.

As mentioned entering numbers in the panel is possible but a very unusual way to work. That, well does not work in the way you are expecting.

What is happening is the panel is only in direct control of the ‘active’( Yellow outline) object so only that one is rotating.
Now BECAUSE the panel is only in control of that one ‘active’ object it is being told in the panel to rotate on it’s own Z axis. which is what is happening, it is not even rotating on the set pivot point as you are bypassing that by using the specific active object’s panel.

However doing it the way we have been telling you with shortcuts works as required, as those strokes are not directly inputted to ONE active object like the panel can only do, but to all selected.

2 Likes

I think this solves my problem. Thank you for your patience in helping me figure it out. I can go forward with more knowledge and understanding now. :slight_smile:

Thanks again!

Bugsy

1 Like

This topic was automatically closed 24 hours after the last reply. New replies are no longer allowed.

Privacy & Terms