
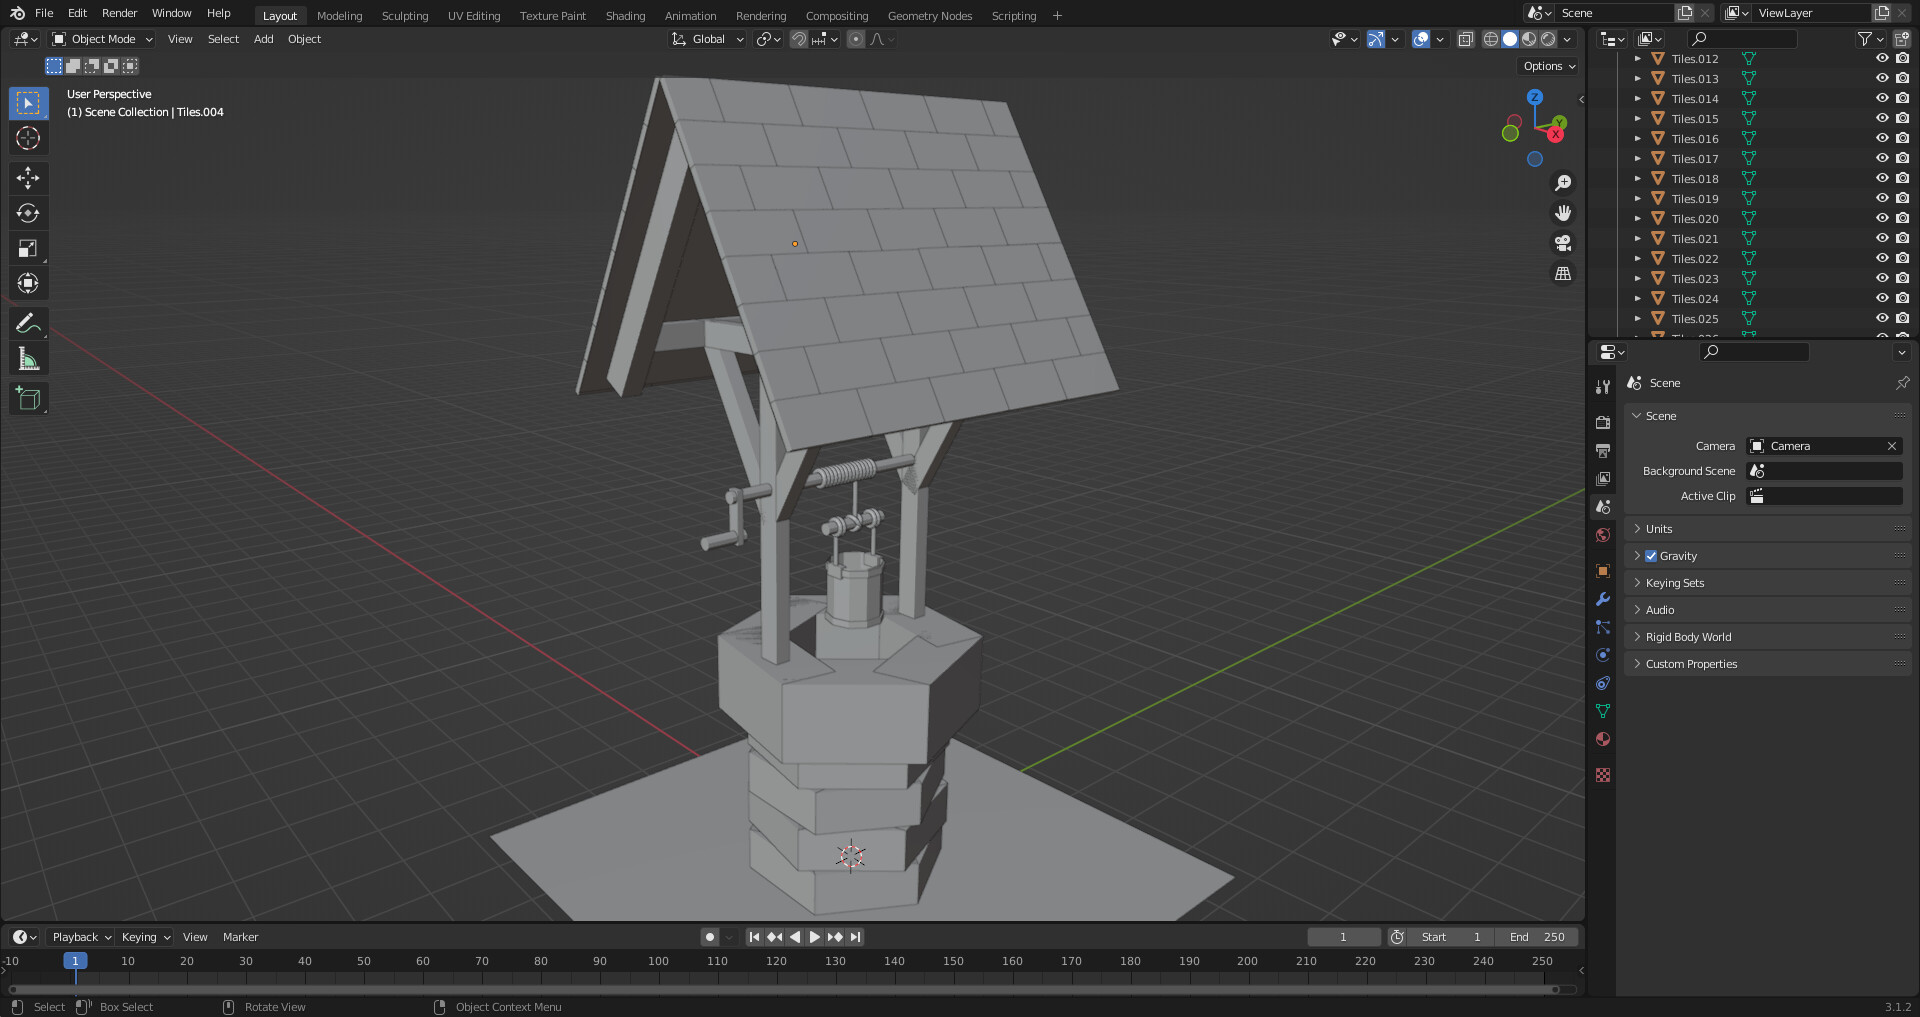
My first time making something with this level of detail. Prior to this I had made a simple hammer and donut using youtube tutorials. I tried to apply the techniques I learned from those videos and the ones in the Blender course so far, to the best of my current abilities. Any feedback is greatly welcomed and appreciated.
7 Likes
Good take on the well, with some implemented style. The roof could overlap more, unless you are going for the “Brick-wall” look.
1 Like
Yeah even though overall I’m pleased with the end result I’ll admit the roof could have been better tbh. I tried several different ways but eventually settled for a shingle style since I couldn’t really figure out how to make it look exactly how I wanted. If you have any pointers I’m all ears.
2 Likes
Shingles can be a bit of a tough one, I admit, since there are a few things going on. Personally I have approached them in two ways: individual shingles or a single piece.
For the sake of the course I would stick to the individual method, which was what was taught in the well lectures. For future reference the second might be worth a try. As you go through the course you will find different approaches on your own that may end up being more efficient or suitable to your project. One major decider on how you will approach any project is reference material, imagination, and practicality.
As an example of practical considerations: If you are making a game and you need a way to a second floor, that alone will tell you that you need stairs or an elevator (be it a staircase, pushed over book shelf, moving box, or a giraffes back), not a door nor a swimming pool, unless the door is very large and used as a bridge.
1. Individual:
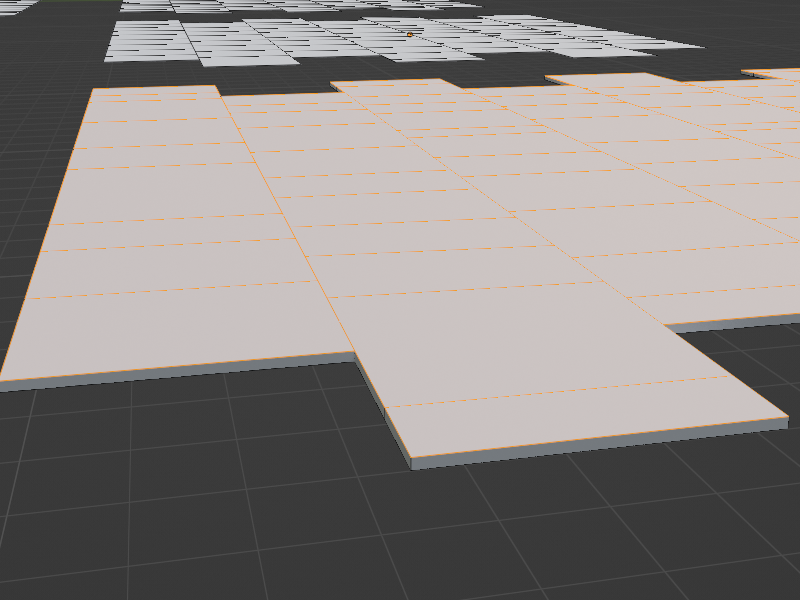
Create a single line of shingles, using your current roof piece as a guide where each will go, start at the bottom and then work your way up
- Create a single line of shingles, using your current roof piece as a guide where each will go, start at the bottom and then work your way up. Here are some pictures to help:

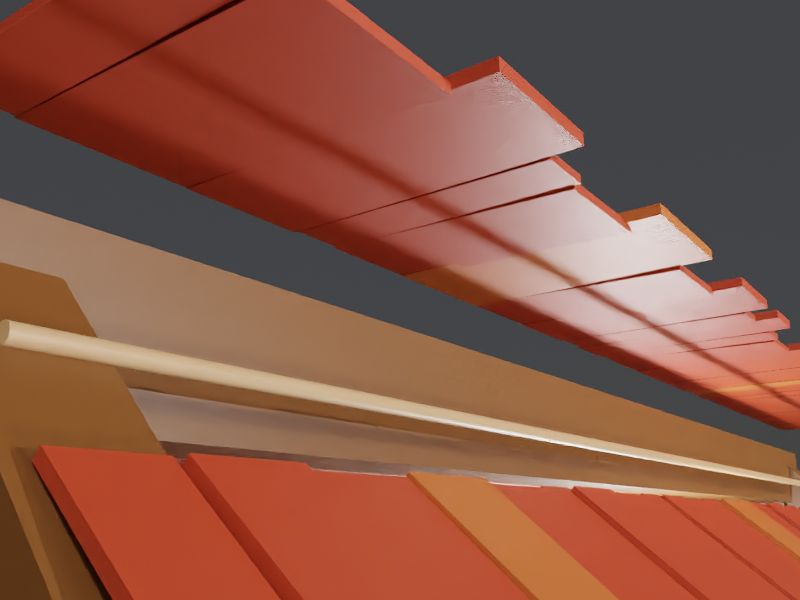
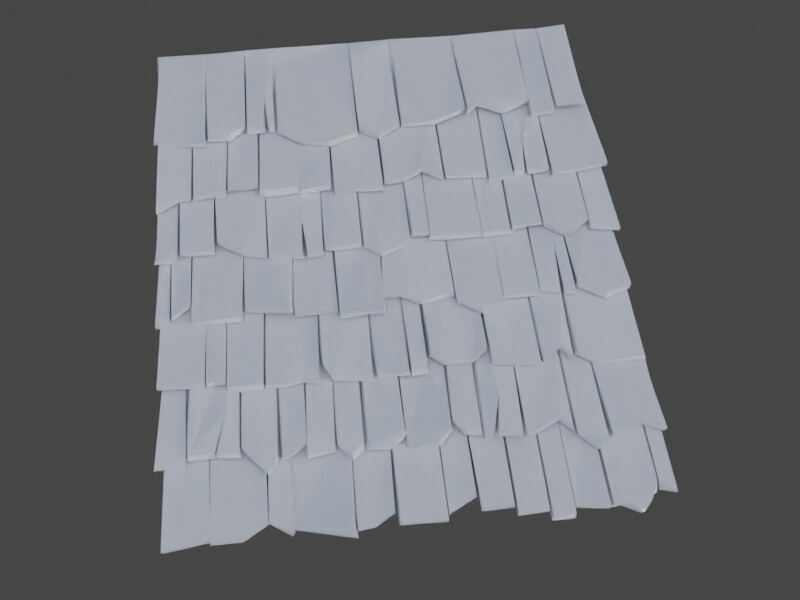
Here is my first well- not perfect, but as you can see, it has rows of shingles overlapping each row below it. This is for a practical reason: it stops rain and weather from wearing and rusting the nails that would be holding these shingles in. It also serves as a decent shelter and easy enough to repair if a single shingle wears out. You will not have to replace the entire thing.
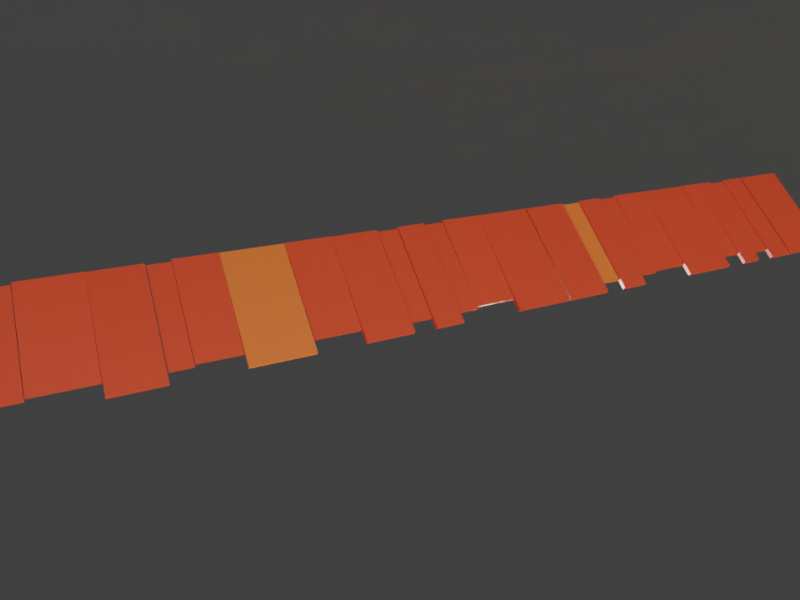
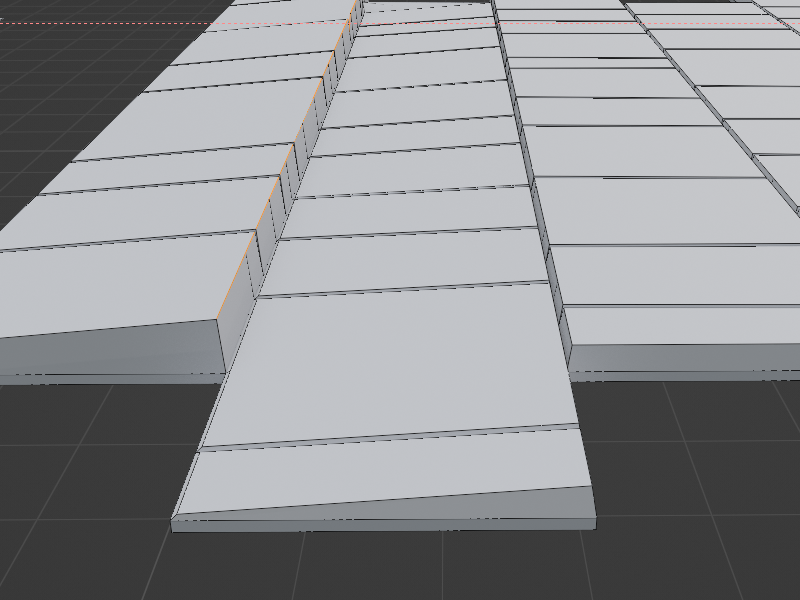
Here is a single row of shingles. As you can see, they are really just a bunch of individual squares. What you may not have notices is that I only really have 3-4 different sizes. This way I will not have to remake every single new shingle. I copy each of them and place them beside the next until I have a nice enough looking row. Then I do the same for 2 or 3 more rows. If you have 3 different rows, it is as simple as copying each row and placing them as you want, changing their order for perceived variety. I got lazy when making some of my rows, I took half of one and put it on the other side of another.
When you have one entire side done, you can copy it all, flip it around, and stick it on the other side. For variety sake you could consider swapping some rows about.
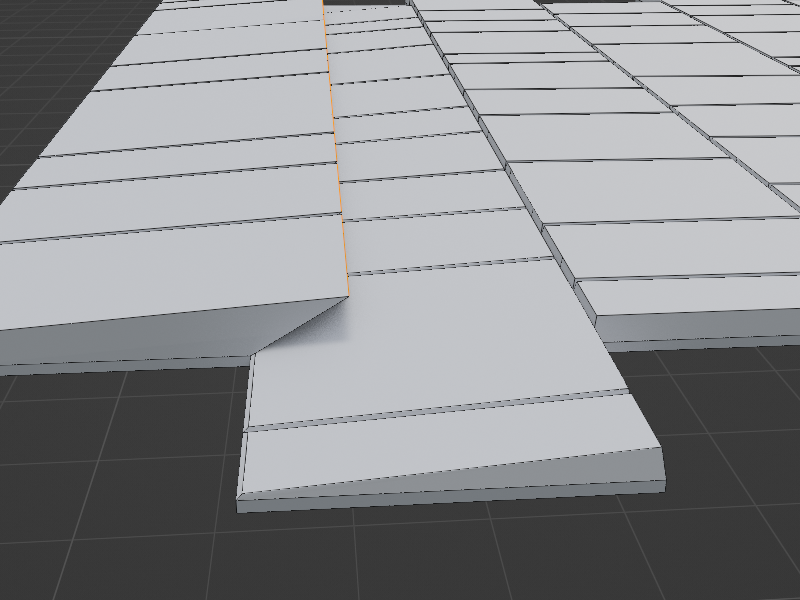
This is simply to show that my shingles do indeed overlap. Just make sure that the shorter ones overlap the rows below them. Also make sure that all shingles of one row overlap 2 shingles as seen just below:
Here they are overlapping: this is good.
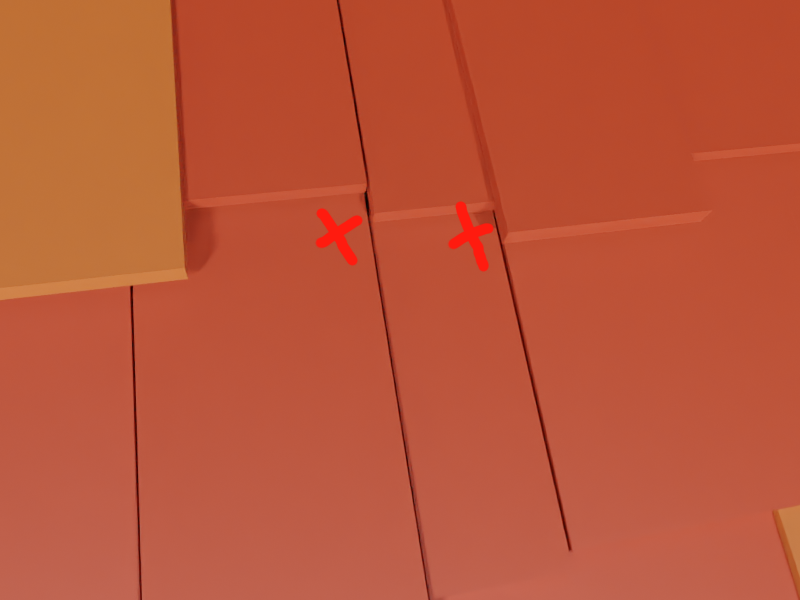
Here they are lining up, this is bad. It ruins the structures integrity and would let water seep in.
But in all likeliness your shingles will not be angled when you first prepared them, as I show above. I would not recommend angling them, keep them nice and flat when working with them.

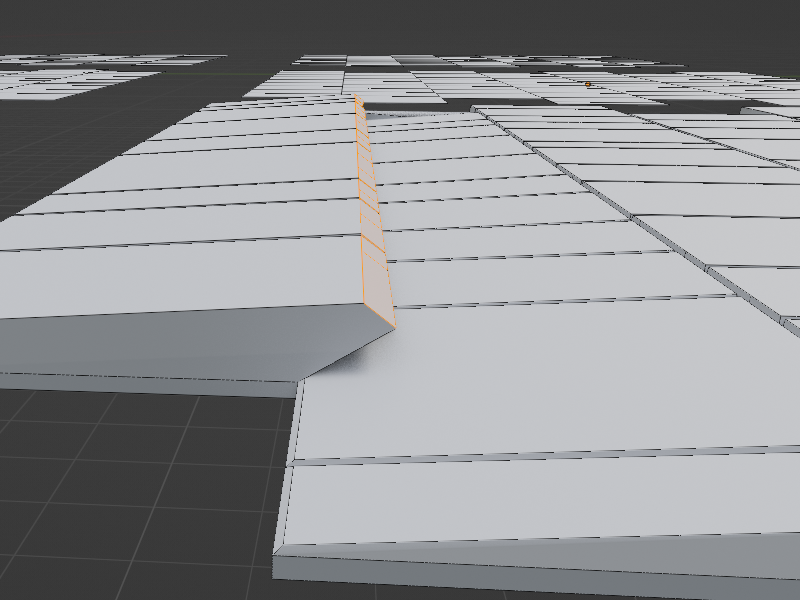
When you do want to place them, select them all and switch over to this side view (“1” on the key pad). This will save you a ton of time trying to align all of them at once.
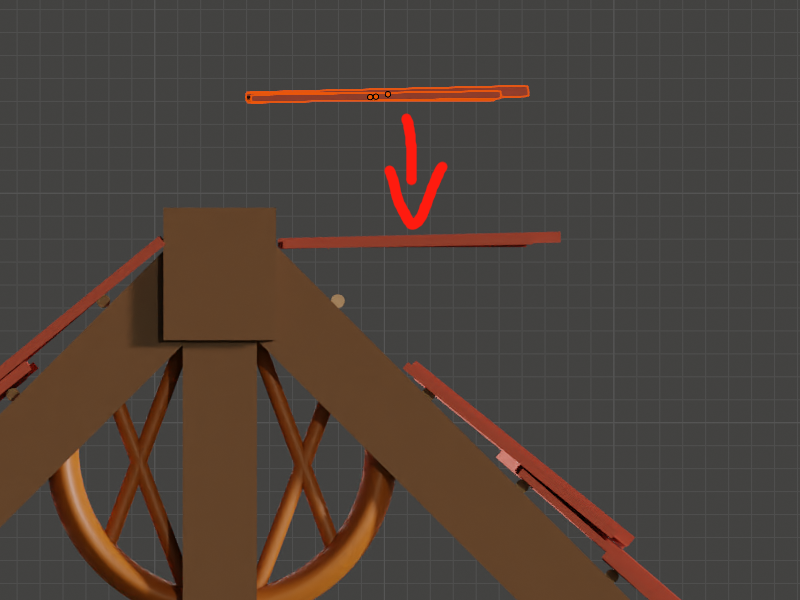
Move them into place
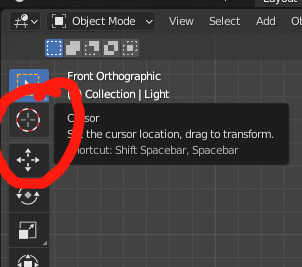
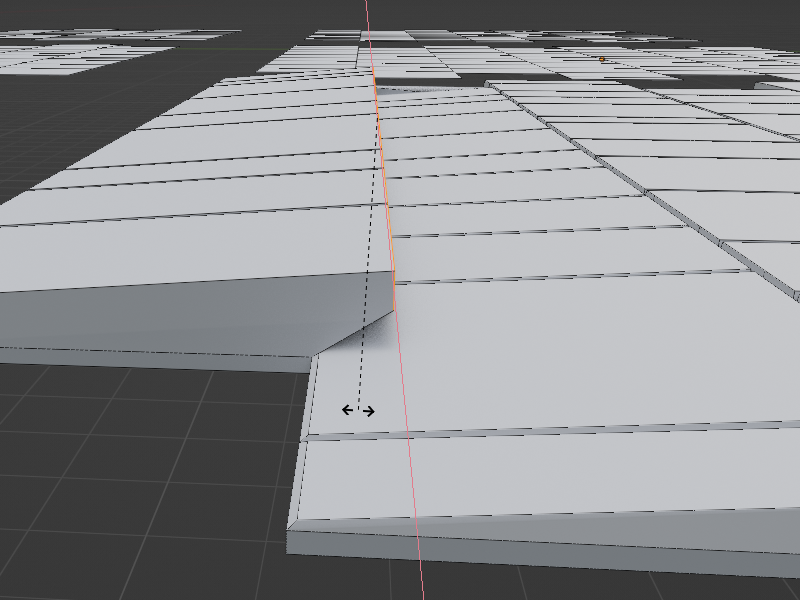
This is a tricky part if you do not know what you are looking for. You want to move all those shingles, but when you try to rotate them, they are likely to rotate in the middle rather than on the edge. For this go to the left side of your viewport and click on the 3D Cursor icon.
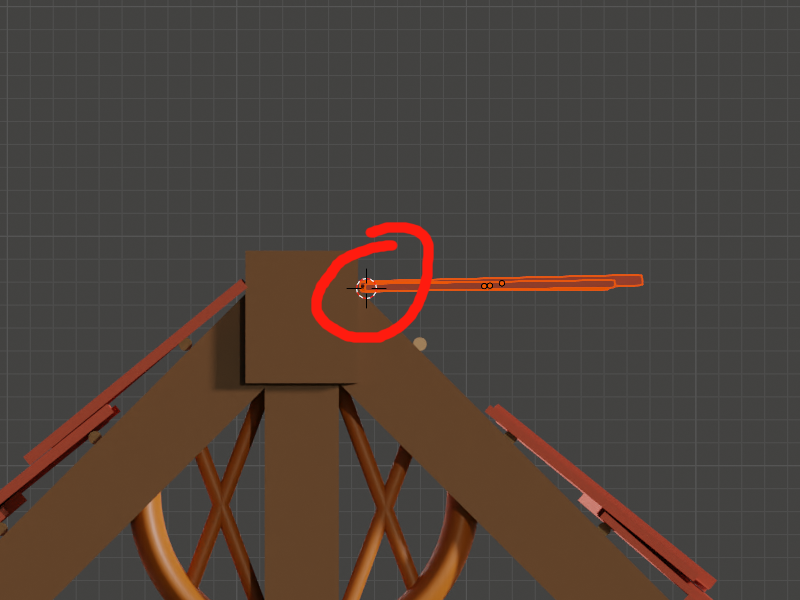
Now click on the row of shingles, the edge you want to “anchor” into place and have all the rotation around it. This will make it a pivot point.
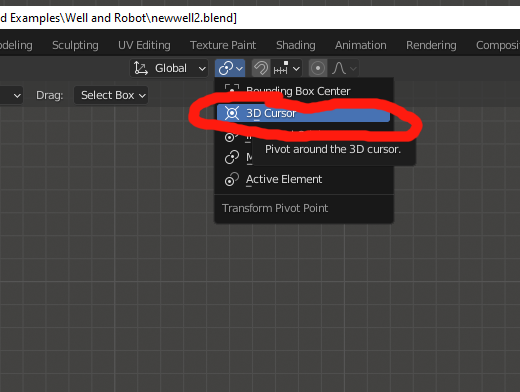
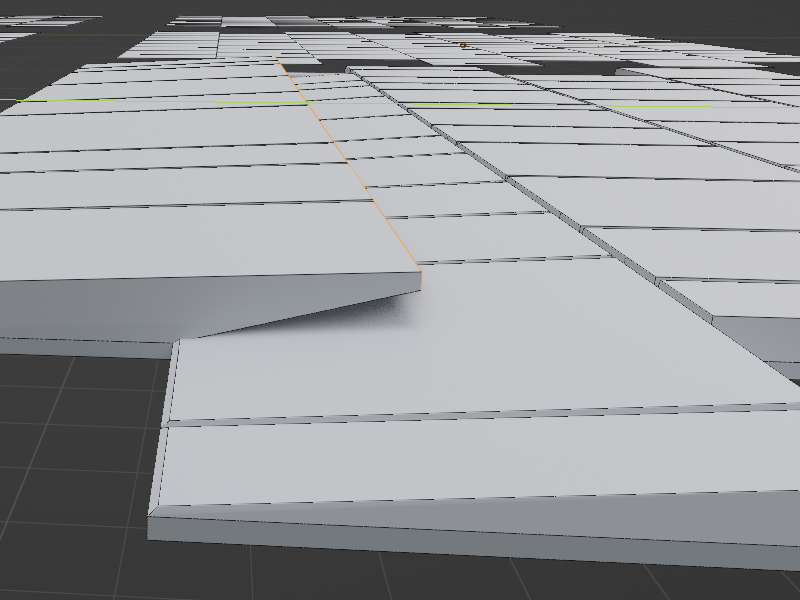
But in order to make the pivot point work, you need to first go to the top of your viewport, the area that has “global”, a magnet, and two circly-do’s. Click on the Circly things and go down to “3D Cursor” (a circle with a white dot and an X behind it). With this click, all your rotations and movements will be around that little cursor we placed in our viewpoint, including our shingles.
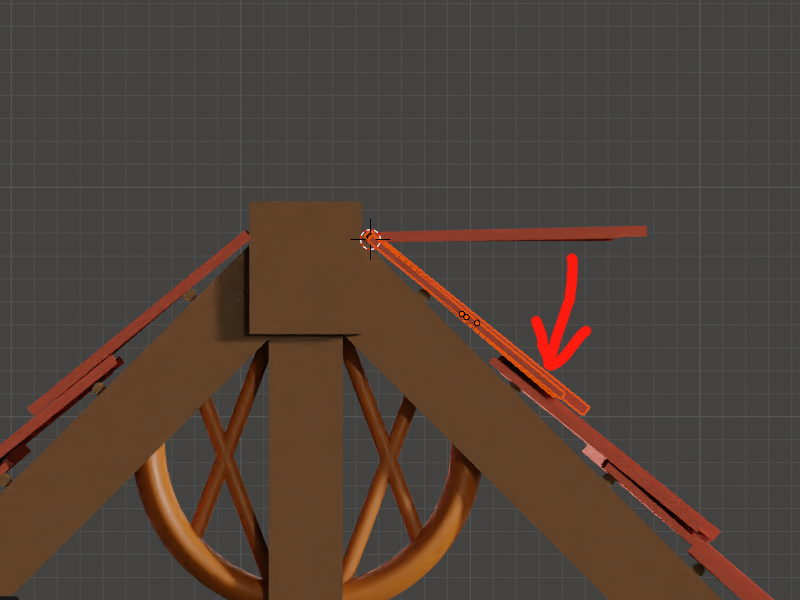
So now when we try to rotate our row of shingles (On the “Y” axis for me), it now rotates with ease right where I want it to.
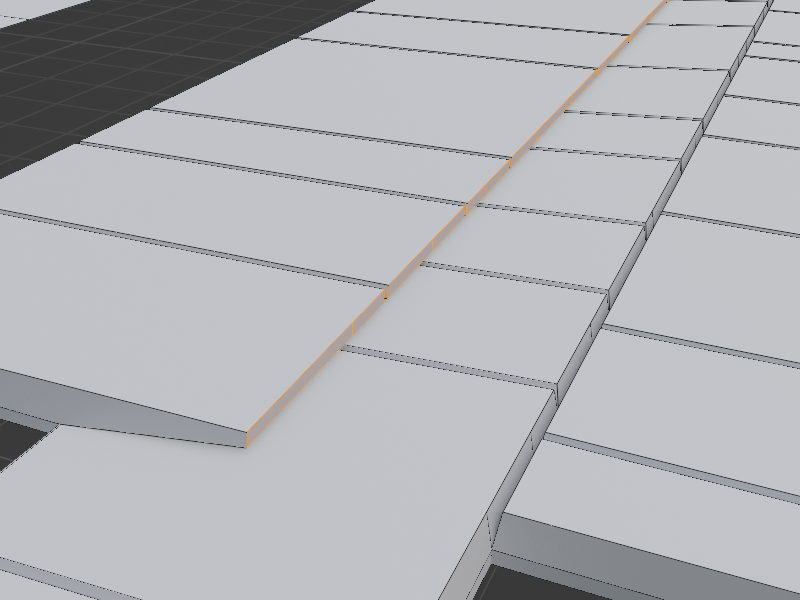
You can do this method from the bottom all the way up, saving lots of time in the process.
2. Creating shingles with a Flat surface:
This one is more involved and may not be worth your time, but something to think about for later sections.
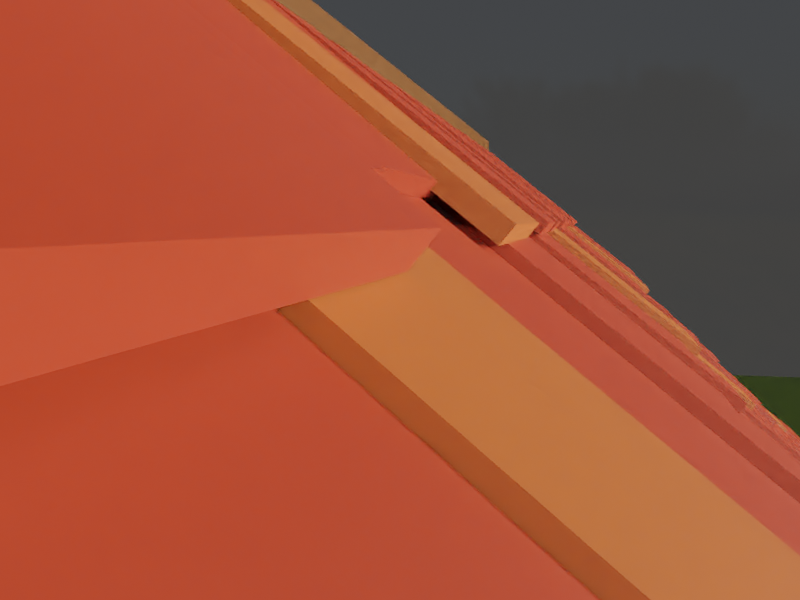
Here is a shingle set I made for a Tavern I am still working on for section 6 (I put it aside so that I could finish section 7).

Underneath you can see that they are all attached.
Here you see that I started out with a shingle set much like your own. Flat with a few lines.
I then extruded (e key) all of them up by a little (.2 I think).
For some reason I do not have a picture for this, but I then did an inset (i), making sure that the “individual” option was ticked, this insures that all my shingles will have their own surface detached from the other shingles. Then I did another extrude. As you can see, I moved the top of the shingles down, but pulled the bottoms up.
Then I go ahead and move the bottoms up and over the top parts, giving that desired overlapping effect.
Then I use Bevel (b) so to give my shingles a bit of an edge.
Then I rotate them in order to face them the right way.
I move them ahead a little
And now you can see I have a very basic overlapping set of shingles.
At this point you can change their size and add all sort of detail as I had done in the first picture.
3.Quick and dirty method: Flat surface, add shingle image… done. Just don’t look too closely…
Hopefully these will be of use to you.
3 Likes
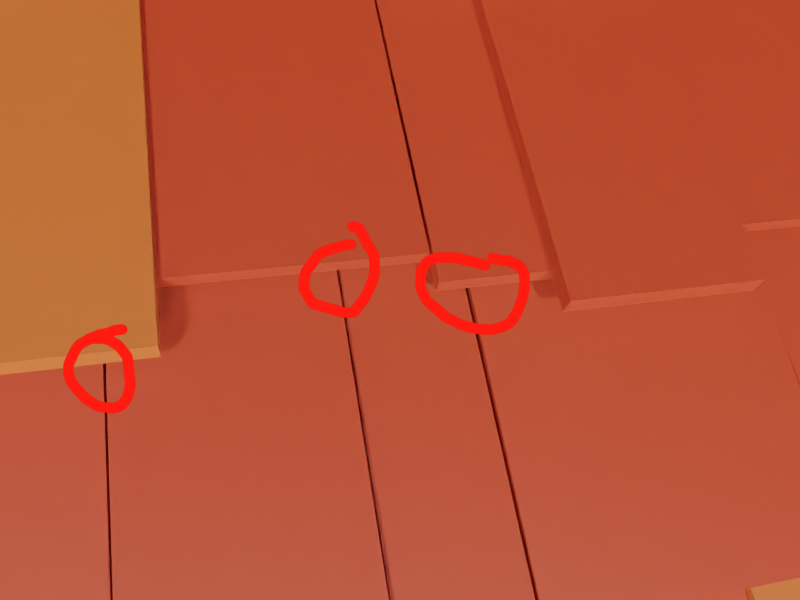
Well done well. Lots of extras bits created.
Tiles need to rest over the next layer, just look at any similar roof when you are out next.
1 Like