Started working on my dungeon layout and got a bit carried away coming up with some process ideas (I used to be a Technical Artist, old habits die hard I guess  ). My goal was to figure out some ways to make layout a bit more accurate so I didn’t have to go in and noodle with placement too much, as well as making changes a bit cheaper earlier on in the process vs once geometry is all laid out. This is based on some workflows I’ve used on other productions, and granted, there’s a bit of a trade-off in overall flexibility, but I’m a bigger fan of speed, accuracy, and being less prone to error. Thought I’d post the notes here in case anyone is interested in some workflow ideas, I think once I hit production I’m going to write some scripts to automate bits of this and create an actual toolchain, I think it could be super useful…
Step 1: Base Asset LIbrary
Nothing special here, just making simple bits of level geometry:

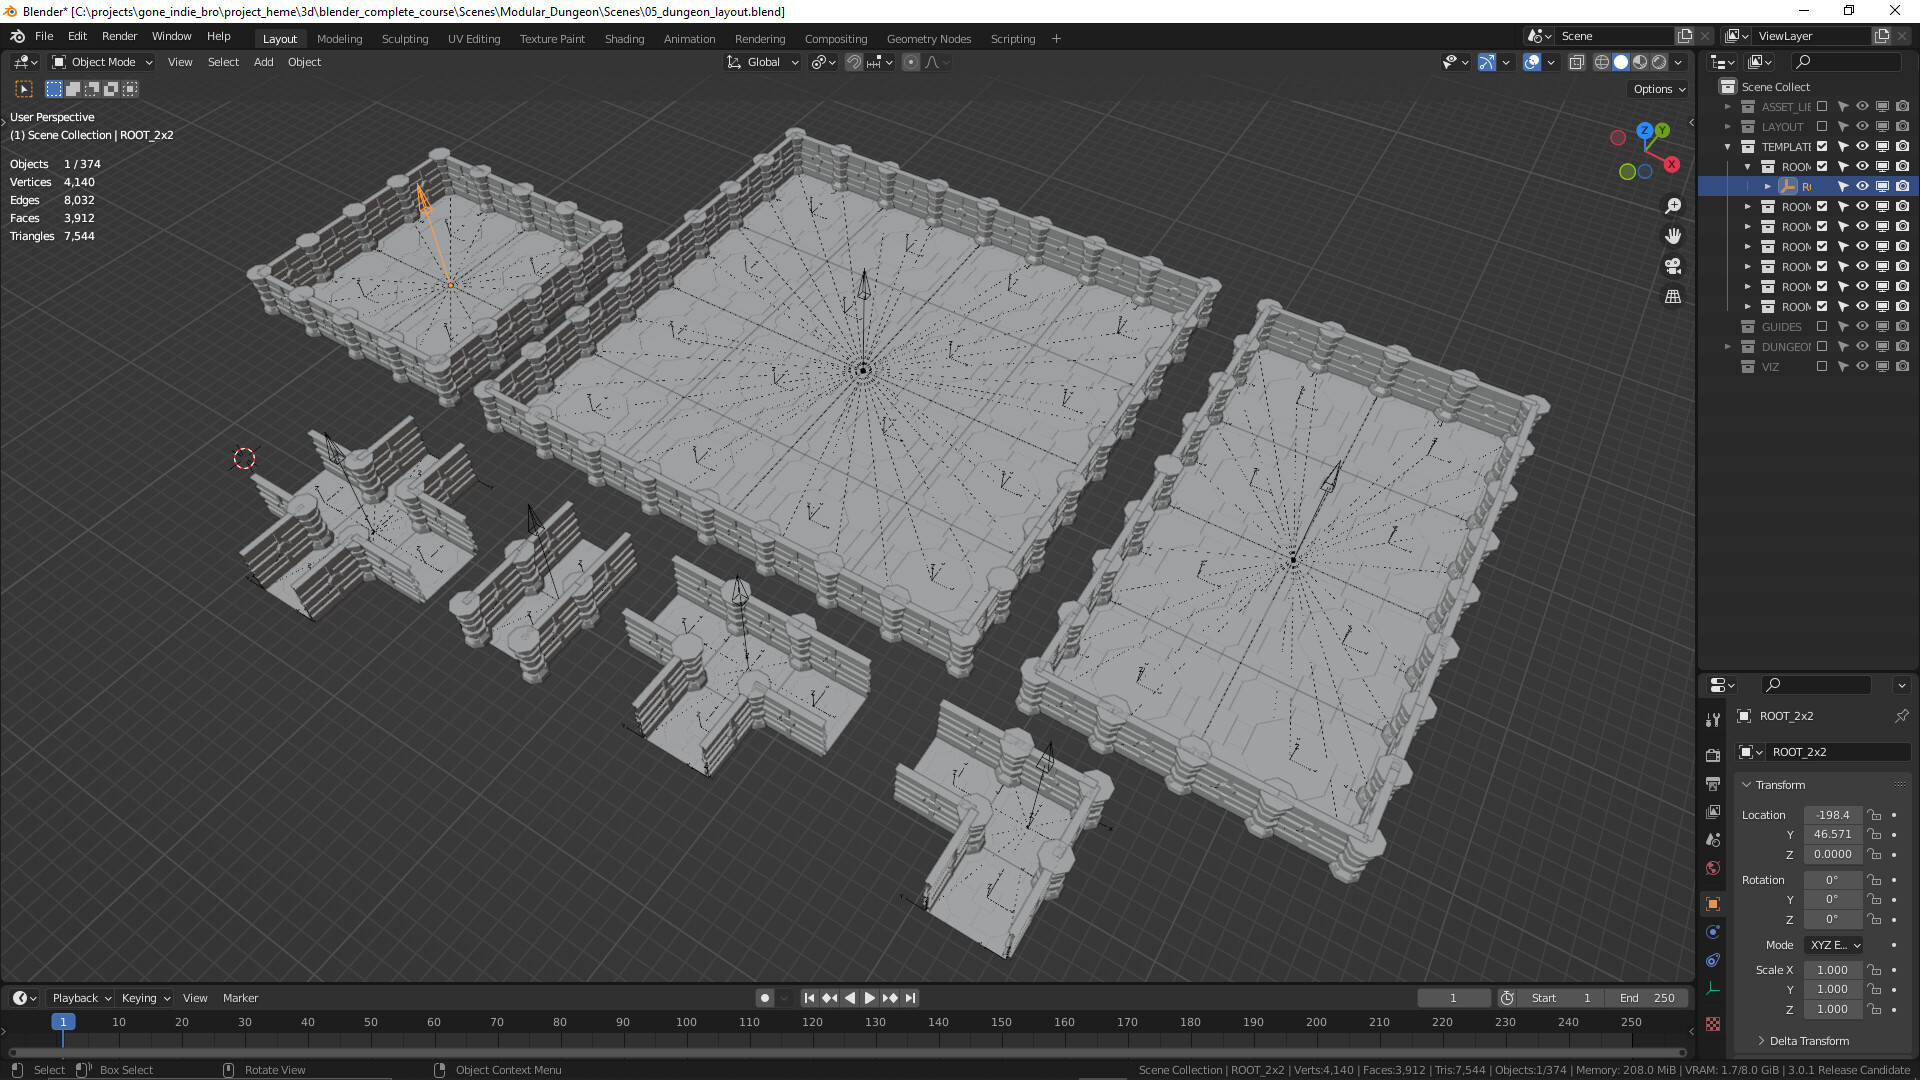
Step 2: Create Room Templates/“Prefabs” from Base Assets
I decided on a few preset sizes to make layout more accurate and to fit the level narrative. For this dungeon, I created three types of rooms, “Pitstops”, Combat Rooms, and Boss Rooms:
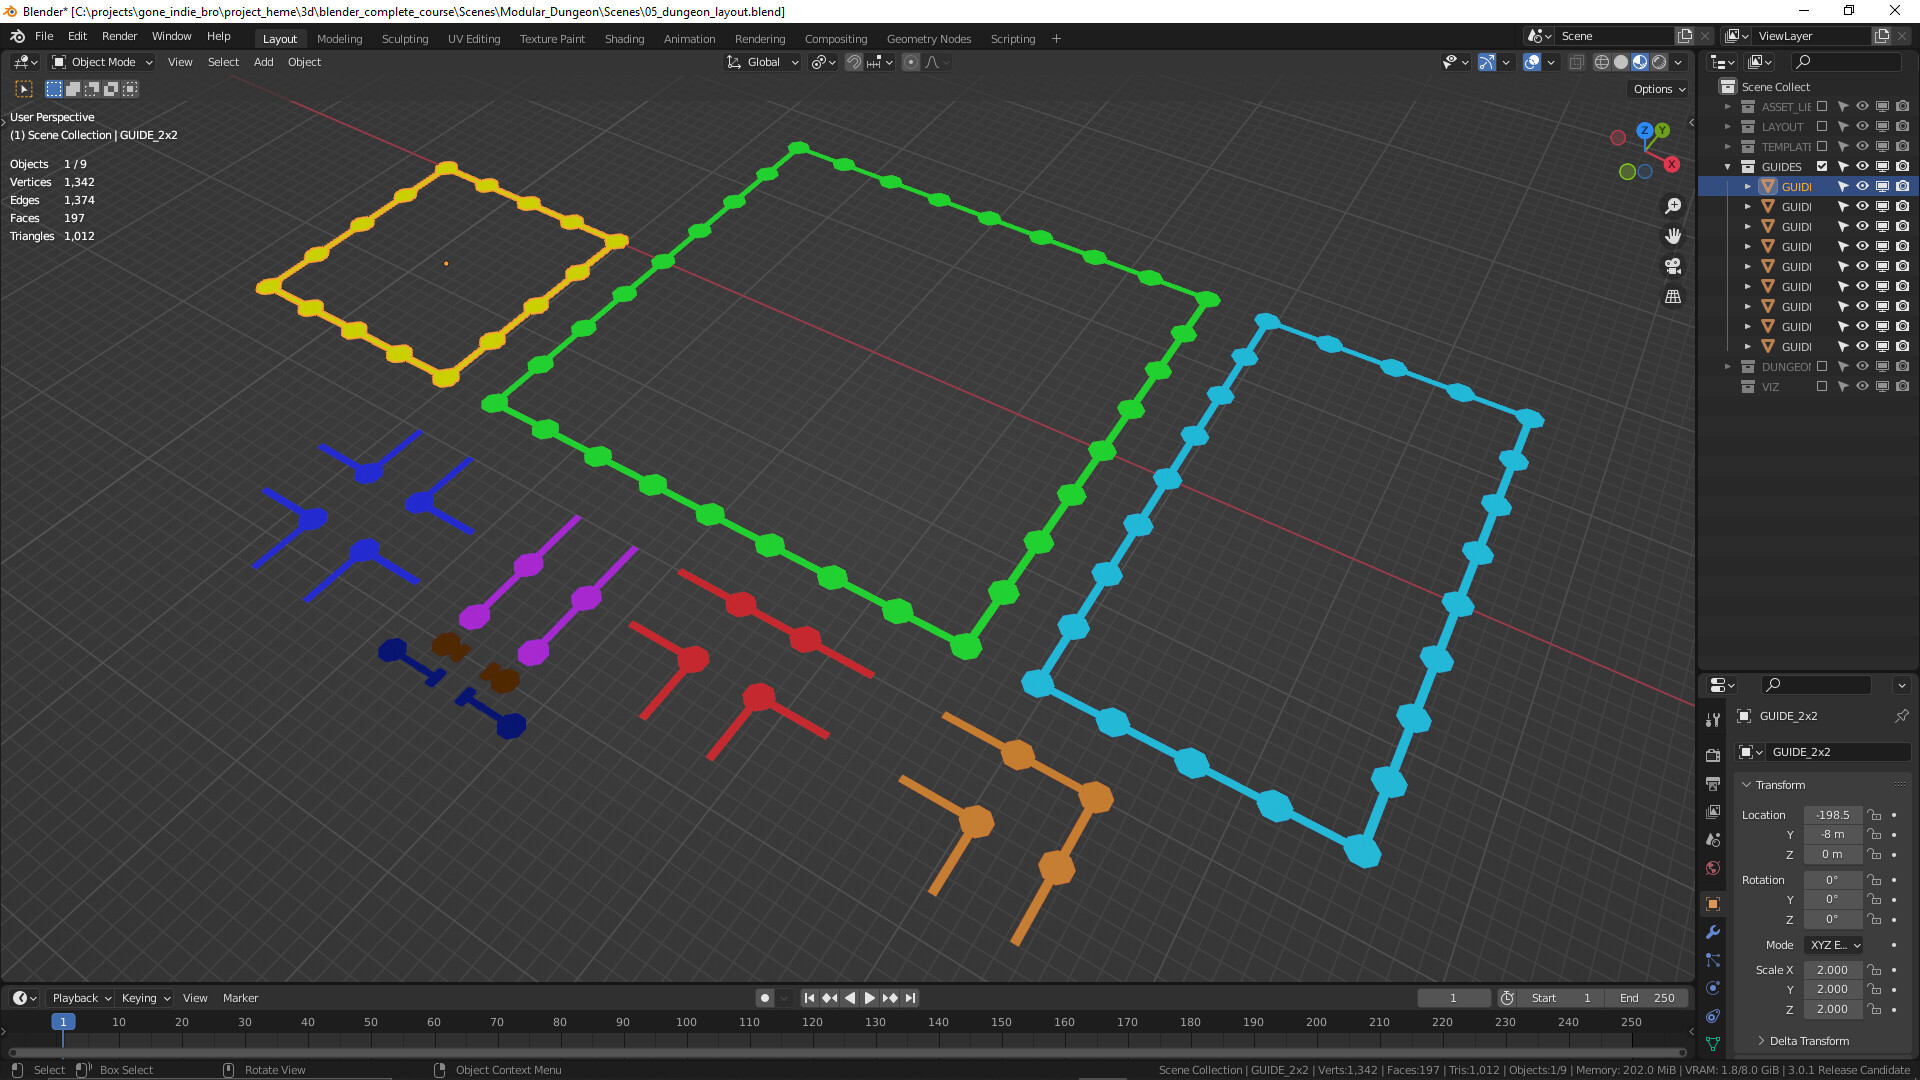
Step 3: Derive Guide Shapes from Room Templates
Using the prefab geometry to create a set of easy to layout and manipulate shapes to make layout planning quicker and easier to change based on playtest results/feedback.
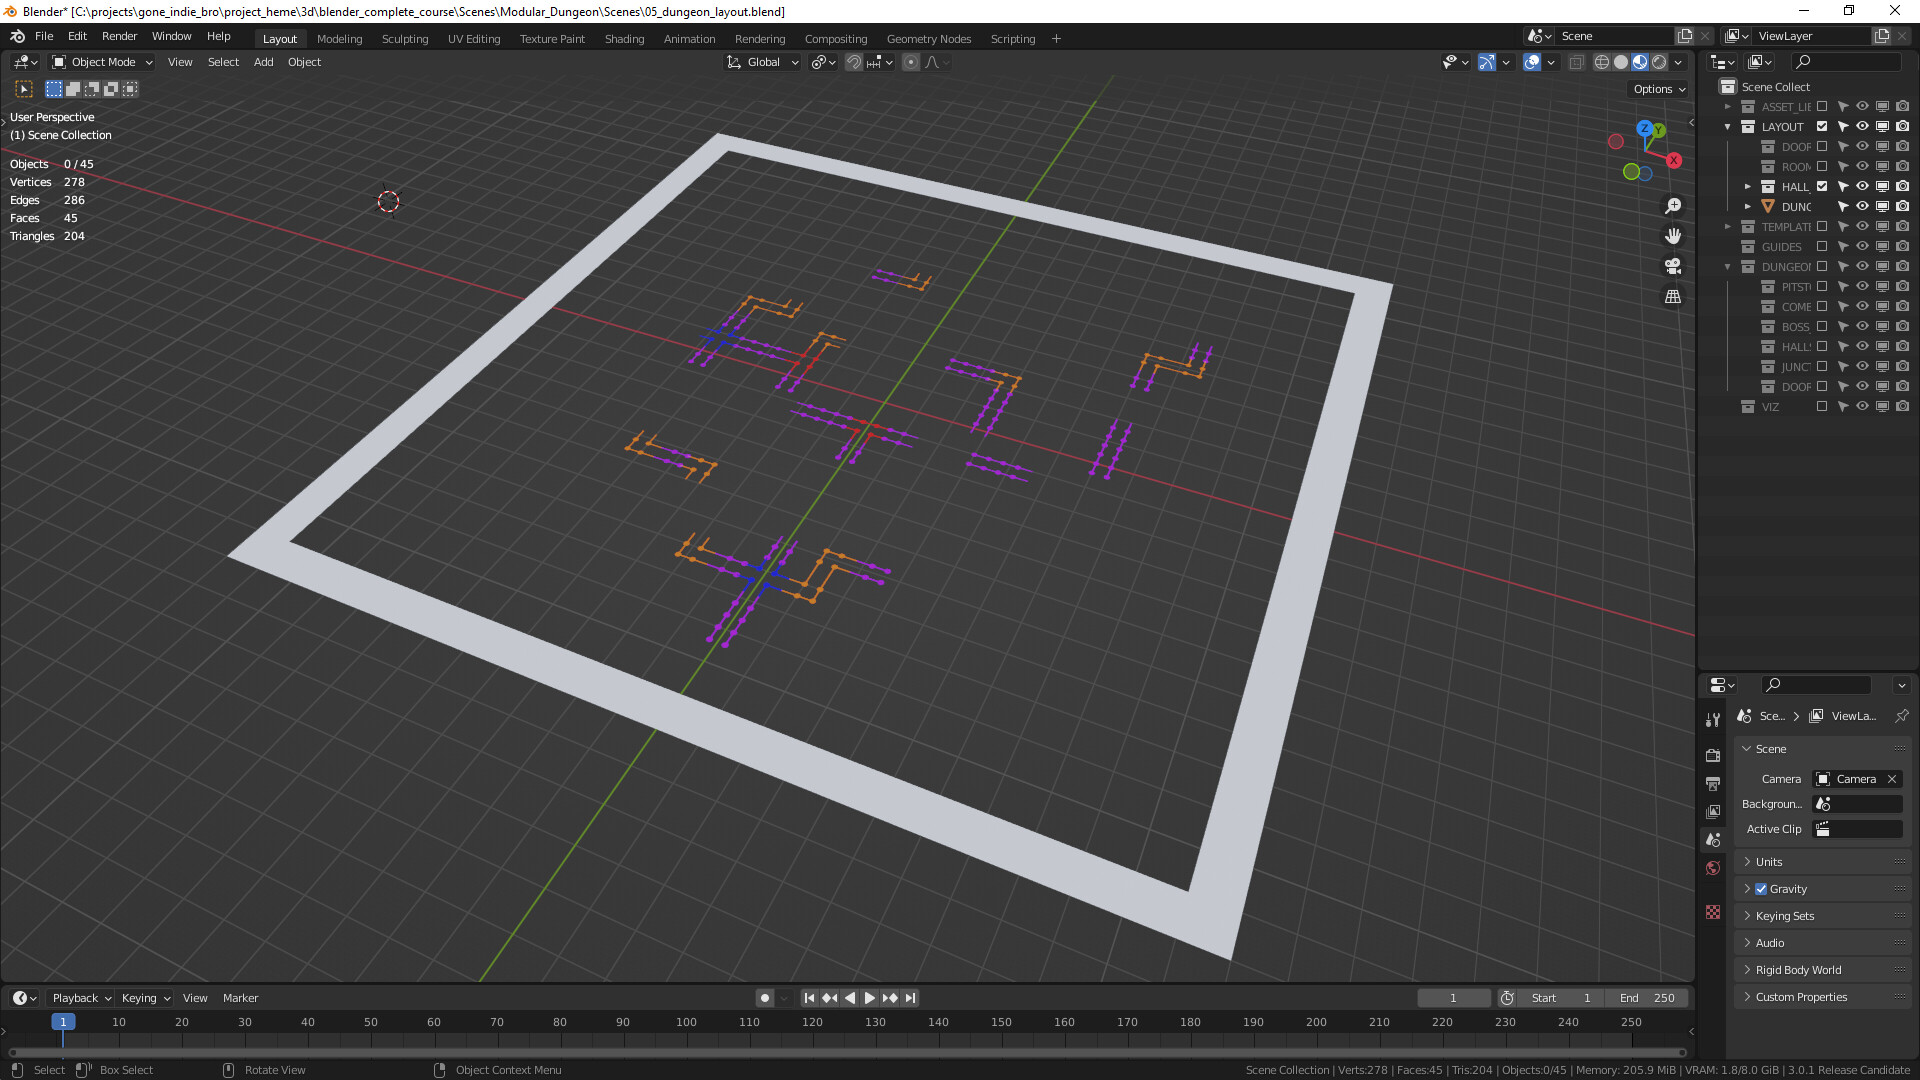
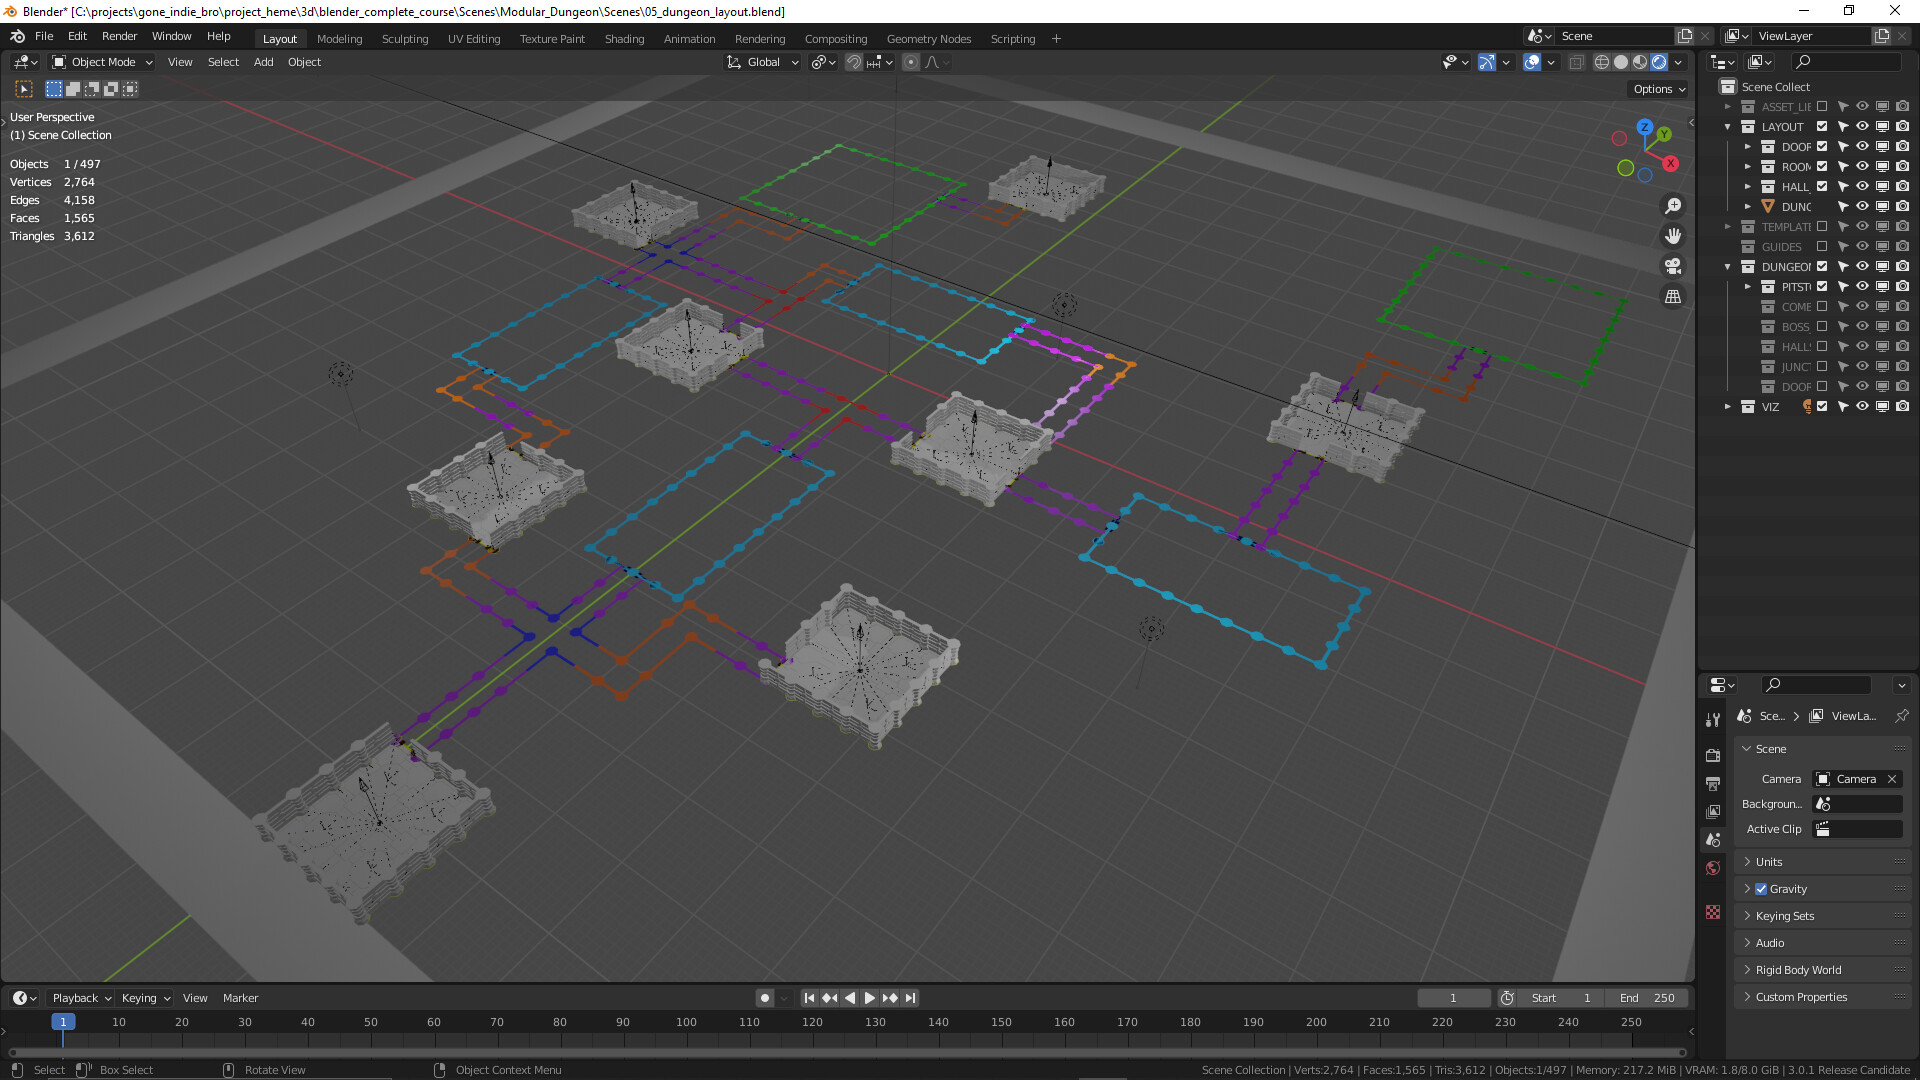
Step 4: Initial Layout with Guide Shapes
Duplicate and snap shapes to the grid based on level design guidelines. For this level, I decided on two boss rooms (one mini-boss and one main boss), 4 combat/puzzle rooms, and a random number of pitstops for powerups/saves/etc.

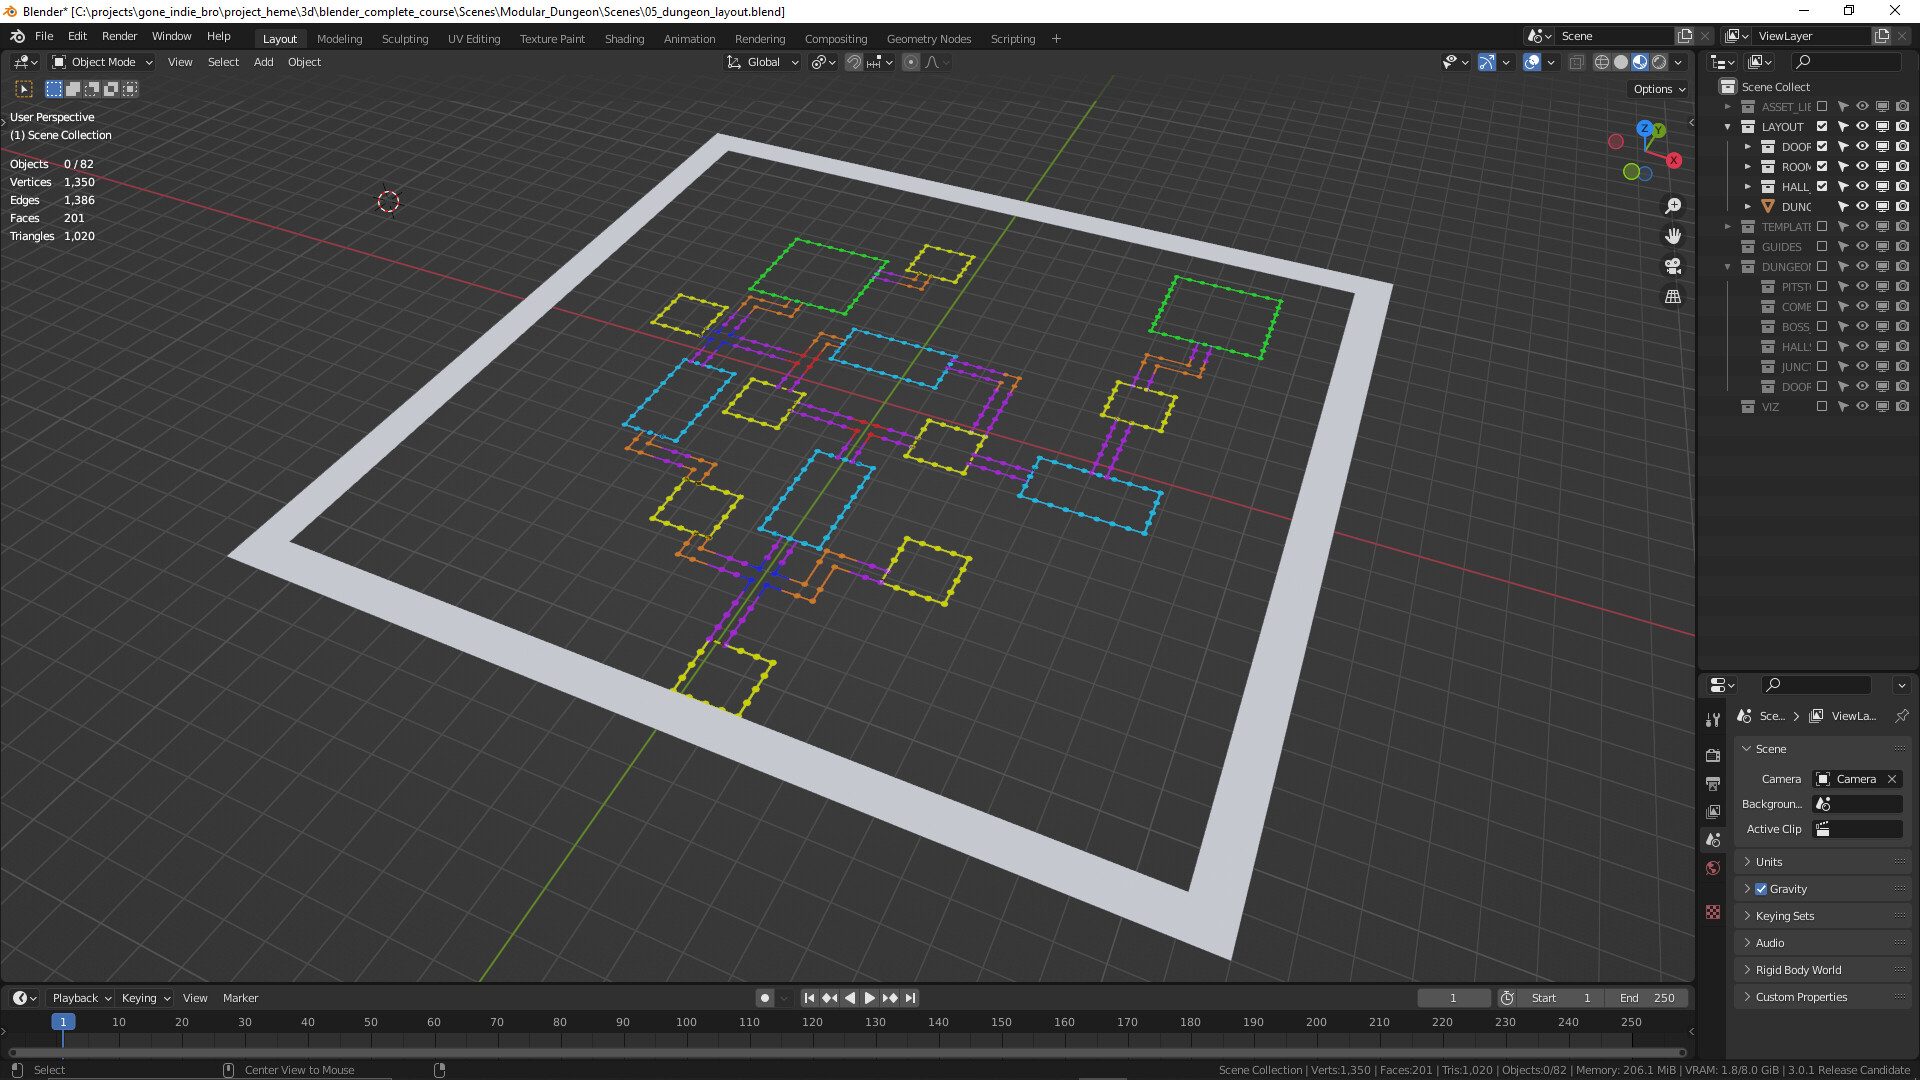
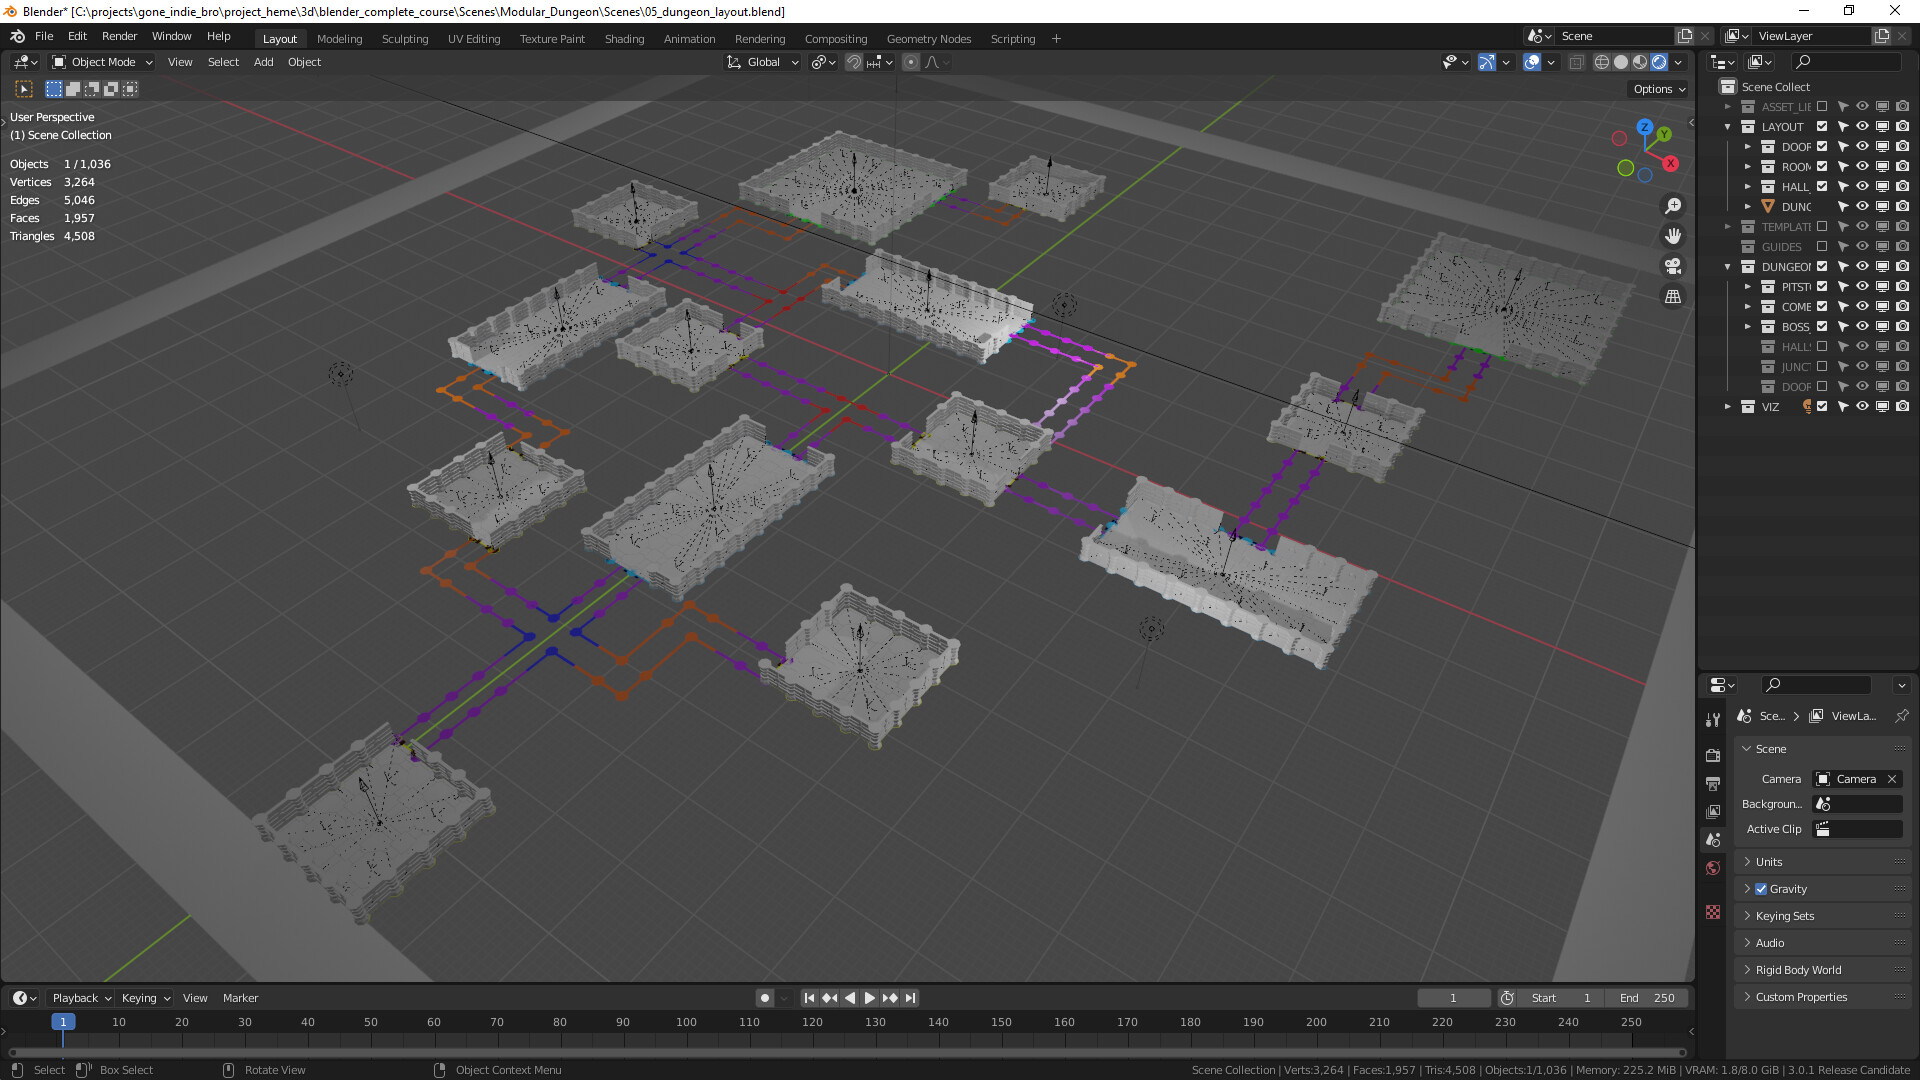
Step 5: Place Room Templates based on Guides
Once the guides are in place, layout is just a matter of duplicating the templates and snapping them to the guides (make sure to align origins!). Right now this is a bit time consuming, but for production I’m going to learn some blender scripting and write some automation tools for this step.
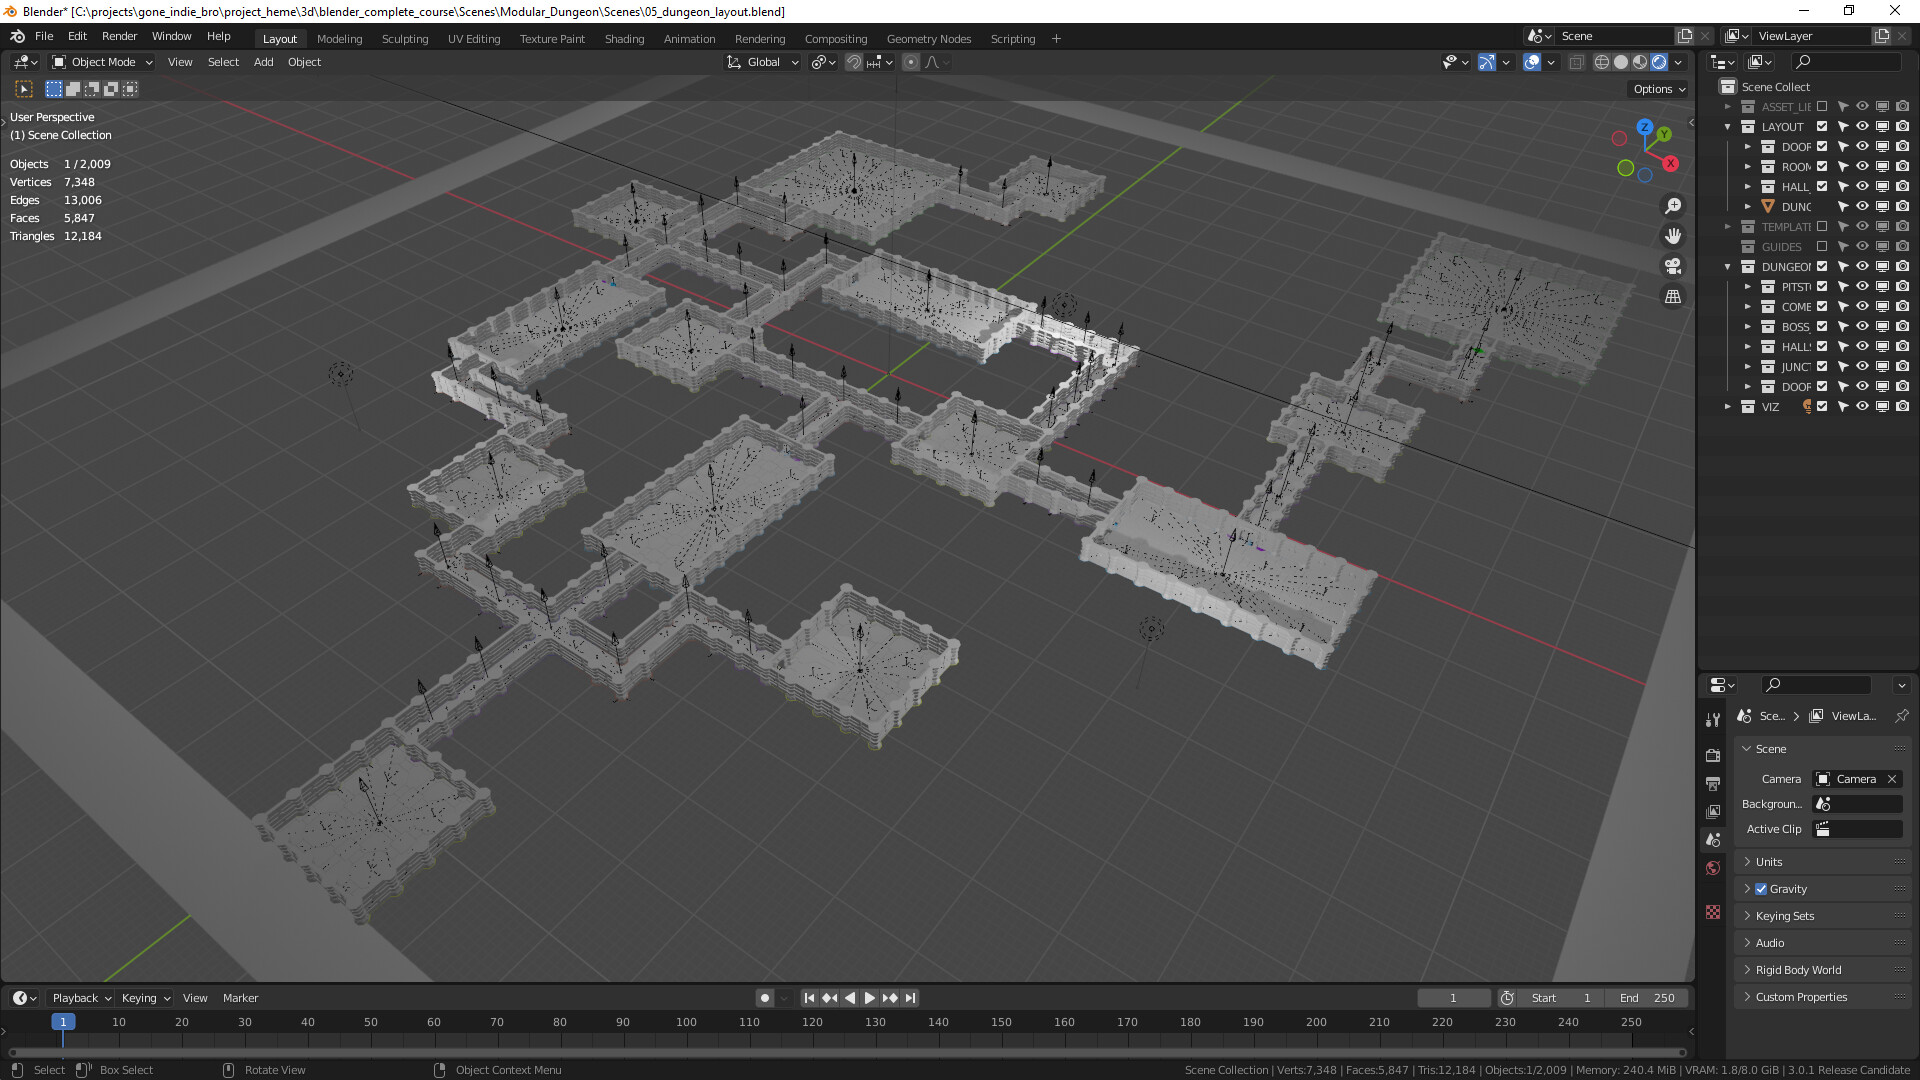
Ready for object placement, materials, and lighting!
Anway, like I said, just some thoughts. Not right or wrong, just how I like working. If this helps anyone out or gives you some ideas for workflow, cheers!
 )
)