Thanks @kaanalpar, this course was a really helpful 101-style dive into shaders; very much enjoyed it!
I feel like a lot of stuff has been demystified here. I’m starting to see opportunities on my own for extensions to the course material, and to me, that’s the sign of a solid course in which I learned something =)
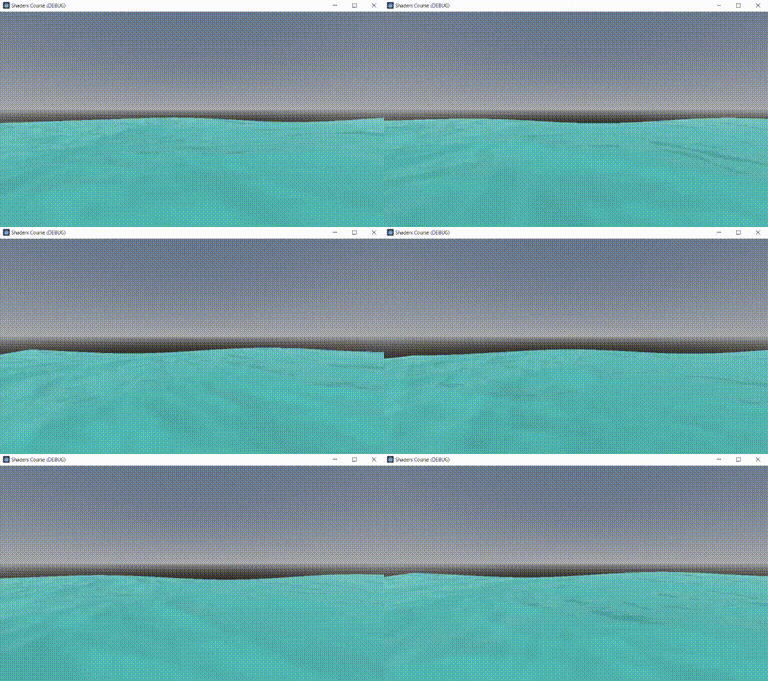
I thought I’d share how I added a vertex shader to the water shader to build on the effect (the .gif doesn’t do it justice at all unfortunately, but it gets the point across):

void vertex()
{
	//apply the same wave distortion effect from the Godot icon sample sphere
		//to the Y value to create water waves.
	VERTEX.y +=
		sin((VERTEX.x * x_influence)
			+ (VERTEX.z * z_influence)
			+ TIME) * wave_amplitude
		+ sin(TIME / 1.73) * wave_amplitude;
		/*by adding a second sine wave *inside* the first one, they mix
			together to create more natural water waves. 1.73 was chosen
			because it is a prime number, so repetition in the water wave
			cycle will not be noticeable (vs. 0.5 and 2.0 for example).*/
}

void fragment()
{
	//perform texture scrolling with 2 noise textures and mix the result
		//basically the same as the course
	vec2 offset_1 = TIME * direction_1 * speed_1;
	vec3 noise_1 = vec3(texture(noise_tex_1, UV + offset_1).rgb);

	vec2 offset_2 = TIME * direction_2 * speed_2;
	vec3 noise_2 = vec3(texture(noise_tex_2, UV + offset_2).rgb);

	vec3 final_noise = mix(noise_1, noise_2, 0.5);

	NORMAL_MAP = final_noise;
	ALBEDO = albedo.rgb;
	ALPHA = alpha;
	METALLIC = metallic;
	ROUGHNESS = roughness;
}

