Could anyone tell me how to take better pictures of the game objects? (I mean, by hiding the camera and light icons, for instance)
Thank you all!

Could anyone tell me how to take better pictures of the game objects? (I mean, by hiding the camera and light icons, for instance)
Thank you all!
Hi Daniel, welcome to the community.
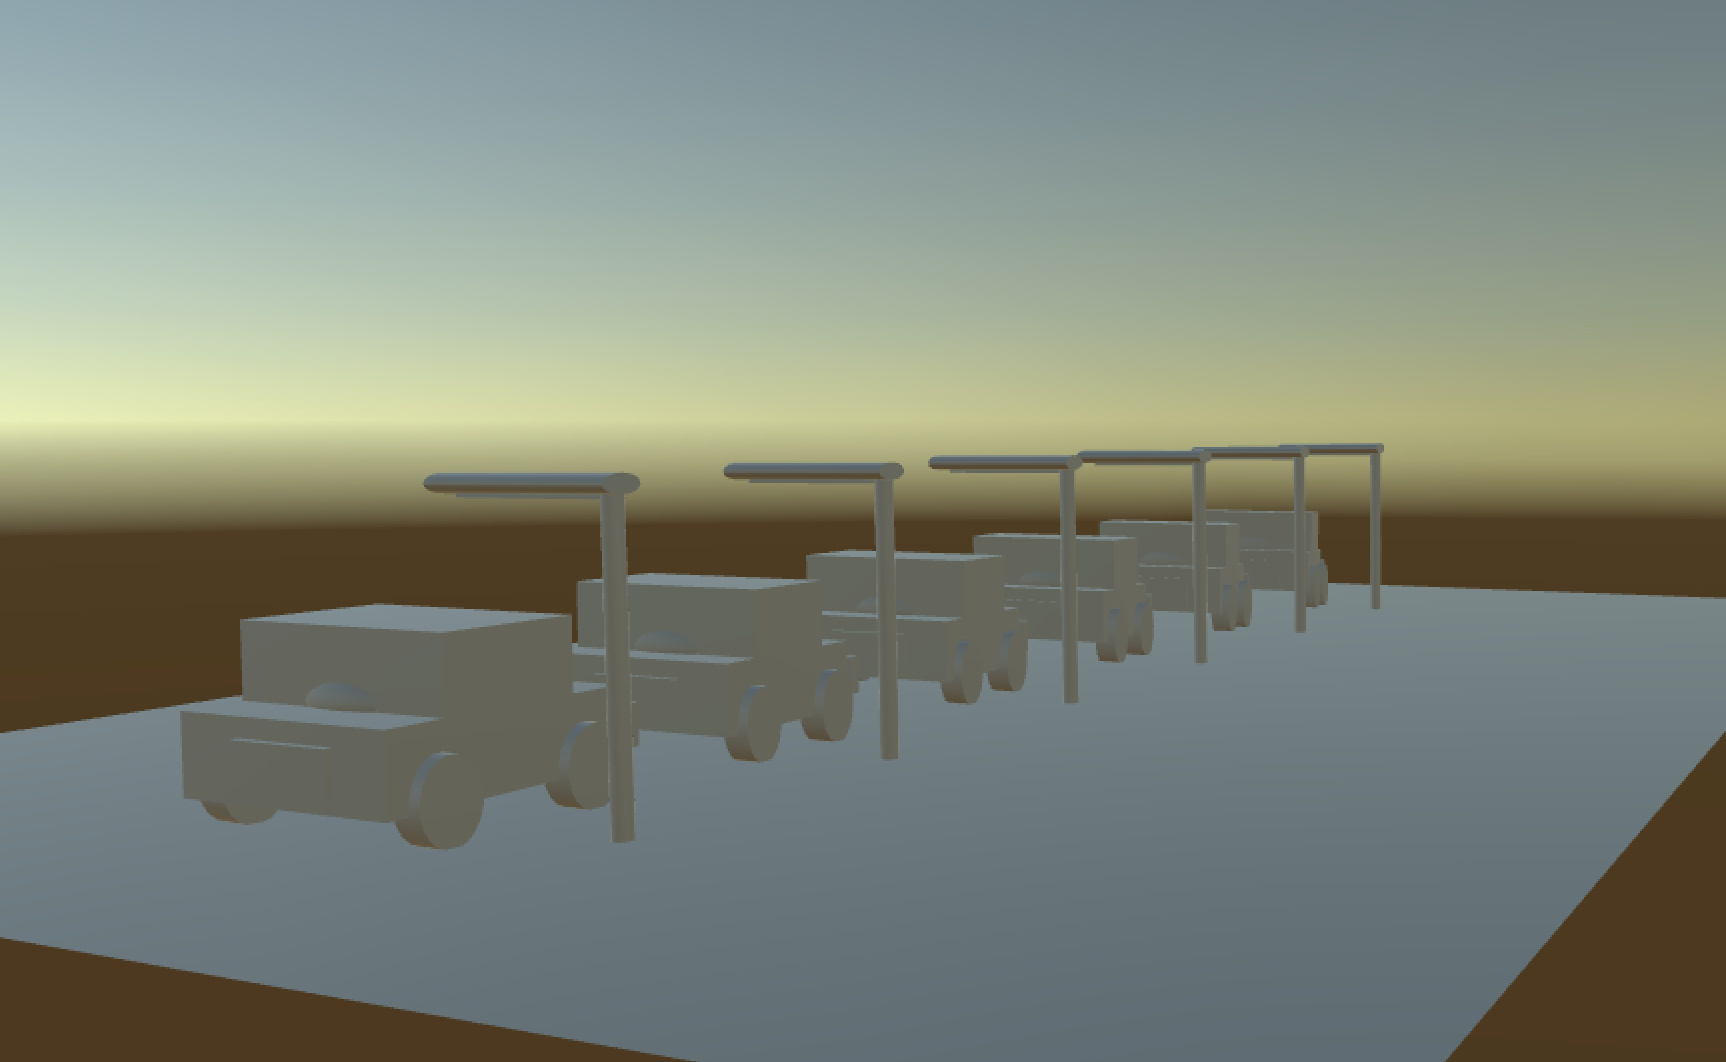
Nice scene, although you might want to place the camera at the other end so that the smallest cars are the ones furthest away from the camera etc.
Regarding taking the screenshots, you could either disable the relevant Gizmos, or, run the game, and then take a screenshot from the Game view instead of the Scene view.
Hope this helps 
Hey Rob,
That’s actually a nice idea.
Tomorrow when I get on my computer again, I’ll place the camera at the other end and also follow your further advice on disabling the relevant Gizmos and/or running the game.
That leaves me with two questions, though: how to disable Gizmos, and how to see what I want to see (the Scene, in this case) within the “Game” tab (since this I tried, but all I could see was the horizon but no game objects)?
Thank you for your feedback!
You’re very welcome.
Regarding the Gizmos, if you look along the top of the Scene view you’ll see a button named Gizmos. Click on it and a lengthy menu will appear, you can then tick/unstick items to show/hide them.
![]()
Regarding your second question, the reason for this is that you camera will be pointing away from what you have created. If you select the main camera and then goto the GameObject menu item you will see an option that says Align with View.
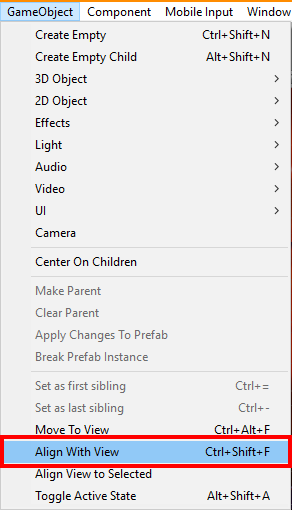
This will update the transform position and rotation for the selected GameObject (the camera in this case), to however you are viewing the scene. Now when you run the game your camera will be aligned as you set it, and importantly, facing your creation.
Hope this helps 
You’re an angel. Thaaaanks.
After I’ll follow your steps, I will attach the resulting (2.0) screenshot!
You’re very welcome, I will look forward to seeing your updated image
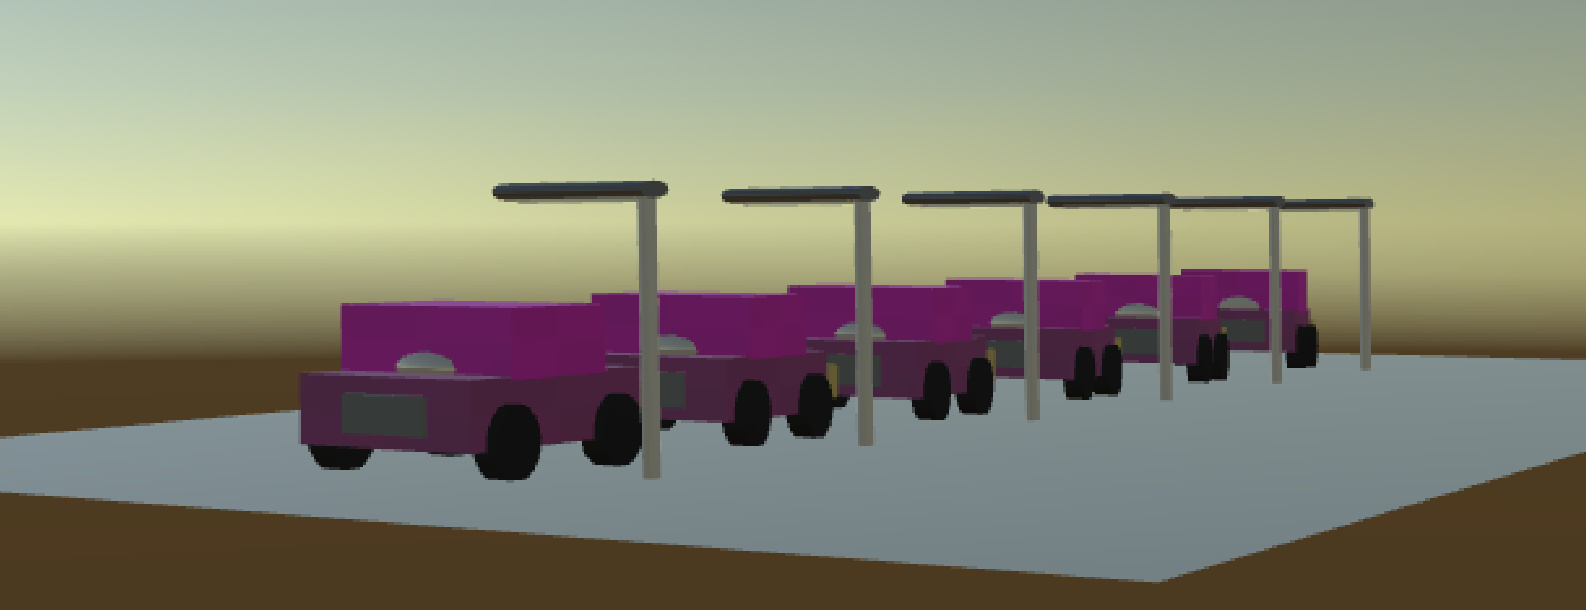
How cool is that! Well done Daniel, the perspective looks much better now with the cars getting smaller.
If you want to have a bit more of a play before moving on in the course you could look at;
For the colours, you can right-click in the Assets folder and choose Create and then Material. Give the new material a sensible name, perhaps Road for example. Then, with the material selected, you can set the Albedo in the Inspector to a colour of your choice. Repeat for the different models you want to colour in.
For the lighting, its a similar process, see if you can have a go at this yourself, create some point lights and perhaps have them directing downwards from the street lights, you can change things like the intensity and colours to give some really nice effects.
Finally, if you change the camera to use a constant colour instead of the skybox, perhaps something dark, you’ll be able to bring those lights to life.
If you get really adventurous, you could position some lights on each car which would then illuminate the back of the car in front.
Just some ideas if you want to experiment a little bit with your current scene before moving on. You will do all of the above in the coming lectures anyway.
Thank you for the challenges, Rob!
I have yet to figure out how to do the lighting part.
This is what I’ve got so far:
By the way, could you tell me what to do for it to look smoother?
I do not like the quality that it has right now…
Have a good night!
Hello Daniel,
Looking very nice, the materials/colours start to bring it alive, doesn’t it.
When you say about making it “look smoother”, what exactly do you mean? In this section of the course you are of course using primitives, so everything is going to have a fairly blocky feel to it.
Regarding the lights, you could try this;
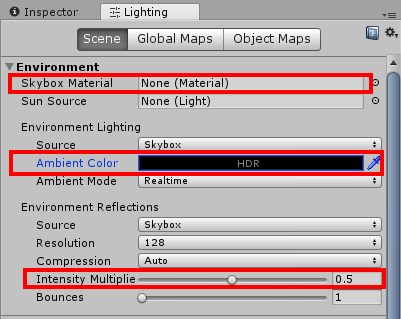
If you want to get a bit of a darker scene you can remove the Directional Light from the Hierarchy and consider removing the skybox also. To do so, goto the menu and Window, then choose Rendering, Lighting Settings
You can remove the skybox material by clicking on the circle selector to the right of the field and then selecting None
If you want a night scene, change the Ambient Colour to black, you can then later tweak/change this accordingly for the mood you want to set.
The intensity multiplier will effect the brightness of the lighting, try 0.5 if you want a dark scene.
I don’t know whether you created prefabs of your lamp posts, e.g. where you drag the GameObjects into the Assets folder and it creates a template etc. If you did, you could add the light to one of the lamp posts, and then apply the change to the prefab, you’d then get it on all of them. If not, you can still do it manually.
Below is a Unity package file, it contains an example scene, a very basic lamp post with a light attached using the settings I’ve described above. In addition I created a bulb for the lamp post, and a material for the bulb and set its emission, you’ll see this if you select the bulb material.
I’m sure you can do better, go play
LampPost.zip (26.0 KB)
Hope the above is of use