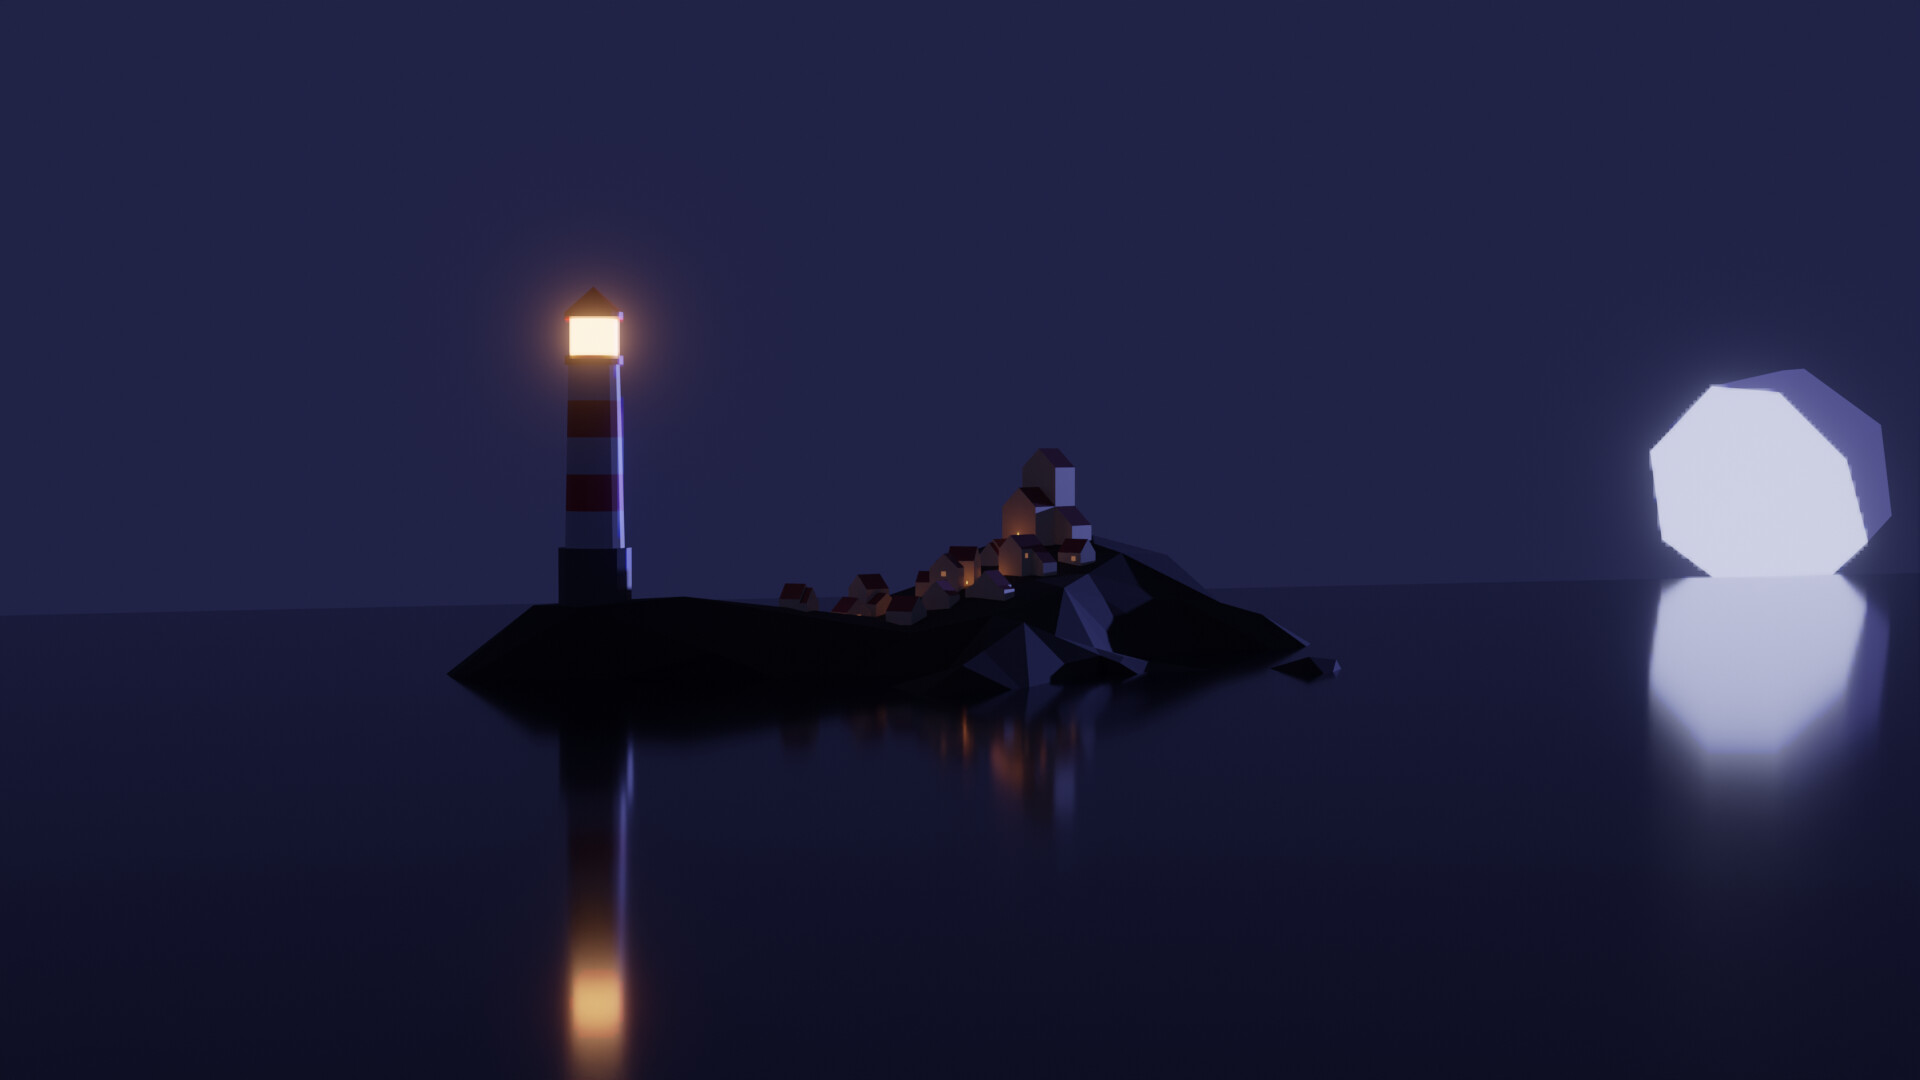
I somehow always underlight my scenes and/ or get an awkward camera angle and/ or just a messy composition. Gonna do the Blender Complete and see if Grant can’t teach me to stop being an elephant xP
Please let me know things I could do better and why, so I can learn to build my scenes properly. Thank you
This is probably your first project. So be patient.
There is so much more to learn in 3D and Blender.
I think you did a great job.
Just follow the course, and do many small projects.
Don’t stick too long at a project. Learn more and improve later.
Don’t think, like this is how it happens in real life.
A single sun or a single moon. Real physics is not what Blender can do for you.
Most things in 3D will be emulated! So just add lamps if you need so.
Use lamps to enhance certain dark areas
Use environmental light for global, which additional large area lights.
You need some advanced knowledge to use lights and to manipulate this into your scene. There is more that just adding a lamp
Also Blender use real world scaling in their calculations. This means make scene and objects in real size. And use Blender scaling (not the scale ‘s’ command) to fit your scene in Blender
Like a 100watt (bulp) Blender lamp has the correct physics applied when your room object is made in real dimension scale. Like 5 by 4 and 2.6m ceiling. For this you need to understand how light work in real environmental physics.
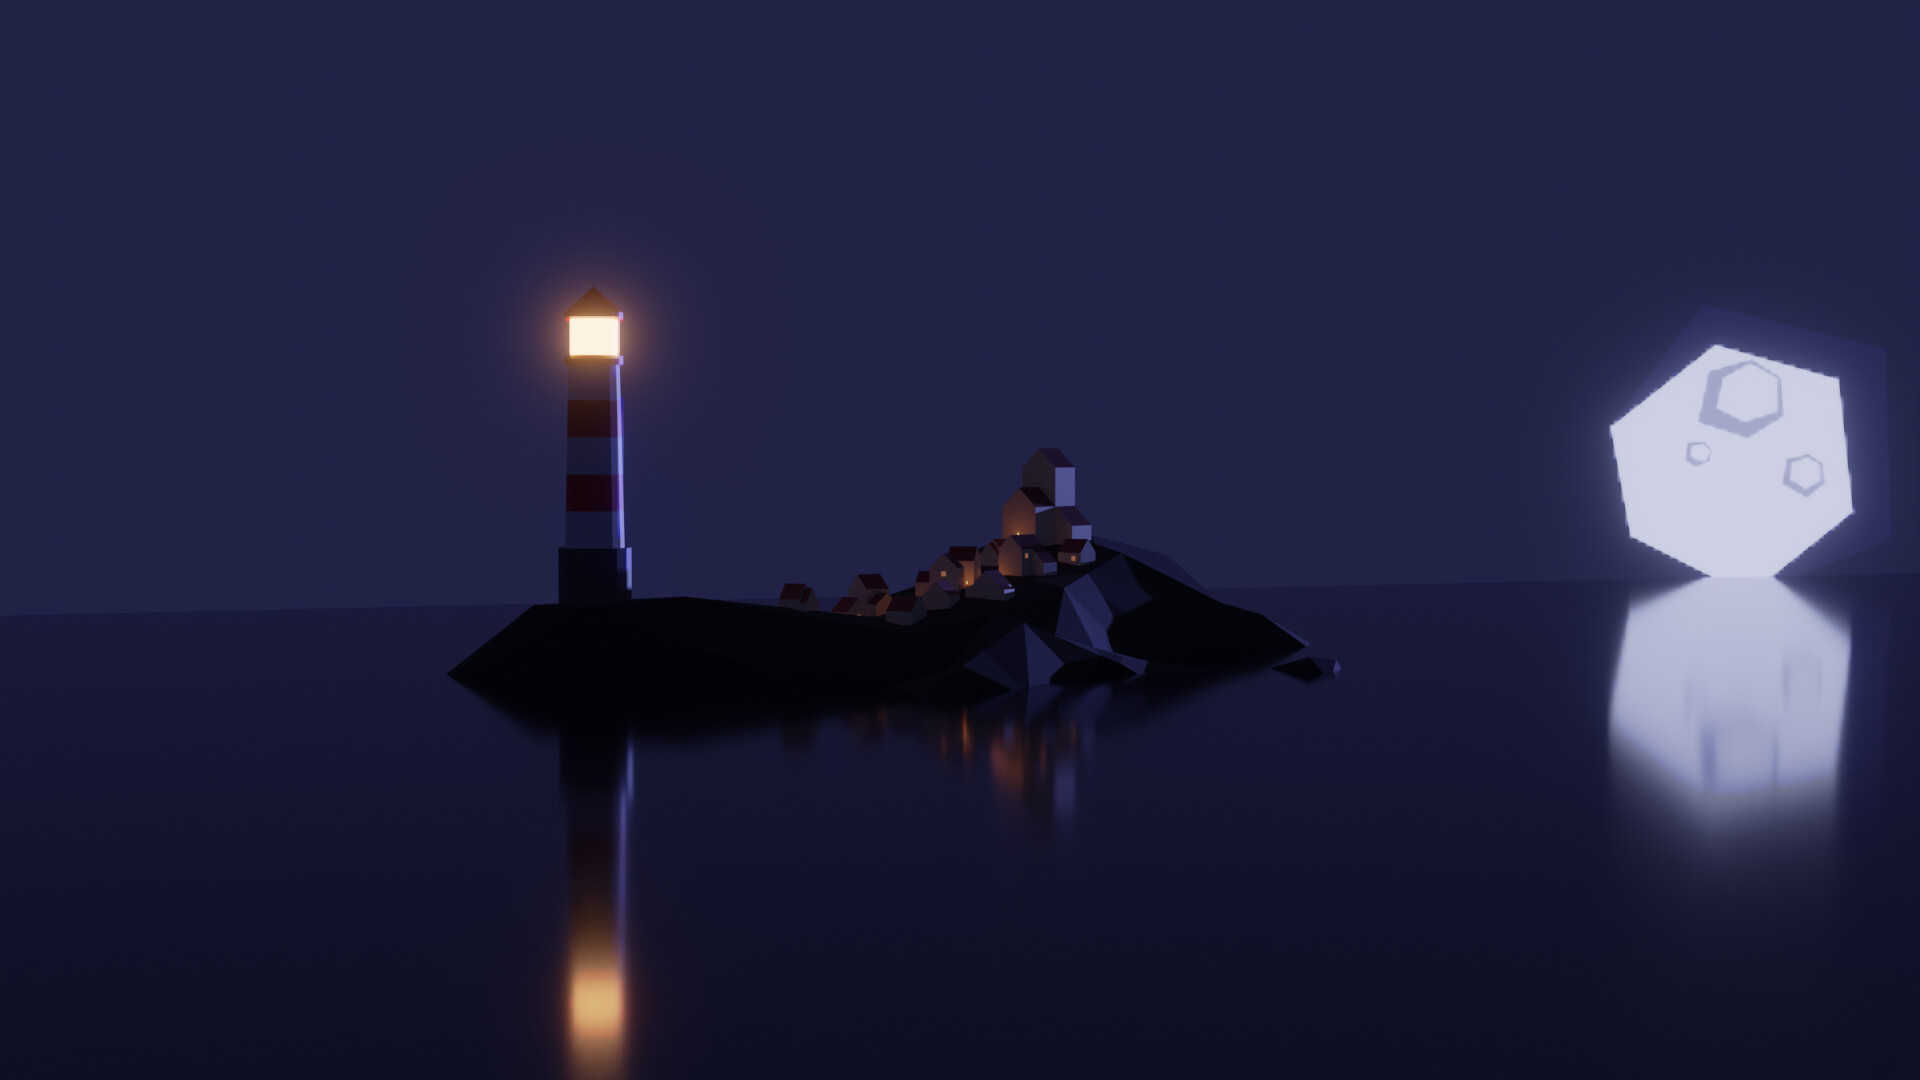
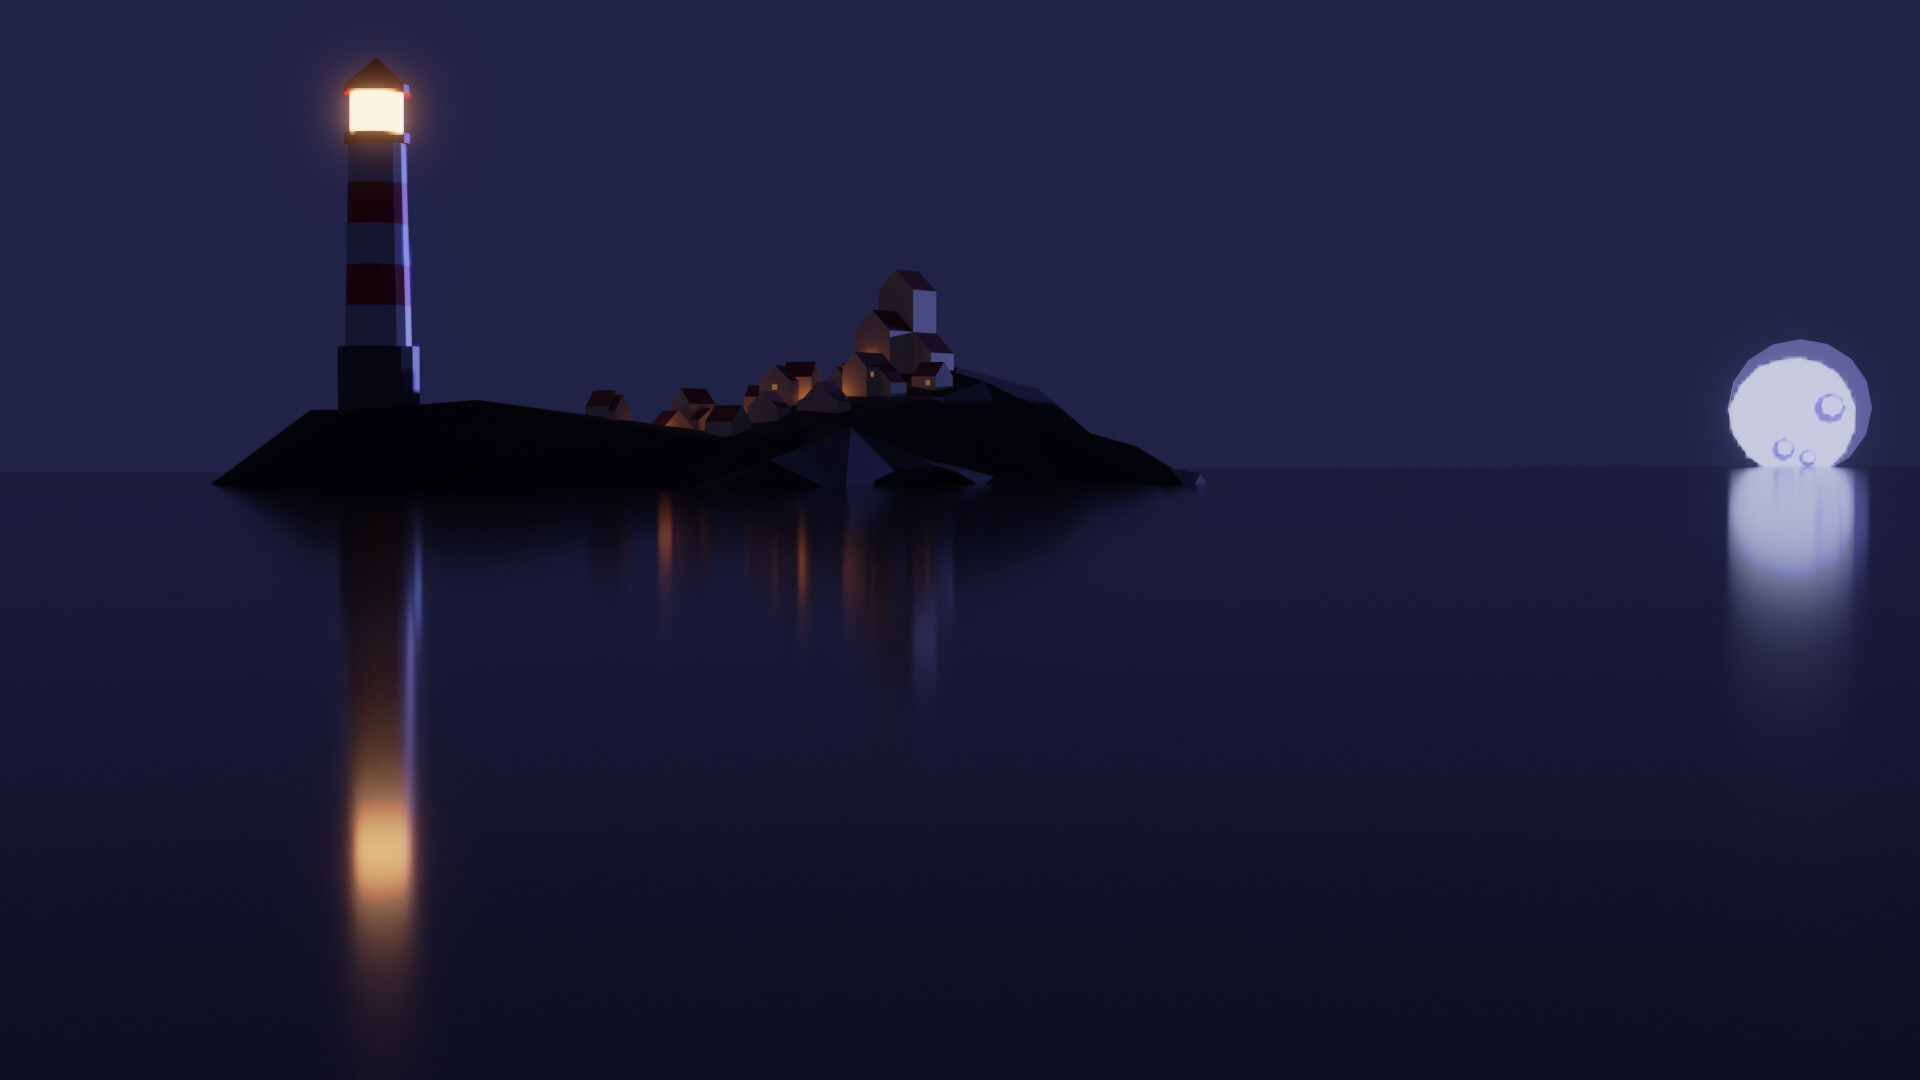
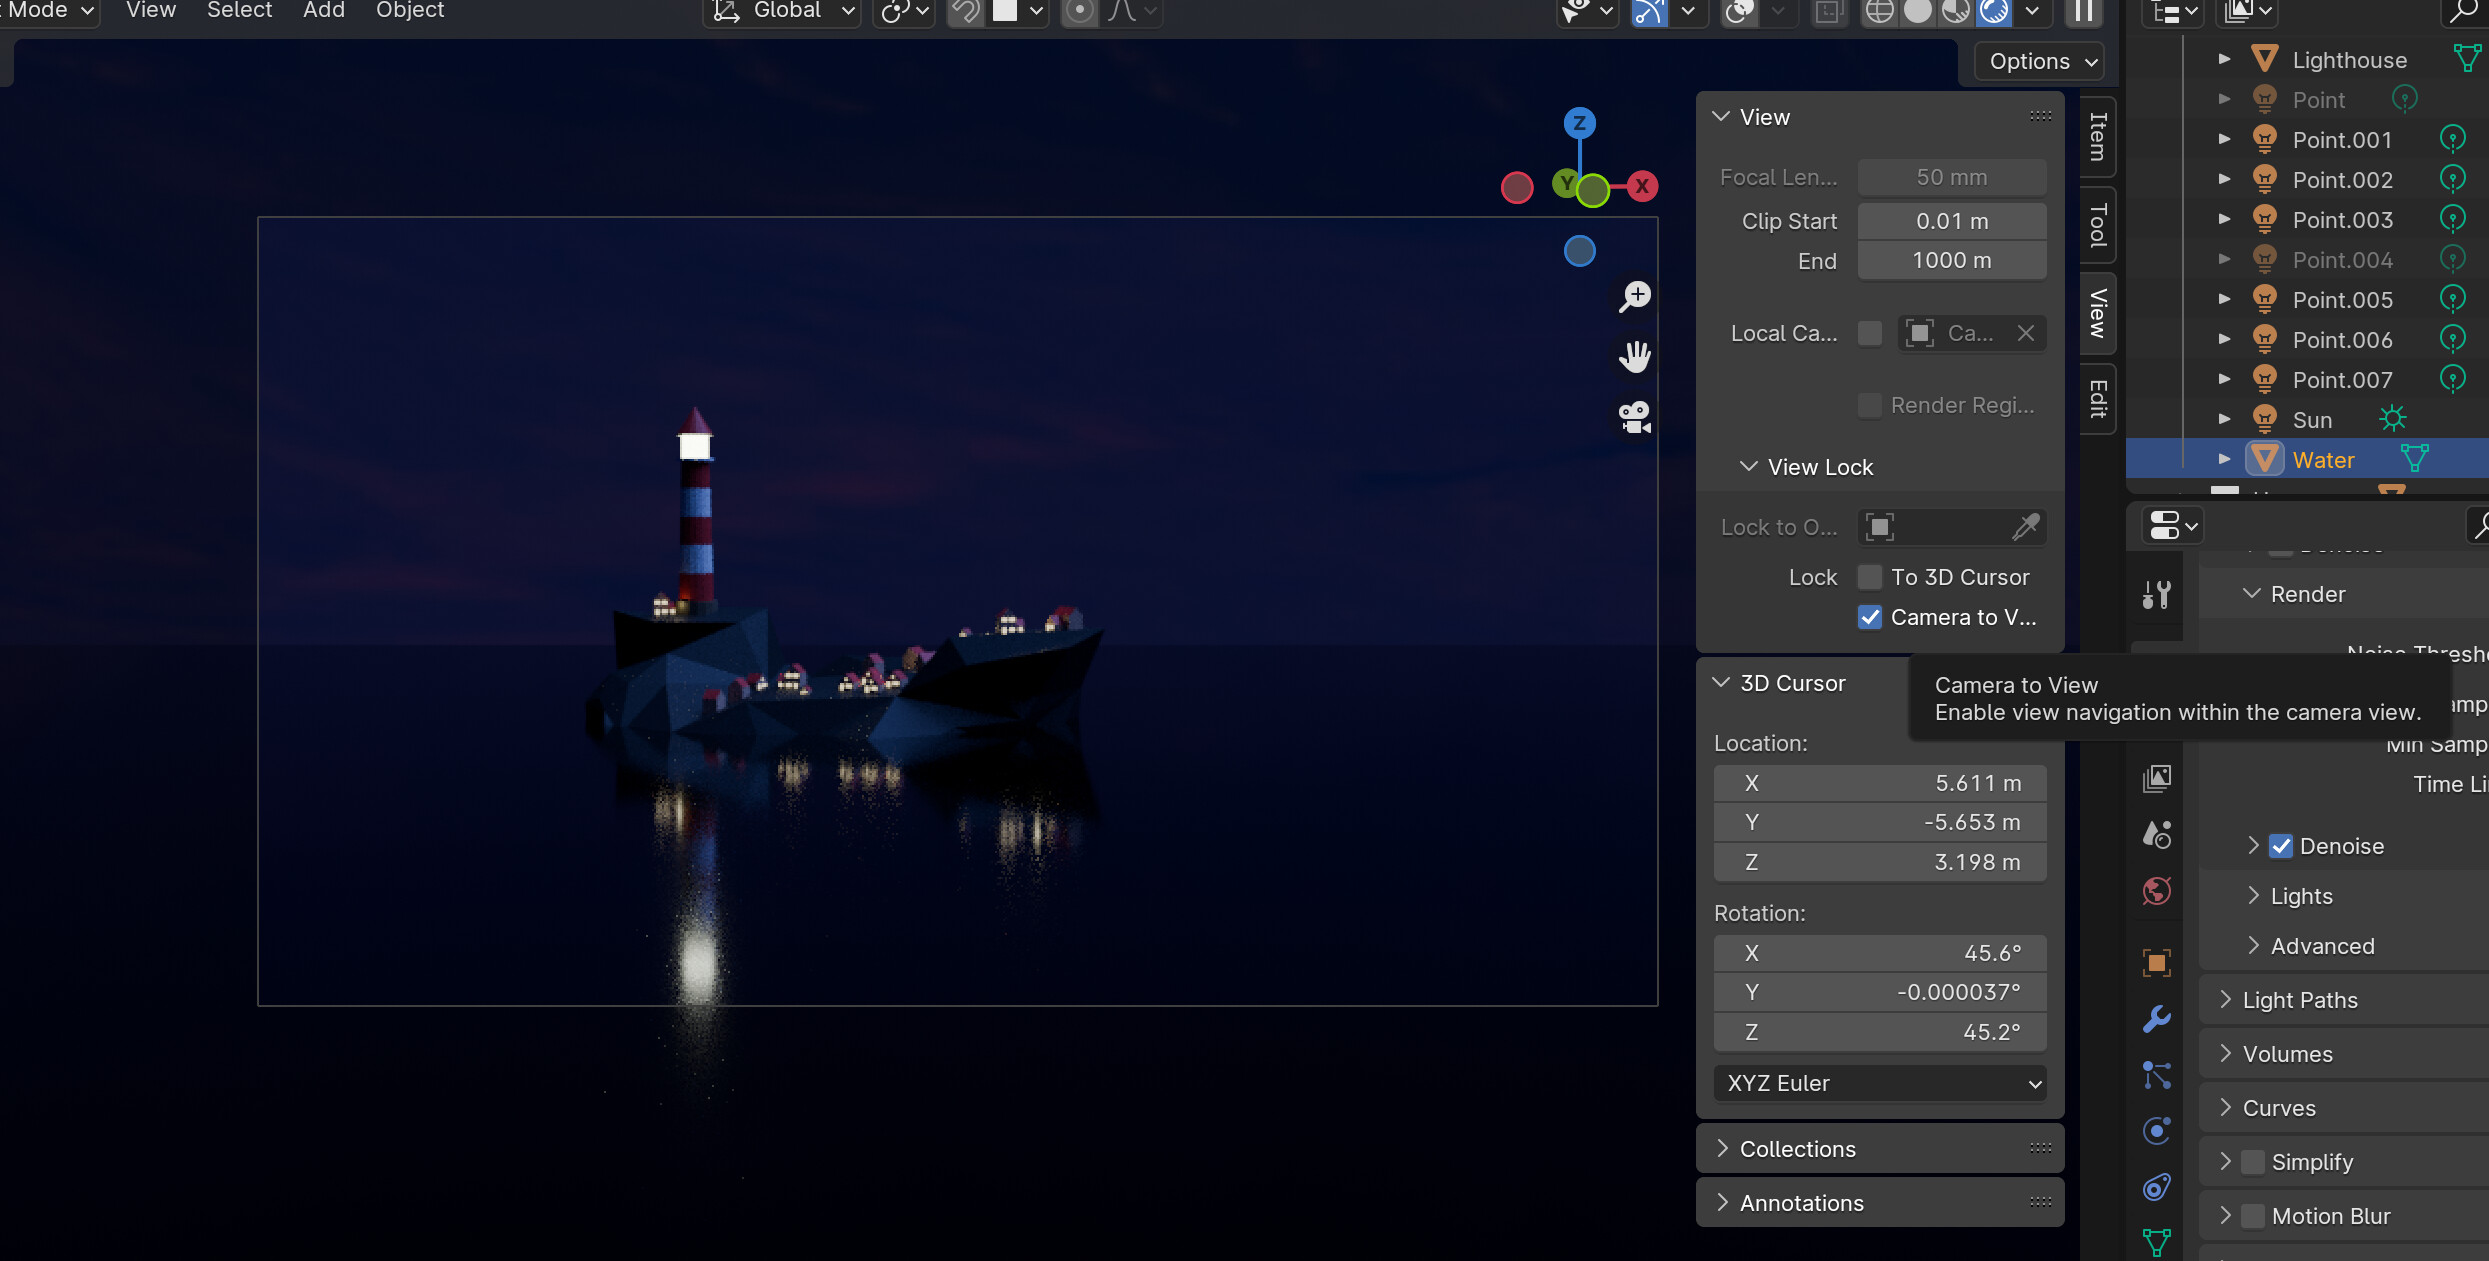
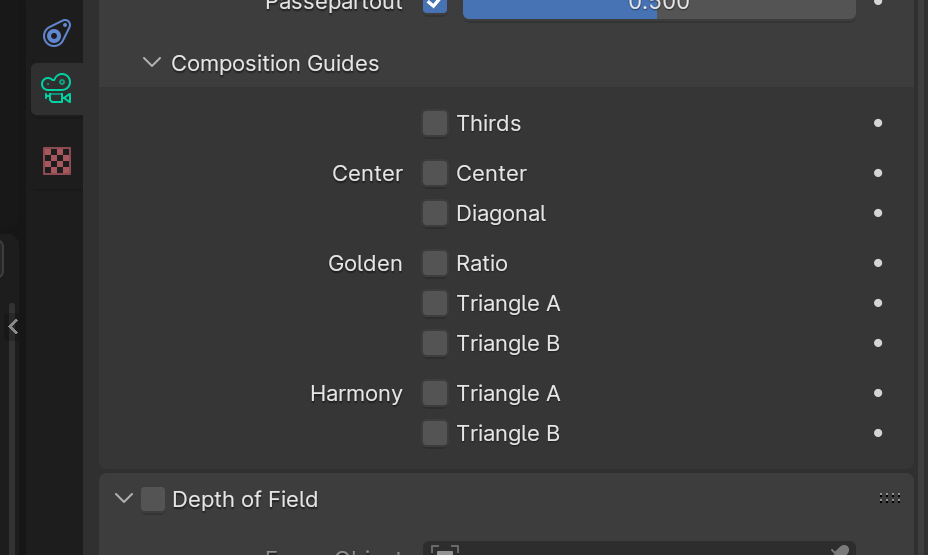
I like all of your stuff other than the moon was to bright in the first one. As for camera work. You may want to do what I do. Press numpad 0 or Tilde (The key will be to the left of the 1 key on the top row on a standard qwerty keyboard)->camera or click camera icon on the navigation gizmo. Press shift+Tilde this will put you in walk mode. w/s will move forwards/backwards. a/d will strafe left and right. q/e will move up/down. If your water plane is under the camera you can press TAB or G to toggle gravity on/off and walk around on the water. If you fall off the water plane just right click to cancel move and start again. You can hold ALT down with move keys to slow down. Also using wheel of mouse will speed/slow the movement factor. I personally find this easier to find my shots compared to lock camera to view. Once you find your shot left click to exit while leaving the camera there. Note: Based on your scale you may want to change default height.(F4->preferences->navigation->Fly & Walk->Check gravity and expand->change view height) Something like 0.4 or 0.3 will give the look like you’re on a boat taking a picture. Also play around with changing the Focal Length on your camera. 35MM will give more of a wide angle and feel like a picture. 85 to 100 mm will make it feel more like the shot was done with a telephoto lens. Of course you will have to adjust those because of the scale, but even using those will give different feel and impact your composition. This is more about cinematic composition but I think this video is great it’s by Tomorrows Filmmakers https://www.youtube.com/watch?v=KVBc2Pg81rw
Flow Studio: https://www.youtube.com/watch?v=9VVzCr3c9Jk and Studio binder: https://www.youtube.com/watch?v=hUmZldt0DTg are pretty good to.