Hi there. This feels like such a small question but I worry about missing this as it could affect stuff later re. normals. I’m a complete beginner.
Section 3: Low Poly Dino. Class 43.
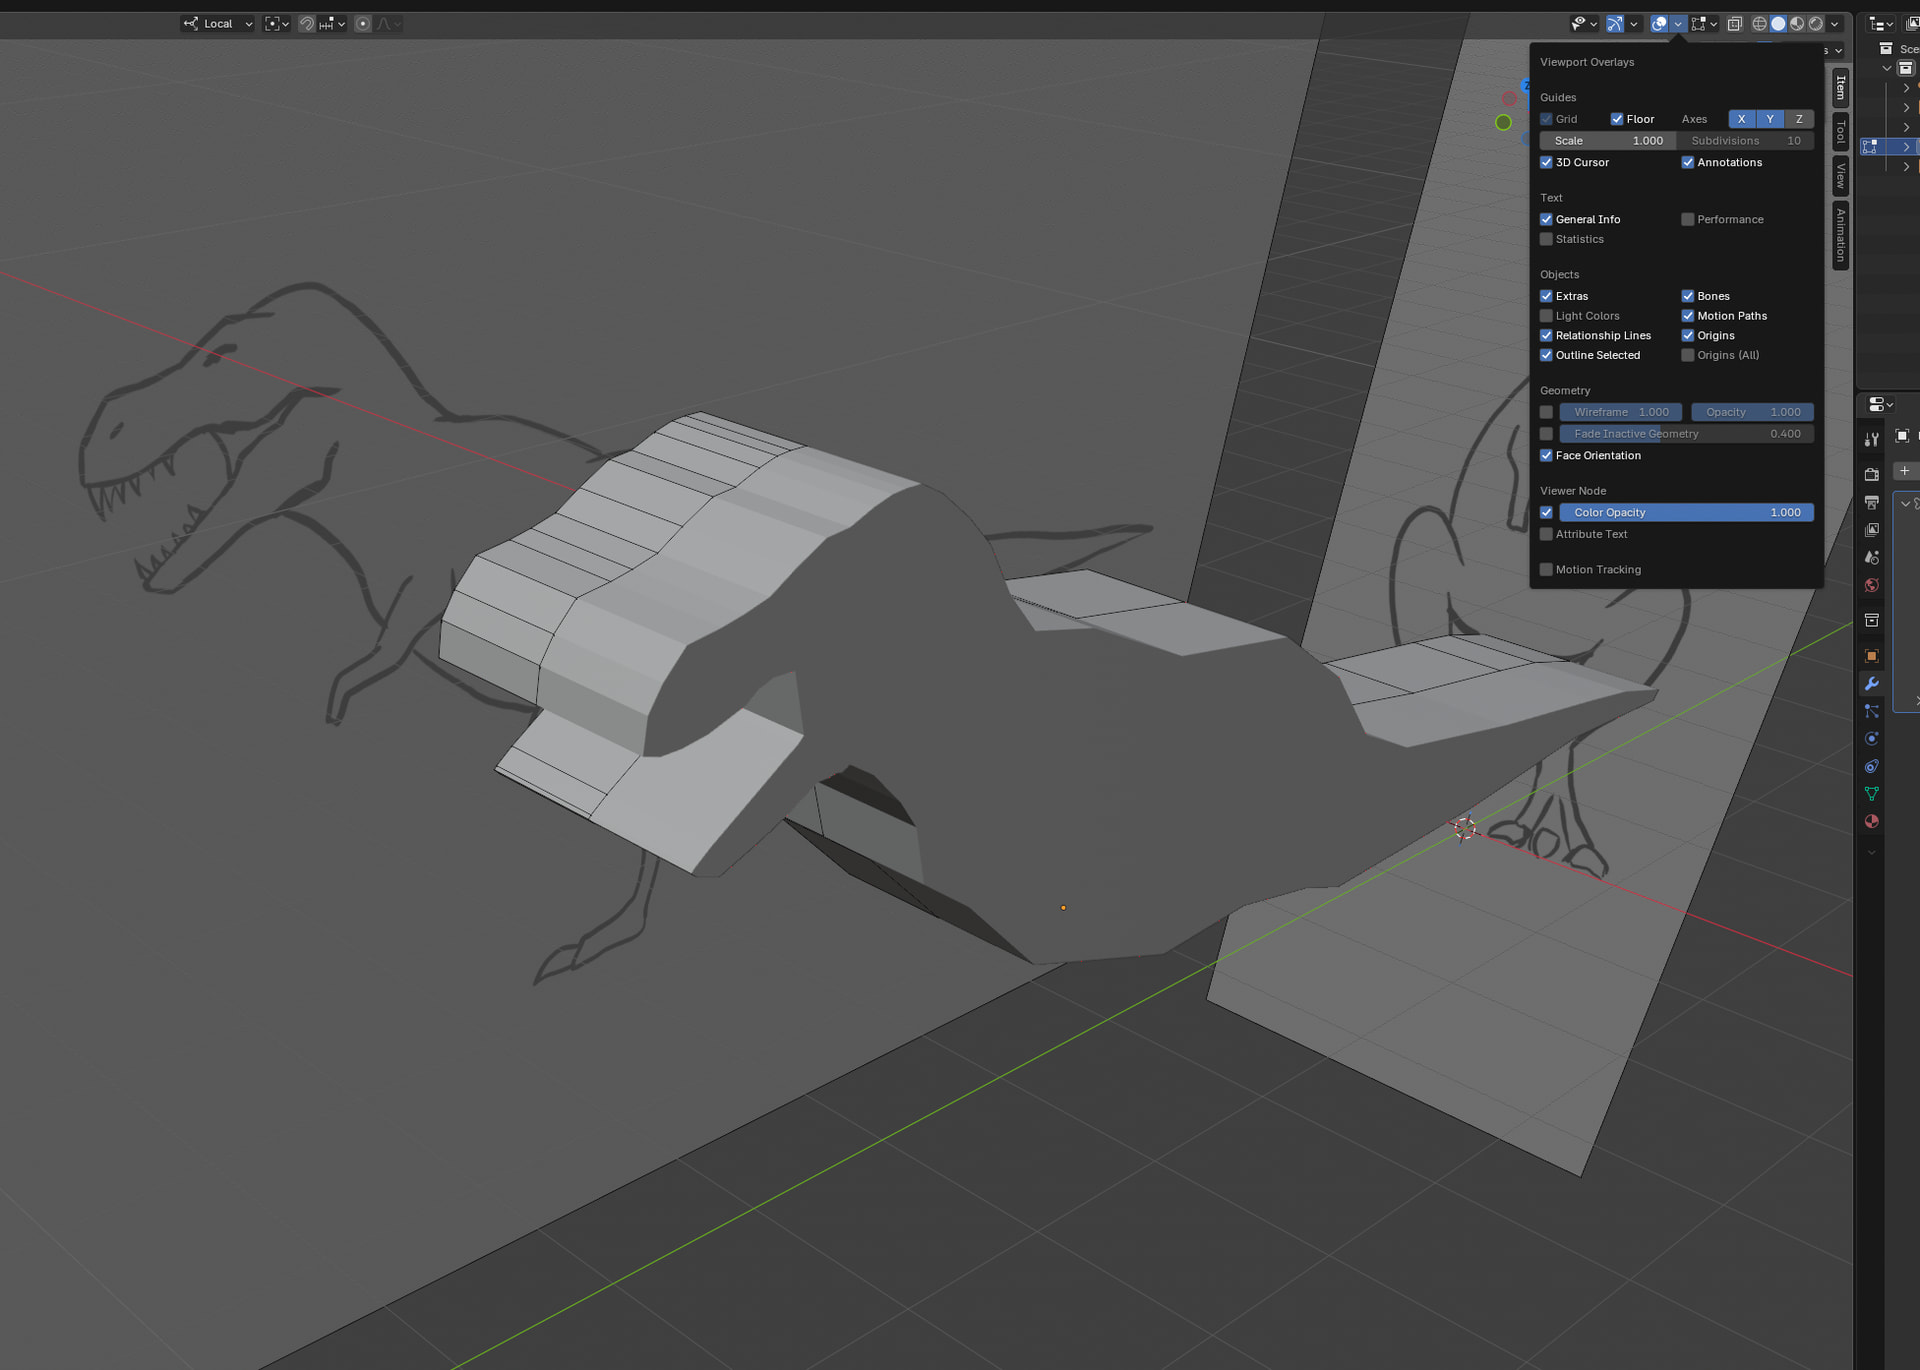
I’ve turned on Face Orientation after extruding out the mirrored dino, but it just looks grey in all Viewport Shading options, in both Object and Edit mode. Could anyone point to anything else I should click or if I’m missing anything? Thanks so much!!
That is quite a helpful visualisation, thank you. What has begun to happen is that Inset keeps suddenly having no effect - the inset corners do not appear, nothing appears.
I reset normals, checked everything is blue with no red shining through.
Also tried making a new cube mesh to see if inset would work - and it doesn’t, even though this cube is brand new. I’ve also checked if the faces I’ve tried to inset are quads and they are. Extrude and Scale works fine on those faces, it’s just Inset that does nothing. I’ve tried messing around with trying different Transform Pivot Points, all to no effect.
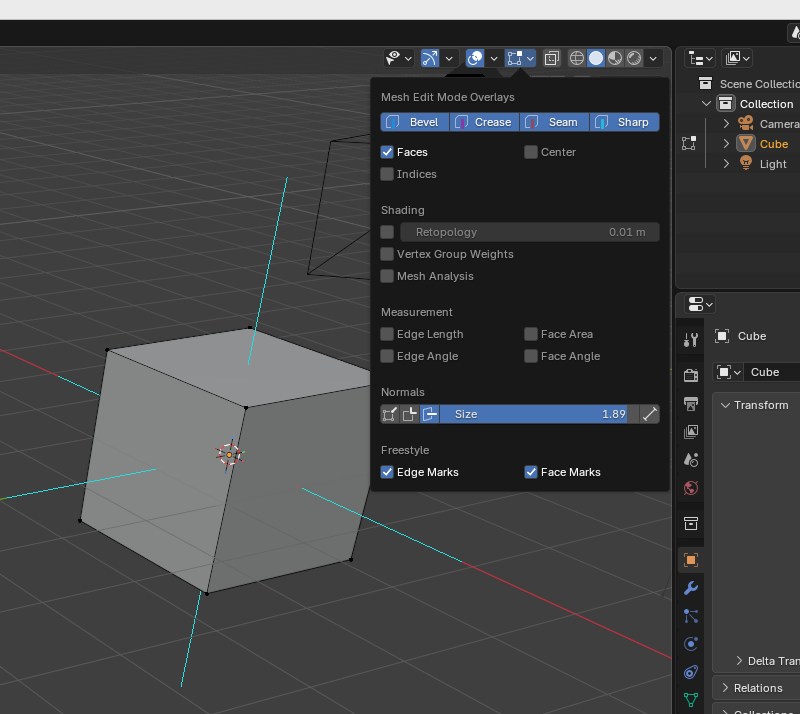
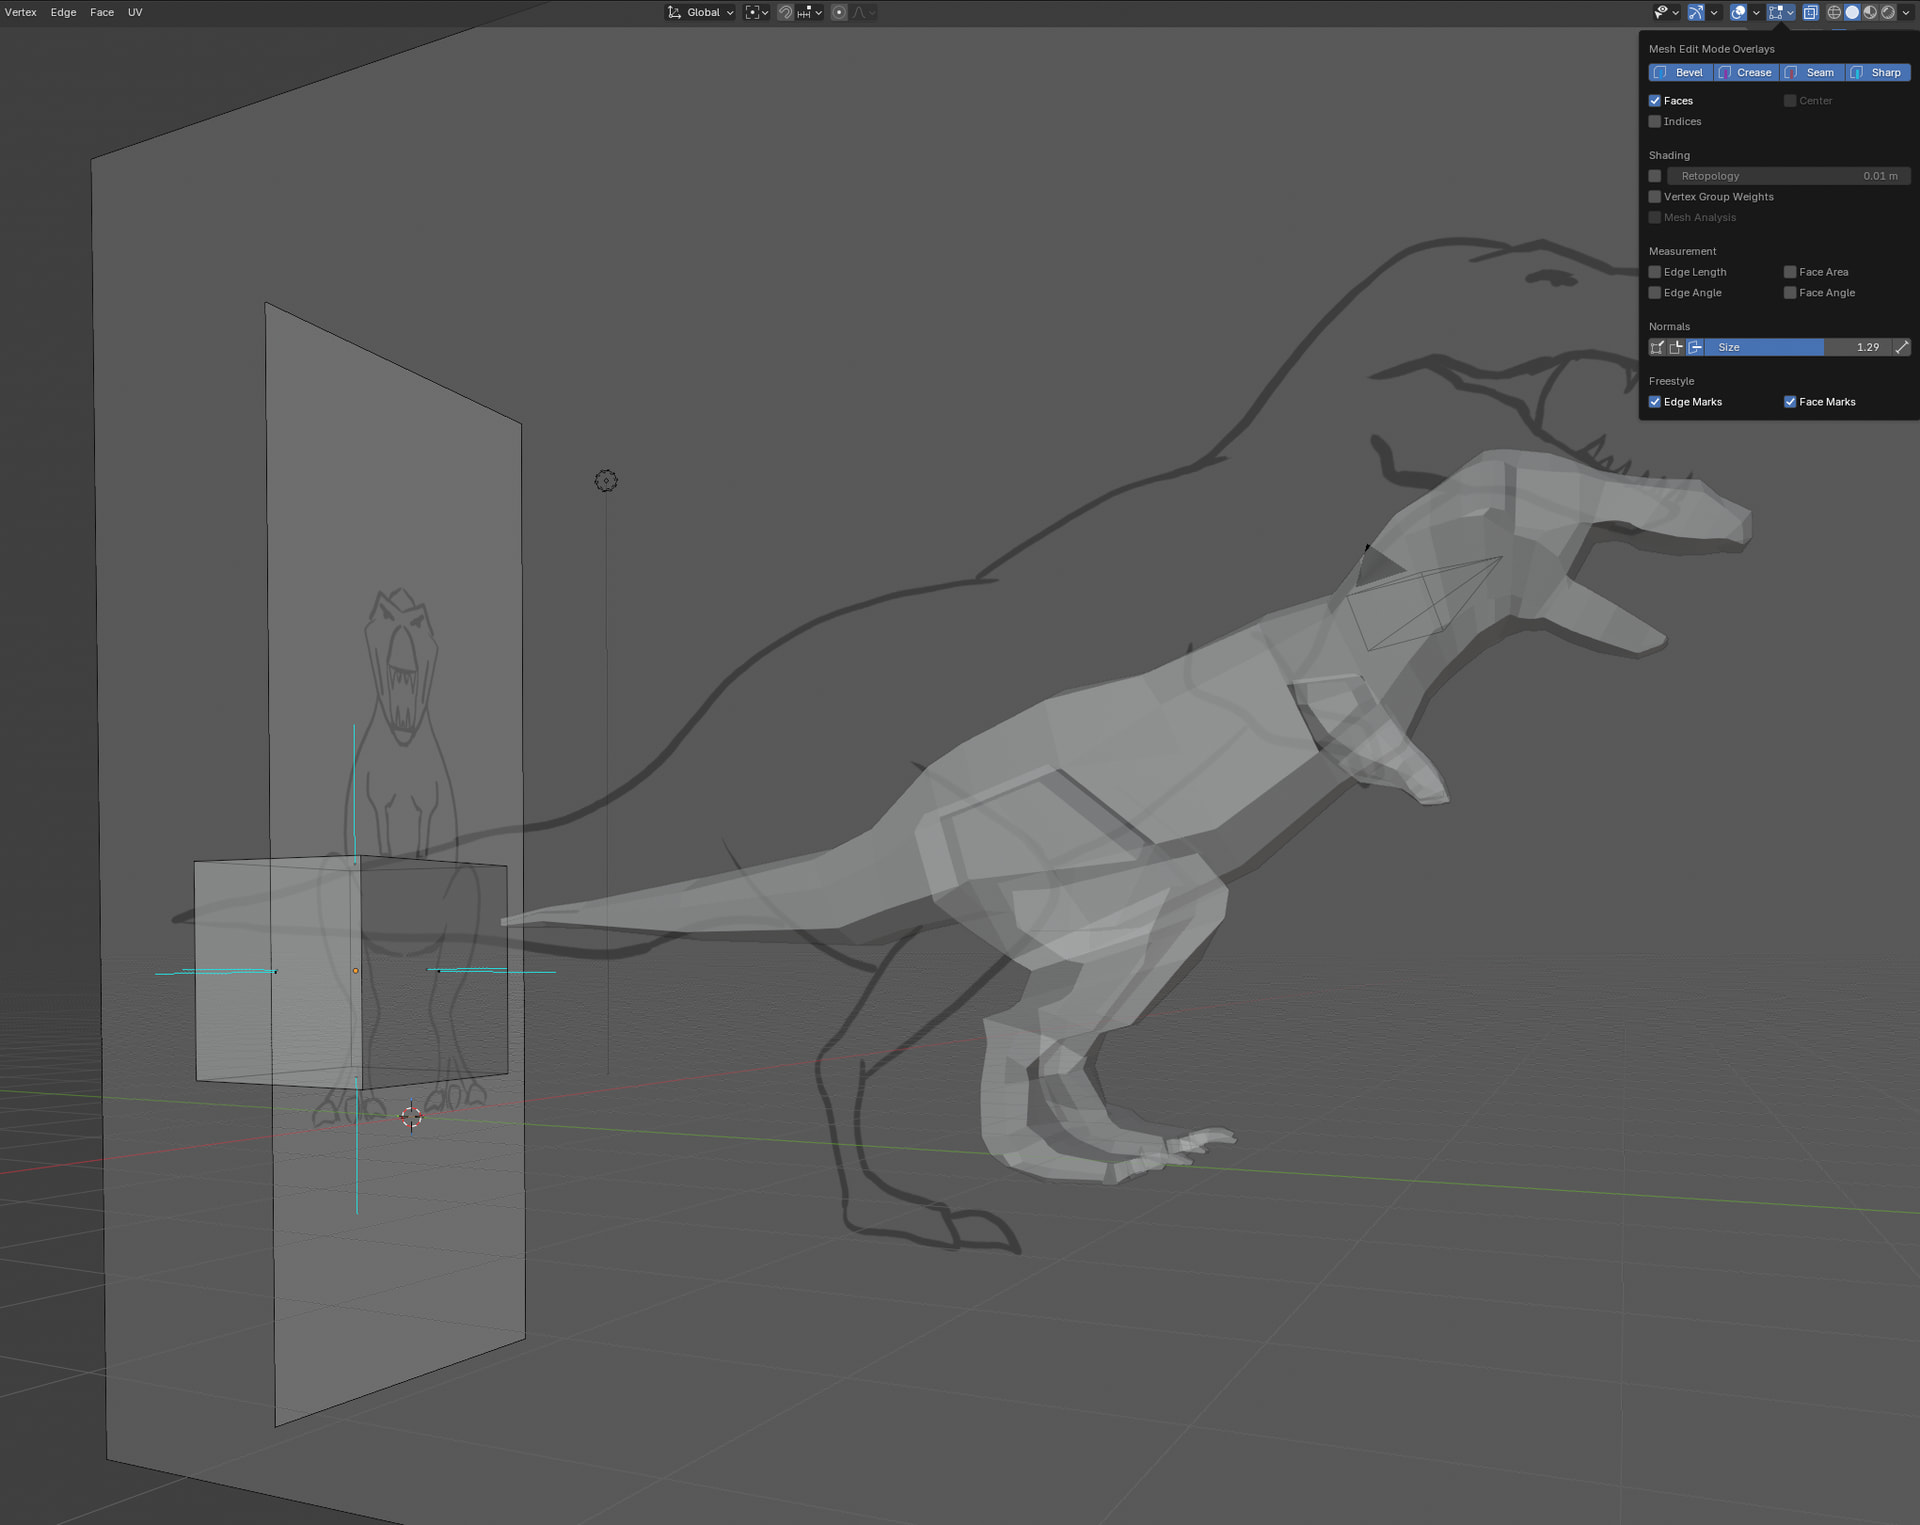
Attaching pics of the normals - first the fresh new cube that doesn’t inset and also the dino with the face I wanted to inset comically extruded to show you which one.
Basically: select a face then press i (lowercase) and move the mouse cursor for scaling.
Be sure you don’t have overlapping faces, which occur mostly when students are beginning to use the extraction tool (the e hotkey).
select model in edit mode and press a for all. (lower case a)
Then ‘m’ for merging and choose by distance. You can fiddle the distance but for overlapping faces, keep it the default.
If you have double face, vertices, then below in the system message bar you could see “Remove X vertices”.
Other culprit.
As a beginner, using hotkeys can be a problem. Some hotkeys, just fiddle an option. And if you do that by mistake and or being unaware. A option can be inactivated …
Remember that some hotkey’s do work differently in the pannel where the mouse resided. So if you press i to insert, be aware that you mouse should be in the panel of the required action!
Most hot keys do some sort of same action in different panels. Like the numpad dot . which focusses on the selected object in the 3D-window (resetting also the zoom level (very handy)). But in the object overview panel, it will show you the active select object.
An old Blender trick was, or maybe still is, to start with a new .blend file from scratch!
So all hot key, panel and option are reset to default.
With this new .blend file, go to the main menu File and select Append.
In the file panel select you old project and select the object (dino), the (referec), or collection.
It will be imported into you new .blend file. No work lost!
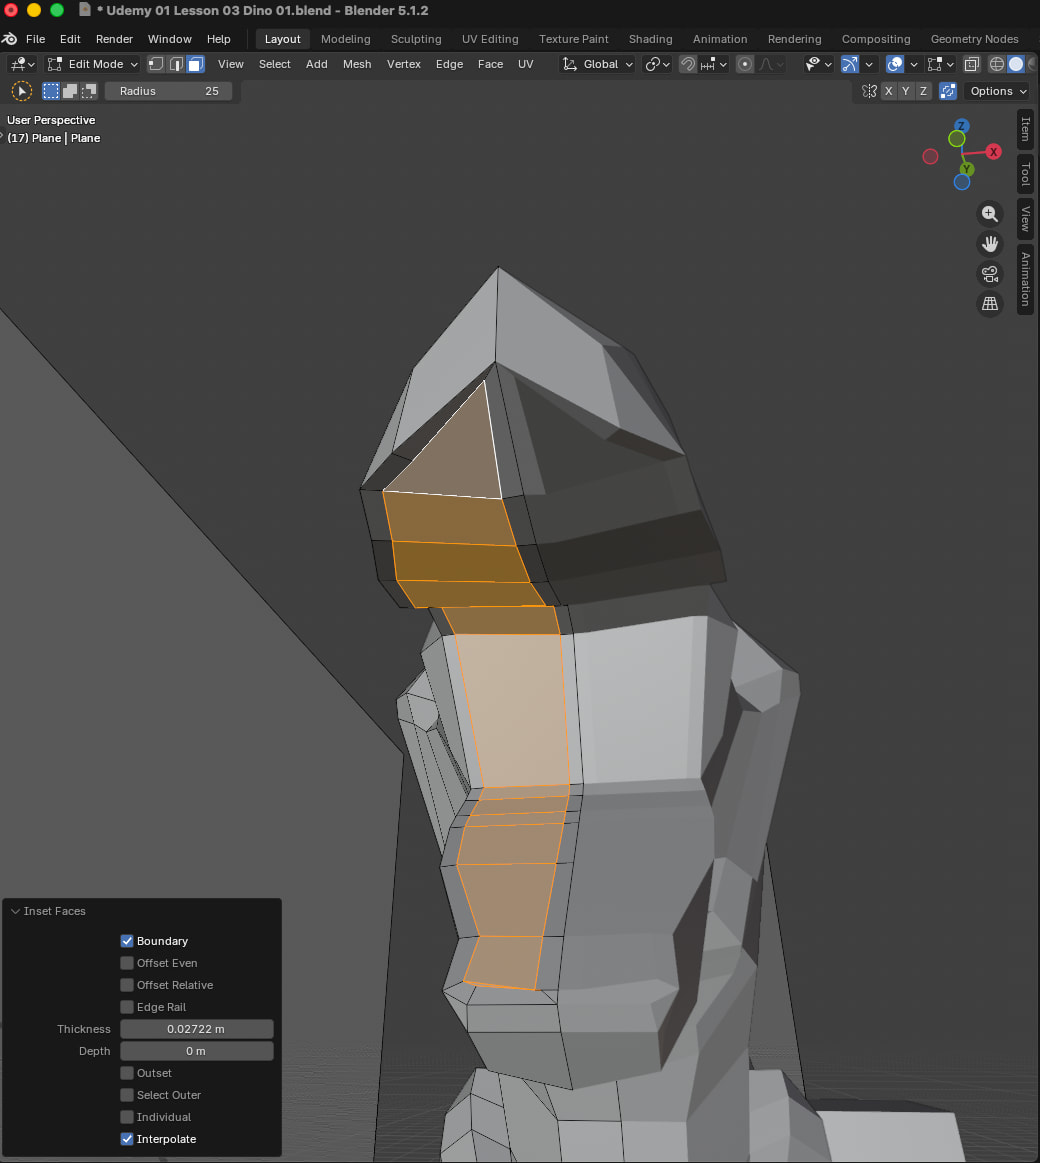
Have tried Merging by distance just in case there were multiple faces etc. Have now seemingly tried every iteration of Inset known to humankind but I can’t get it to ignore Boundary. Tried clicking out of Edit mode and in again. Tried on different faces / fewer faces.
I have Boundary ticked and unticked to zero difference. Any thoughts on what I can fix. I’ve been most stuck on this bit of the class so much more than any other bit so far
So I think what’s happened is that something went wrong much earlier, when I cut out the mouth in a previous step. The reason clicking/unclicking Boundary wasn’t working as expected is that there when rooting around in X-ray mode I found weird hidden topology and verts folded in, right at the Mirror seam - but only inside the mouth.
I’m not sure how that happened but I feel quite exhausted and defeated but I’m going to try and finish this Dino lesson and then somehow practice doing cuts again to see what went wrong and how to improve.
When the mirror modifier is active, you have the ‘clipping’ option.
This means that the vertices are clipped (merged) exactly in the middle of the mirroring.
This ensures that no gaps appear in the mesh in the center of the mirroring, as this can lead to strange results.
However, problems can also arise when clipping is enabled, because vertices are merged in the middle, causing the mirroring effect for that vertex to be lost.
We have all encountered these kinds of problems during the course. That is why we are taking the course: to get to know Blender and its sometimes strange behavior. But this is usually due to user errors, because we are unaware of the consequences of our actions. Be patient, ask questions, and keep studying.