Any idea how to change that ? I searched the web and I got nothing.
I looked in the settings (Edit → Preferences → Themes → 3D Viewport) and Viewport Shading as well but I can’t find a solution.
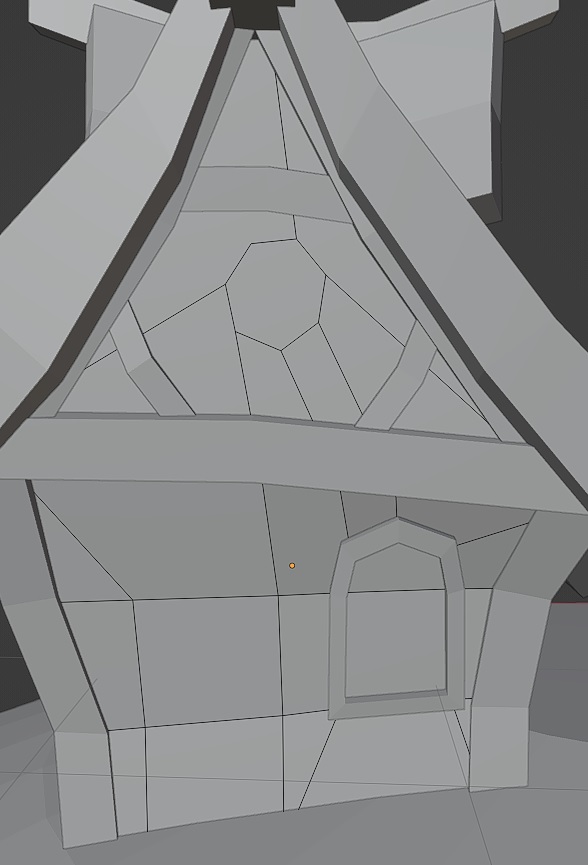
Viewport Shading → Color → Single can modify the default object color but it does that to all objects, both active and inactive, it would be nice to be able to modify the color just for the active as in the video (first image ^).
The grey face variations, are a way for Blender to communicate with you.
Hard to see sometimes, you need a bit of experience.
Most probably cause, is that you inverted a single, or multiple faces.
Or face managed, manipulated … etc.
Basically, a face has only one visible side. The other size is transparent!
But Blender ignores this rule (only game engines do), but will give it a different grey color.
The front of a face is marked with a ‘Normal’ line. By default, this is turned off!
Or you switch on the ‘Face’ direction color. As seen below image
Red means inside out, Blue is good, the front of a face.
The selected face, or faces, are ‘illuminated’ already, standard Blender visual aid to see they are selected. I am unsure as to what different you are aiming for.
Ultimately you can colour every face a different colour if you can be bothered. Just in this viewport colouring, or the main proper one used for rendered views.
Perhaps you have not got to the texturing parts of the course yet? More understanding of multiple colours on one object etc.
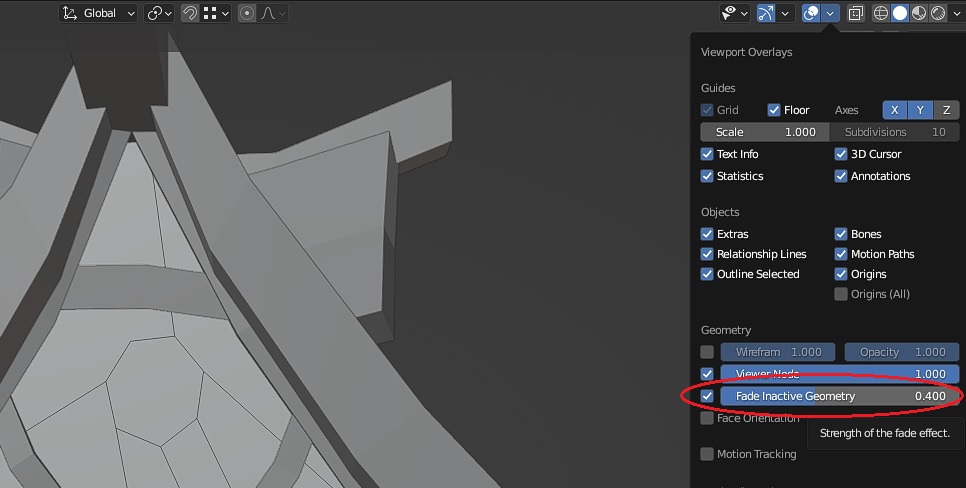
Well done finding what worked for you.
Must say I have never noticed or wanted this option but that is the beauty of Blender so many options to fit different users.