So in Newer Unity Versions / Probuilder (2019.4 and later), you cannot change the Vertex colors. There are 2 ways to change the Vertex Colors of the selected faces (I prefer the second Method):
-
https://community.gamedev.tv/t/cant-change-color-of-selected-faces - If you follow this, it does work. But although it does work, you are left with a very solid color object with no detail. While for this project it may not matter, if you want to keep the detail I suggest the below method…
-
Create a new Shader and apply it to the default material for Probuilder
First, Create → Shader → PBR Graph OR
Create → Shader Graph → URP → Lit Shader Graph
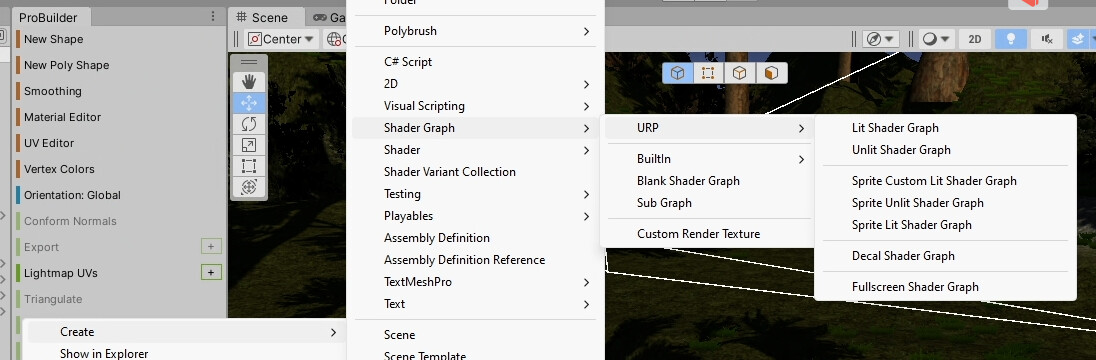
Give your shader graph a name, select your shader and then open the Shader Graph Editor
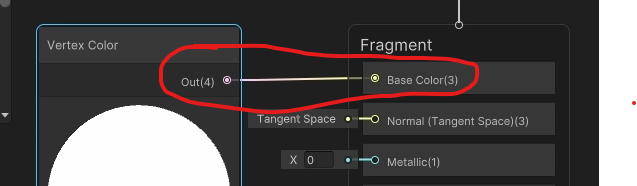
In the Shader graph, Create a New Node (right click and create node)
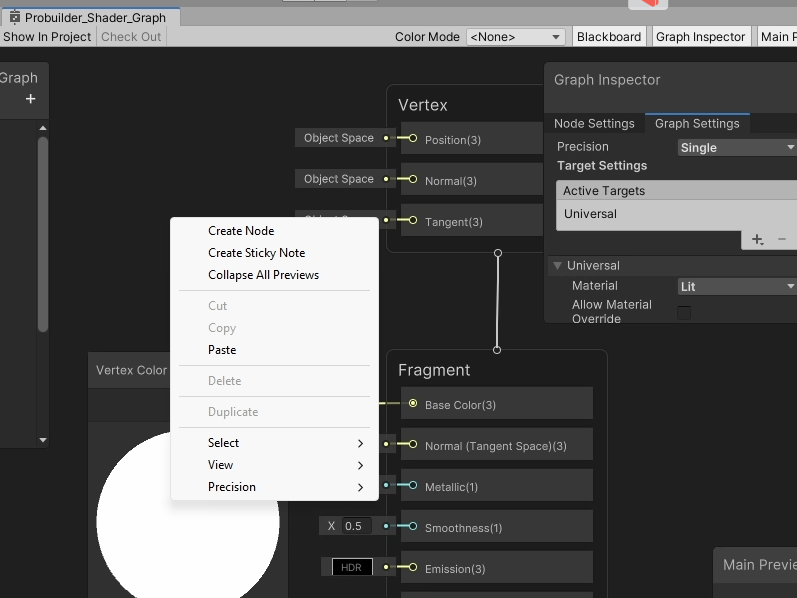
Search for “Vertex Color” and add the node
Connect the out of the “Vertex Color” Node to the Albeido (Base Color) and save the graph (save asset)
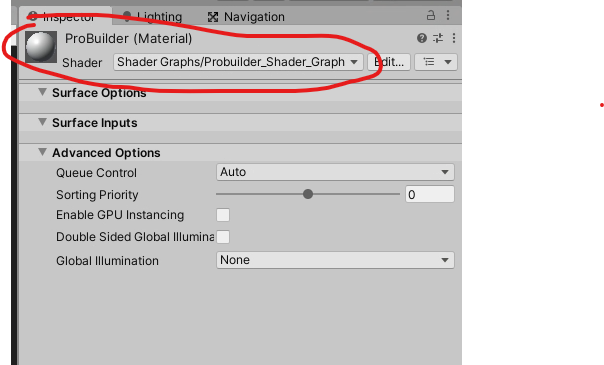
next, create a new material and give it a name. In the inspector for the new material, change the shader to the shader you just created
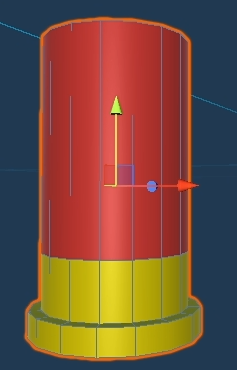
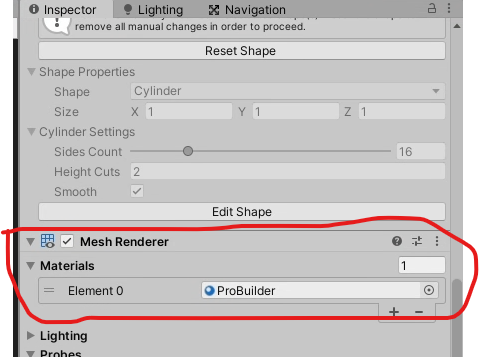
Now, on your ProBuilder Shape that you created, Scroll down to “mesh Renderer” and change the Material to the material you just created.
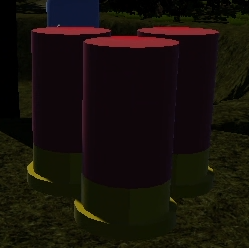
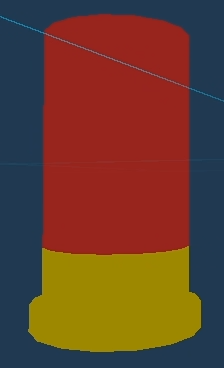
Now, when you edit your Vertex colors, the colors will show, and you will retain the mesh details / shadows
(The first way of doing it)
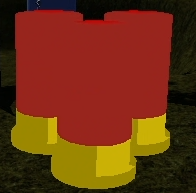
VS
(The method I prefer)