
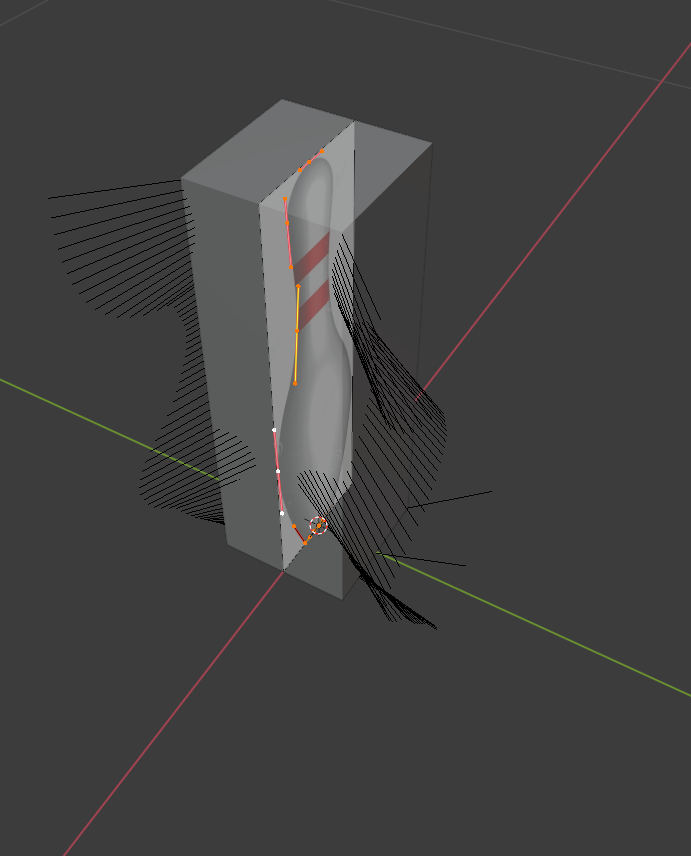
I have finished my Bezier Curve, albeit with a slightly “off-path” modification:
- Flat Bottom: I have 6 curves, (started with 7), but changed the bottom two vertices into vectors in order to get that flat bottom we were told would be difficult to do.
I made my Resolution Preview number 15. Anything less seemed slightly blocky to my eye.


Some extra things I learned:
-
In Blender 2.91 you may not get those nice looking “V” shapes along your line unless you go to “Show Overlays” beside the x-ray icon on the top right, then tick a box at the bottom of the menu below a section named “Curve Edit Mode”. You can turn the “V” on an off here, and change when your “V”'s will show up. You may also control how long these “V”'s are here by adjusting the spot called “normals”.
-
Vector: I learned that you can combine a vector Curve with your Bezier curve.
-
Handles: I saw in later parts of the video that not only could I rotate the outer handles around the control point, but that I could also extend or shorten the same. This helps create better and more accurate curvature.
-
Fade Inactive Geometry: Yet another way to fade things, albeit everything that is not active. I found this in the “Show Overlays” while the “Viewport Shading” was active.