
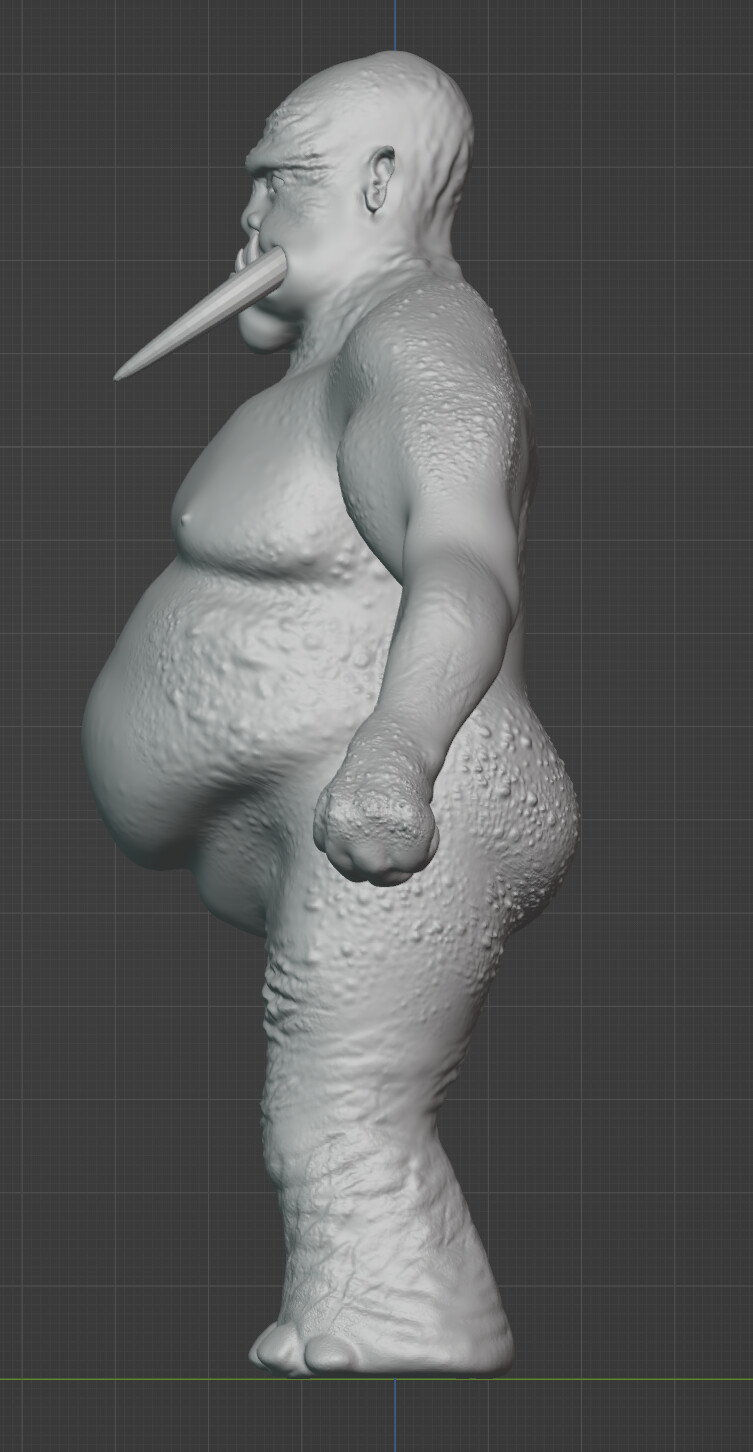
I had issues with the links in the tutorial. Textures.com especially still isn’t giving me my free credits, and as I plan to make my own assets in the future, figured I’d start now. Found a good alpha of frog skin for the warty look. The rest was a full colour image of elephant skin that I cropped and adjusted myself - just using windows photo editor. I’m pretty pleased with the result.


4 Likes
Phenomenal job 

1 Like
Learning to make your own textures, alphas, will be good.
Very nice Ogre sculpt.
1 Like
It honestly wasn’t too hard. They were… very odd and jagged at first, but adjusting the strength, and tapping the pen to smooth gave it the perfect look! I also could have made the textures a lot “better” but was trying to just grab a quick effect. In the future, I’ll throw it into some corel software and either hand paint the textures, or more carefully edit the levels and such.
Absolutely loving this character though!
1 Like
It looks great!
May I ask how did you adjust the image to turn it into an alpha?
It just sounds so useful
1 Like
Ideally i should have used a photo editing program and adjusted the levels. But it was possible using just the windows editor.
I found an image that had a texture that i liked, saved it, right clicked on it and said edit with windows photo or whatever it’s called (sorry, not at my pc right now). If you just double click to open the photo, you are looking for this: (photo used in these examples is my own)
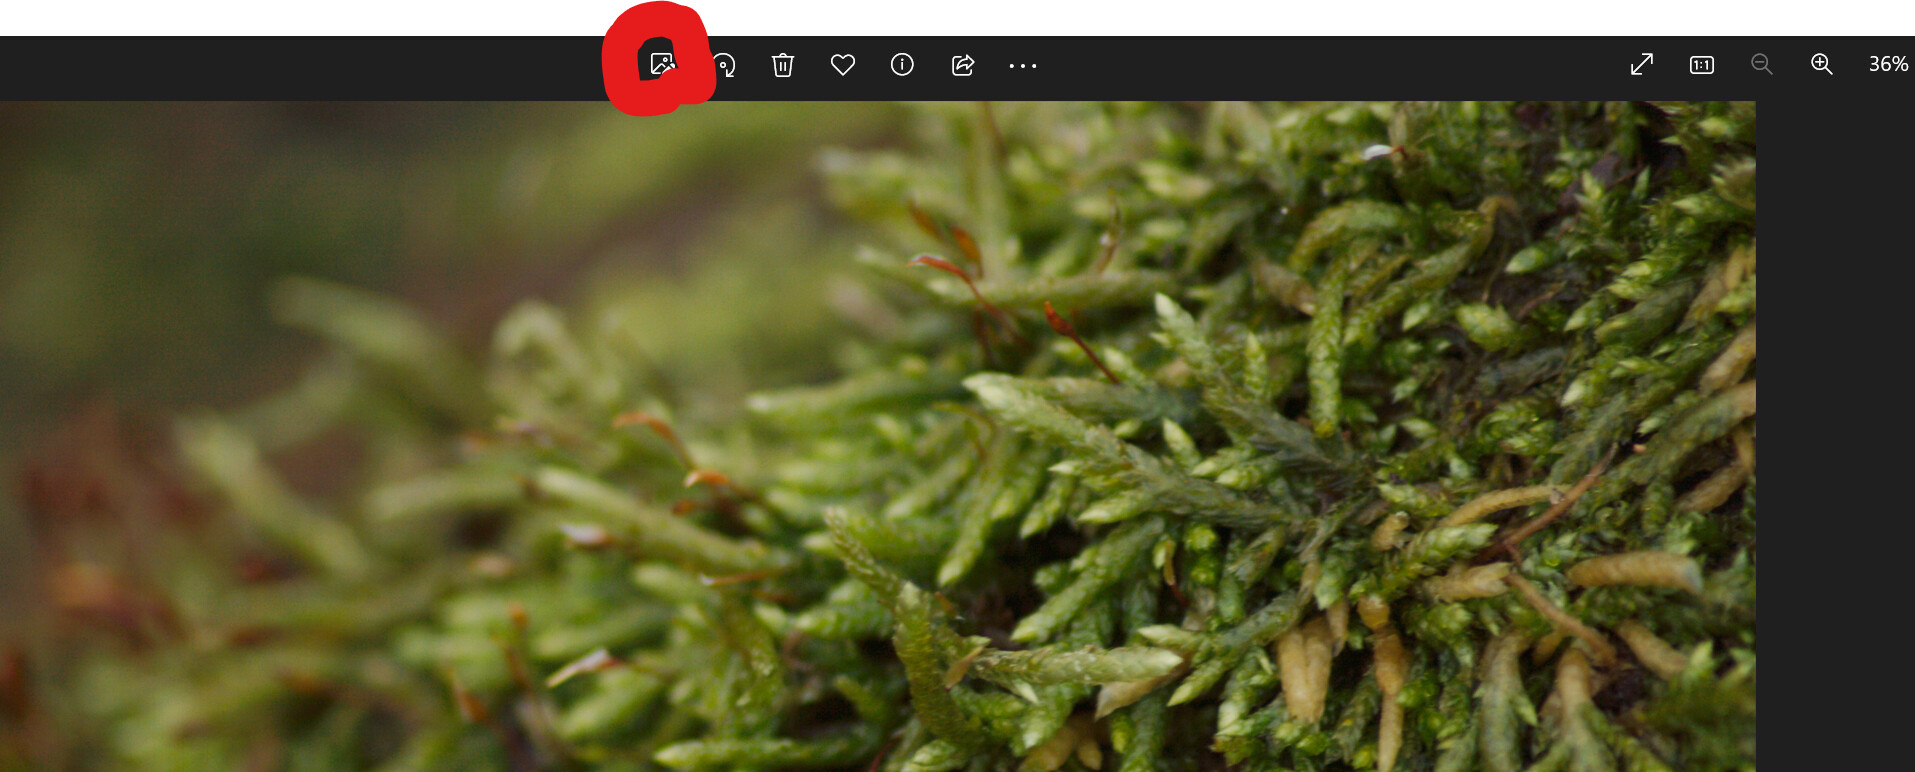
I cropped the image heavily, so that there was a nice small section of the desired texture. Cropped, then click the circled button:
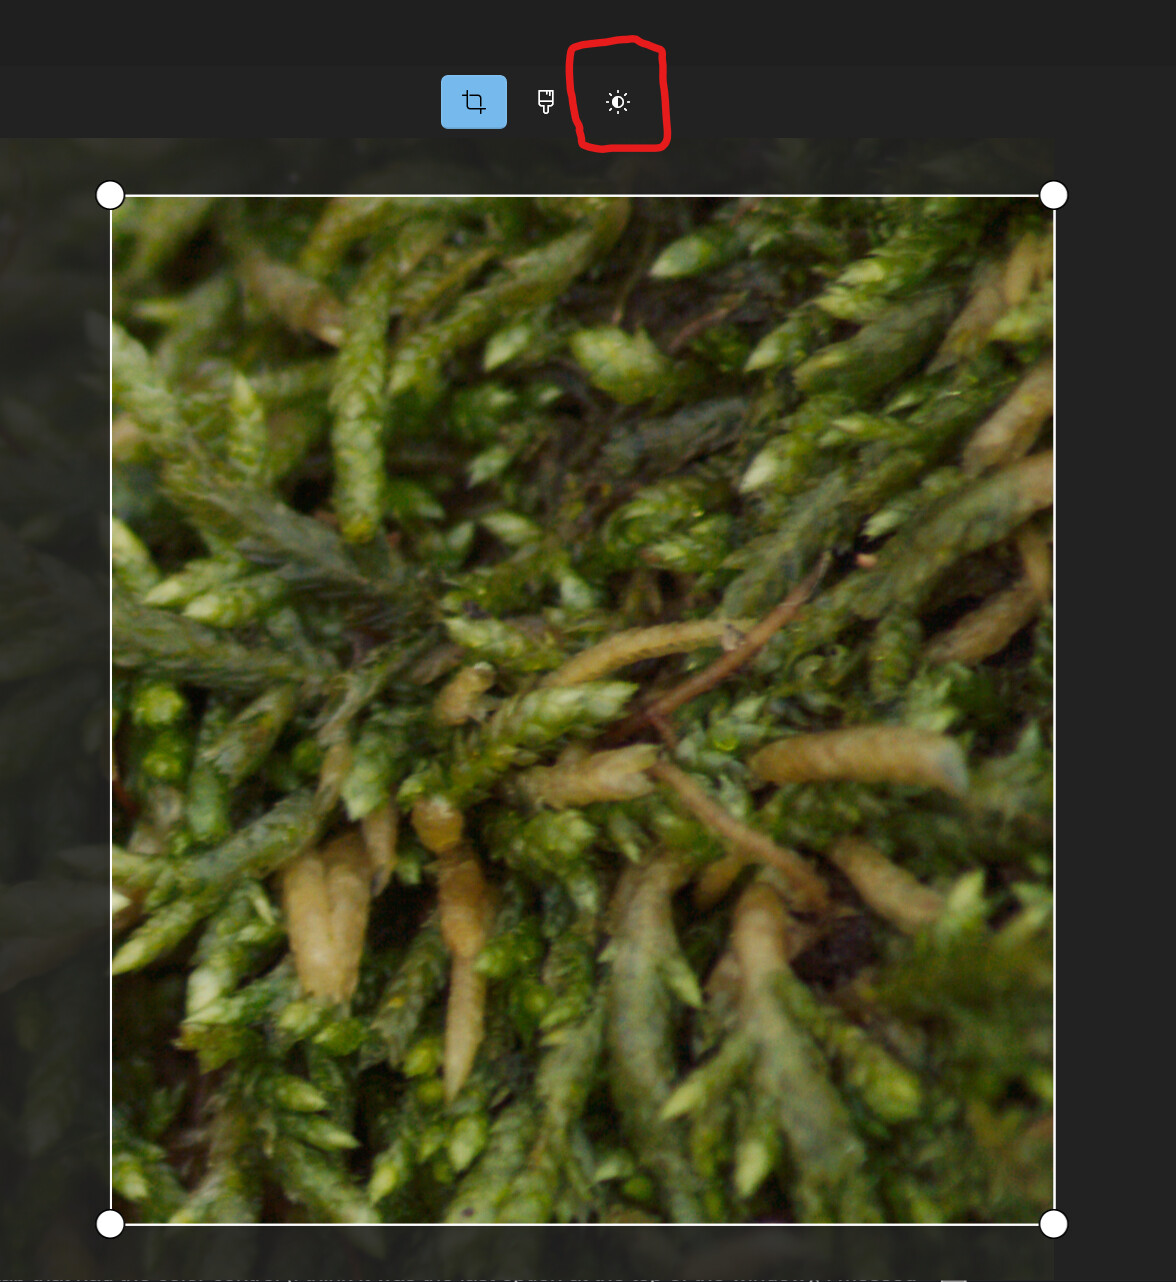
Then the tab that had the color control (i think it was the last option at the top of the window), i messed with the sliders until I had a black and white image, with high contrast. I’d say there’s no “right” setting. Just keep messing with it until you have a high contrast black and white image. I also added Max vignette, just to make sure there were softer edges to make blending easier. Then saved and repeated until I was happy with the image.

The important thing in the settings above are that you turn the colour all the way down so the image is black and white, and that you get the edges softened using the vignette (so there’s no hard crease at the edge of your texture). Aside from that, remember that with alphas (I’m pretty sure anyways) pure black will have no change at all in height, and pure white will have the maximum based on strength.
Because the picture I started with isn’t even remotely black and white, it would need to be saved, and these settings repeated likely many MANY times, but this is the general ideal if you don’t have any proper photo editing/drawing software.
After about 3-5 passes of repeating various settings, and playing with things like the lightness and clarity, I end up with something kind of like this (Haven’t tested this as a texture, so I don’t know how jagged it will be - and again, this is my own photo. If anyone wants to use it, feel free)
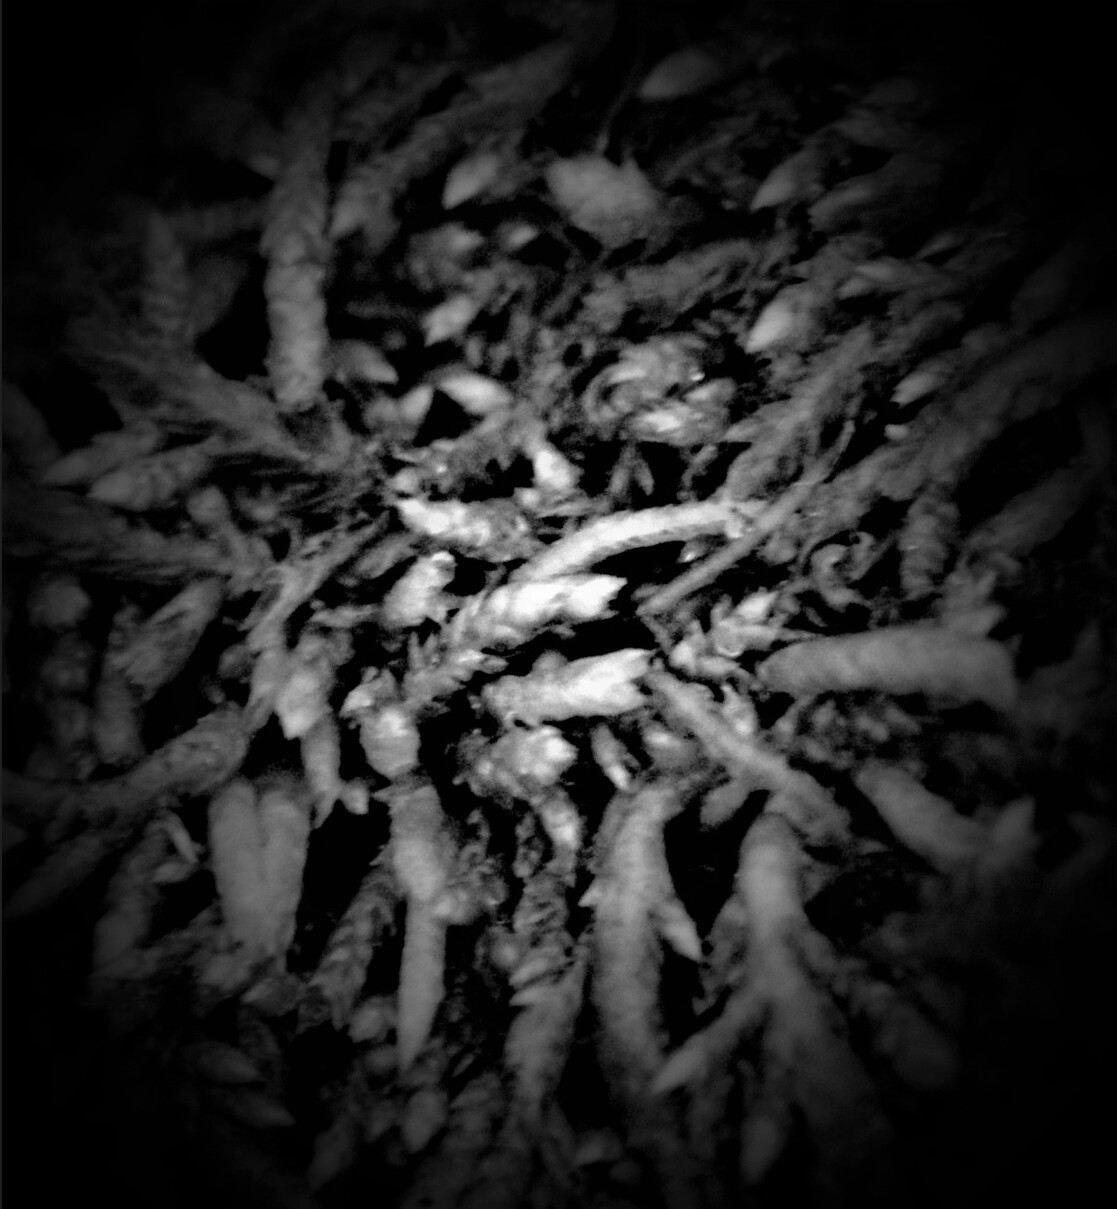
When stamped on the model it would sometimes be way too jagged, but that was easily corrected by adjusting the strength, and then doing a faint tap of smooth over top if still necessary (i have a tablet, so i would do a light pressure tap with pressure strength enabled).
If you have photo editing software, you could use the levels adjust to probably get a far better result (I have some, but was too lazy and eager to work on my model to see if I installed it after reinstalling my windows install)
Edited with photos now that I’m awake!
2 Likes
Awesome, thanks! Definetly gonna try it!
Great tutorial
1 Like