Hi everyone,
Thank you for the course and the clear, engaging explanations! I’d like to briefly share my results and challenges.
Results:
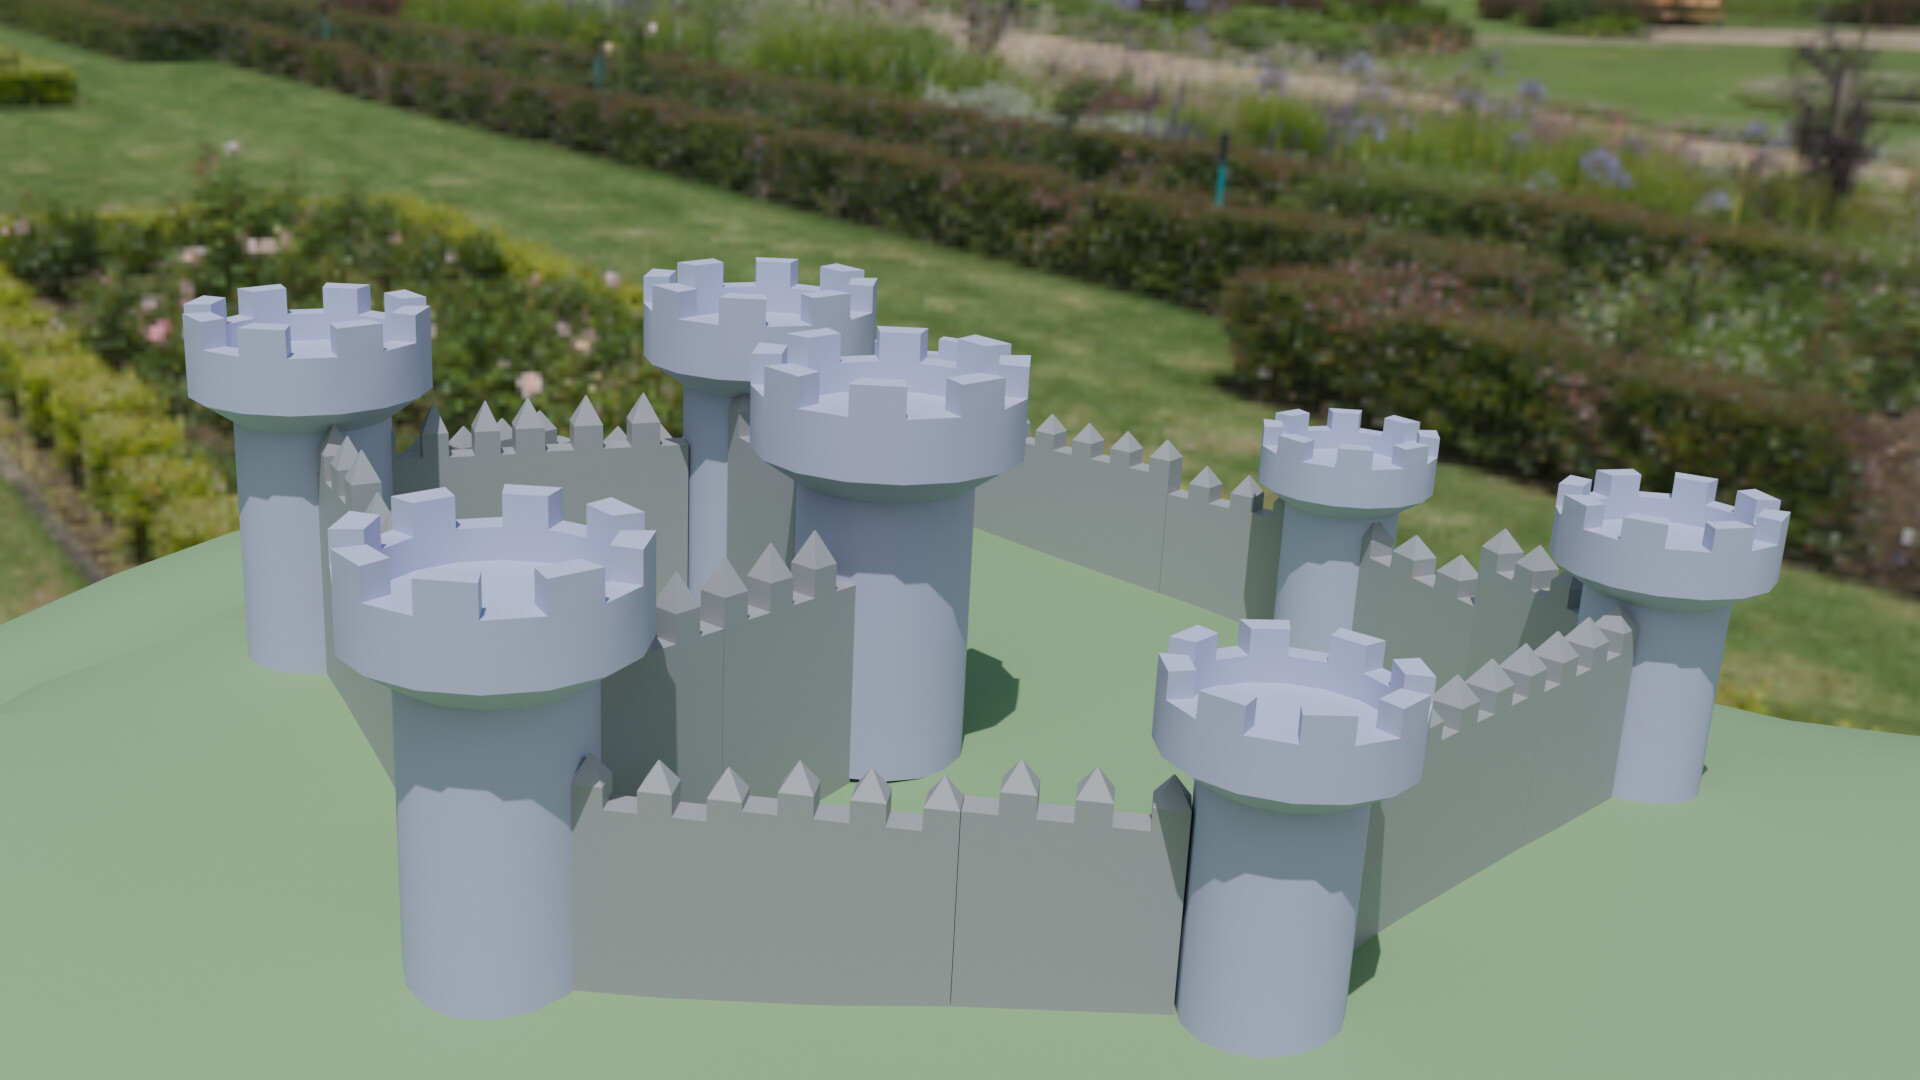
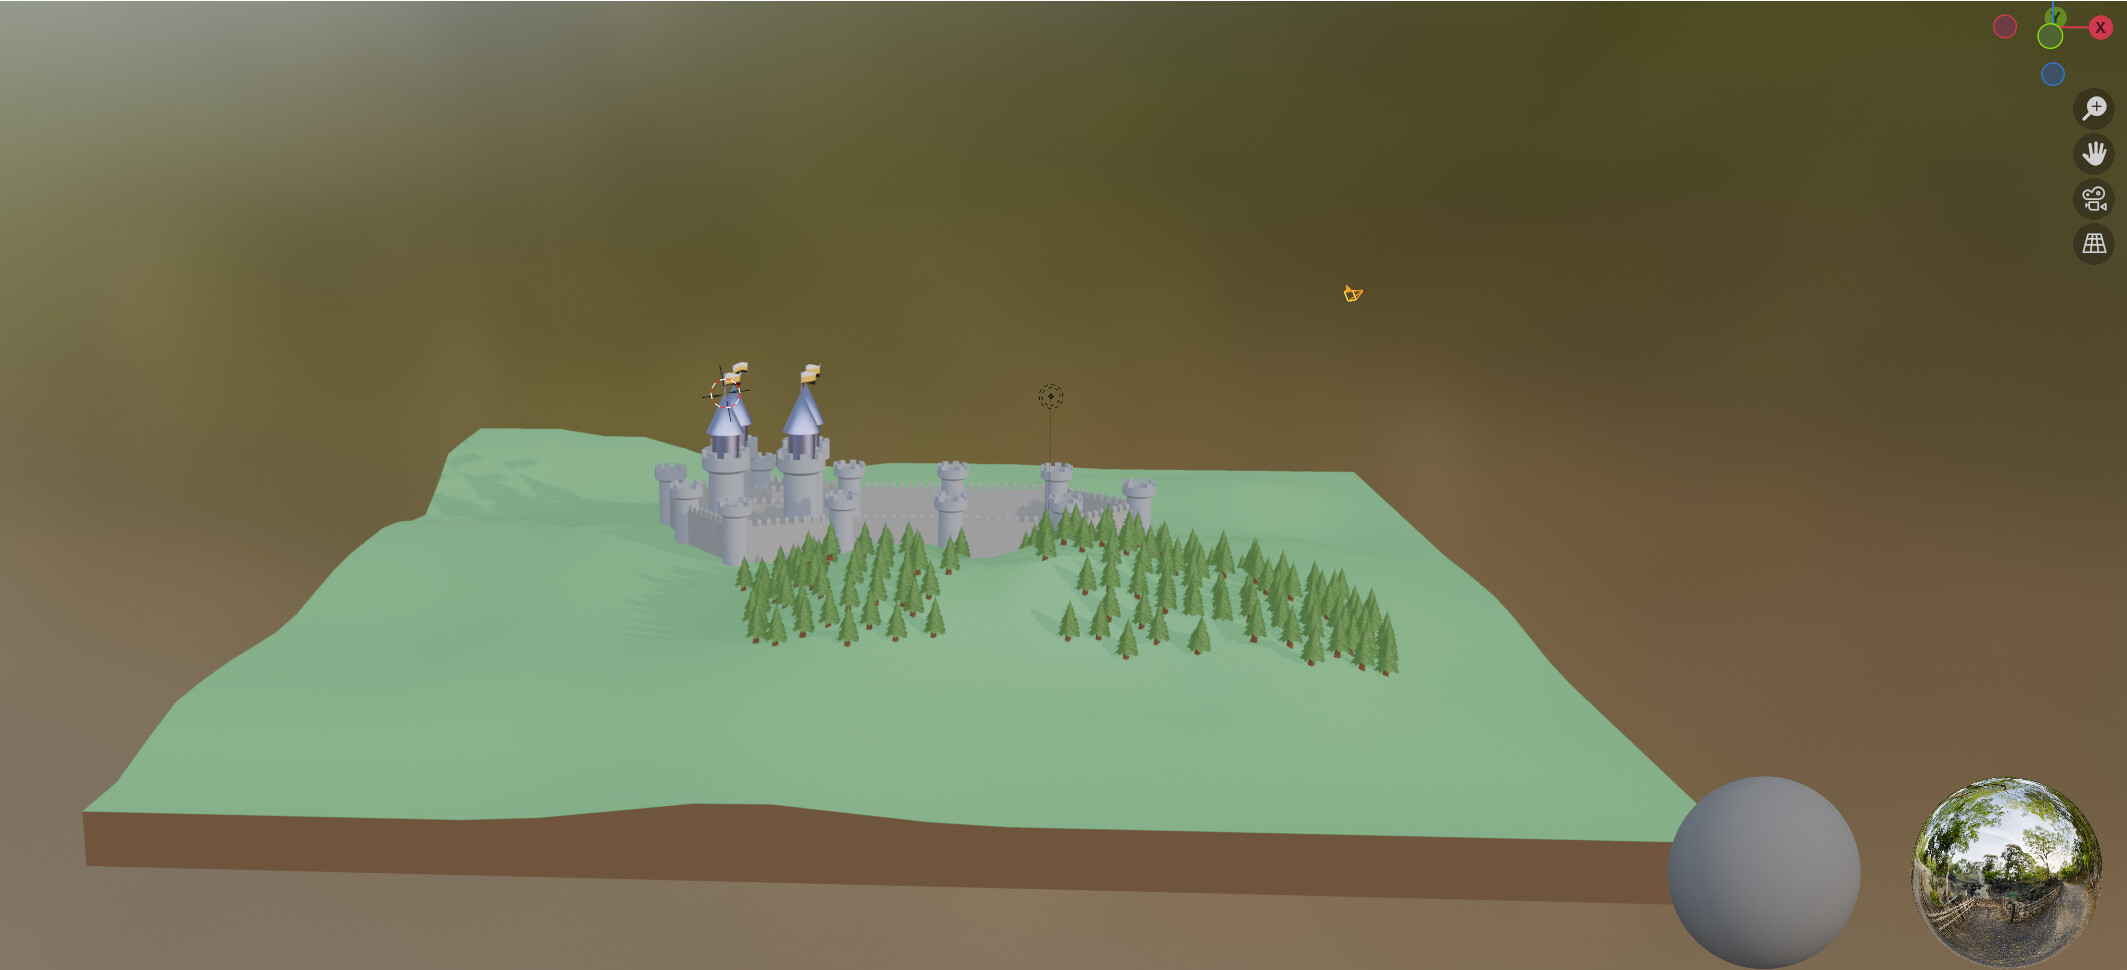
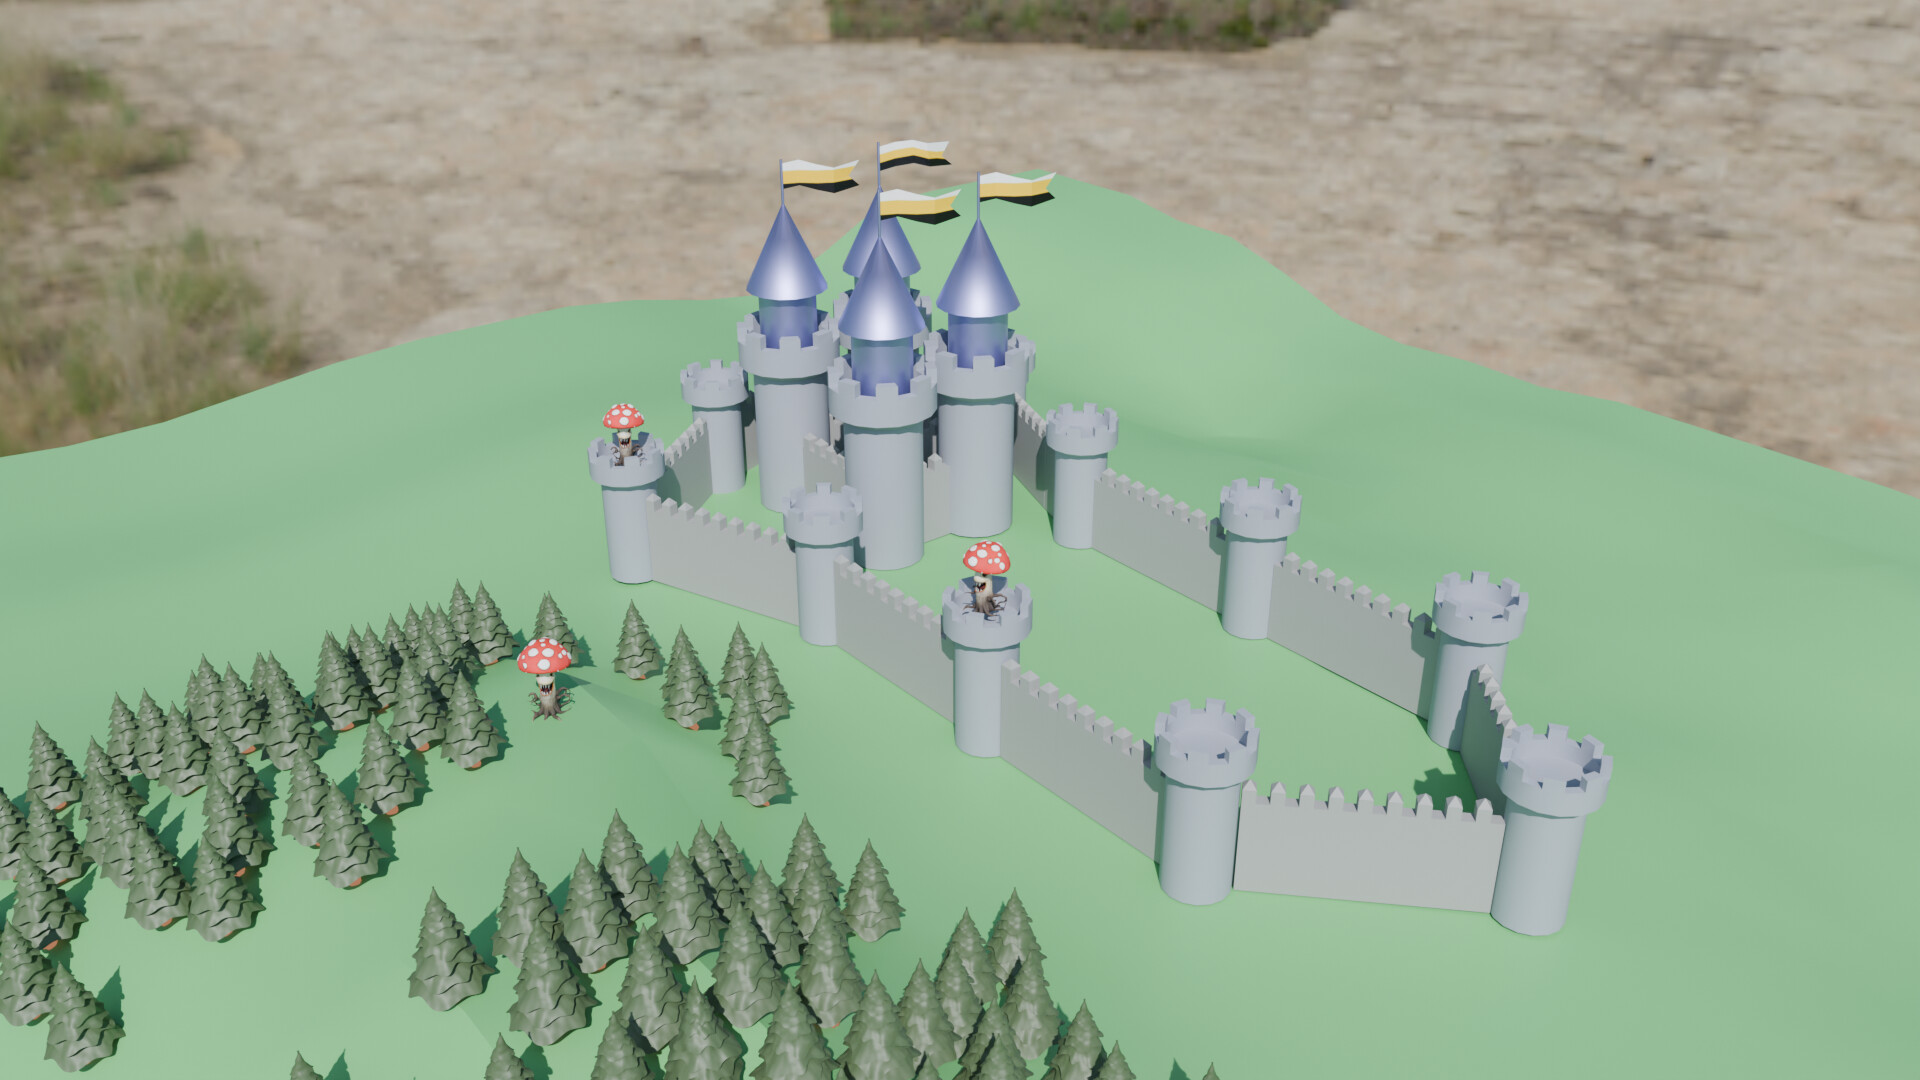
• I created my first 3D model – a castle!
• I was able to follow 80% of the tutorial smoothly.
Challenges:
• Using Blender 3.1, I couldn’t find some commands, like Normals.
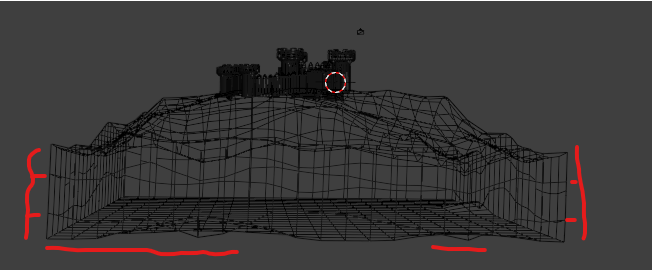
• Struggled to flatten the ground (S + Z0).
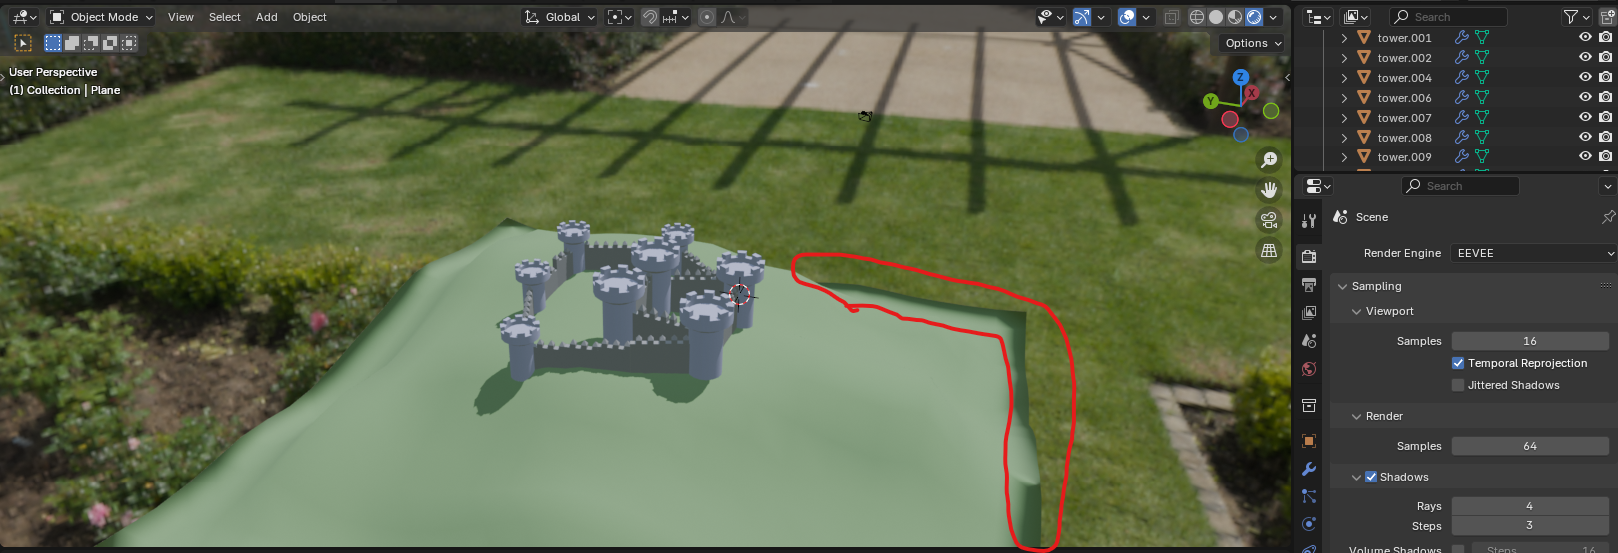
• Unsure why the ground color looks off.
• Had trouble positioning the camera properly before rendering (F12).
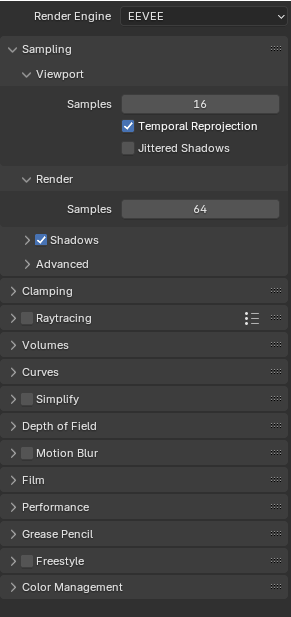
• Found it difficult to set up shadows, Ambient Occlusion, and Screen Space Reflections.
Do not worry over the missing Ambient Occlusion etc Blender removed then from later versions as Eevee had been improved and those faking effects mechanisms were no longer needed.
Now just tick Raytracing.
Nice castle layout. A lot of commands in Blender are context sensitive. I have a Blender 3.0 version and the Normals/Flip etc. are found in Mesh menu in the Editor. To see orientation tick the face orientation box in viewport overlays in top right hand corner of the viewport.
Many times shadows are correct even if they look strange. If you have light behind a ridge it will cast a shadow even from indirect light like a HDRI. For Evee make sure your light has shadows ticked. [Contact shadows look good but increase render time]. For ambient occlusion make sure the distance is big enough for the model size.
With refractions and reflections there a number of things you have to do including in the shader tab. Too much to go into here.
Rendering camera positioning is a pain. Make sure viewport View/View Lock/ Lock Camera to View is ticked as appropriate.
The best thing to do is repeat a section of your course and go over it till you get it sorted because there will always be something you missed, trust me! Hope that helps.
My main laptop broke, so I switched to another one — which gave me the chance to start the castle modeling project from scratch. This time it went better: I was able to flatten the surface properly and decided to build a forest around the scene.
Forest Mistake: Too Many Objects
One mistake I made was creating all the trees using Shift + D (duplicate) without linking them. Each tree had 9 parts, so I ended up with over 2,000 separate objects (about 258 trees). I didn’t know how to group them efficiently and manually assigned materials — green to 8 parts and brown to the trunk — which took a lot of time. I now know there are better ways to do this.
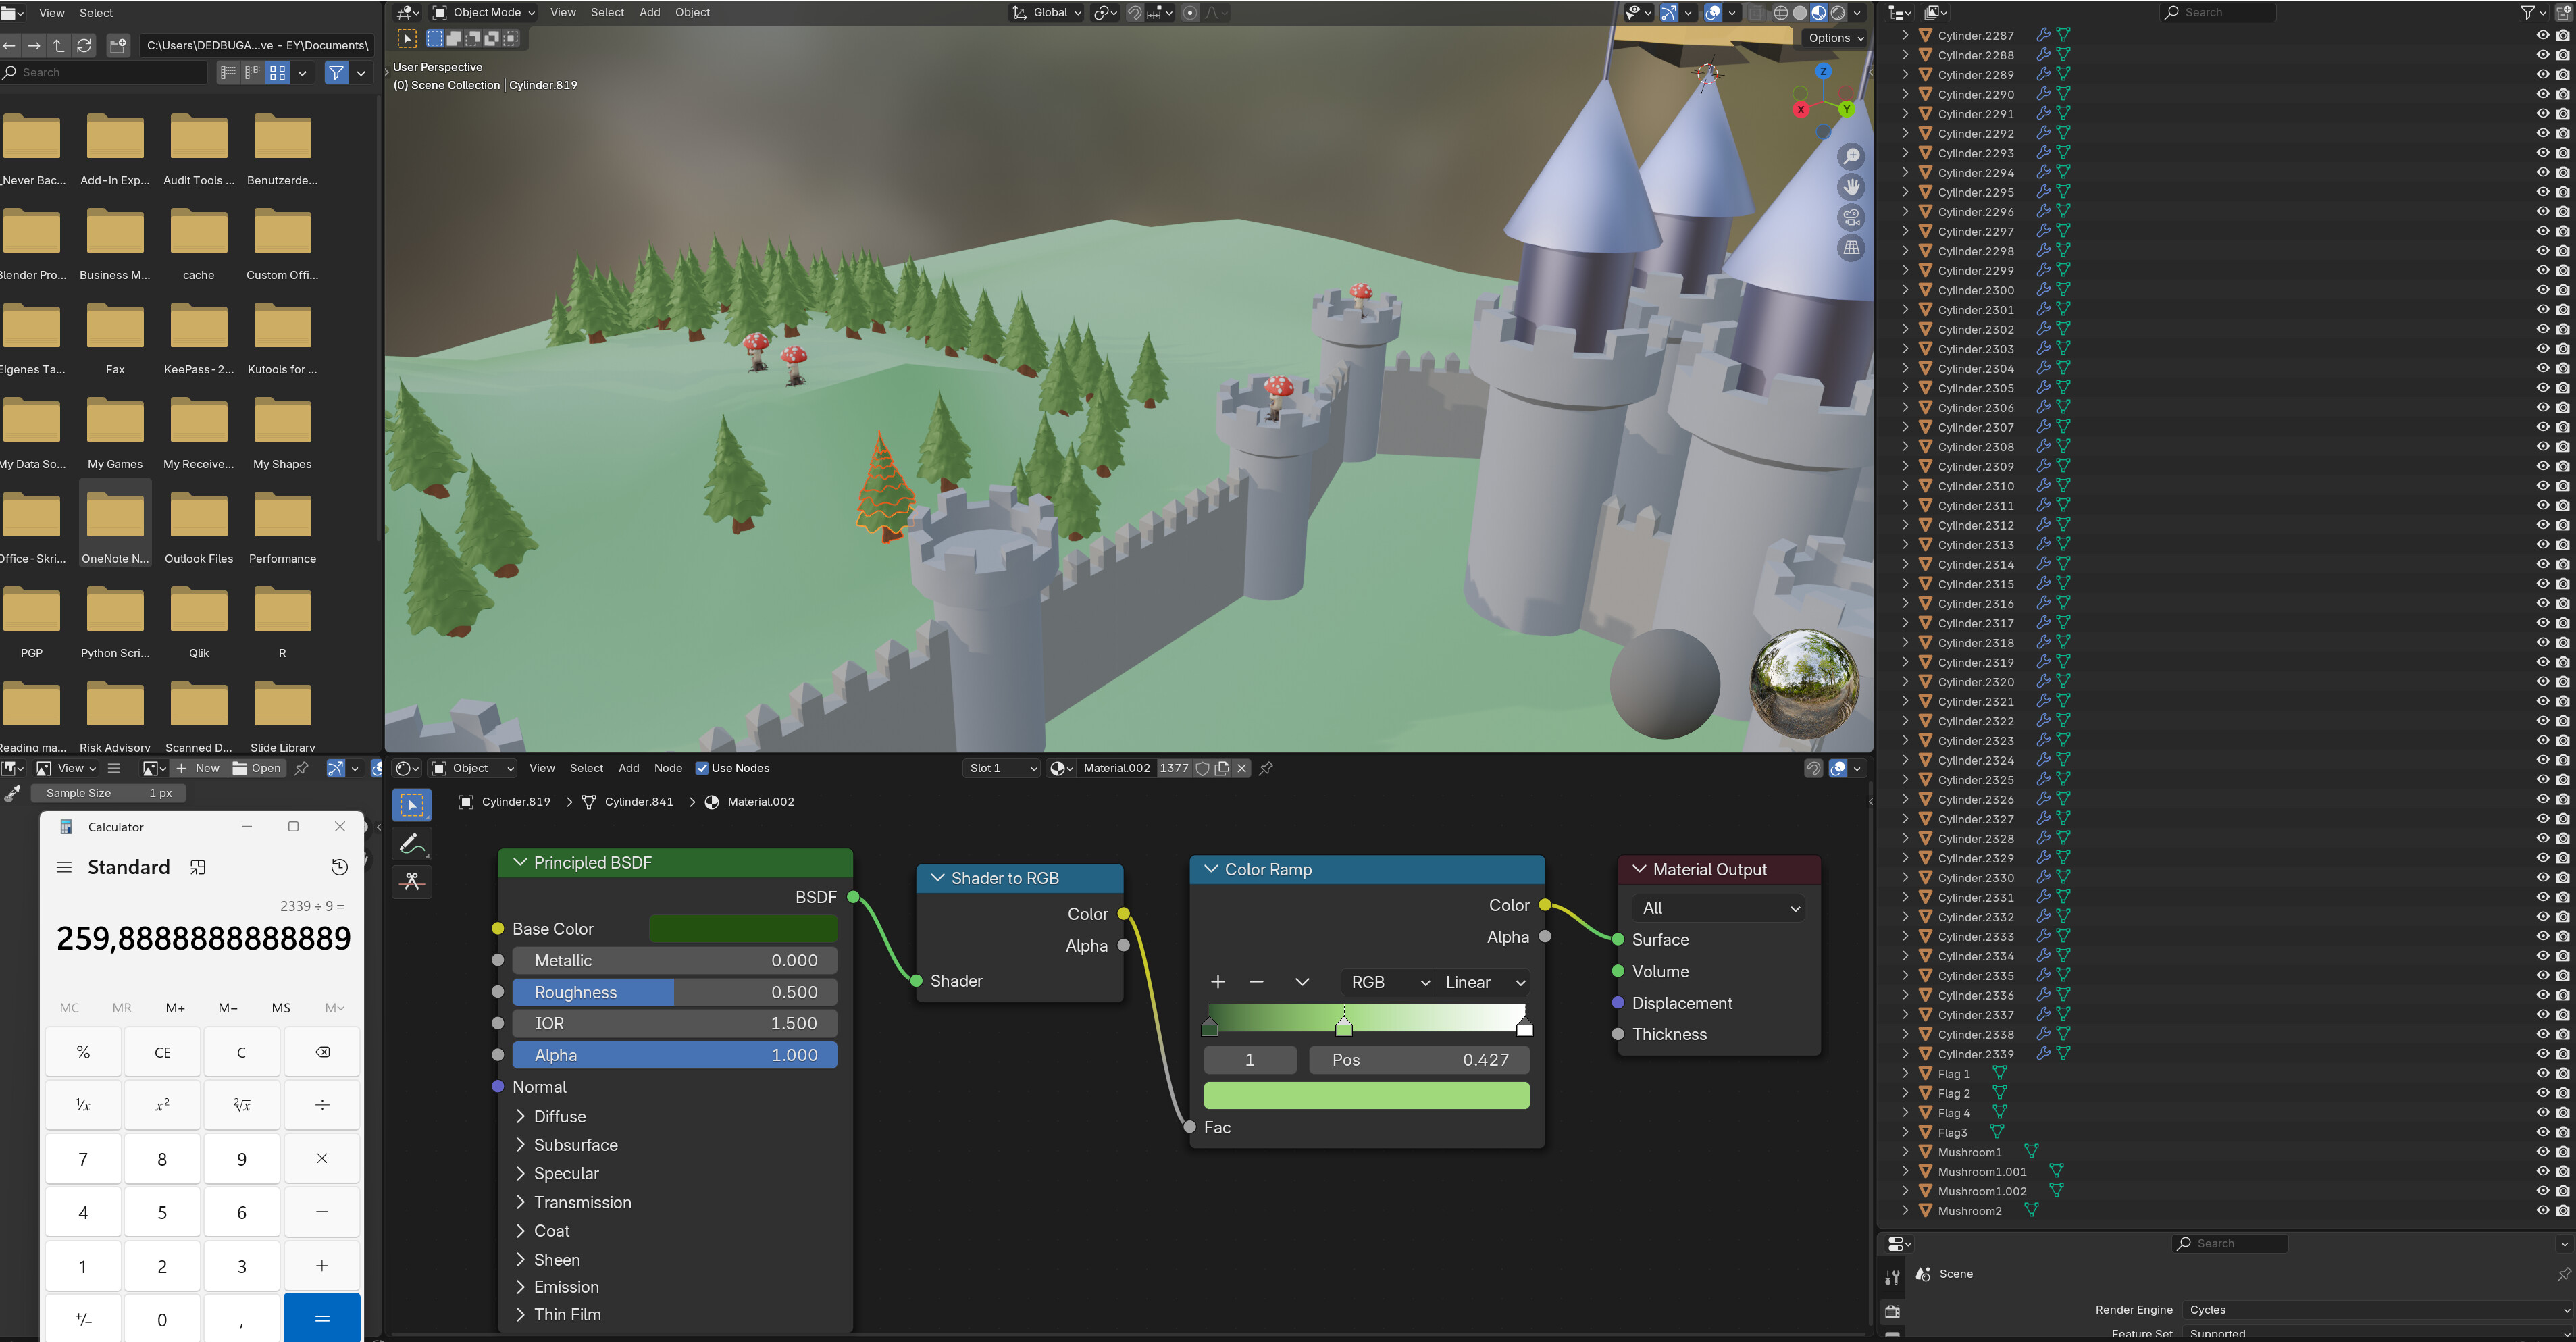
At first, I used a Shader to RGB → ColorRamp → Material Output setup, which I later found out doesn’t work in Cycles . The result was broken shading and incomplete renders.
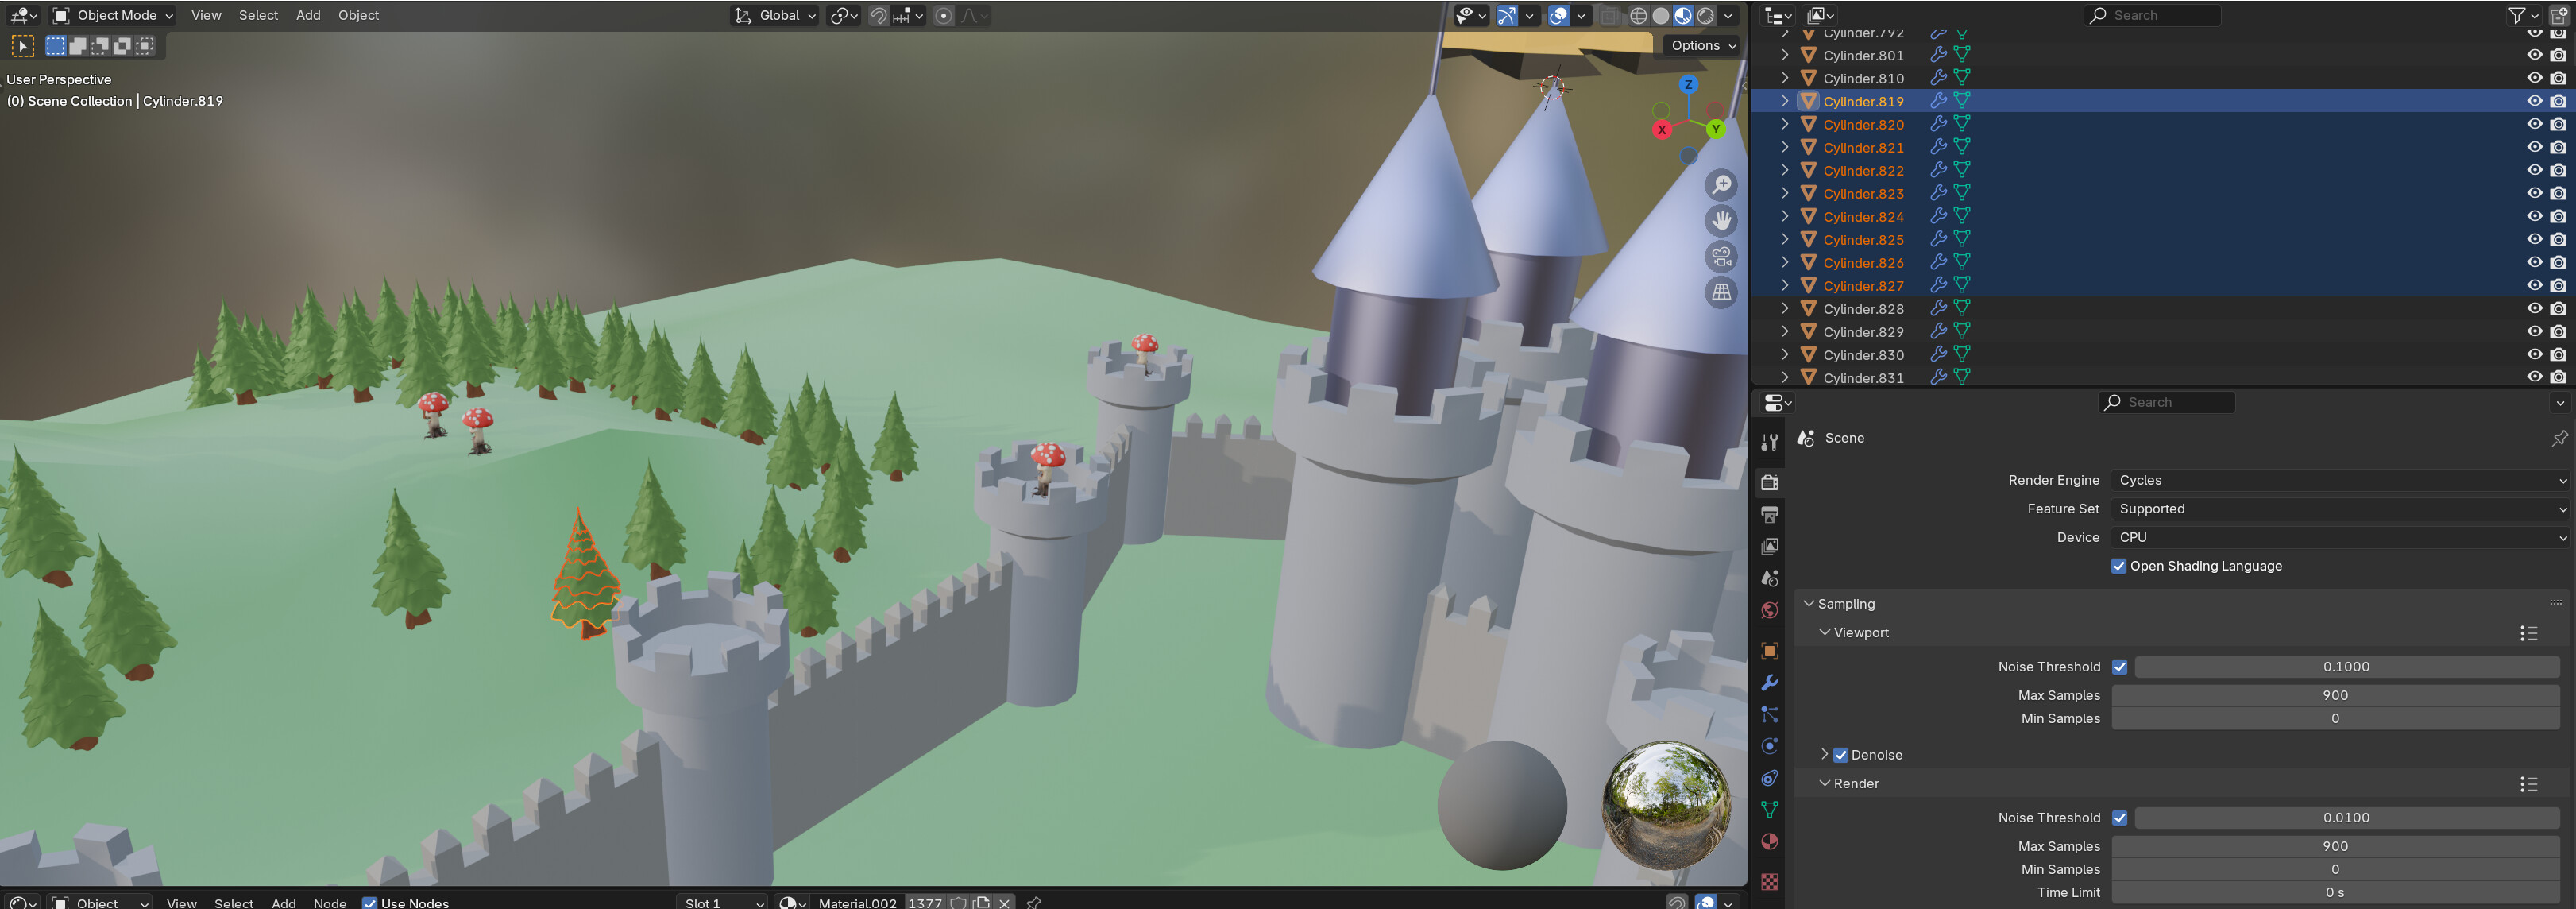
To reduce object count, I used Ctrl + J to join objects . When I over-combined, I used Edit Mode → A → P → Separate by Loose Parts to split them again.
Another major issue was that everything turned purple during rendering . I thought Blender had stalled, but it was caused by a heavy 4K HDRI environment . I replaced it with a 2K version , switched to CPU rendering , and that solved the render freeze.
Final Fixes
Transparent background : Fixed by unchecking “Transparent” in Render > Film .
Tree colors : Rebuilt the shader using a Cycles-compatible setup :
[Image Texture]
↓
[ColorRamp] → (optional Hue/Saturation or MixRGB)
↓
(Base Color) → [Principled BSDF]
↓
[Material Output]
(If transparency:)
[Image Texture Alpha] → [Principled BSDF Alpha]
Final Touches
I also learned how to apply image textures (e.g., on flags) and added an AI-generated mushroom model to the castle scene.
Maybe my experience can be useful not only for me, but also for others. Thank you for your feedback!
Well done and solving your problems.
I will just point out I have never used ‘Shader to RGB’ doubt anyone has!
Normal, especially basic nodes, the Principled BDSF goes straight into the material output. Other nodes mostly go to the left of the BDSF
I would follow the course more before experimenting!