
Hi Everyone,
This was a fun animation challenge. The animation of the objects proved to be more of a challenge than I originally anticipated, but I’ll include some of my learning below so that hopefully it’ll help others.
The Renders
To start, here is my animation:
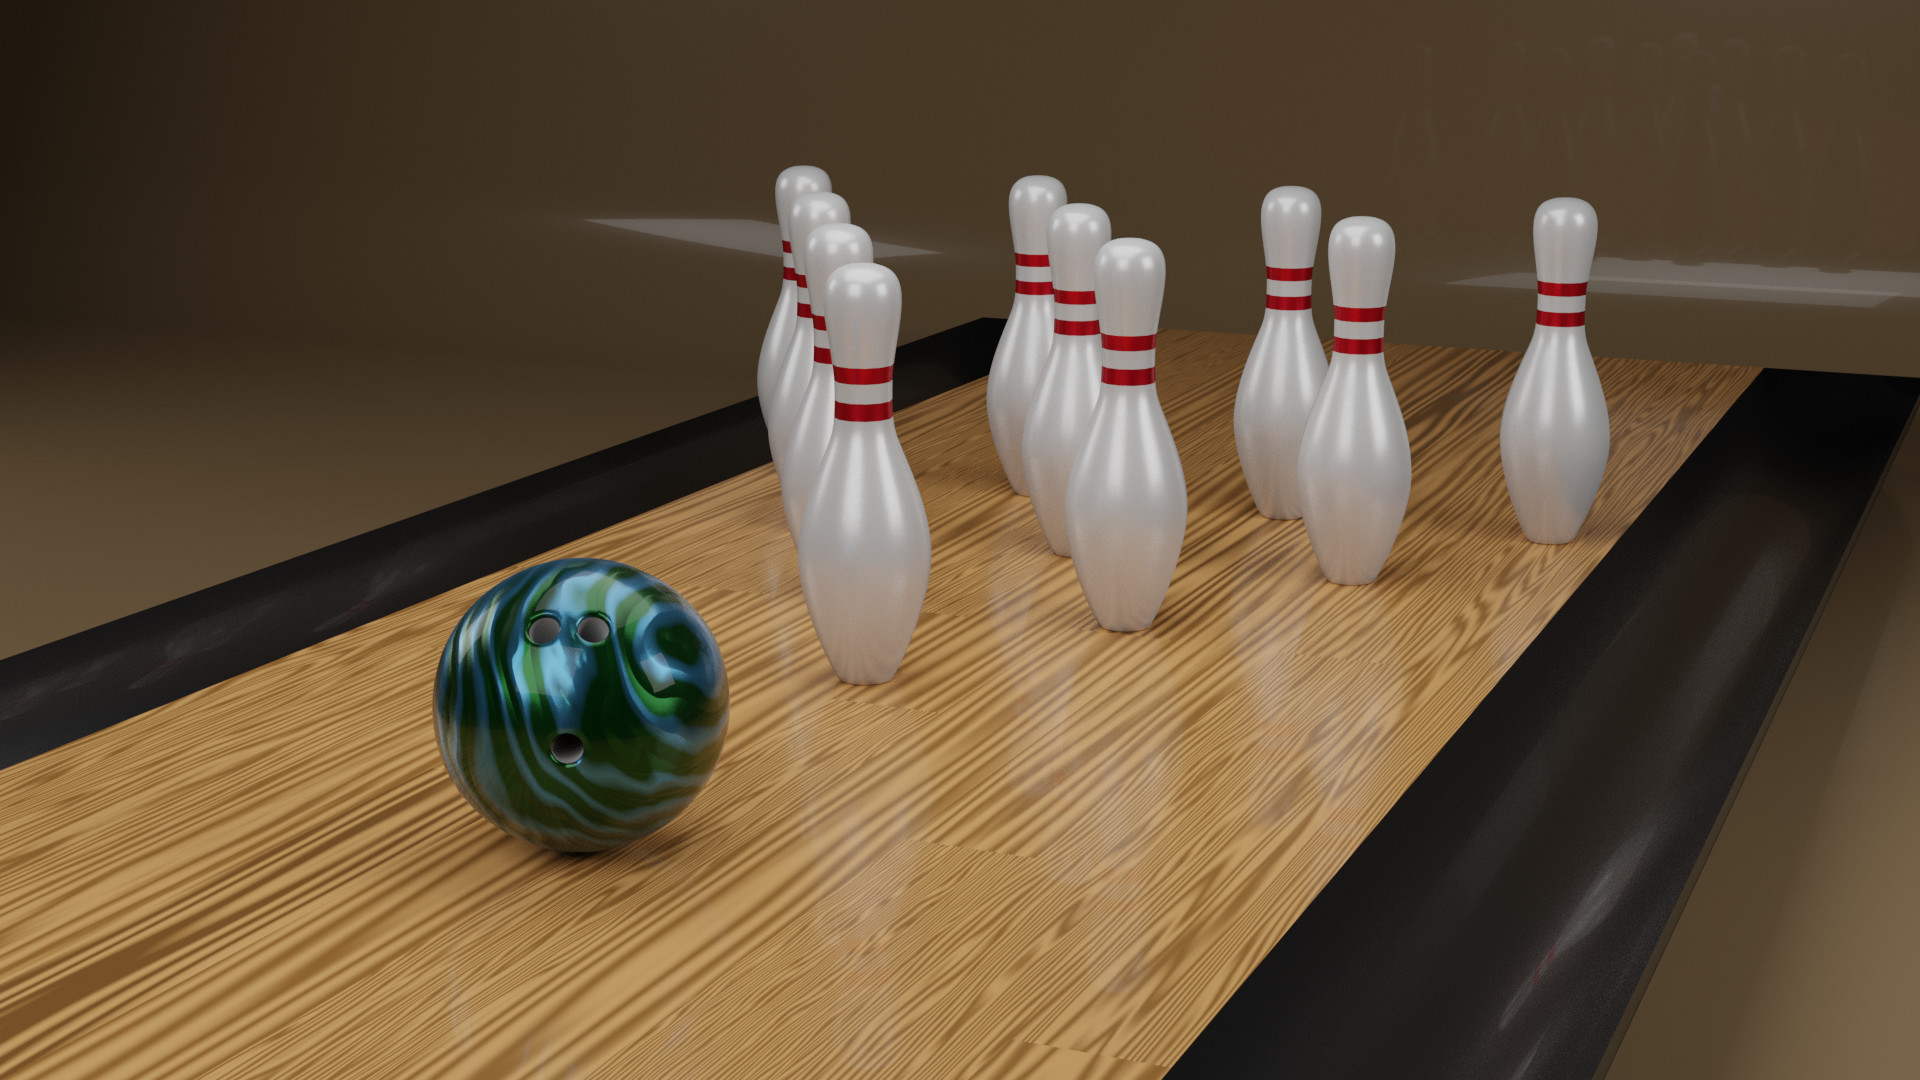
Here is an image rendered out of the lane:
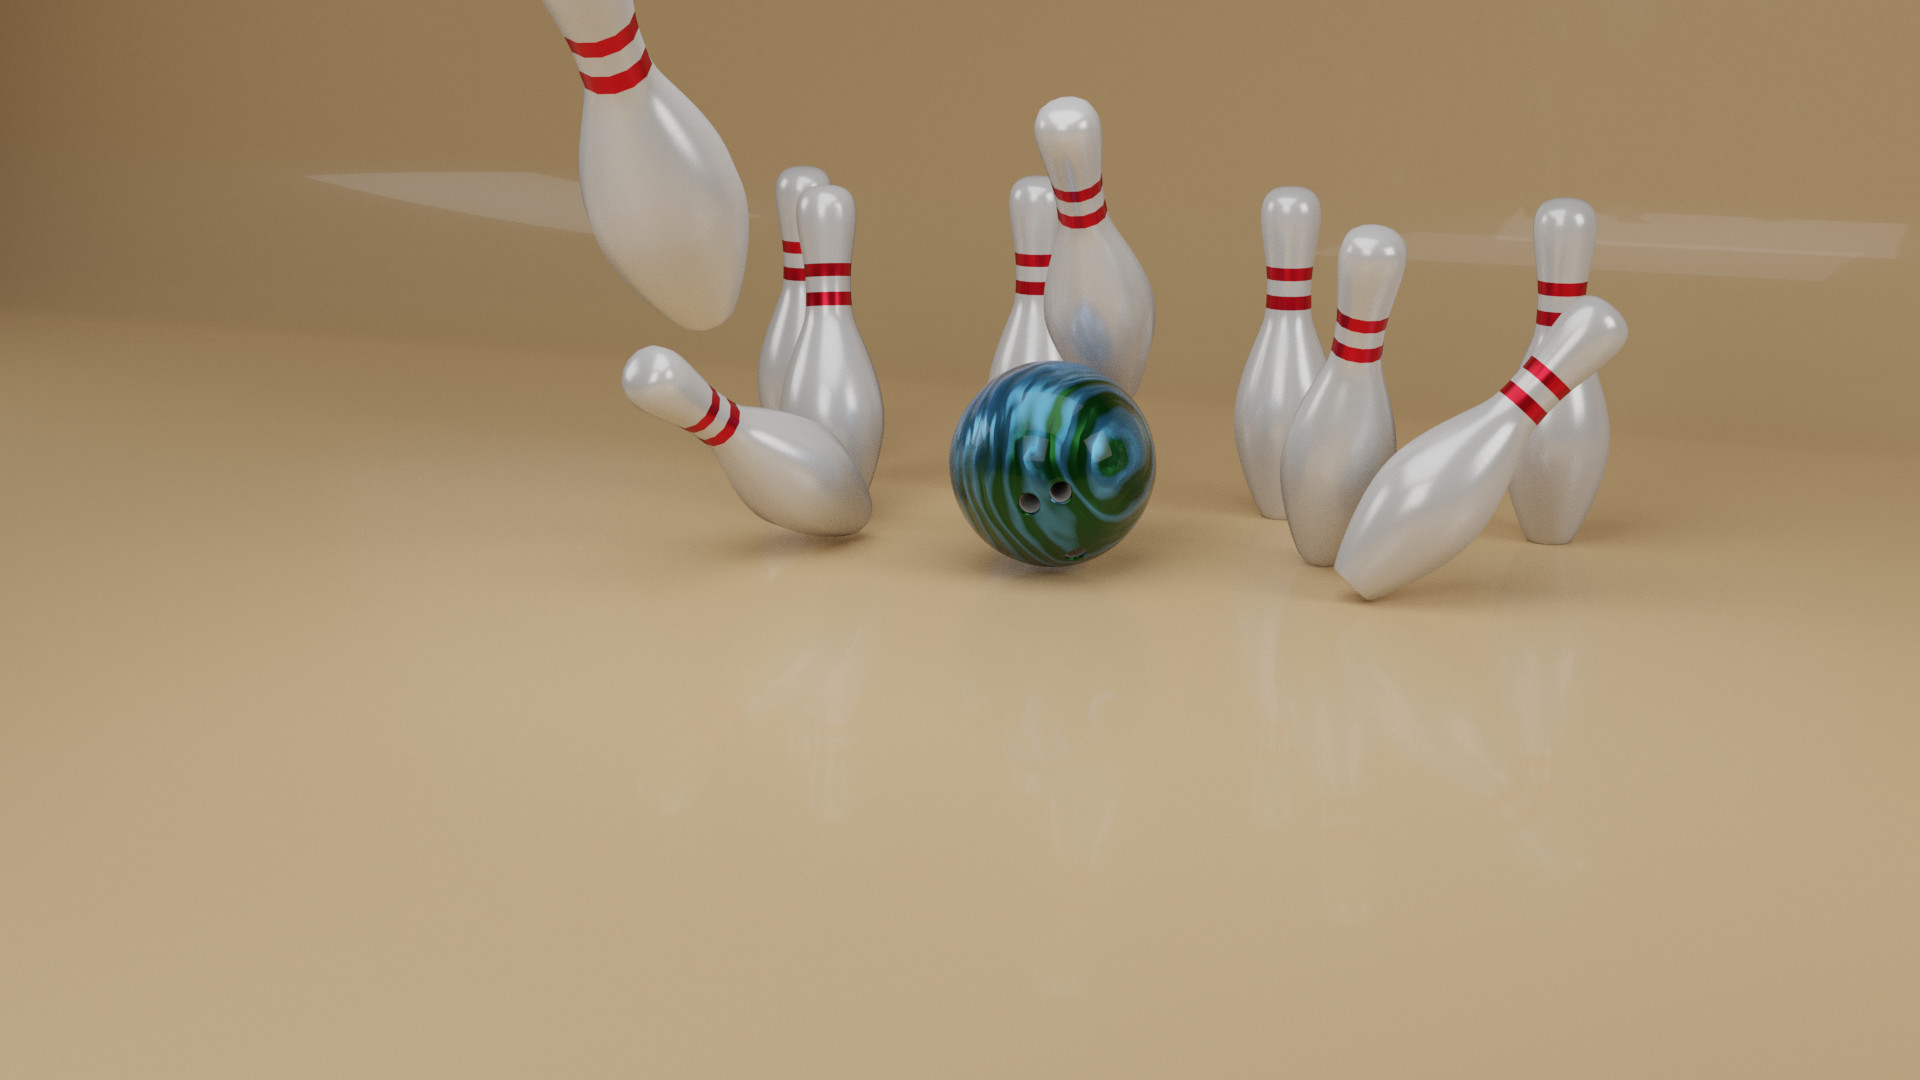
And here is the action shot (hadn’t made the lane yet):
The Learning
So here’s what I learned:
- The rigid body of the form is not always appropriate to the object. Blender does its best with the “Convex Hull”, but sometimes we need something different, like a Cylinder.
- Rigid Bodies can’t be resized. Being spoiled in Unity, which allows a lot of flexibility with Rigid Bodies, this was a challenge at first. What I found was that you could do the following:
- Select the item after you’ve added the cylinder rigid body
- Enter edit mode
- Select all of the faces/edges/vertices (whichever selection method you choose)
- Move the model up/down until it fits within the bounds of the rigid body
- NOTE: Not all Rigid bodies have a visible portion as some are right next to the mesh itself.
- Start the animation to make sure that the model doesn’t “bounce” upon first starting the animation. If it does:
- In object mode, raise the model and rigid body up so that it is on top of the other rigid body
- Reduce the collision margin in the “surface response” dropdown to a very low number.
- Copying Rigid Bodies to other objects is somewhat straight forward. You can select all of the objects you want to copy to (i.e. the pins), and then select the object that already has the rigid body. Next, select the Object Menu > Rigid Body > Copy From Active option to copy the rigid body to all of the other objects. It’s much quicker than hand copying all of the rigid bodies, and a lot less error prone.
- Adding rigid bodies can sometimes have the effect of populating rigid body components outside of the mesh. I had this happen and my ball was flying off of the lane and into thin air! I fixed this by ensuring that the rigid bodies were out of the way by making them a “mesh” type. From the documentation, this is a more expensive option for blender, but it worked well.
- Make sure your normals are all facing the correct direction - when I added the gutters I used half of a cylinder, and by doing so the normals were facing away from the interior of the cylinder. A simple normal flip helped that.
Also, to give credit where is it well deserved, I followed along with this tutorial on YouTube to get the bowling ball’s material: Bowling Ball Tutorial
I hope at least one of these helped you out. Feel free to comment about the renders I have. I’d love to hear any tips or tricks that you might suggest! Thanks for reading!