Hello everybody, I’m currently following the Low Poly Characters Course and I have some problems in the Rigging section.
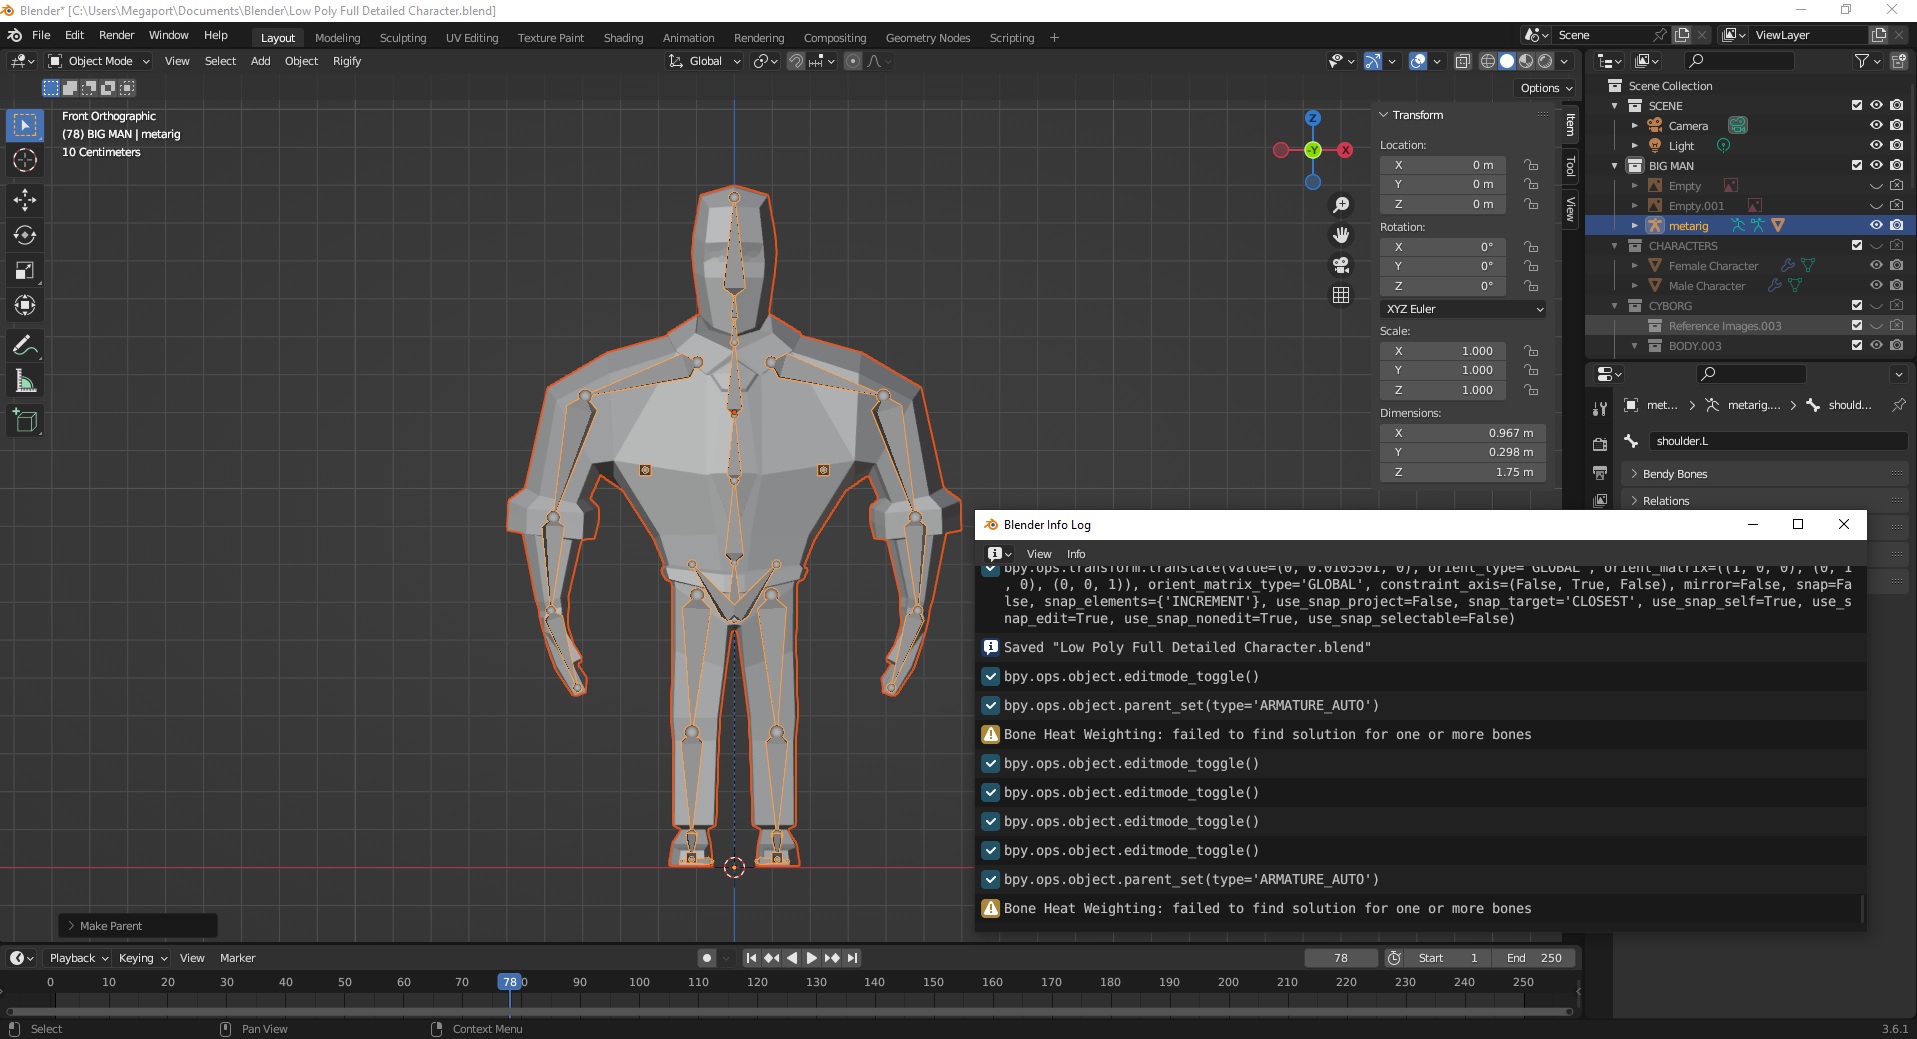
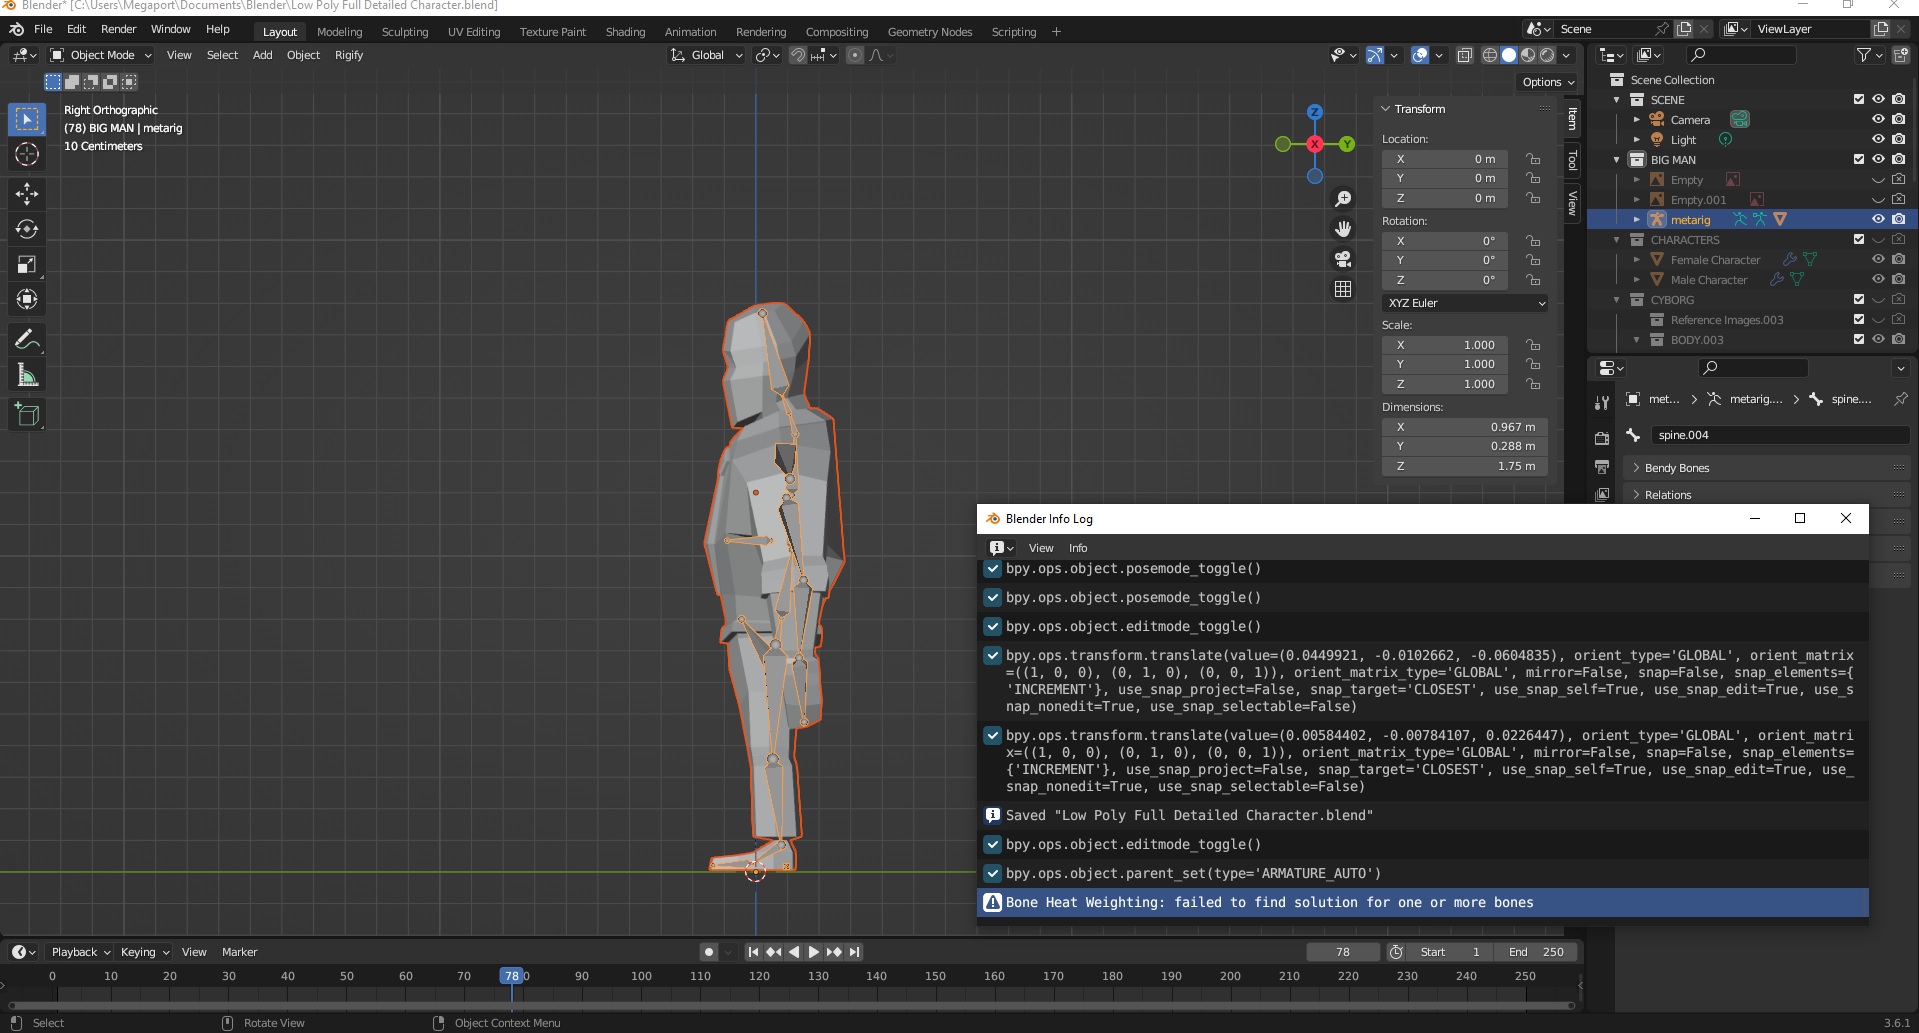
When I try to parent the armature with automatic weight, I get the following message : “Bone Heat Weighting: failed to find solution for one or more bones”.
My armature doesn’t connect with my 3D model, even though I merged all vertices by distance, checked the face orientation, applied rotation and scale to my model and the armature.
Okay, I’m making some progress, but I’m not there yet lol… I don’t understand what happened.
First of all, I saw a video on YouTube of someone explaining to scale x100 the armature linked to the mesh, and then remove the scale, but it didn’t work for me.
What did work though is that I only scaled the mesh (with the tool, not the values) and left the armature with its initial scale (x1), then when I got to pose mode, I rotated the bones and it connected with the mesh! It was finally moving, but not properly due to the tiny size of the armature.
So, I rescaled the mesh (again with the scale tool) until its size matches the armature’s, and then I applied rotation and scale on the mesh so it gets the same scale value as the armature.
And now it works better, but I still have some issues with the bones and the mesh, as you can see in the screenshot below…
If scaling was the issue, then it’s best to remove (detach) the armature.
Then fix the scale of the object, and add the armature again.
Besure to remove the old weight painting data. See vertex group below.
Scaling is a difficult aspect.
Because the object itself is something different then the inner mesh data.
And Blender works a lot with the mesh data.
If object is scaled, the inner mesh data has still the old coordinates (unscaled).
That is why you get strange deformations on the object mesh.
Again, thanks for your answer @FedPete. Unfortunately, it didn’t work out.
I started all over again and recorded the process on video, there must be something that I’m missing.
Sooooooo, how embarrassing… I thought I selected all my vertices to merge all possible duplicates, turned out I forgot to activate transparency, therefore all the vertices in the back were not selected the first time I tried.
With transparency activated, I removed 8 more vertices, and the rigging now works properly.
Sorry for that little waste of time, and thank you again for your help!


")

