I found using planes to block sunlight from the back of the rocks a bit of a nuisance because I had to adjust the planes if scaled too high to prevent them from casting their own shadow and if I moved\scales rotated the rocks afterwards (which I did) the planes need to be edited as well, this seems a poor workaround especially as some rocks are in the middle of my map so I decided to do some experimentation see below
BTW, If anyone knows of a better way to do this, I would be keen to know what’s suggested.
Experimentation using blender:
I thought about placing the Megascan assets into blender to give it a back face so it had 4 sides, then export back into unreal. This was surprisingly problematic as I couldn’t work out how to export the unreal MegaScan asset to blender.
After some investigation it seems there is a blender plugin that comes with Quixel bridge for this sort of thing but the export options are not embedded with the quixel bridge that Unreal launches, anyone know why?
So I installed the separate quixel bridge application which did have the export options including a blender plugin, unfortunately it wasn’t able to place the Megascan asset directly into blender (it errored) and it only exported the asset as seperate files which could then be imported manually.
Problem with that, is that it meant reconstructing the models’ materials in Blender which I didn’t want to spend time to do, so have left it as a WIP to look at after I’ve completed this course.
Experimentation Mirroring the assets:
Mirroring was also mentioned on the course but I found a quicker way to the same thing
Mirroring can be done very easily from within Unreal though I guess it might mean its generating more polygons so I’m not sure what this means to performance but I didn’t notice any issues with this small level.
If your interested this is how I mirrored a megascan asset.
Note: The change will affect all instances of that particular Megascan asset so make a copy and mirror the copy if you don’t want to change existing instances placed in the level.
- Select the MegaScan asset in the level to be mirrored
- Select Modelling mode, then Model icon from the left-hand vertical panel, then click Mirror
- Use the mirror Gizmo to move the mirrored object into position (for the rock I overlapped the original)
- Click Accept to accept the change
This worked very well with all the shadows which all appeared as expected even when I rotated the sun light about. I’m now able to Move, scale and rotate any rock without bothering with planes
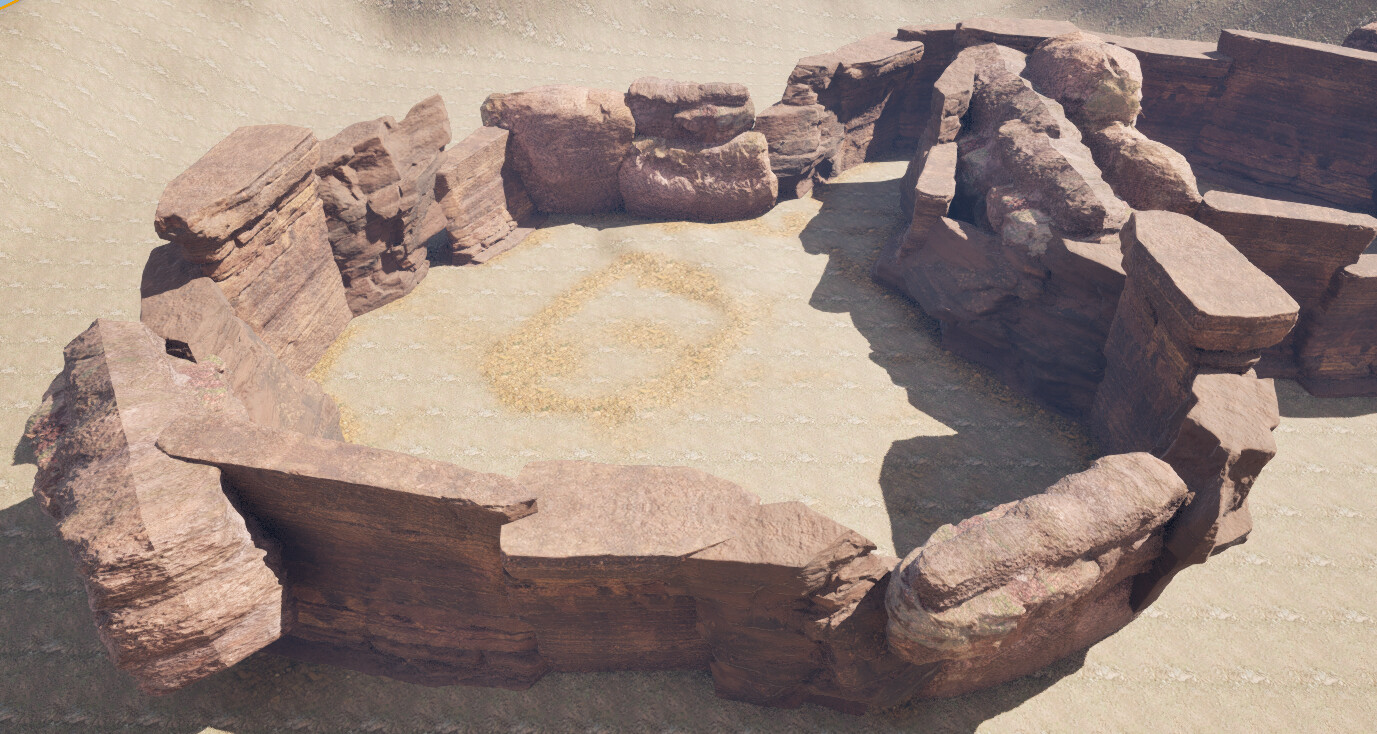
This is a image of my level with the mirror assets (secondary detail has been hidden)