I did everything that follows in Blender. Currently I am using Blender 4.02.
I created hair for a character: eyebrows, sideburns, and a goatee. All on one system. Everything looked great, but when I rigged the character (using rigidify), the hair didn’t follow along when the mesh it was parented to (which is done automatically in the hair system, apparently) when I deformed that mesh by moving the rig. I’m not looking for flowing hair, or even hair that moves the way hair does. I just want it to go along with the mesh. Some people have suggested parenting the curves to a bone, but I’m not sure how to do that or what bone(s) to parent it to. I’ve tried converting the curves to mesh, but he hair turns black and I can’t change the color after that.
I’m sure there are other ways to create hair, but I like the look I’ve created. I know the hair system is still relatively new, and I’m thinking it might not be able to be rigged at the moment (perhaps in the future). I hope I’m wrong.
I can’t post a picture because the character I’m working on is proprietary, but I can give more of a description (and perhaps a real close up image) if needed.
You do mean Rigify, right? This is unlikely, but I just want to confirm that you’re not somehow referring to the Solidify Modifier as part of your process.
Anyway, maybe this is different with the Curves system (probably not, given this issue), but you probably will need to parent these sorts of secondary meshes directly to the armature in one way or another. If there’s a way around that (and there may very well be), I’m not aware of it.
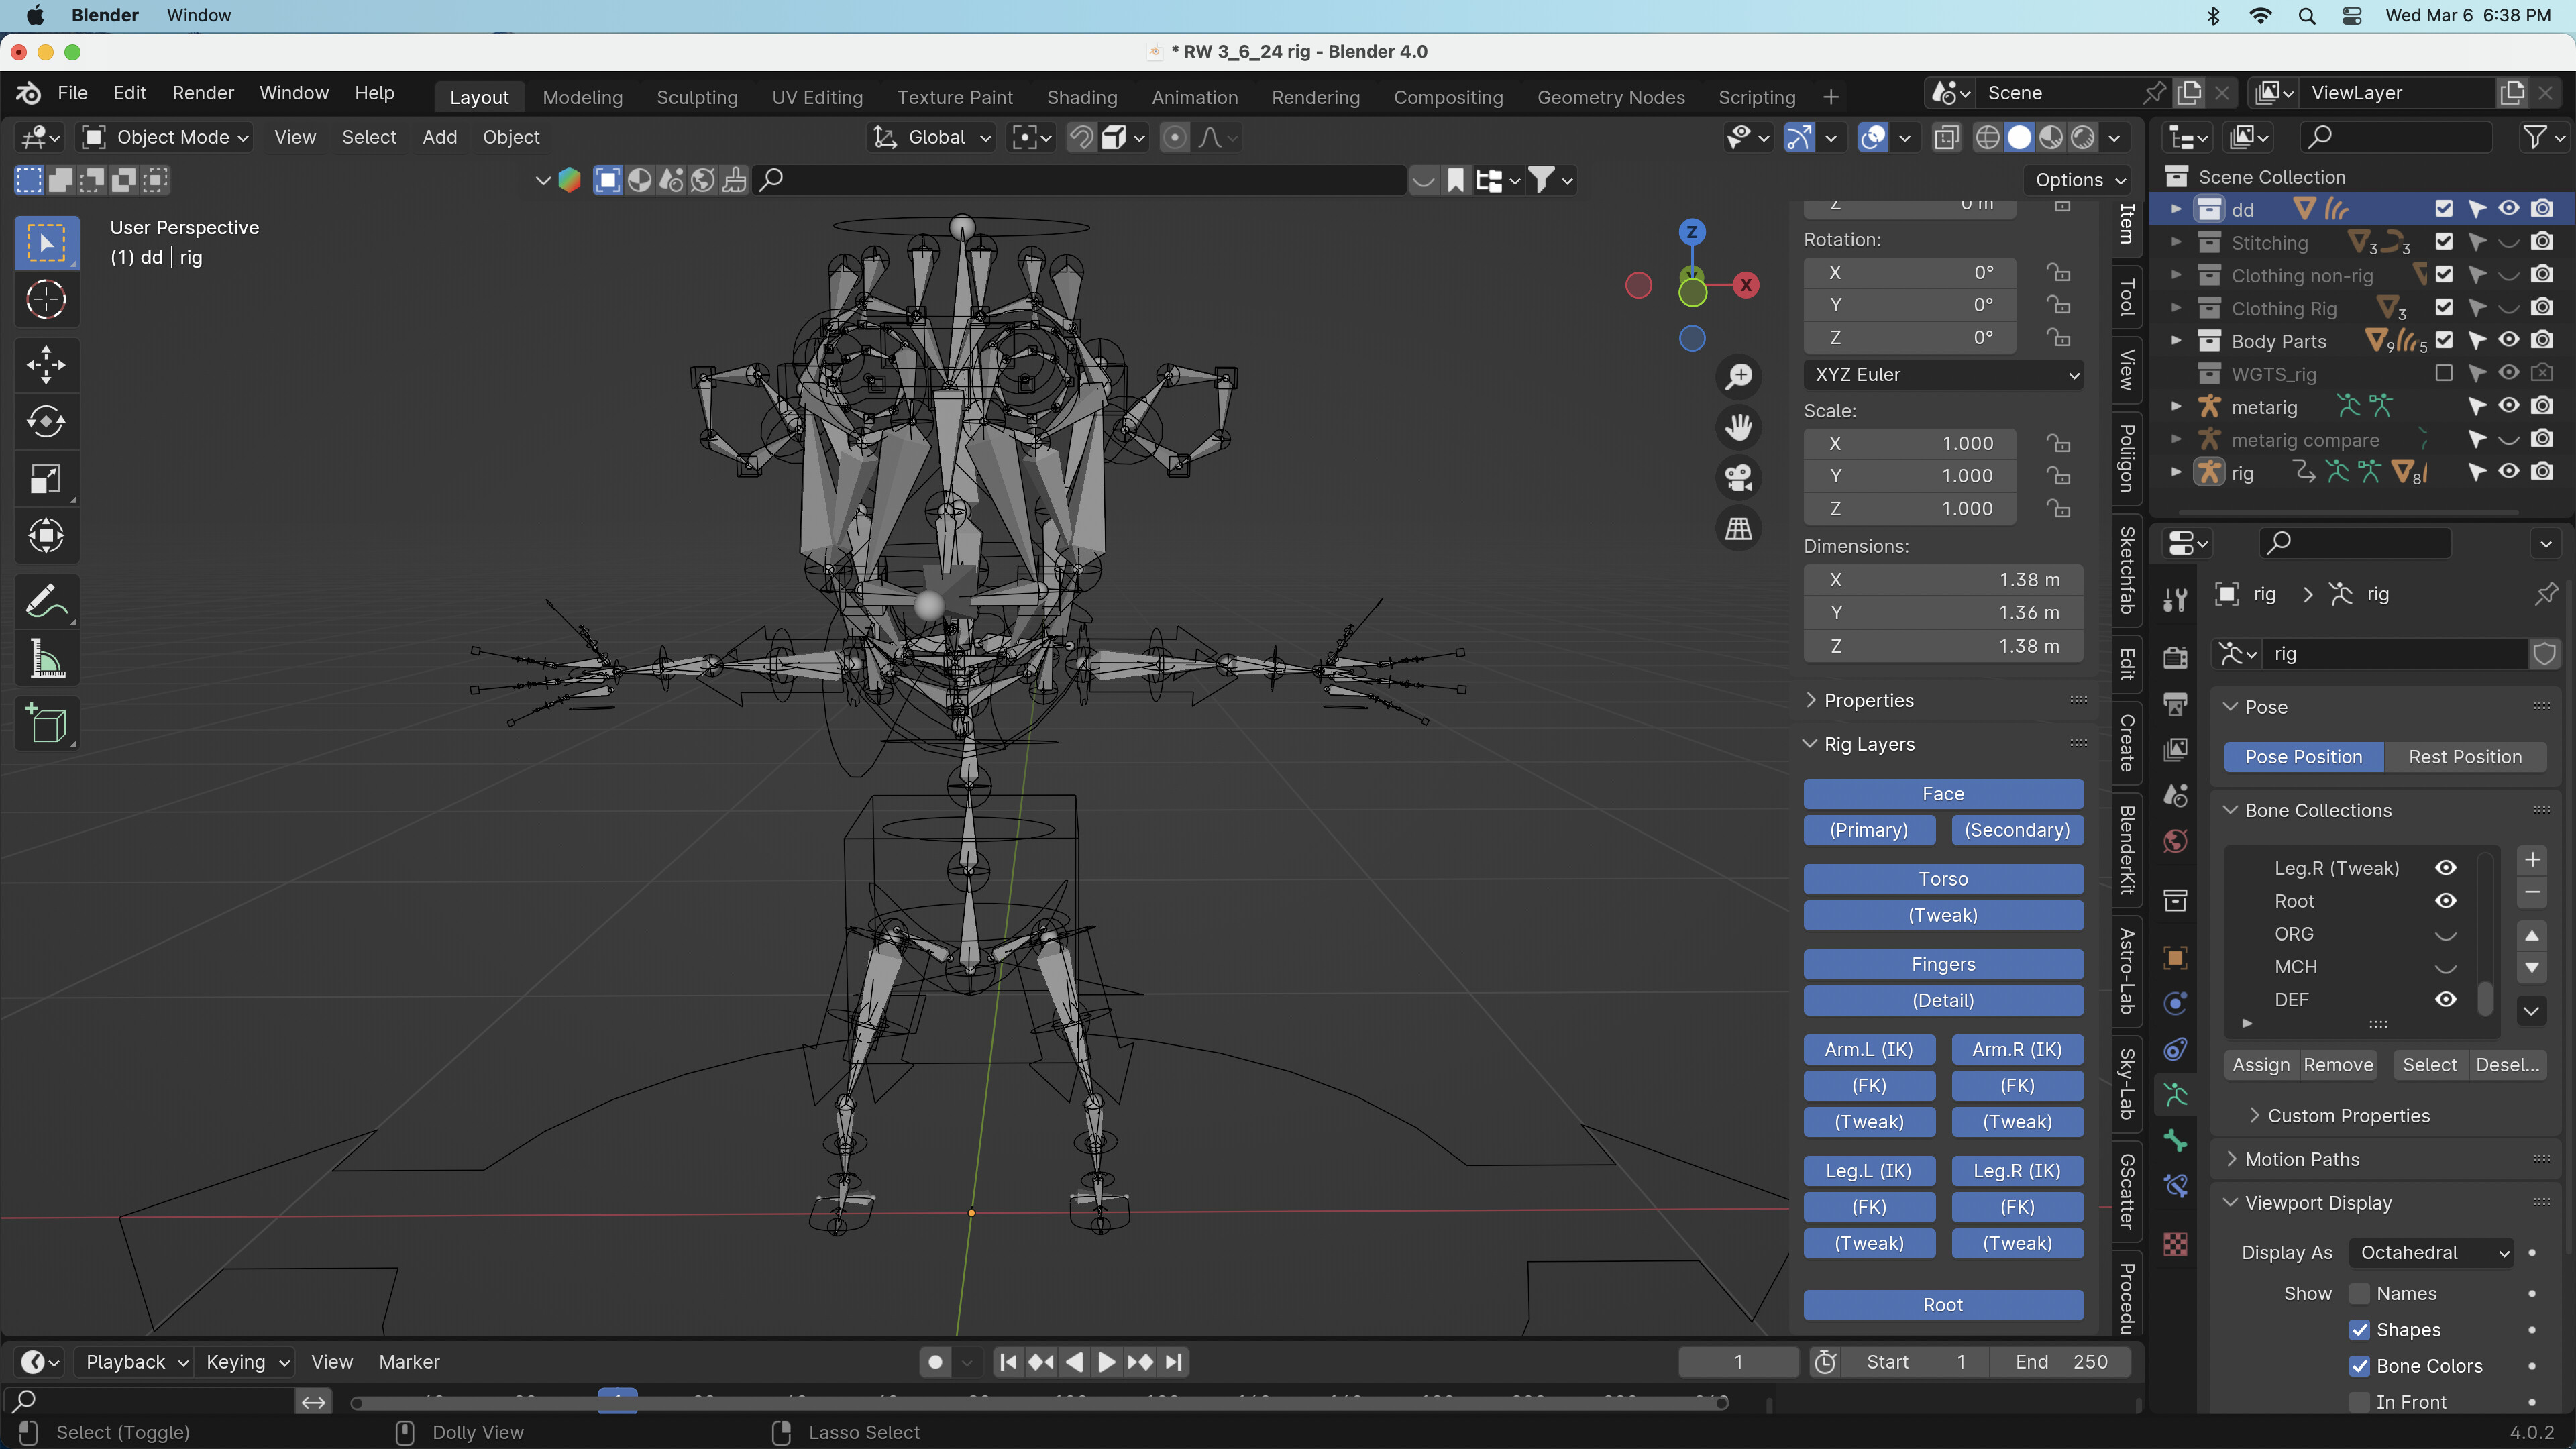
As for what bone to parent it to, why not post a screenshot of just your armature (ie mesh viewport visibility disabled)? It would also be helpful to see your Outliner. Those things combined will make it easier for the community to suggest something.
I’ve checked the animation course to see how Grant handles this, as there was a similar issue about a month ago, and apparently he just parented all meshes to the armature at once With Automatic Weights (no specific bone parenting and no active bone selected). I genuinely thought there would be more to this situation than that, but it does make sense that any more specific issues you end up with could just be weight-painted away or resolved with Tweak bones or something. Either way, that should get your hair moving =)
Not certain about this, but it seems that the hair I placed on the character BEFORE rigging was all part of the same curves instance. It didn’t parent or take weights. Not sure why. Maybe there’s still something I could have done.
I created new hair instances AFTER rigging and weighting the mesh of the character, and they linked right up with the rig. I guess the curves hair system automatically parents the hair to the mesh, so in effect grandparents the hair to the rig? Just a guess. For now, at least, this has solved the issue.