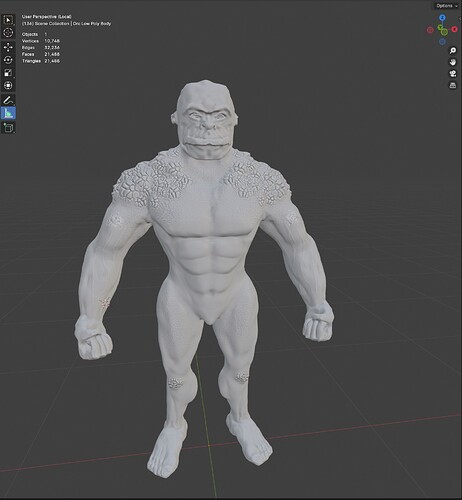
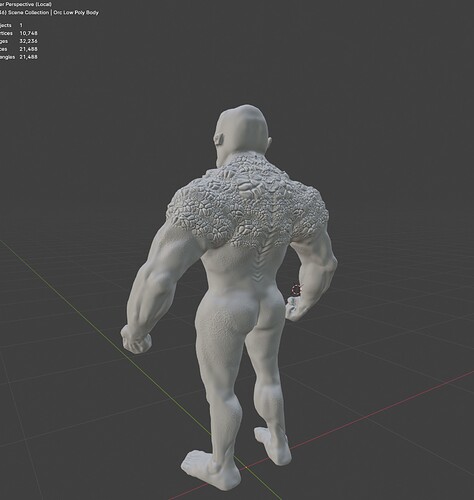
Blackspots after baking the cavity map, is this normal?

Hey there,

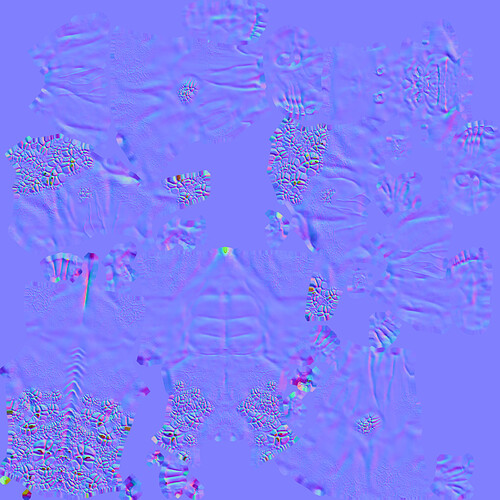
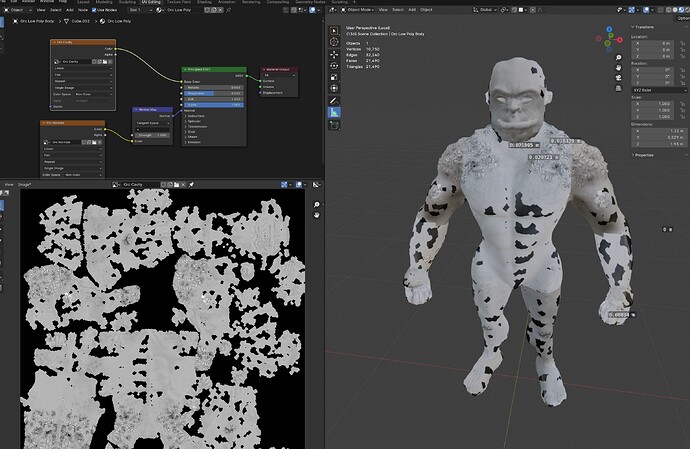
first of sorry for the many questions, but it seems Im having a rough time with the baking process, kind of unexpectedly so. This one is quite straight forward to explain though. I have black spots after creating the cavity texture and mapping both the normals and cavity to my orc:

Did i do something wrong? Does someone know why that is, because in the lecture grantts doesnt seem to have any.

As always, thanks so much in advance!

1 Like

Yes answered many times here already.

Baking checklist.
HP= High poly model baking the details from.
LP= Low Poly model baking details to.

Check normals on Both models are all correctly outward facing.
Check both share the same place for their origin points.
Make your LP a ‘reasonable’ fit to the HP.
UV unwrap the LP

Smooth shade BOTH models.
Select the HP first, then the LP so the LP is the active selection.
Set to Cycles render engine.
Ensure Rendering of the objects involved is not turned off, (camera icon in outliner)
Create a new blank image In the Image editor, Name it with an appropriate ending, like norm, diff, ao, rough, etc.
Create a material for your LP object. (if it has not already)
Open that new blank image in an image texture Node of the LP material.
The Image texture Node does NOT need to be connected.
The Image texture Node MUST be selected.

In the Render Properties tab. Scroll down to the BAKE dropdown.
Change the Bake Type to the one you wish to do.
In the Influence dropdown, untick Lighting Direct and Indirect.

TICK the Selected to Active Box and open the dropdown.

The Messing about part.
Set extrusion to 0.002 As a first test, these numbers will vary by model and HP/LP fit.
Set Max Ray Distance, you can probably leave it at zero. But again it is a number that may need adjusting to your use case.

Play with these numbers until you get a good result. This bit is not a matter of using X and Y numbers as every model varies. It often needs several tries to find a good pair of values.

Output, will be Image Textures.
Tick the Clear image box to bake over anything on the new image file, like a previous try that did not work quite as wanted. (Untick it if baking multiple objects to one map, otherwise, it will clear away previous baked info on the image.)

Margin size, 20px should cover most likely eventualities

You are set. Make sure the models are selected in the right order, and that the image node being baked to is actively selected.

Click Bake! Wait.
Grant mentions at one point ‘So if there’s any glitches in your normal maps or cavity maps that you can’t figure out, then change the device back to CPU and it may work.’
3 Likes

Thanks for all this good information @NP5, as I mostly beta test work by others who create new products, so I’m definitely going to need this when I “finally” try to model my first character. Up until now the modelling I’ve done is mostly props and such, so haven’t needed this kind of info, but saving it for the future will be beneficial for me eventually. :slightly_smiling_face:

2 Likes

I redid the baking of both the normal and the cavity map and now it looks perfect! I think i forgot to shade smooth, nice catch on that.

I also want to underline that your step by step baking instruction is really really useful, appreciate that a lot!

After shading smooth I tried baking the normal map, having max ray distance to 0 and starting with extrusion 0.001:

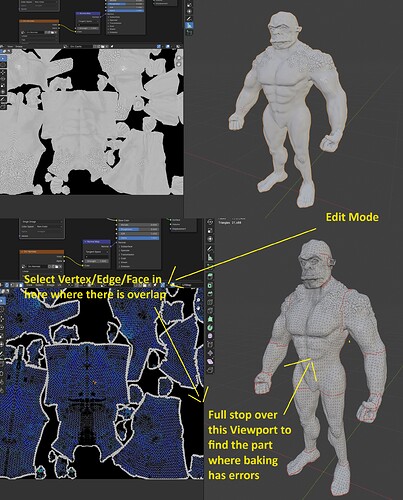
I noticed some small errors over the scaly skin part in the middle right and top left corner for example so I increased and decreased the extrusion to get a feel for what value might work. Now the errors in the very bottom left part annoyed me so I went ahead and checked them in the viewport to see whats going on there and I found out that there have been 2 inside faces in my orc fists, so I removed them. For anyone that wants to know how, we can find the faces like this:

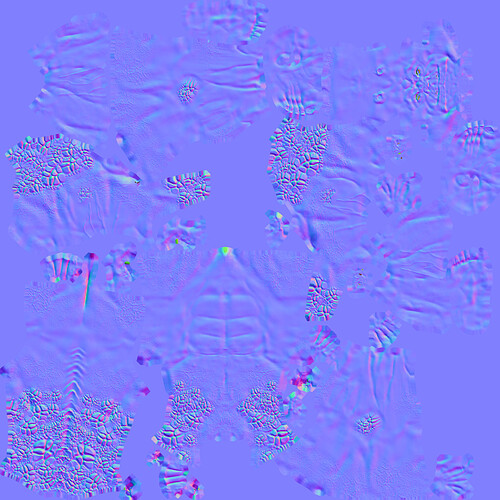
After playing around for a bit I found out that an extrusion with 0.0165 works pretty good for me. This is what the normal map looks like with the extrusion of 0.0165:

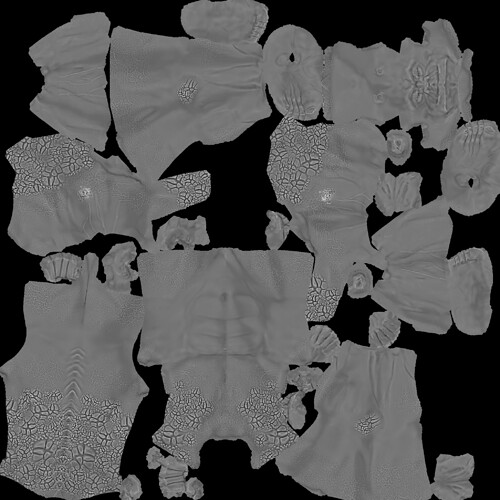
The errors on the left bottom corner are gone because I deleted the inside faces as stated above. Now with the same extrusion of 0.0165 I tried baking the cavity map, following your instructions step by step and this is what result i got:

After plugging all into the Prinipled BSDF of the lp orc I now got exactly what I was looking for:


Again @NP5 thanks so much for taking the time! You have really been a huge help now and several times before already. Thanks so much!

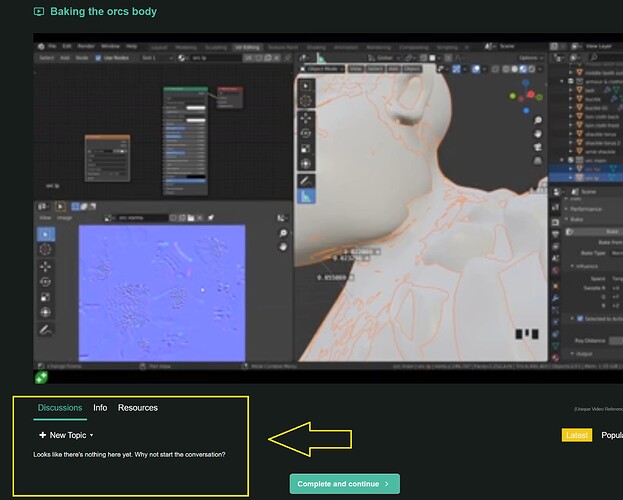
I want to take one second to adress your first statement. I was expecting that, if a question was asked on a lecture for it to pop up under the lecture like it does when I was still following the courses on the udemy side, but for neither the cavity map nor the normals map lecture before there were any questions listed:

Then after typing in the question title it opens up a popup that shows similar questions, but none that were shown adressed my topic. I guess I should also go ahead and search the forum manually, thanks for the tipp!

Well done and you have a great result.
Thanks for the tip about finding the site of areas of interest to check out.

Yes it would or should.

Manual search of the ‘ask’ section is best, as not all posters ask on appropriate lectures, having perhaps got a bit past where it was covered before asking. Or for all manner of reasons.

No idea why the tags did not appear and work automatically on that lecture. That may be why there were no previous questions and answers!
The lack of any is usually a result of a question raised directly in the general ask forum rather than via the lecture links. In this case from what you have said, it looks more technical lack of function than humans doing things in a variety of ways lol.
As the whole site will soon be moving over to a new system I do not think it worth bothering those that could sort out the missing tags now.

1 Like

This topic was automatically closed 24 hours after the last reply. New replies are no longer allowed.

Privacy & Terms