
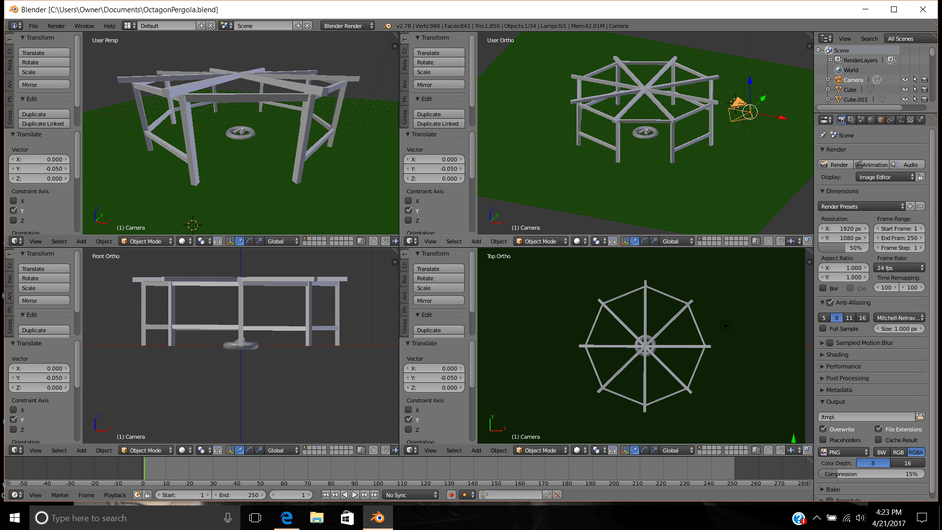
Rough mockup of a pergola I am in the middle of building in my back yard.
Hello guys!
Just another one using only the few techniques and shortcuts that we have learned.
Hope you like it 
3 Likes


[quote=“ben, post:1, topic:15116, full:true”]
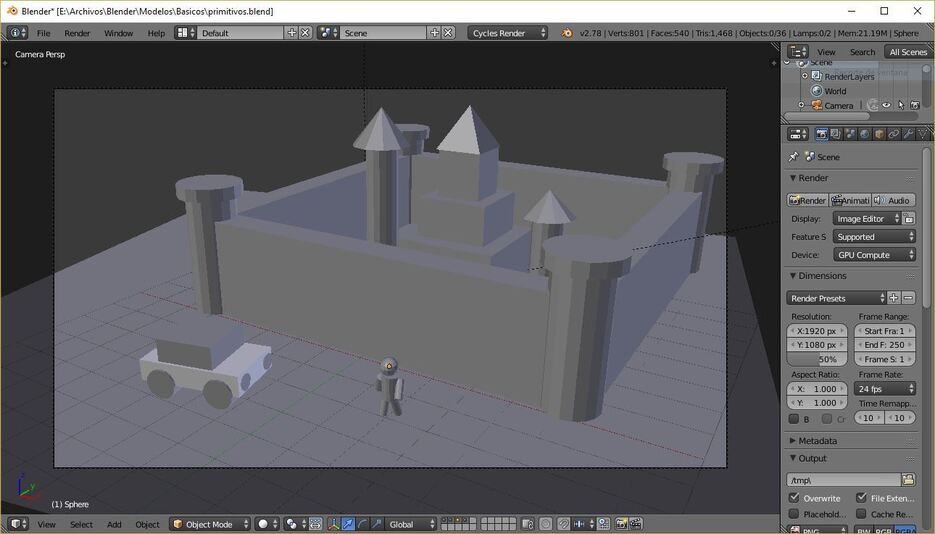
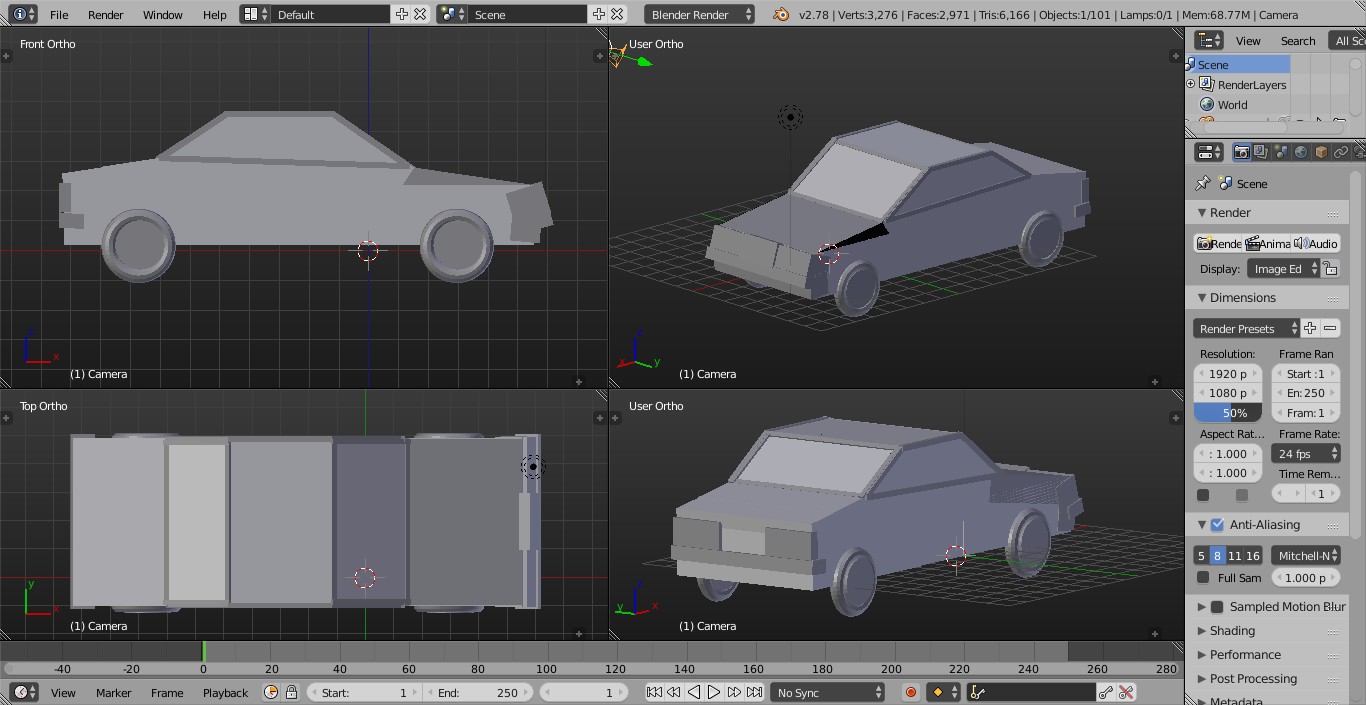
Here’s my first attempt with Section 1 challenge…there’s a lot of really good models here just using mesh objects. I wanted to spend more time on it but I really want to get moving with the course to create even more detailed models.
Looking forward to seeing more great models from everyone!
2 Likes
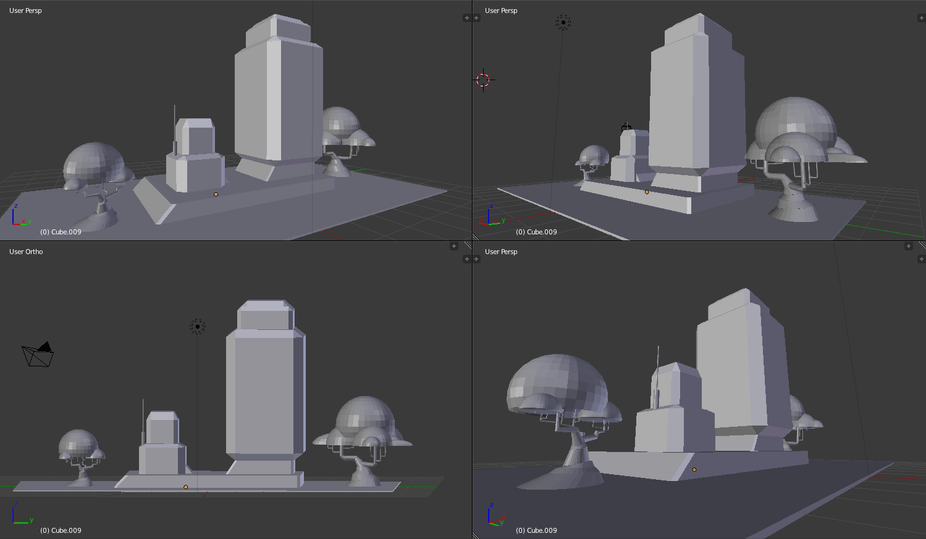
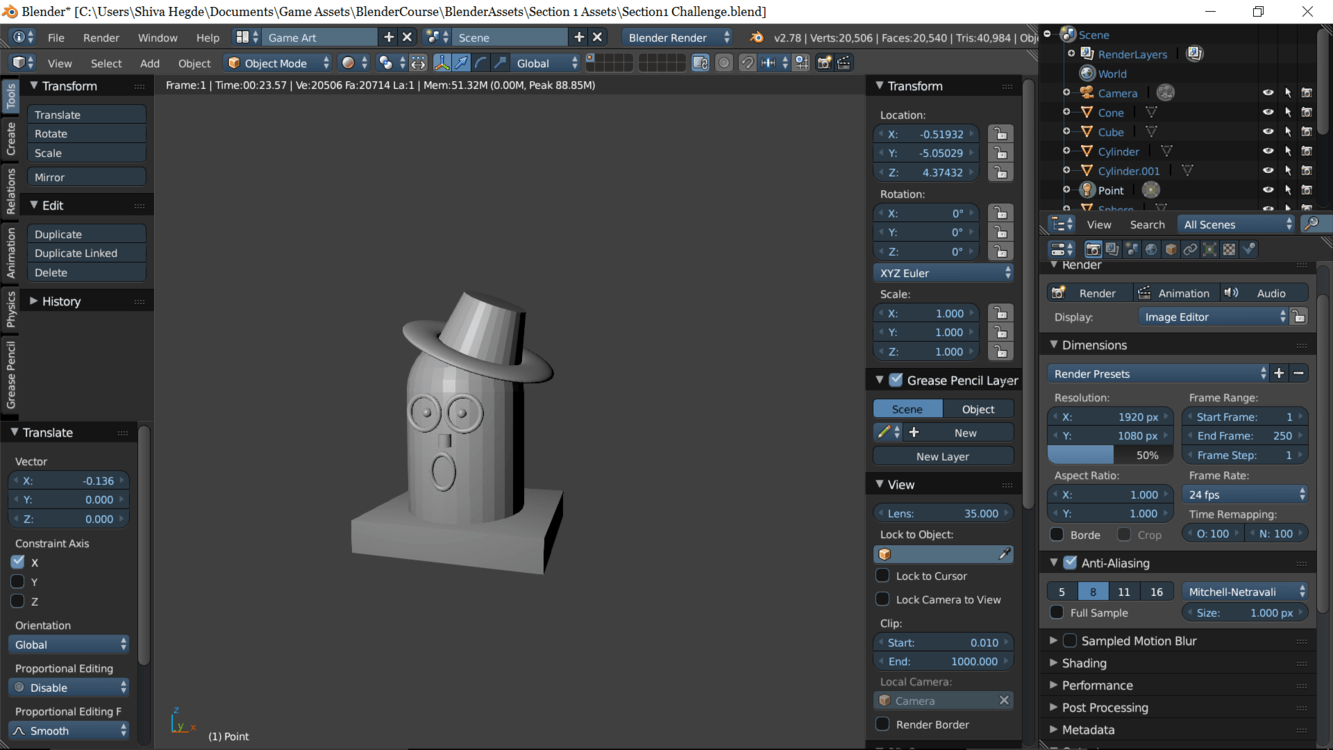
Just a simple paperweight though this pales in comparison with other amazing posts. Some of the models posted here are inspiring! Good going guys!
2 Likes
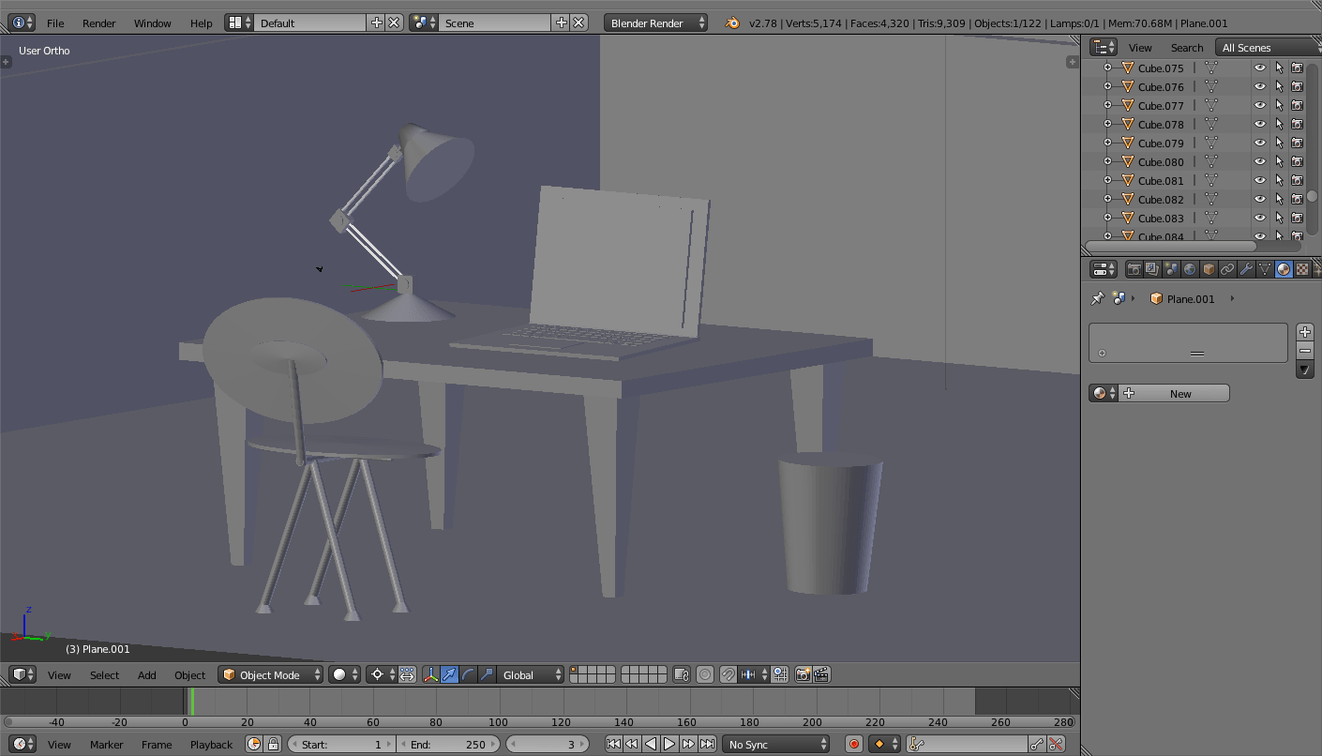
For the challenge, I made a desk, laptop, lamp, chair, with a floor and walls in Object Mode, with cubes, cones, cylinders, planes, and flatted spheres. Lots of duplications, scaling, transforms, and rotations.
3 Likes
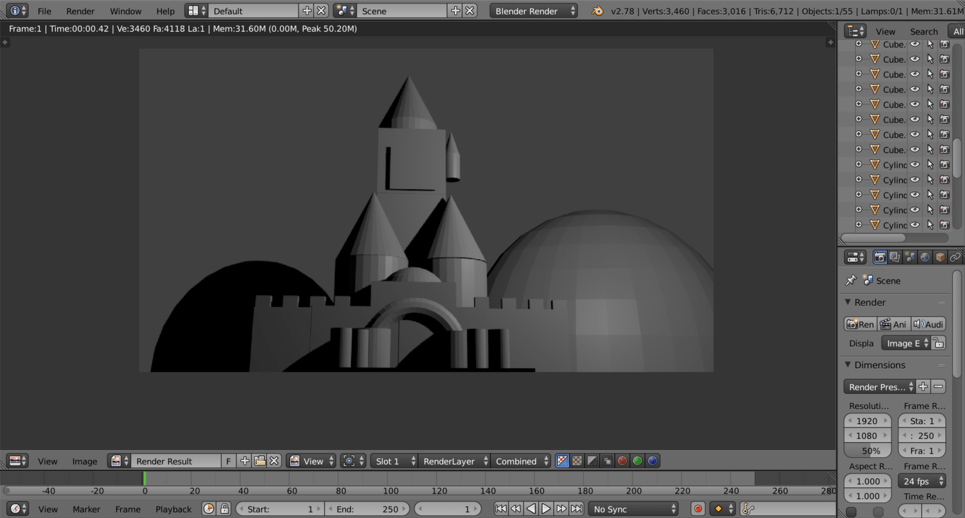
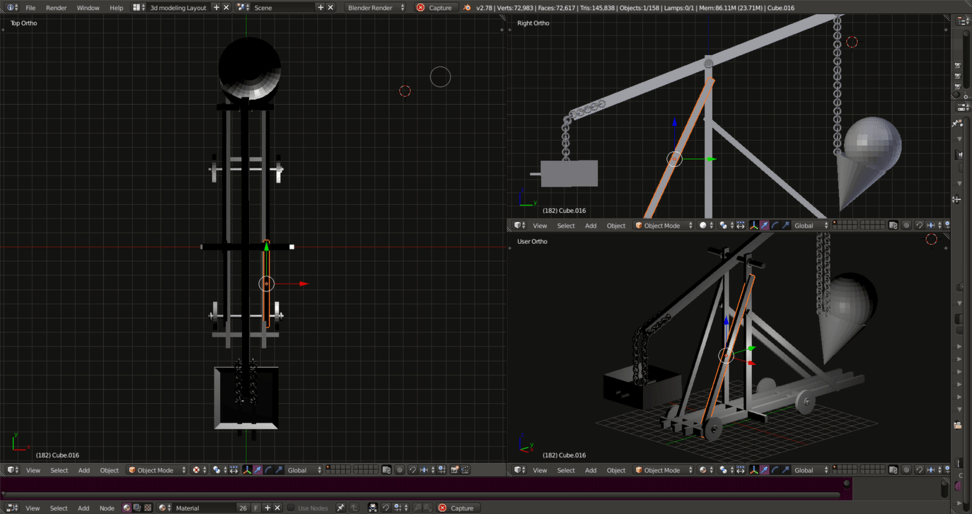
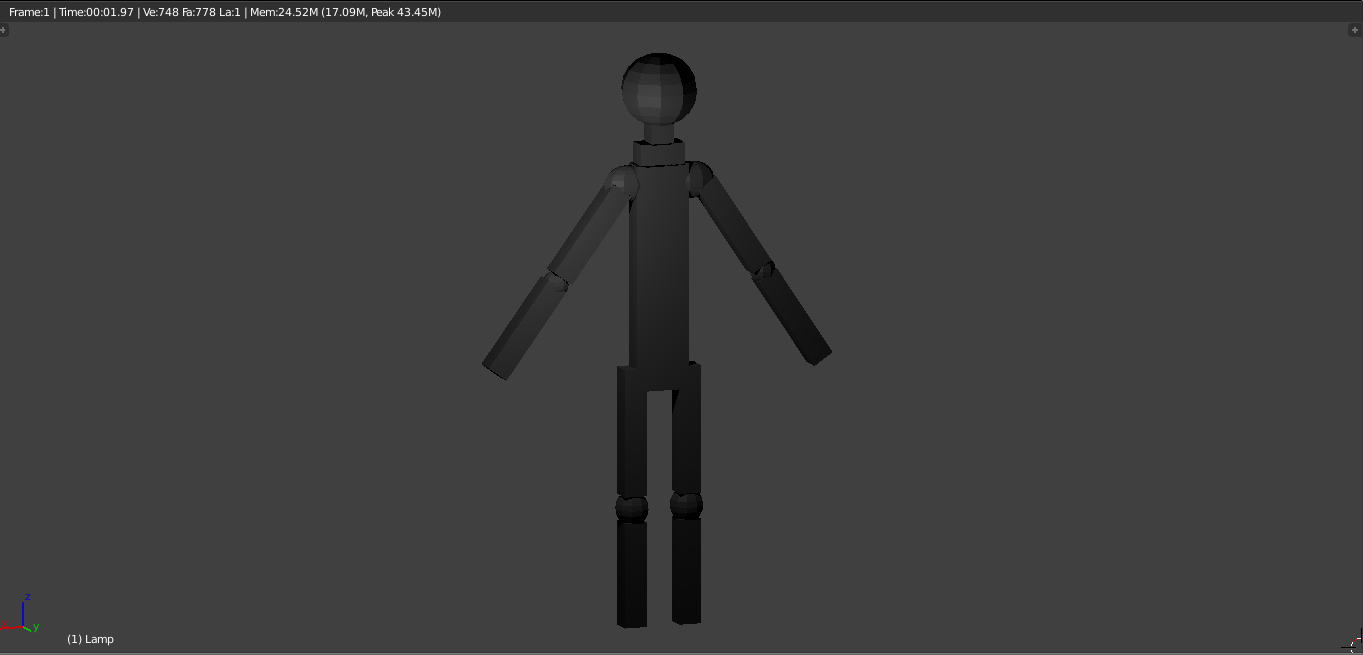
I’m an overachiever 
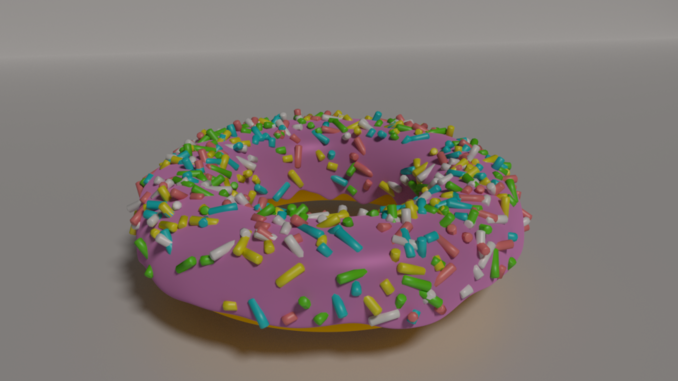
Tried my best with particle systems and postFX, hope I can get better
3 Likes
4 Likes
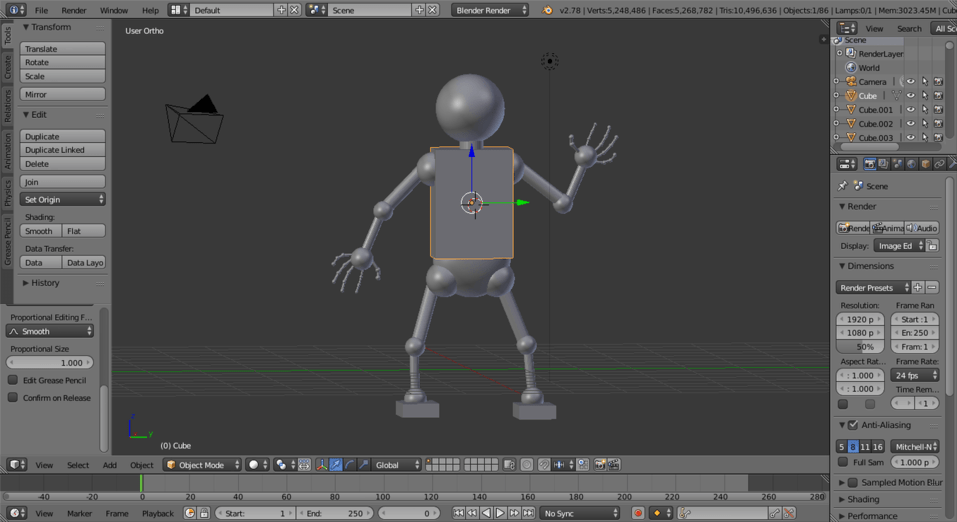
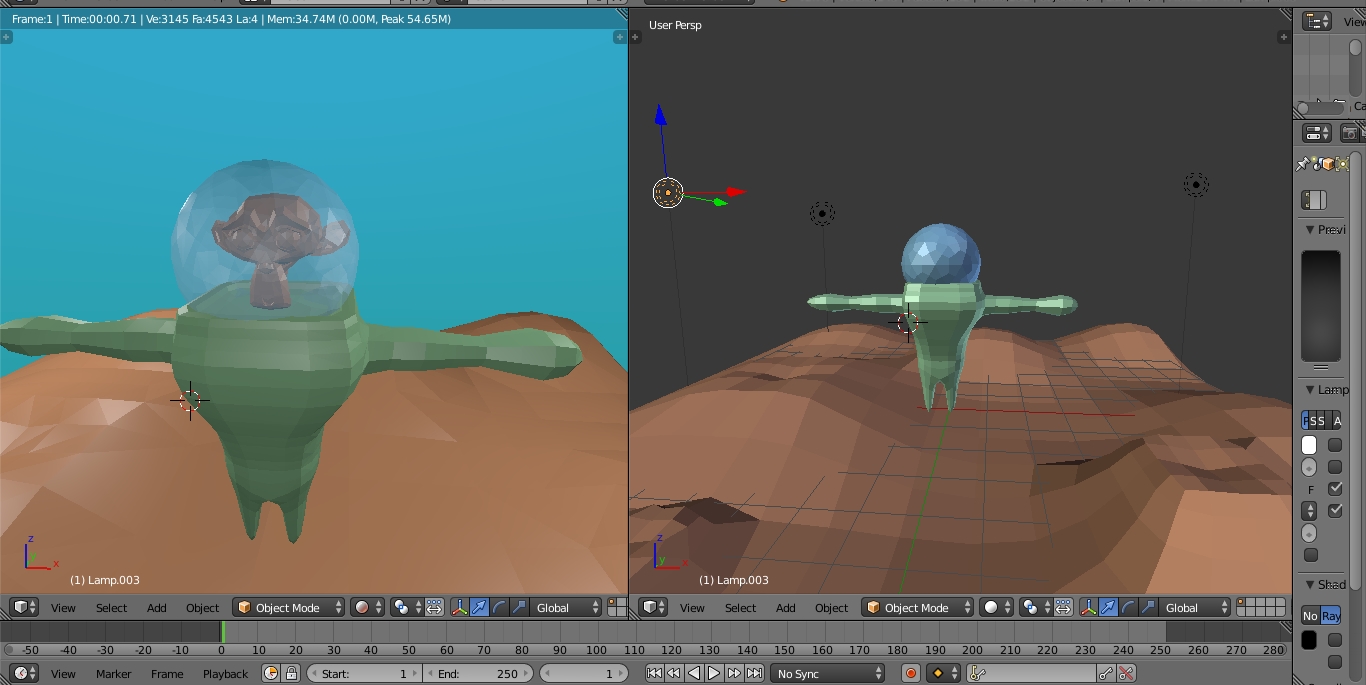
Hi. Now, when I can really focus on this awesome course I want to share with you my new 3D model.
It’s my first model since a few months. What do you think?
4 Likes


It’s interesting to see what everyone comes up with, made me a lot more inspired to keep making this, it’s a really good way to evolve using simple meshes!


1 Like
Doesn’t matter it’s pretty cool  .
.
Some people I follow make big collections of random pieces like that, so that when they want to design something they can just use the pieces to make it more interesting and save time. Just a thought.
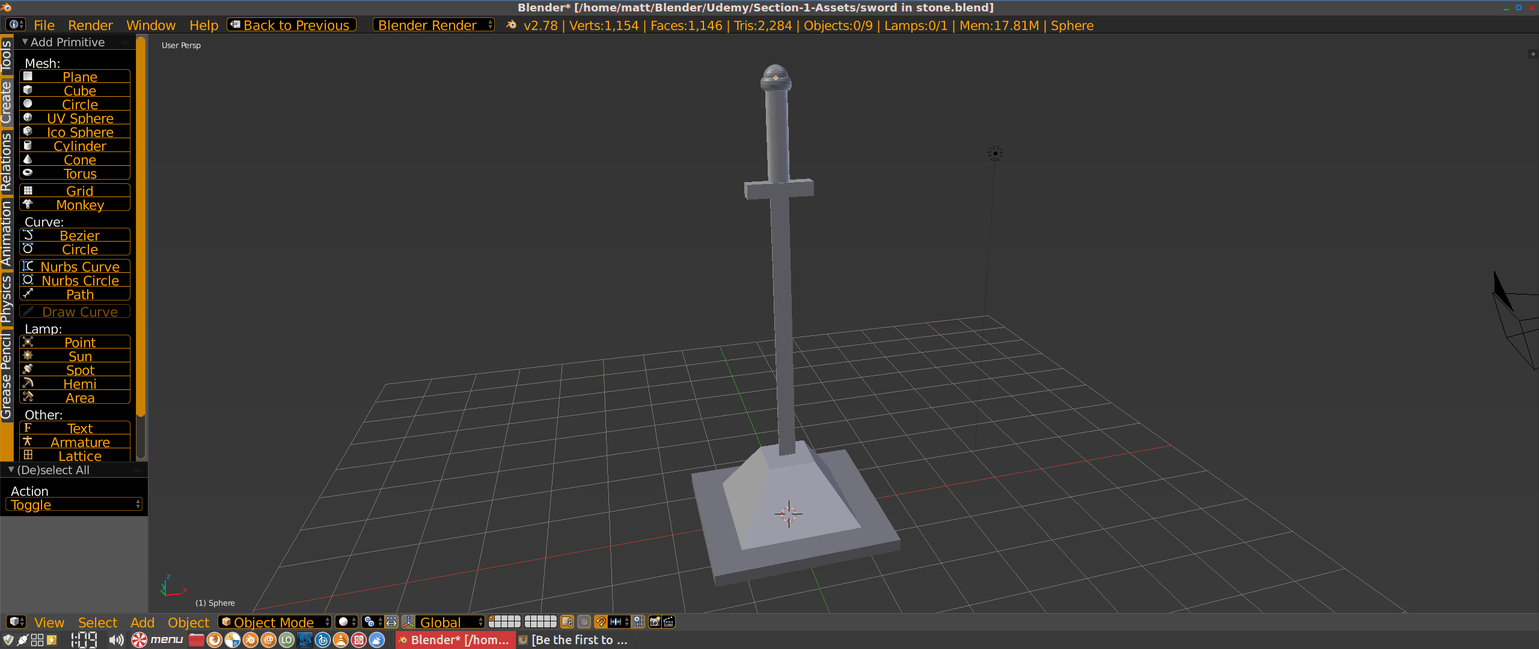
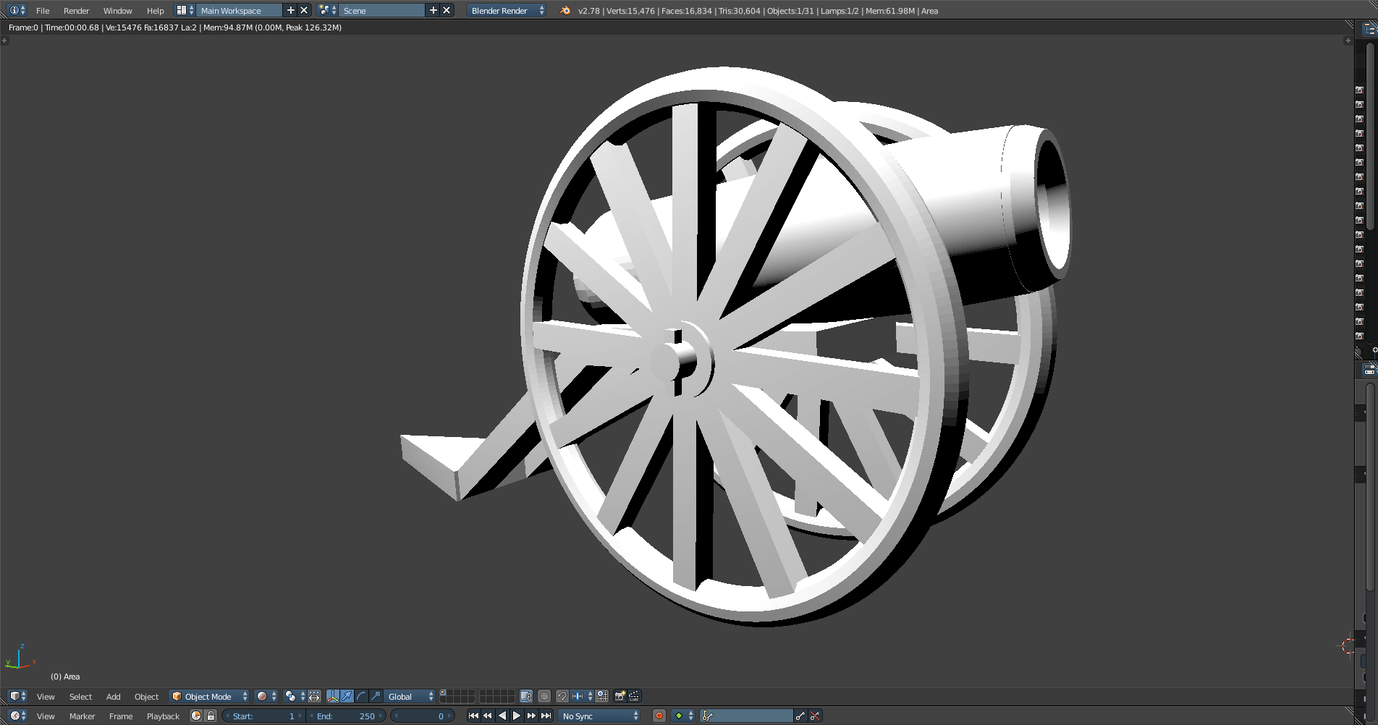
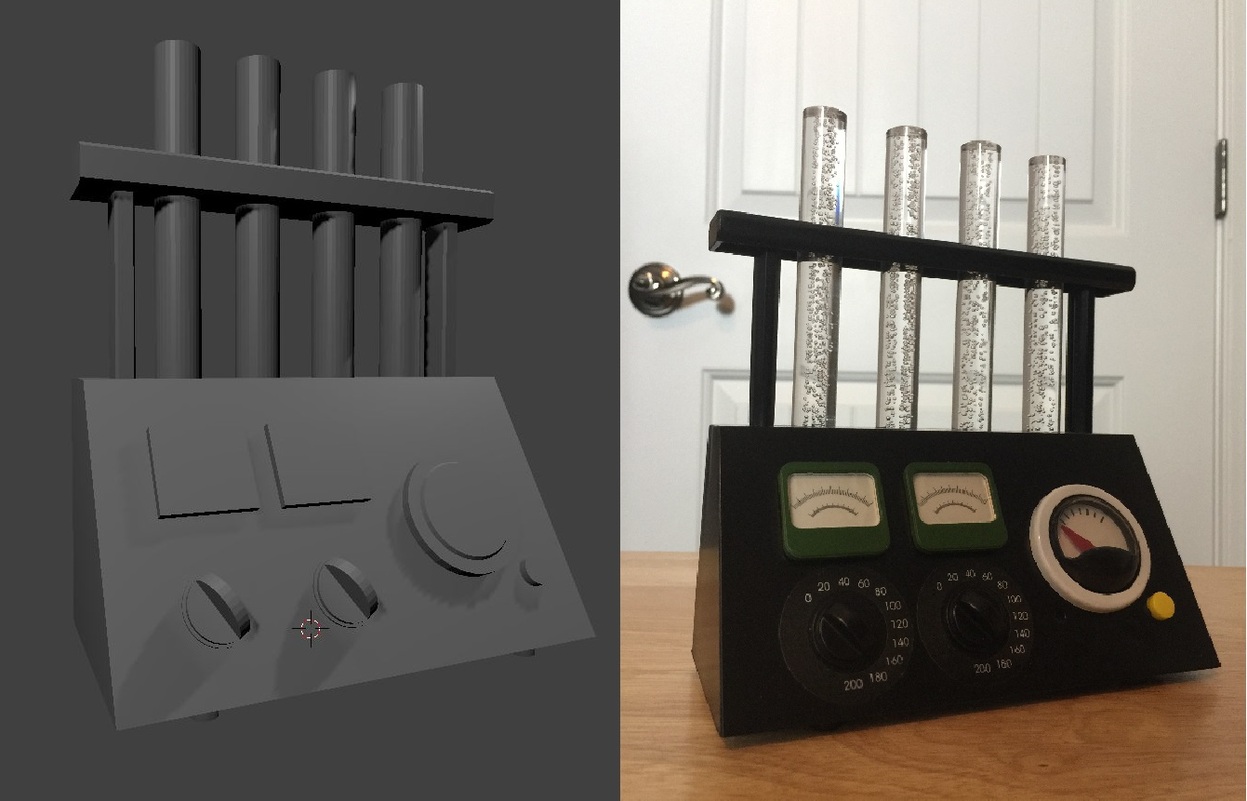
Recreated this piece using what I’ve learned so far in this course. I’ve currently completed through Section 2, Lesson 25.
I’m not on model since it could stand to be wider, but I’m satisfied with the relative ease in which I was able to model it. Blender’s interface is proving easy to navigate because of the course’s clear instruction and its promotion of practice and experimentation.
Going beyond the coursework, I played around with lighting so the model wouldn’t look so washed out in the render. I removed the point lamp and added three spots for 3-point lighting.
5 Likes
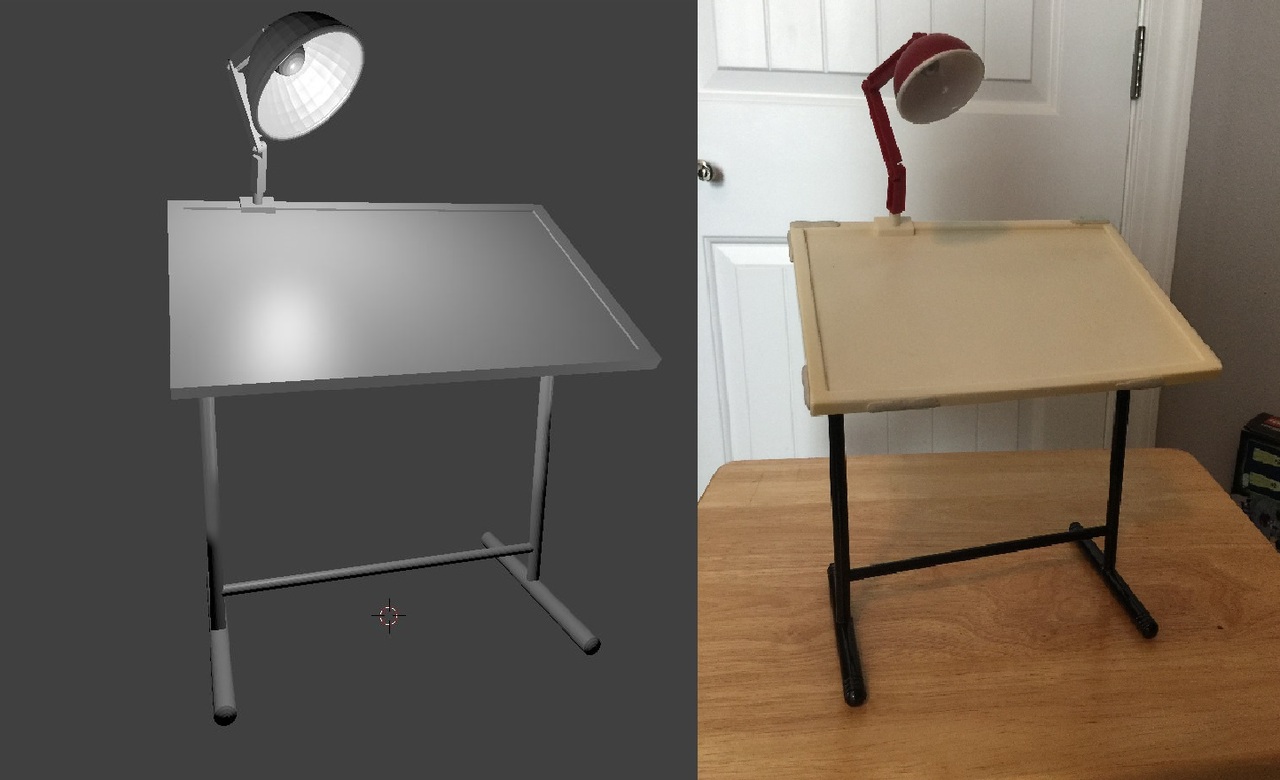
I plan on using the weekends to make a couple of models using what I’ve learned up to that point. I’ve currently completed through Section 2, Lesson 25.
To keep the four rectangles that make up the table’s frame from overlapping, I butted up each inside edge to its direct opposite. I did the same to the outside edges. I then removed the unseen faces and joined the vertices by using Remove Doubles.
For the inside of the lamp, I duplicated the outside shell, shrank it and reversed the normals. The seam is a torus.
In lighting the piece, I used two spots facing each of the table’s front corners. I used a point light just below the bulb inside the lamp.
2 Likes