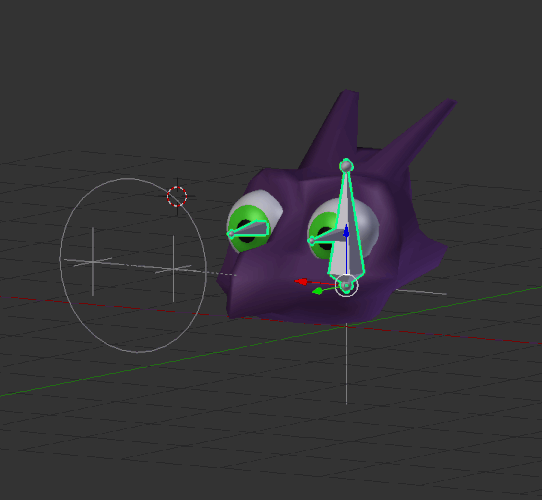
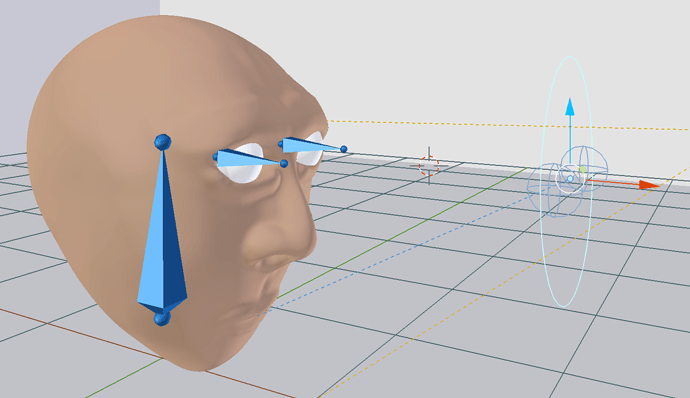
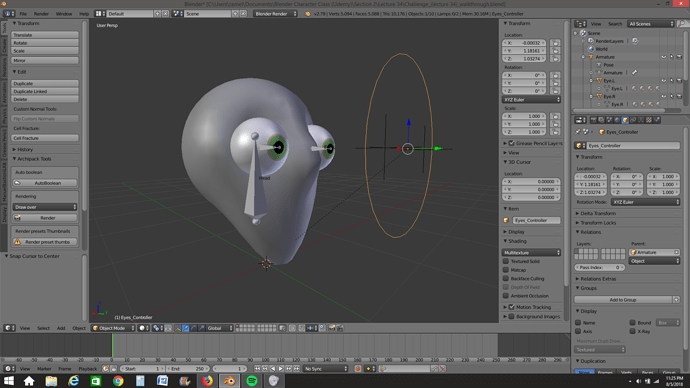
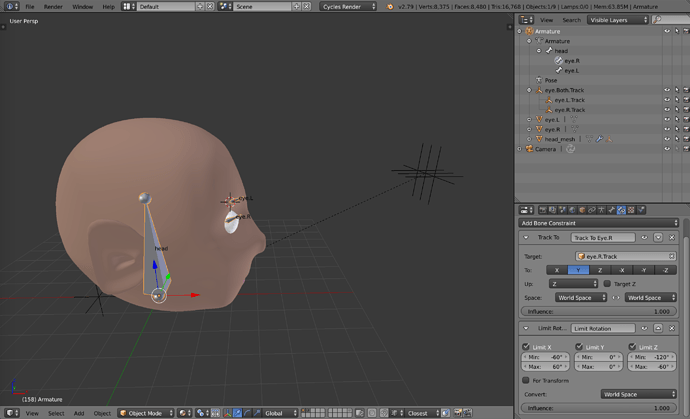
If you’re reading this, there probably aren’t very many posts yet. But don’t worry, you can be the first! Either create a new post or just reply to this one to say ‘hi’.
I think this lecture answered my last question! Thank you so much for explaing this. I didn’t even realize the armature had a different up-axis than the regular world axis.
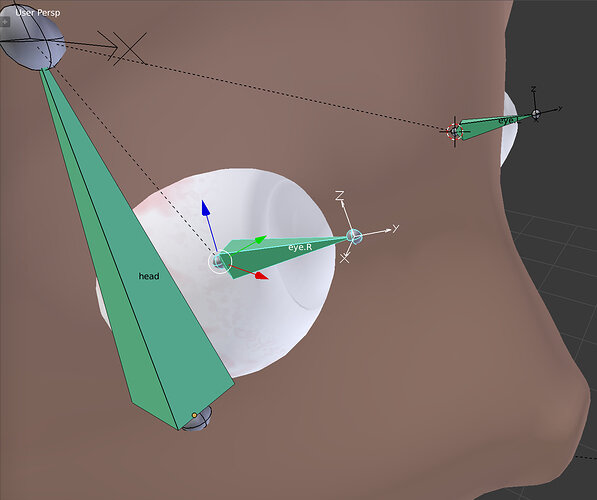
Wow, this was still kind of frustrating and I rebuilt the rig partially several times but I think I finally figured out what was happening. After building the tracking constraint first and then adding the angle constraint after, it seems to have worked for one eye, but when I tried it on the other eye, the eye flipped over. I finally rotated the bone around the y axis 180 degrees and that seemed to have fixed the problem. I thought this was a kludgy method of fixing it, but out of curiosity, I turned on the axis, and they are the same for both bones, z pointing up. So I guess z was pointing down that messed up the constraint! Oh…I also had to change the angle constraint limits to local space. The rig is working, but if anyone can explain to me how the local and world spaces are working with each other, I’d appreciate it.
I’ll also attach the blend file.
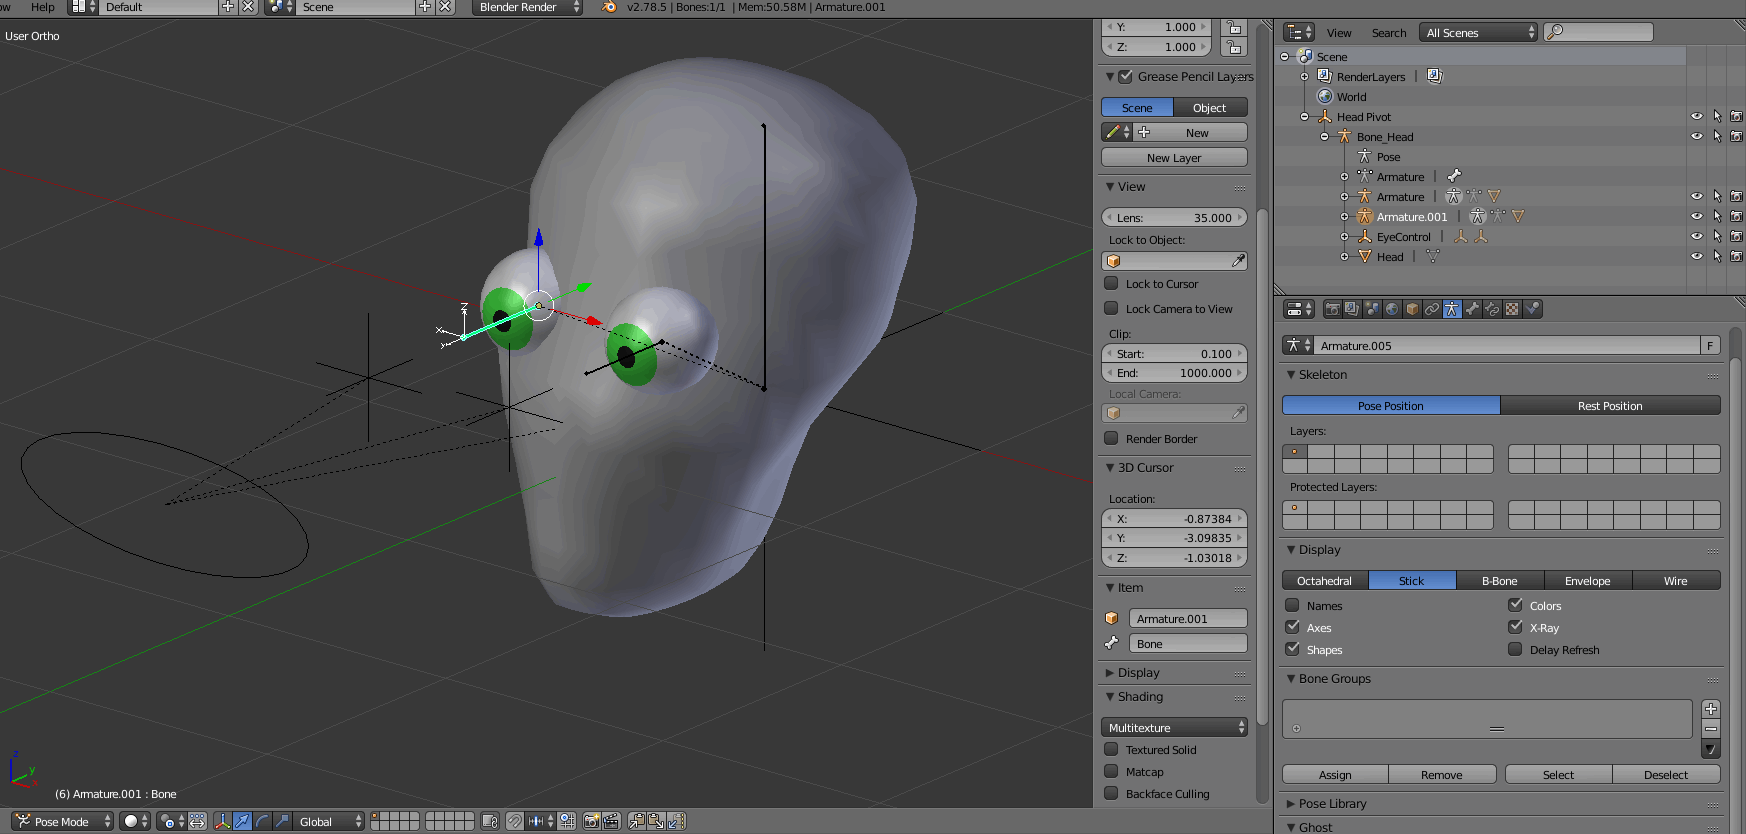
Head_Pivot1.blend (557.3 KB)
Having a lot better luck now, except for the eye bones acting weird when the head rolls around using the head bone. Doesn’t have the issue when using the head empty so guess I’ll stick to using that if I need to move the head.
It took a lot of tries to get this right… miss one step or do it in the wrong mode and the whole thing breaks, but you don’t know until you try tracking… I got it working though!
Global is just that, it refers to the world axes.
If you were to do a hand-stand your local UP or +Z would now be down globally…
Yeah… I got something rather odd… When I move my empty up or down, the eyes moves away from it…
Yep constraints are pretty fiddly, I guess practice is needed.
I am here, minding my own business, making my hot cheese, them there is this guy with a character that could be at new Toy Story movie… Just kiding! Nice work =D
Ha! Thanks Glad you like
I had a similar problem, only right/left; it turned out to be the orientation of the eye bones. To see this, turn on Axes in the Armature tab and take a look at the eye bones. You can rotate them by adjusting the roll of the tail of the bone in the properties tab (in edit mode).
This is awesome!
Fly-by, re-using the airplane from GameDev Blender 3D.
Not able to rig the head properly … exhausted and done …Please, somebody, help me to apply the constraint to the bones properly .I don’t know what’s going wrong. Each time I applied the " limit rotation " and "track to " constraint the bones behave in a weird manner.Please Help…Parenting_eye_and_head.blend (529.9 KB)
Eye Tracking Animation!
https://community.gamedev.tv/uploads/short-url/2VZaIQTu8Ukd4IAA02Bdq5mj2ui
Hi! I did the same thing and it drove me crazy for a while.
You used local constraints on the bone rotation constraint, which I also did, as it made constraining the rotation more clear to me. However on the track to constraint I had to use world space<->world space under convert.
What I still do not fully understand but helps make it work, but I needed to use the local bone axis for the “To” option (in this case Y, which is toward the empty.) and X as the “Up” option (this I do not understand why, because this is the bones local up even in the convert options we are using world<->world coordinates.)
I am probably misunderstanding what those settings actually do, but that seems to solve it. I took your blend file and changed the rotation constraints to go from -60 to 60 on x and -50 to 50 on z. I also added the third empty and constrained the unconstrained eye, to make sure this actually solved the problem. Im attaching the blend file to this reply for your reference, but Id go through these steps yourself to make sure I didn’t get weirdly lucky when it worked for me.
Blend file:
Parenting_eye_and_head fix.blend (573.1 KB)
Hopefully that made sense and helped, but feel free to let me know if you have any questions!
Track to constraint
https://community.gamedev.tv/uploads/short-url/4Vcb9PwVII8oPWk4SMGAARgu8PQ
I can tell that rigging constraints are going to be a long-term source of headaches for me. Many of my issues stem from not really understanding bone axis orientation, and struggles over whether to convert constraints to world or local space. You can see the settings that finally worked for me in the attached screenshot.
I managed to limit myself to only one migraine by making sure both eye bones shared the same axis orientation. For some reason, my two eye bones initially had different axis orientations, so Limit Rotation constraints worked differently on each eye and I tied my brain in knots trying to understand how bone axes interact with rotation limits. Every time I thought I had it figured out, turns out I was wrong. Eventually I accidentally landed on a combination of constraints that worked on one eye bone, and then I duplicated that eye bone (in Edit mode) and hooked the duplicate up to the other eye.
My tooth enamel needs some work now.
EDIT: in the subsequent lecture we learn about Roll. I think that my two eye bones started out with different Roll. I have no idea why that would be the case. Duplicating a bone duplicates its Roll and any constraints it has, which I think may still turn out to be a useful shortcut in some cases.
