Anyone have any idea if there is a way to make low relief in Blender some easy way? Say you wanted all the sculpting to be in no more than half the thickness of a sheet or item? Like a wood flat panel carving, or on a smaller scale a coin. I want real geometry, not normals map look alike effect. Perhaps there is some way to confine sculpting to within a certain depth?
1 Like
Does it have to be a sculpt? You could use a height map image as the texture for a displacement modifier.
1 Like
No, does not have to be. It might be simple scaling in the flat desired direction would work. It is interesting how hard it seems to achieve. I guess the black and white greyscale image as a height map is probably the best, BUT that means drawing a 2d B&W image with cleverly carefully gradiented greys. On coins for example so much is faked, there is so little actual height to use. so a squashed 3d model is unlikely to work well. Looked on line and there seem to be old, complicated ways. It looked like one baked a normal map from the view he wanted, then presumably converted that to greyscale and used as a height map. You can use a photo create full set of PBR maps which include height. But the results I saw were poor on the real geometry, but fake reasonably well using all maps.
Got intrigued by the difficulty and lack of on line tutorial as one comes to expect on most aspects of blender. So thought ask others. Sometimes someone has already done it everyday.
edit later.
Not very good result but a method.
Answer 2 pointed to this though. Which I suspect is the better method and is effectively entirely done in photoshop. Rather as I suspected. Long but good old tutorial from the great Blender Guru. https://www.youtube.com/watch?v=82zWmOqE0Nc He is using it for snow and tracks but the principle is probably better if any good with photoshop.
Use this to make my own alpha brushes.
And paint relief on the level of material height map.
Or get lucky.
http://3dp.rocks/lithophane/
Chance mention in a blender facebook group, telling someone their tool would not be viable asking for money for it, as there was a free equivalent available. Traced the site I suspect that was meant from their description containing the word Lithophane. It is not perfect but a huge starting point for tidying up. Upload a photo, in seconds a model file is ready to download.
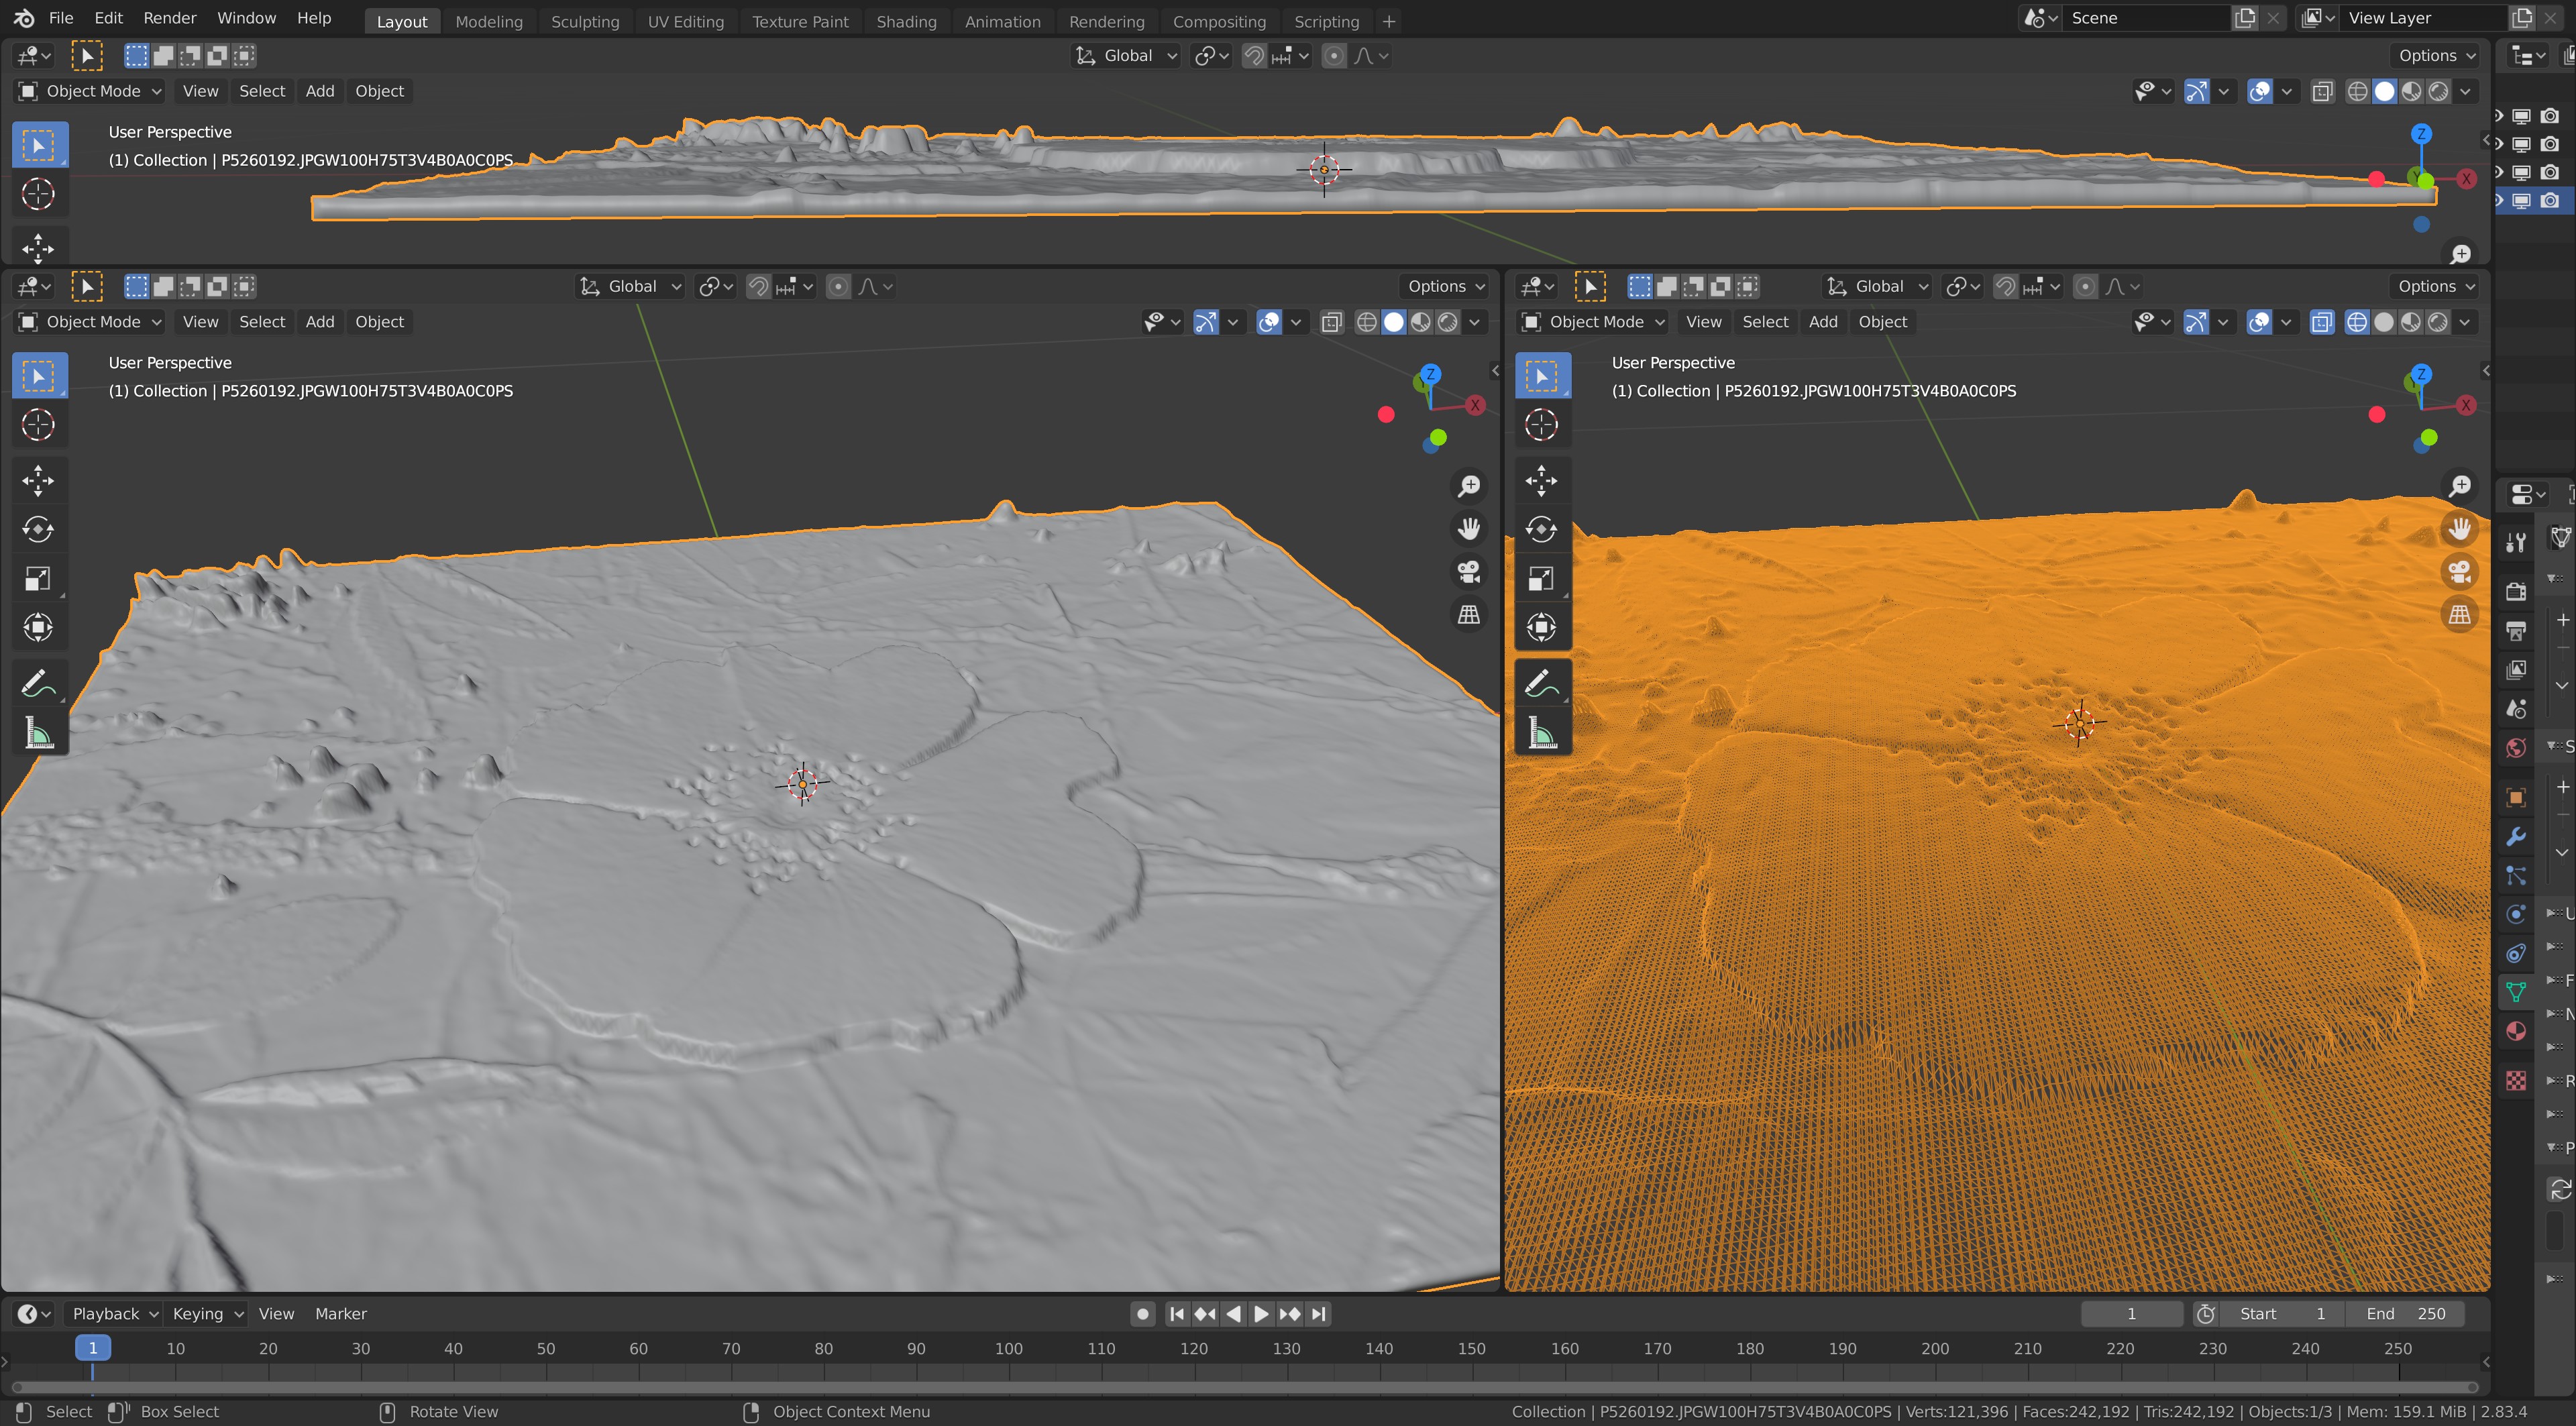
Smooth shaded & scaled down only. The file comes as .stl can be imported into Blender as it is a standard 3d printing file widely used.
There are settings to tweak available, For this, I just dropped in the image and did nothing.
While having a photo of what you want May not always be possible either, this has potential.
1 Like
Would a displace modifier not do the trick?
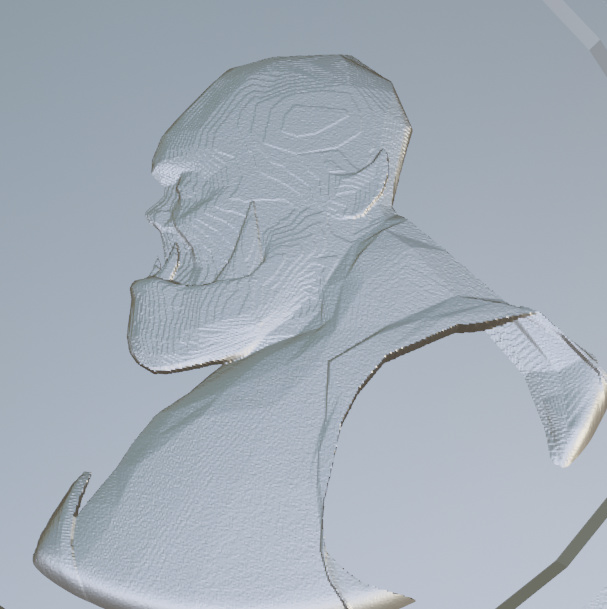
(Dirty POC with Depth-channel used as texture source)
Basically doing what they say in the link you provided, but just skipping a bunch of steps and hooking straight into the “Depth” channel to get the “relief” image from my render, which I normalize and then invert to get the displacement to work.
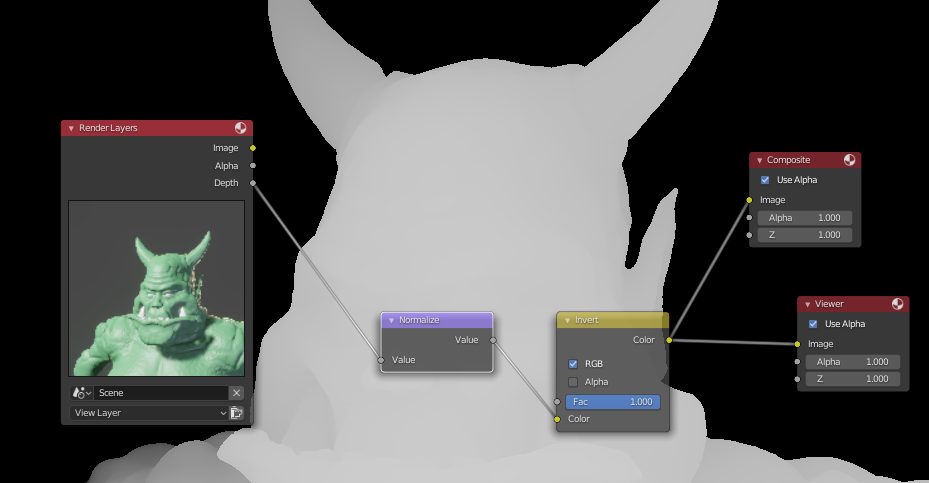
Works well if you’re in control of the geometry you wanna lithograph since you can render the depth channel yourself. I also make the clipping distance on the rendering camera as tight as possible to get as much info in the depth channel as I can.
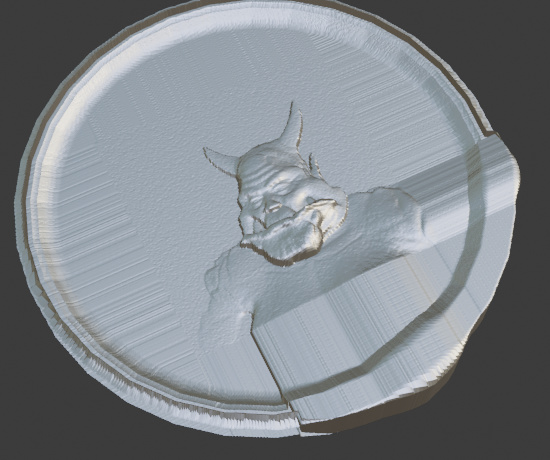
Using about 300k verts on this coin, which is double-sided, so could prob go higher if you delete the other side…
1 Like
here is how I did a down and dirty version
EDIT
this is the edited version of the video (August 10, 2020 5:21 PM)

1 Like
@Jaco_Pretorius Yes that looks reasonably effective but you lost me a bit in POC?.
I have seen one example of someone probably doing very similar. It seemed, it was more a couple of images than an explanation, they baked a normal image of a 3d model viewed from where they wanted the low relief from. I suspect that is what your normalise node does? Then converted it to B&W for a height map. Certainly worth some experimentation. I just wonder though if it flattens or just scales thinner. For example, the chin of your ork seems the high point. On a coin ‘style’ the horns would be as high, hard to explain. More human artifice than straight squashing.
It is probably a very good way to work from a full 3d model rather than a photo. Plus uses uncharted compositor territory to me!
@Capricas_Kirito Thank you. That is a cut out outline and raised. I am after how to get a ‘woodcarving’ 3d sculpted, like the coin you worked from. Sculpting in a shallow depth.
(The last ten mins is just a static view of the result if you had not noticed.)
Playing with that wild rose .stl imported file the Blender sculpting actually worked for me like I felt it ought to, but I have had various frustrating days/weeks previously trying sculpting generally, getting poor, or no results till now. Can it be so simple as triangulating the mesh before sculpting? .stl is all tris.
In today’s meandering on the web where I found this lithophane thing, they also say you can just do it in photoshop with an add on ‘action’. a series of pre arranged actions on an image. I have a very old PH Elements5 and as yet can not make it appear in the place it is meant to.
1 Like
Sorry I was quite brief… If you would like I can do a more detailed explanation… (POC = Proof Of Concept… I guess its more of a programmer abbreviation)… Depending on the capturing camera’s setup you can make any point the “high” point. The normalize node is a maths node… maps a range of values into the 0 to 1 range, so you get maximum depth-info.
1 Like
Thanks for pointing that out, I’ll have to fix it in the morning in case others are interested in watching (sometimes I really hate PinicleStudio)
1 Like
Whenever you have the time free it would be good to see how you did that. That link used mist, and was on old blender. Your result looks better.
Lithophane way needs just right photo I think.
In the end May need a mix according to subject.
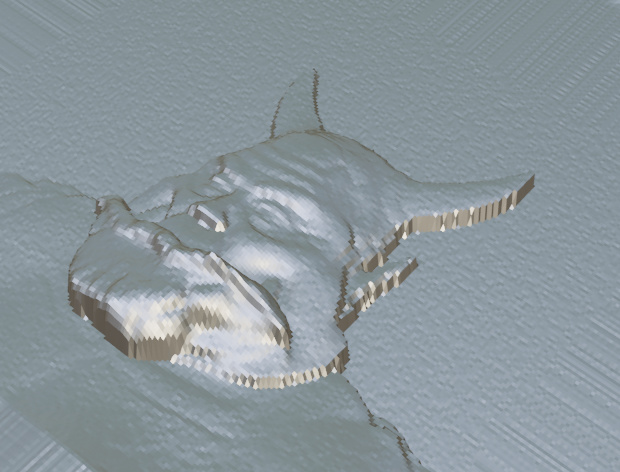
Trying to generalize the technique for portraits proved to be more tricky than I anticipated… Tried the same thing on the other orc and it didn’t work so well… I think I got lucky.
After a lot of tweaking I only managed this, which isn’t great.
Seems the source geometry changes the results significantly, so that may be something to keep in mind.
Apologies, I think I need to experiment on this more before I can claim to have a recipe. Think I may need to employ boolean modifiers when doing busts and maybe use a 32-bit depth image-source… Still not clear on the effects of camera focal-length when capturing the depth channel either.
Will report back when I have more.
1 Like
Thanks, it is a lot more tricky than it seems at first glance.
I worked for someone that also designed coins. Old days, hand sculpted big, hand pantographed down to size cutting into the steel dies. Guess it is all a lot more automated now. Apart from drawing it all in greyscale I do not think there is a way to use a photo or a full 3d model to get the same faked effects. But I may be wrong hence raising the issue.
After some experimentation I managed to get this:
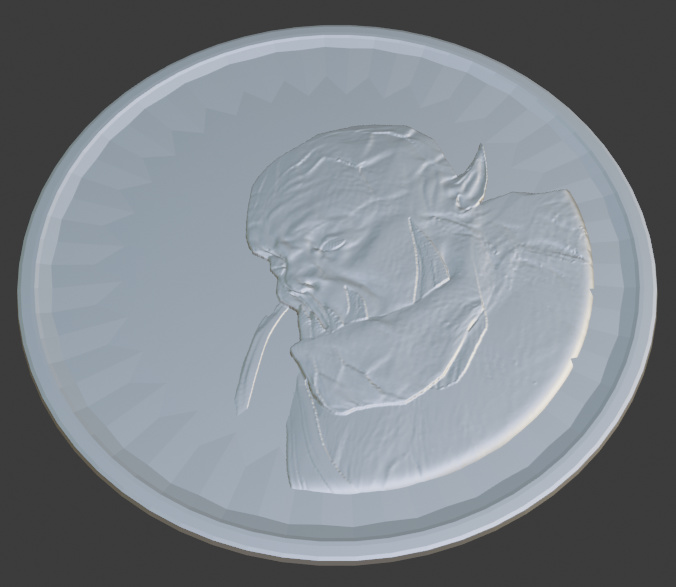
Its almost there, but my compositing setup to generate the depth texture is starting to become a bit of a mess and I needed the normal pass:
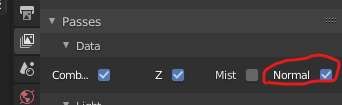
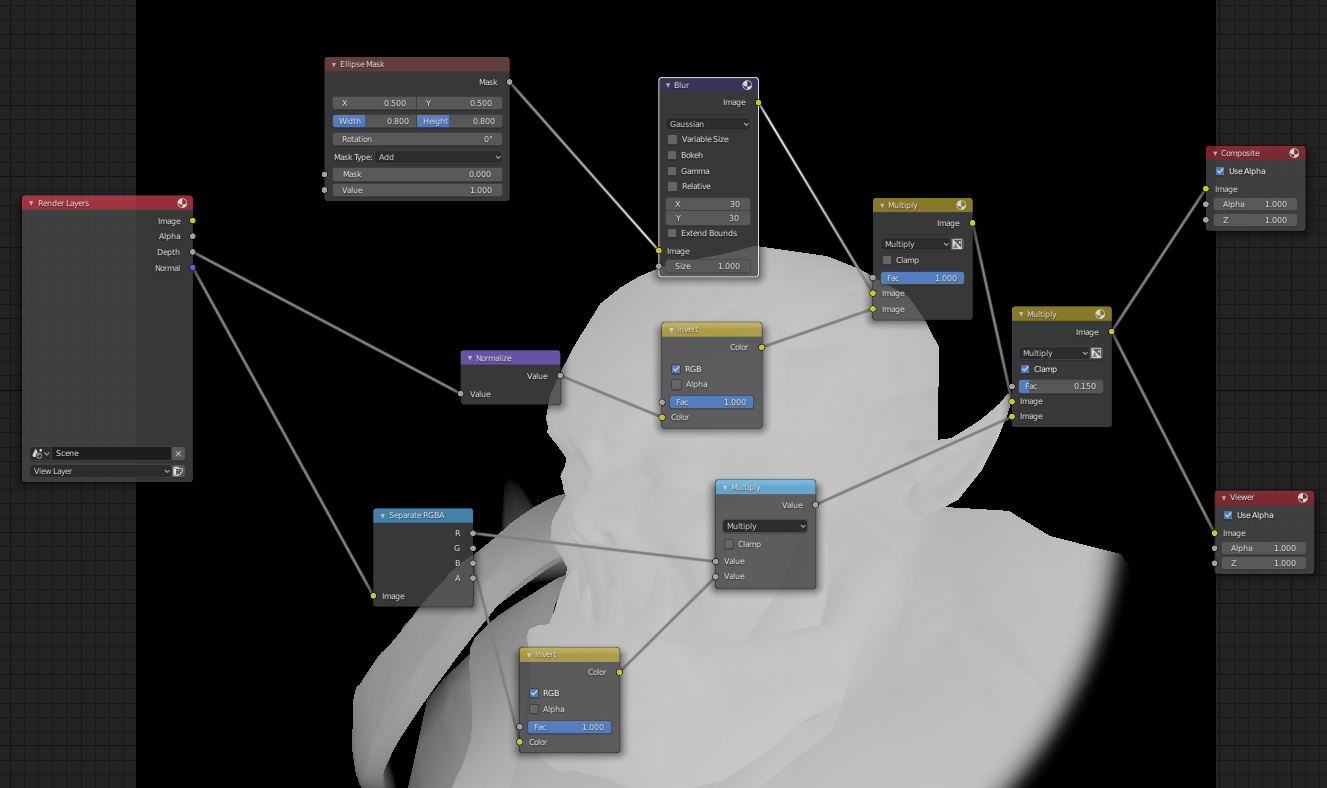
But the basic idea is to extract some detail from the normal pass, and then multiply that with the overall depth (but only a little bit). It seems to give the correct looking effect. It also seems to be more forgiving of your camera’s clipping settings this way, but you still need a tight clip region.
I played around with the mist pass and it didn’t seem to have as much detail as the depth channel.
3 Likes
Well it is doing a lot, got rid of the steps on the first try previously. Do I assume you start with the model and set up the ‘render’ camera view, plus all those compositor nodes, then hit render? Then the output is the displacement map you used on the coin?
Tight clip the region? What if one wanted the whole ork output as a low relief?
Remarkable how little visible variation there is in the whites that still outputs in the end as height. looking at the background to the nodes. This suggests it would be hard to draw as an image in a drawing package instead too.
So this way one needs to model everything in full 3d, no need to bother with textures, then apply this compositor set up?
Correct.
The Clip region just defines the “dynamic range” of the depth channel (or Z buffer or depth buffer or whatever.). It defines where “near” is and where “far” is, basically. So you use the camera clipping to also define the region on the scene you wish to transfer to a height map to use for displacement.
Not sure… I think when starting with a B&W image there should be other techniques to fake details. But that is what lithography is anyway… just faking details on a limited relief-space.
Correct. Then save that image and import it as a height map for displacement on another heavilly subdivided model… This is a personal annoyance about this technique and why I kinda gave up once I got marginal success… you gotta render in one Blender app and then update in another… the turn-around time for experimentation is a bit frustratingly slow. (I used my WIP orc model as source and had another coin scene for testing the displacement, so hopping between the two was a pain. I’m sure there is a better way but I have not found it)
1 Like