Here is the before/after baking of my orc:

And the baked maps (I separated the orc vs cloting & armor in 2 separate textures):
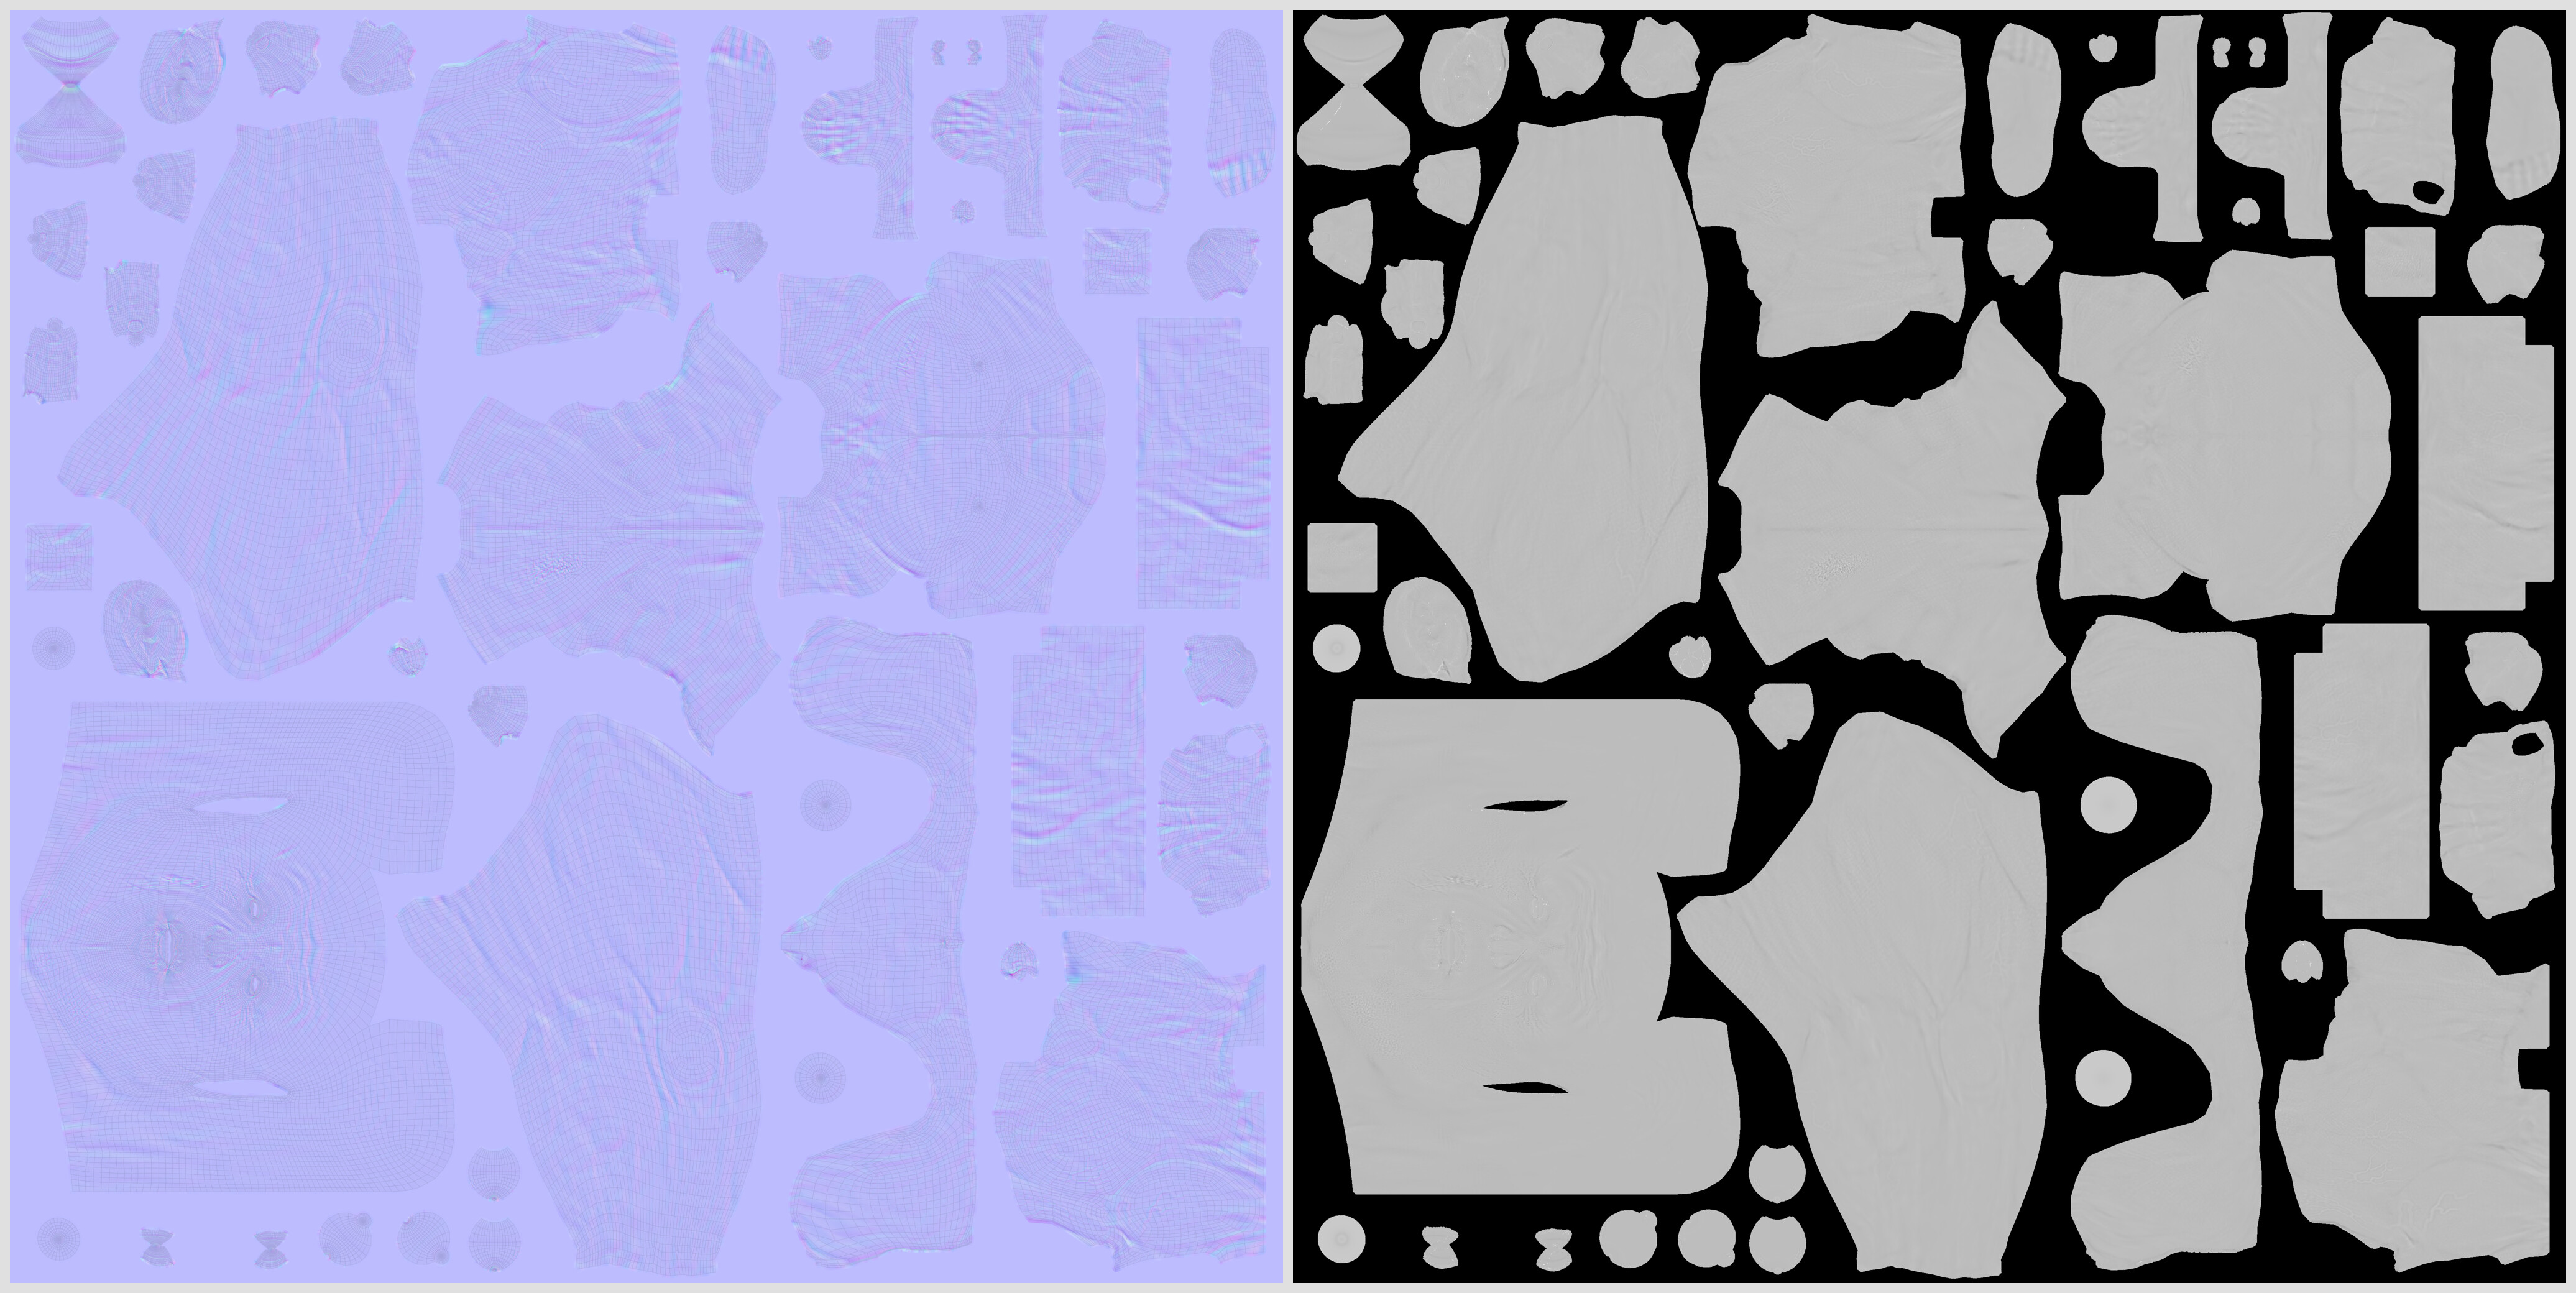
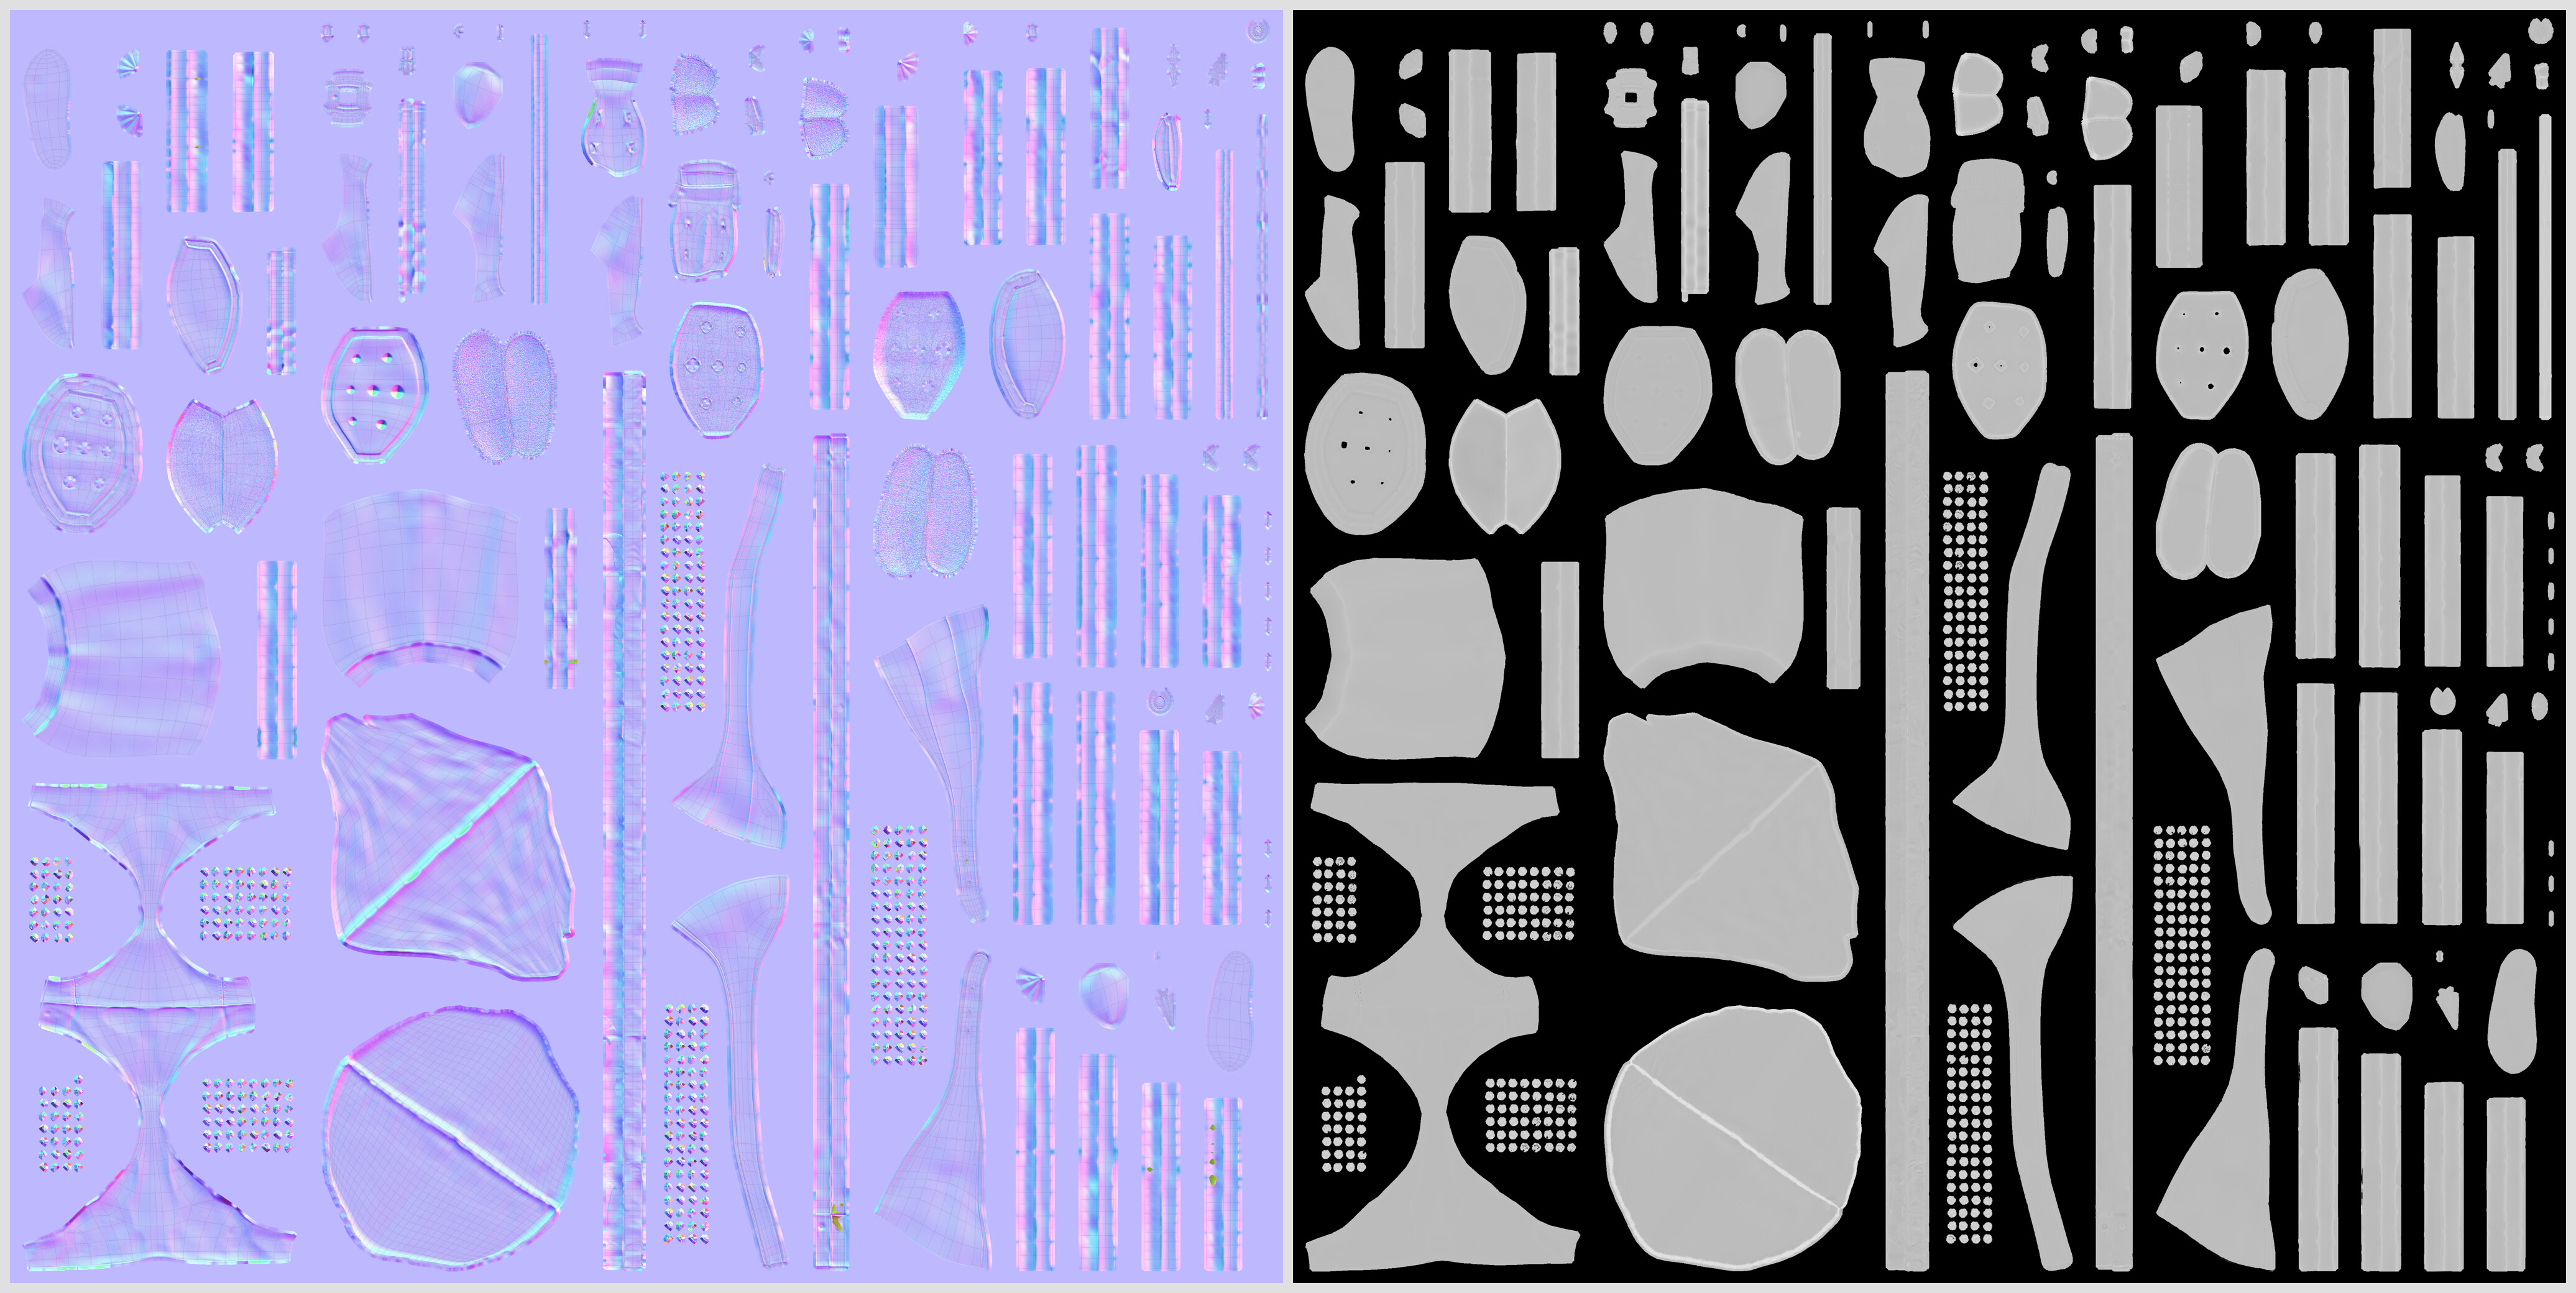
It has been quite tedious to get ok maps: after having cleary understood how baking worked (actually reading blender documentation but I struggled quite a long time before even thinking about having a look at it) and ended using a cage object for each baked object.
To do so, for each object, I duplicated the low poly object, then in sculpt mode, using the mesh filter tool, I inflated it until it mainly or fully enclosed the high poly mesh.
However, for a few tricky objects, I’ve had to split them into pieces, or even use a second baked map (with a different cage) and merge it in image editor paint mode with the clone tool, or even had to manually correct a few bits (still in paint mode in image editor)… 

But I am quite satisfied with the result now… but I may refine the topology of a few objects: though I struggled retopologizing to get as few faces as possible (ended up with 36k), I find the boots quite edgy and even a normal map cannot smooth the blocky aspect of their contour 🫤