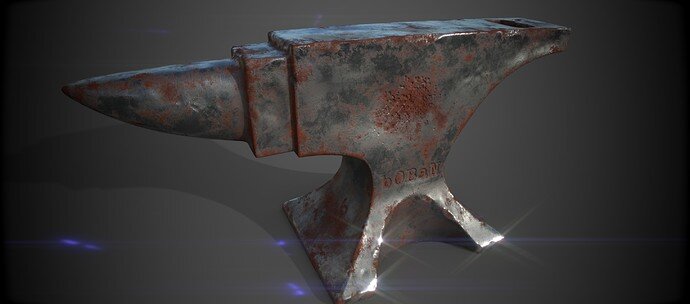
I feel that 3D Initiation cannot be completed without making a donunt, an anvil and a chair. Time has come for an anvil 
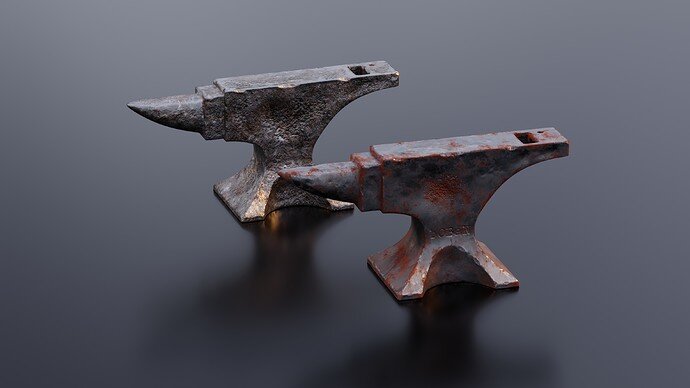
Let’s start with end result:
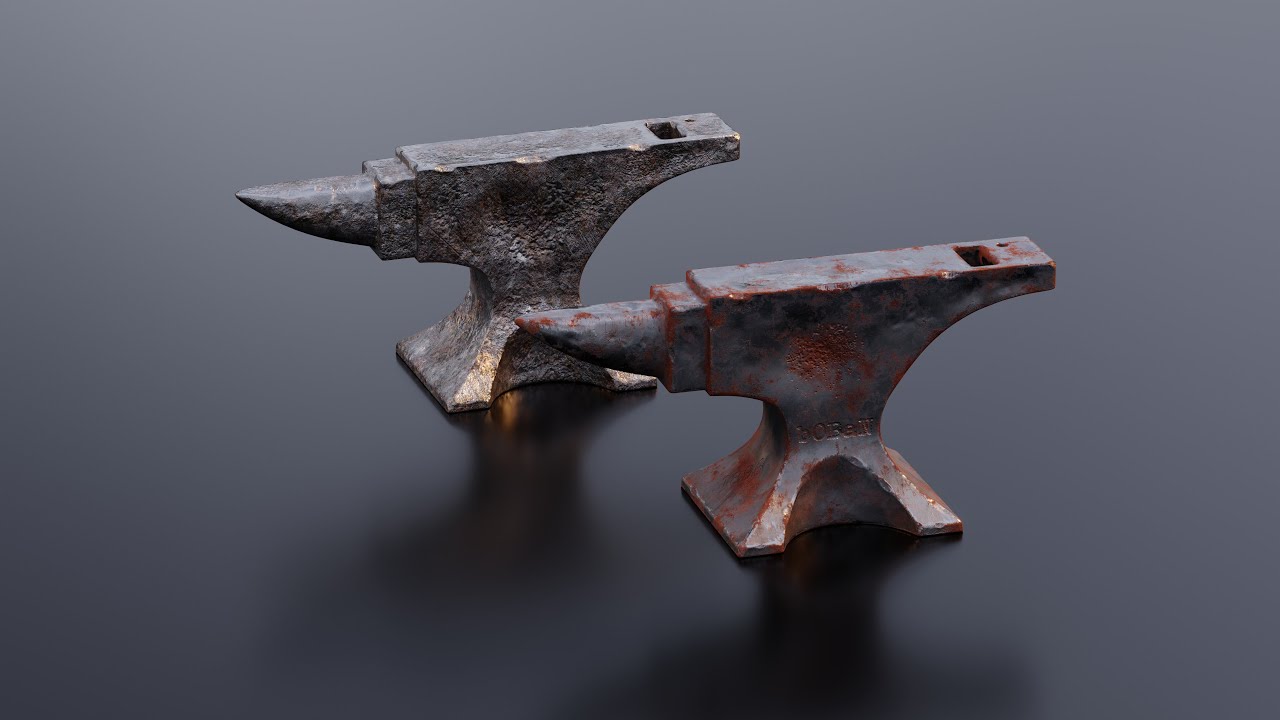
And a video:
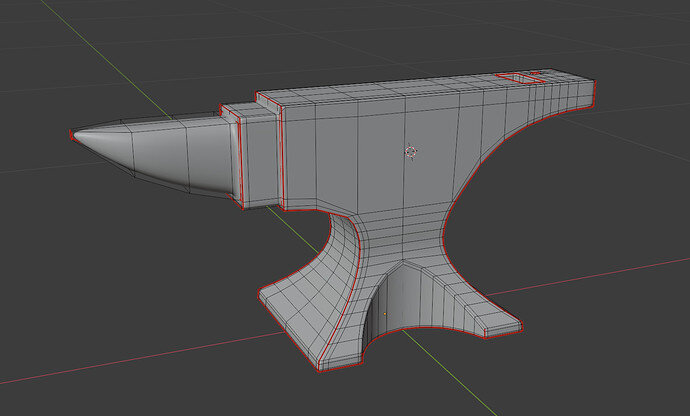
And the topology:
And some thoughts on the process:
- Andrew’s tutorial is for 2.79, but it’s quite applicable nowadays
- There are couple of new little things here and there than I’ve learnt (mostly about topology and few tricks in painting - like adding a scratches)
- Arguably Andrew made a couple of mistakes (e.g., his new textures tile differently, so marking seams before sudiv result in some visible stretching or not having a hardy and pritchel holes all the way through)
- Even for such simple of an object - baking in Blender is not perfect.
- Painting tools in blender are OK if you have good base textures
- Feedback and iteration speed is key - I got a lot of feedback on
 discord and this made the final result way better.
 - Doing research on subject matter is really helpful. I didn’t start with researching anvils and made a couple of mistakes at first.
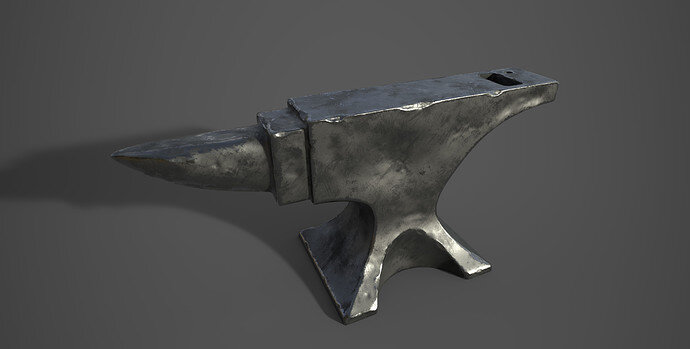
- Substance saves a lot of time. In 15 seconds one can achieve this:
And a few notes from my research on anvils:
- anvil come in all shapes and forms,
- can be very shiny or very matte,
- the top part is usually steel (more shiny), the body is usually iron
- the medieval anvils don’t really look like the one we think (the horned ones) - they are really simple box shaped things
- the shape of the anvil, the holes, etc. - everything has a function
- the usual placement on a tree log (not a stump!) is due to increasing energy absorption, resonance reduction and noise reduction - but anvils can be placed on many different things, depending on the goal of “station”
- anvil “texture” can be as busy as the one I made (or more), or much less busy - for 3d modelling it might be good to start with a history of a given anvil and work from that. On ‘extreme’ end I’ve seen one anvil that was painted… in green paint!
- working with iron looks like fun!


