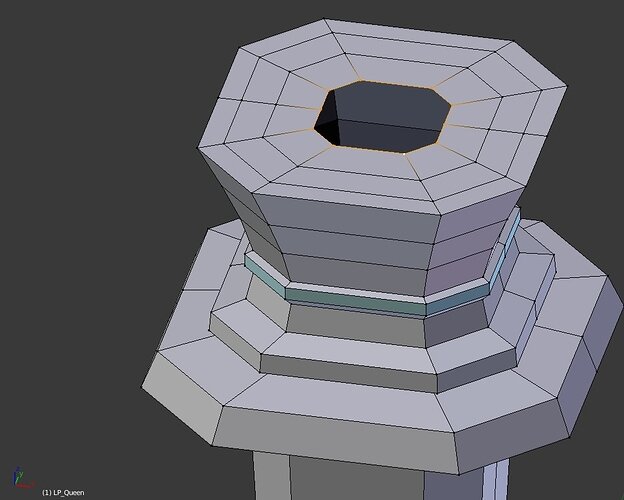
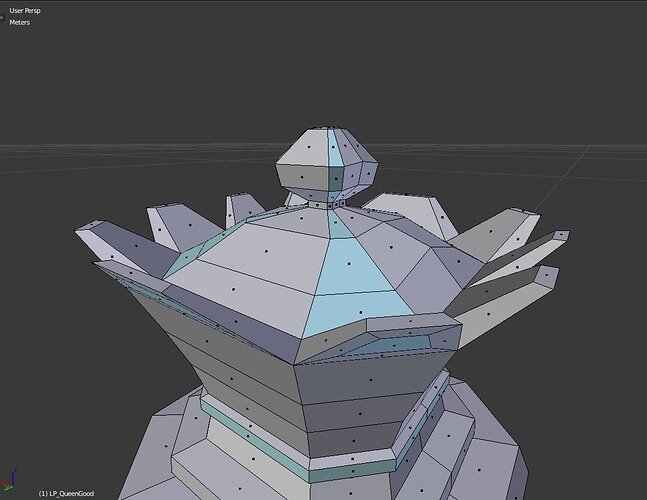
MUCH Easier way I think, like no more hundreds of clicking and deleting and filling faces, pain and suffering…
It’s a combination of Extrude, Scaling, Inset Individual, Setting the Pivot point to Individual Origins, Scaling… and Crown done… for the top of the crown I used Proportional Editing set to Sphere.
STEPS!
From this point of the Bishop make a series of E followed by S and dragging, this will create faces like this:
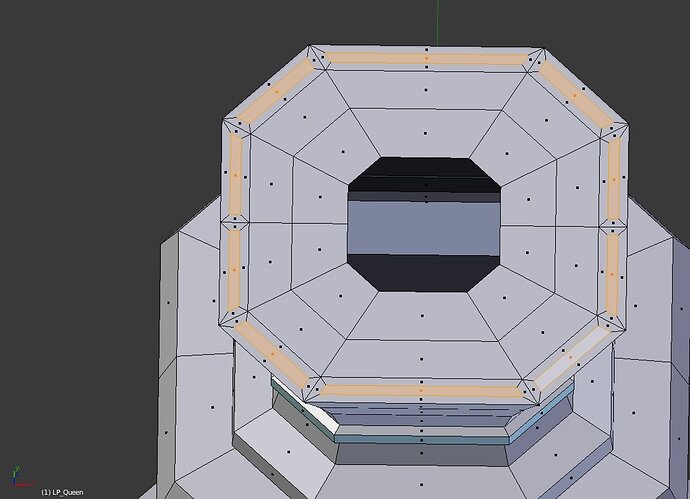
Then, you can select the face loop and use the Inset tool which has an options to inset individual if you press I twice. And then when you move the mouse you’ll see that each face made a inset to itself:
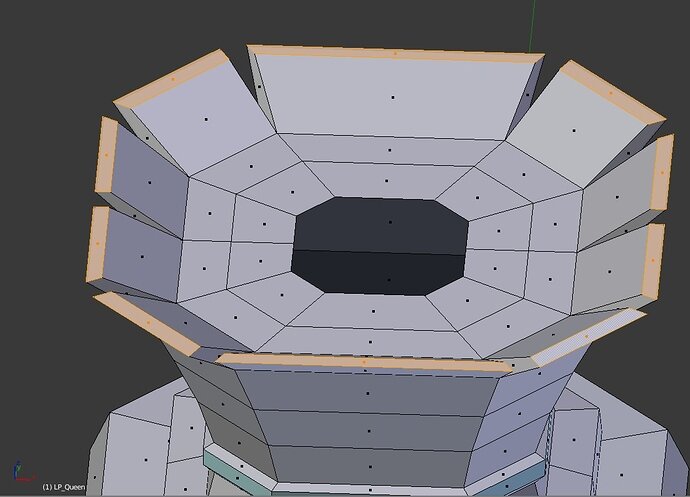
From here you can Grab on Z and Scale (Be sure that the pivot is set to Median Point here) then you’ll have this:
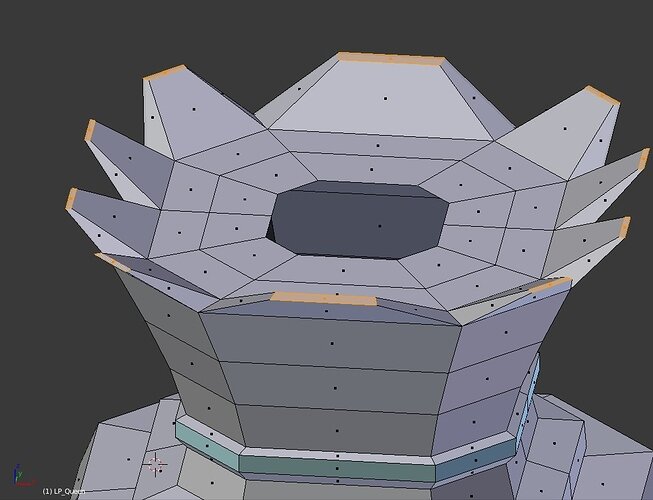
Now what we need to do is making the tips a bit smaller… to do this you can use set the Pivot to Individual Origins:
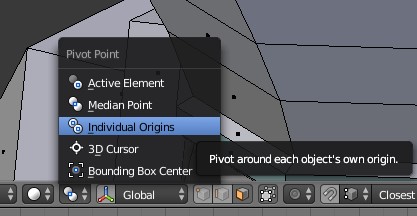
And then Scale:
That’s it if you’re aiming for Quads!
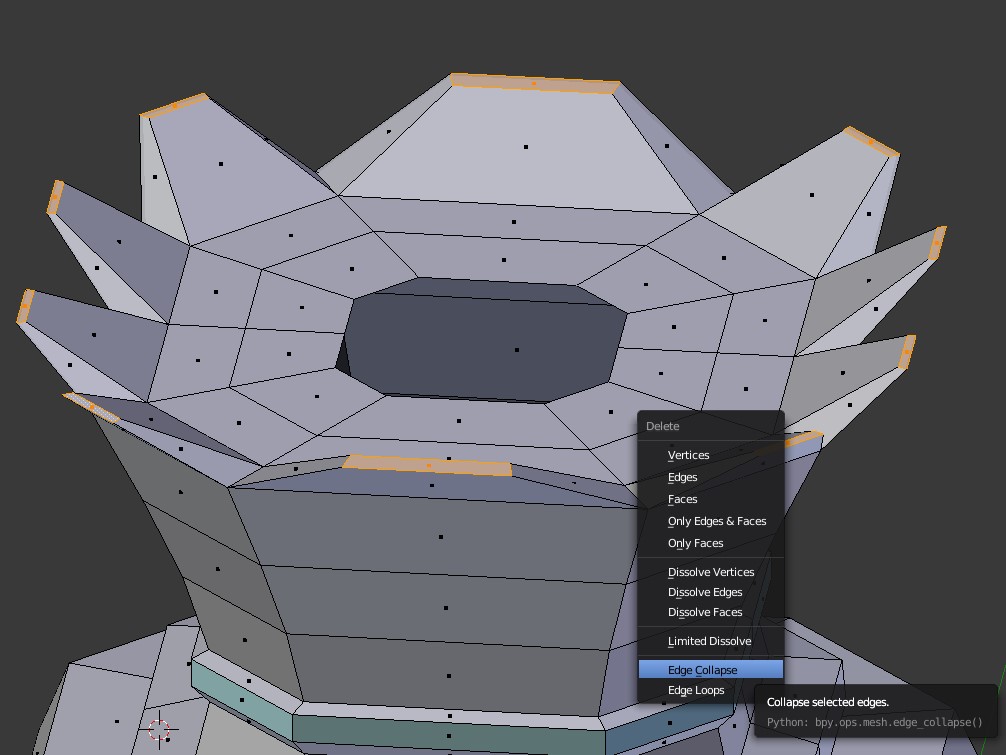
If you want Tris it’s easy! You just need to Edge Collapse!
Press Del(or X) and choose Edge Collapse
And you’ll have this…
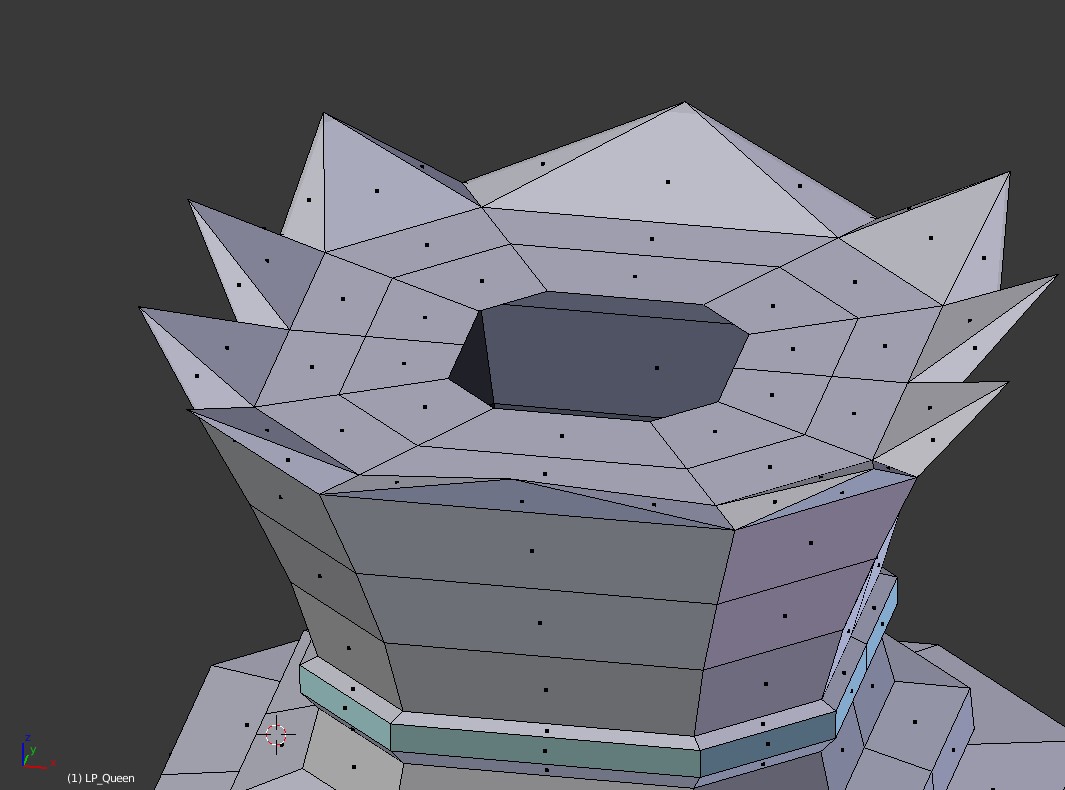
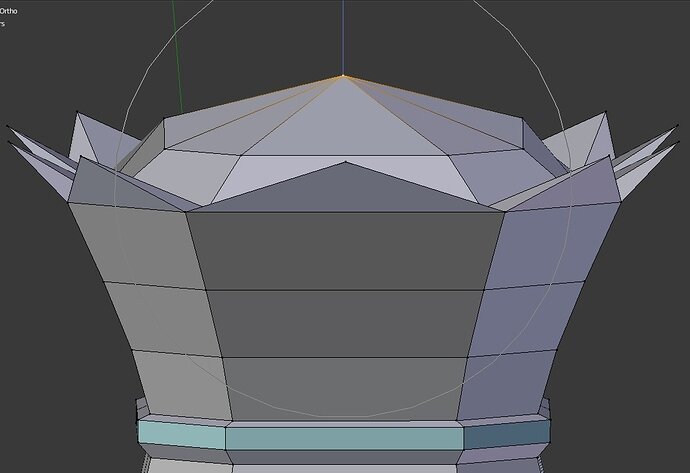
Now for the middle of the crown you can use another Edge Collapse
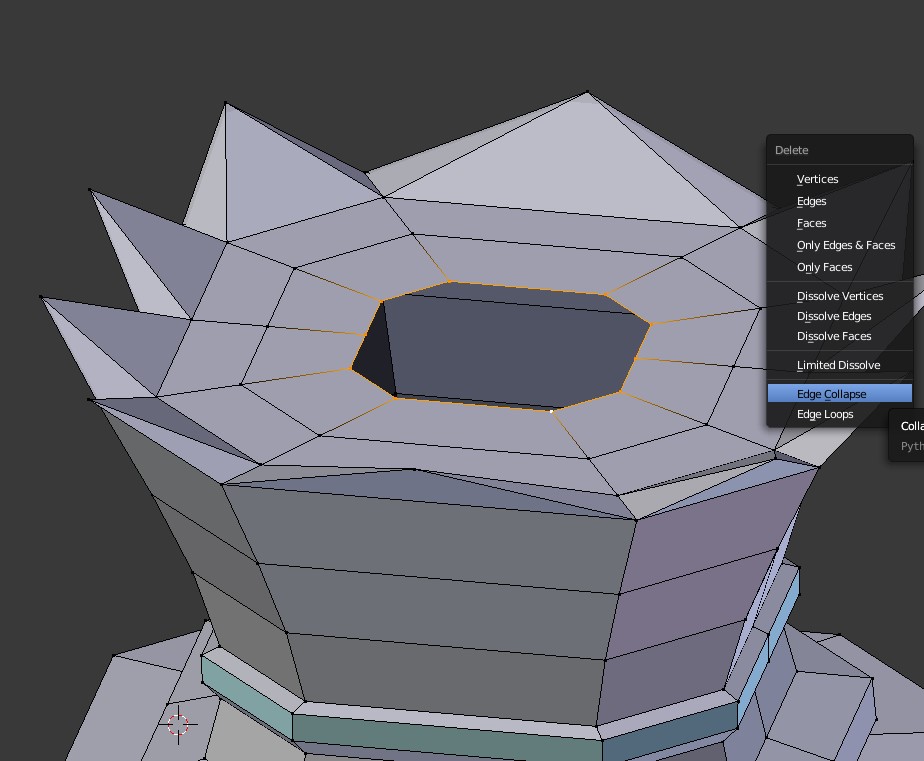
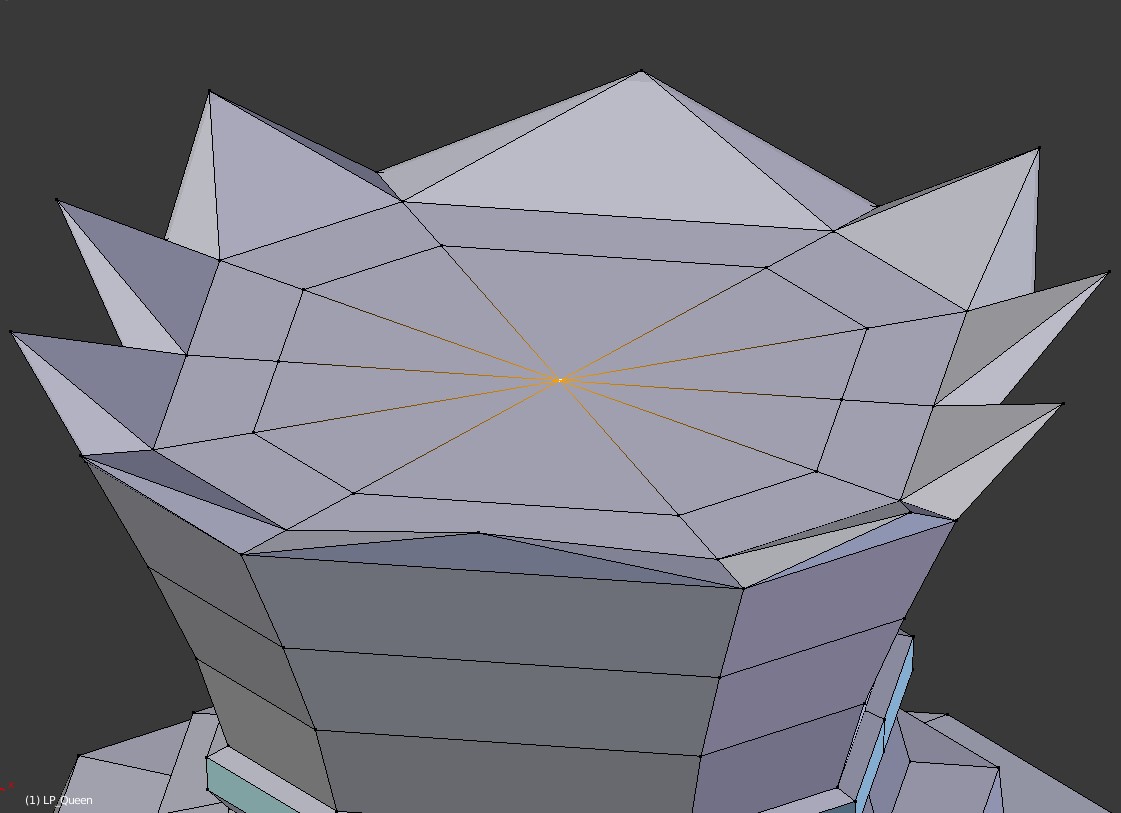
Now it’s a very interesting part!
Enable Proportional Editing, the button on the bottom or press O and set to Sphere:
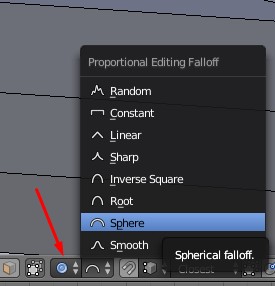
Then when you Grab you’ll have a Radius of Effect that you can controll using the Mouse Scroll. Grab on Z and you’ll have this:
The rest you can to as you like 

