
Hello Everyone you can also use an AnimationPlayer node to accomplish this. If you ever edited a video using software like Openshot or Premiere this is pretty much the same. If not, allow me to explain how to do it. Let’s begin!!!
- Add an AnimationPlayer Node to your level root
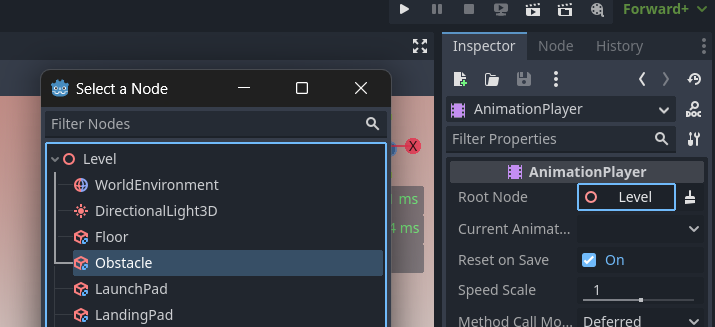
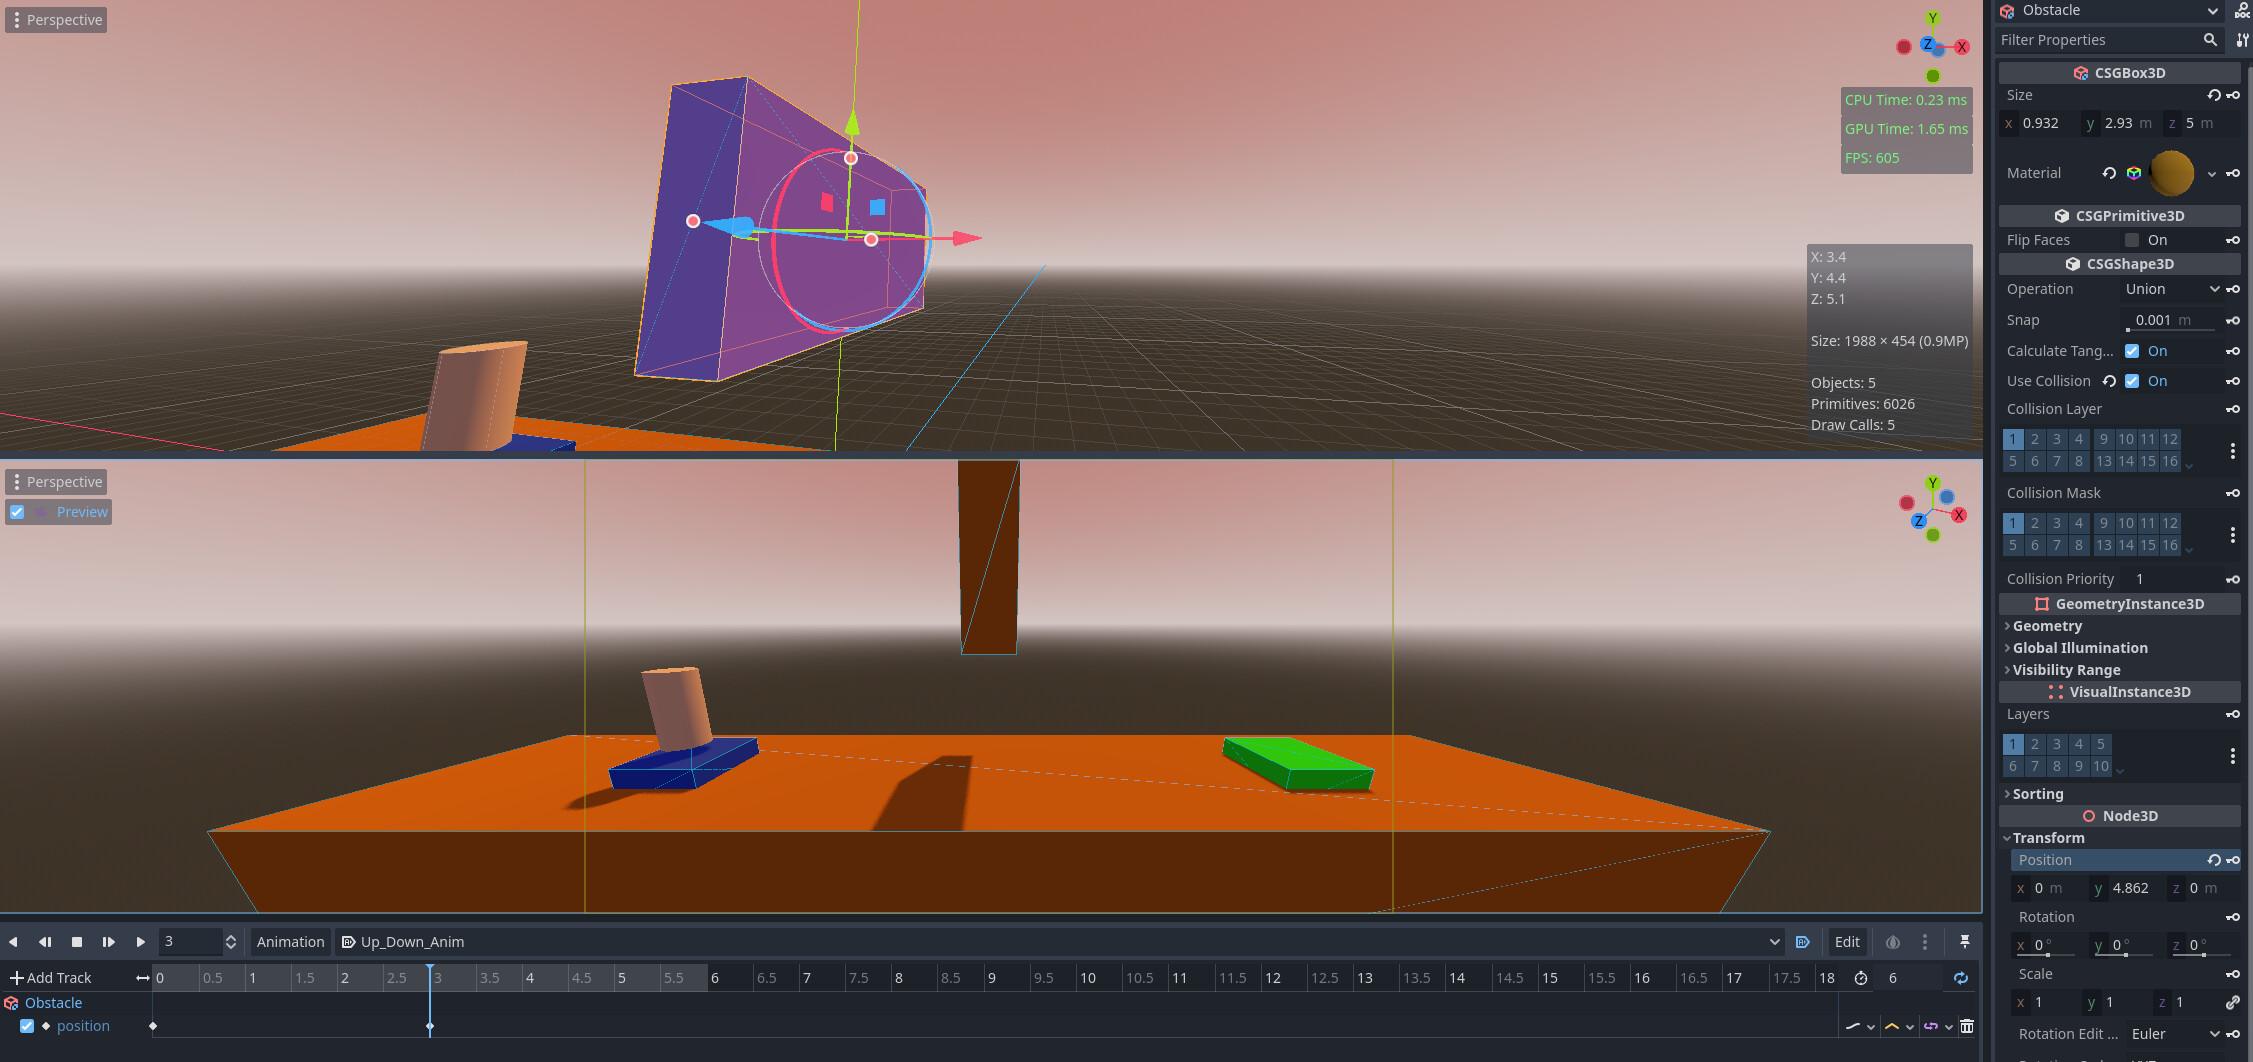
- Go to the ‘Root Node’ property and select the Obstacle there
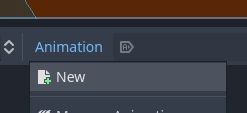
- Click Animation and select New
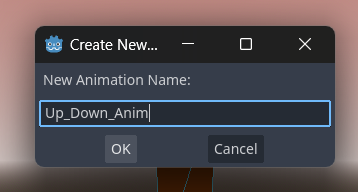
3b. Give it a name and click Ok
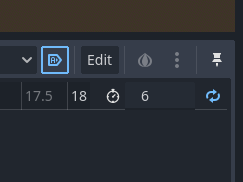
- To the right section of the animation player set loop, autoload and your time. In this example 6 seconds
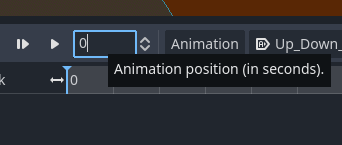
4b. Left side of the animator set the position at zero and we are ready to start!!
- Select your obstacle and move it where you want it to start its movement. In this case I am moving it up and down as well.

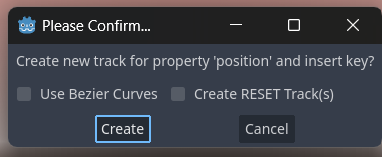
5b. Click that little key icon and create a new keyFrame into your time line.
- Go ahead and place your track head at second 3 in your time line and Move UP your obstacle where you want it to be at that particular time and click again the little key icon next to the transform property in order to create a new keyFrame with that information at that time
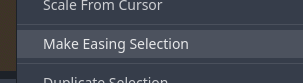
- Right side of your time line. Select the interpolation mode and change it to cubic

- Click the Edit button and select ‘Make Easing Selection’
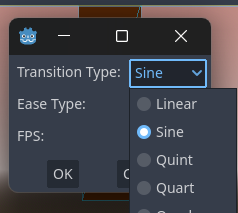
- In Trasition Type select Sine and click Ok
- Finally you can fine tune the speed of the animation by selecting the AnimationPlayer node and changing the ‘Speed Scale’ property
And that’s pretty much it. As you can see its a more ‘visual’ approach to achieve a similar effect. Also you can animate or change ANY thing that has that little key next to it…!!!
Here is a VIDEO showing these steps.
Thanks and let´s continue!!