
I have finally finished my lamp animation. I did not share my process in the forum after each lecture this time because I was so into the project, so I will share the main points of my project here instead.
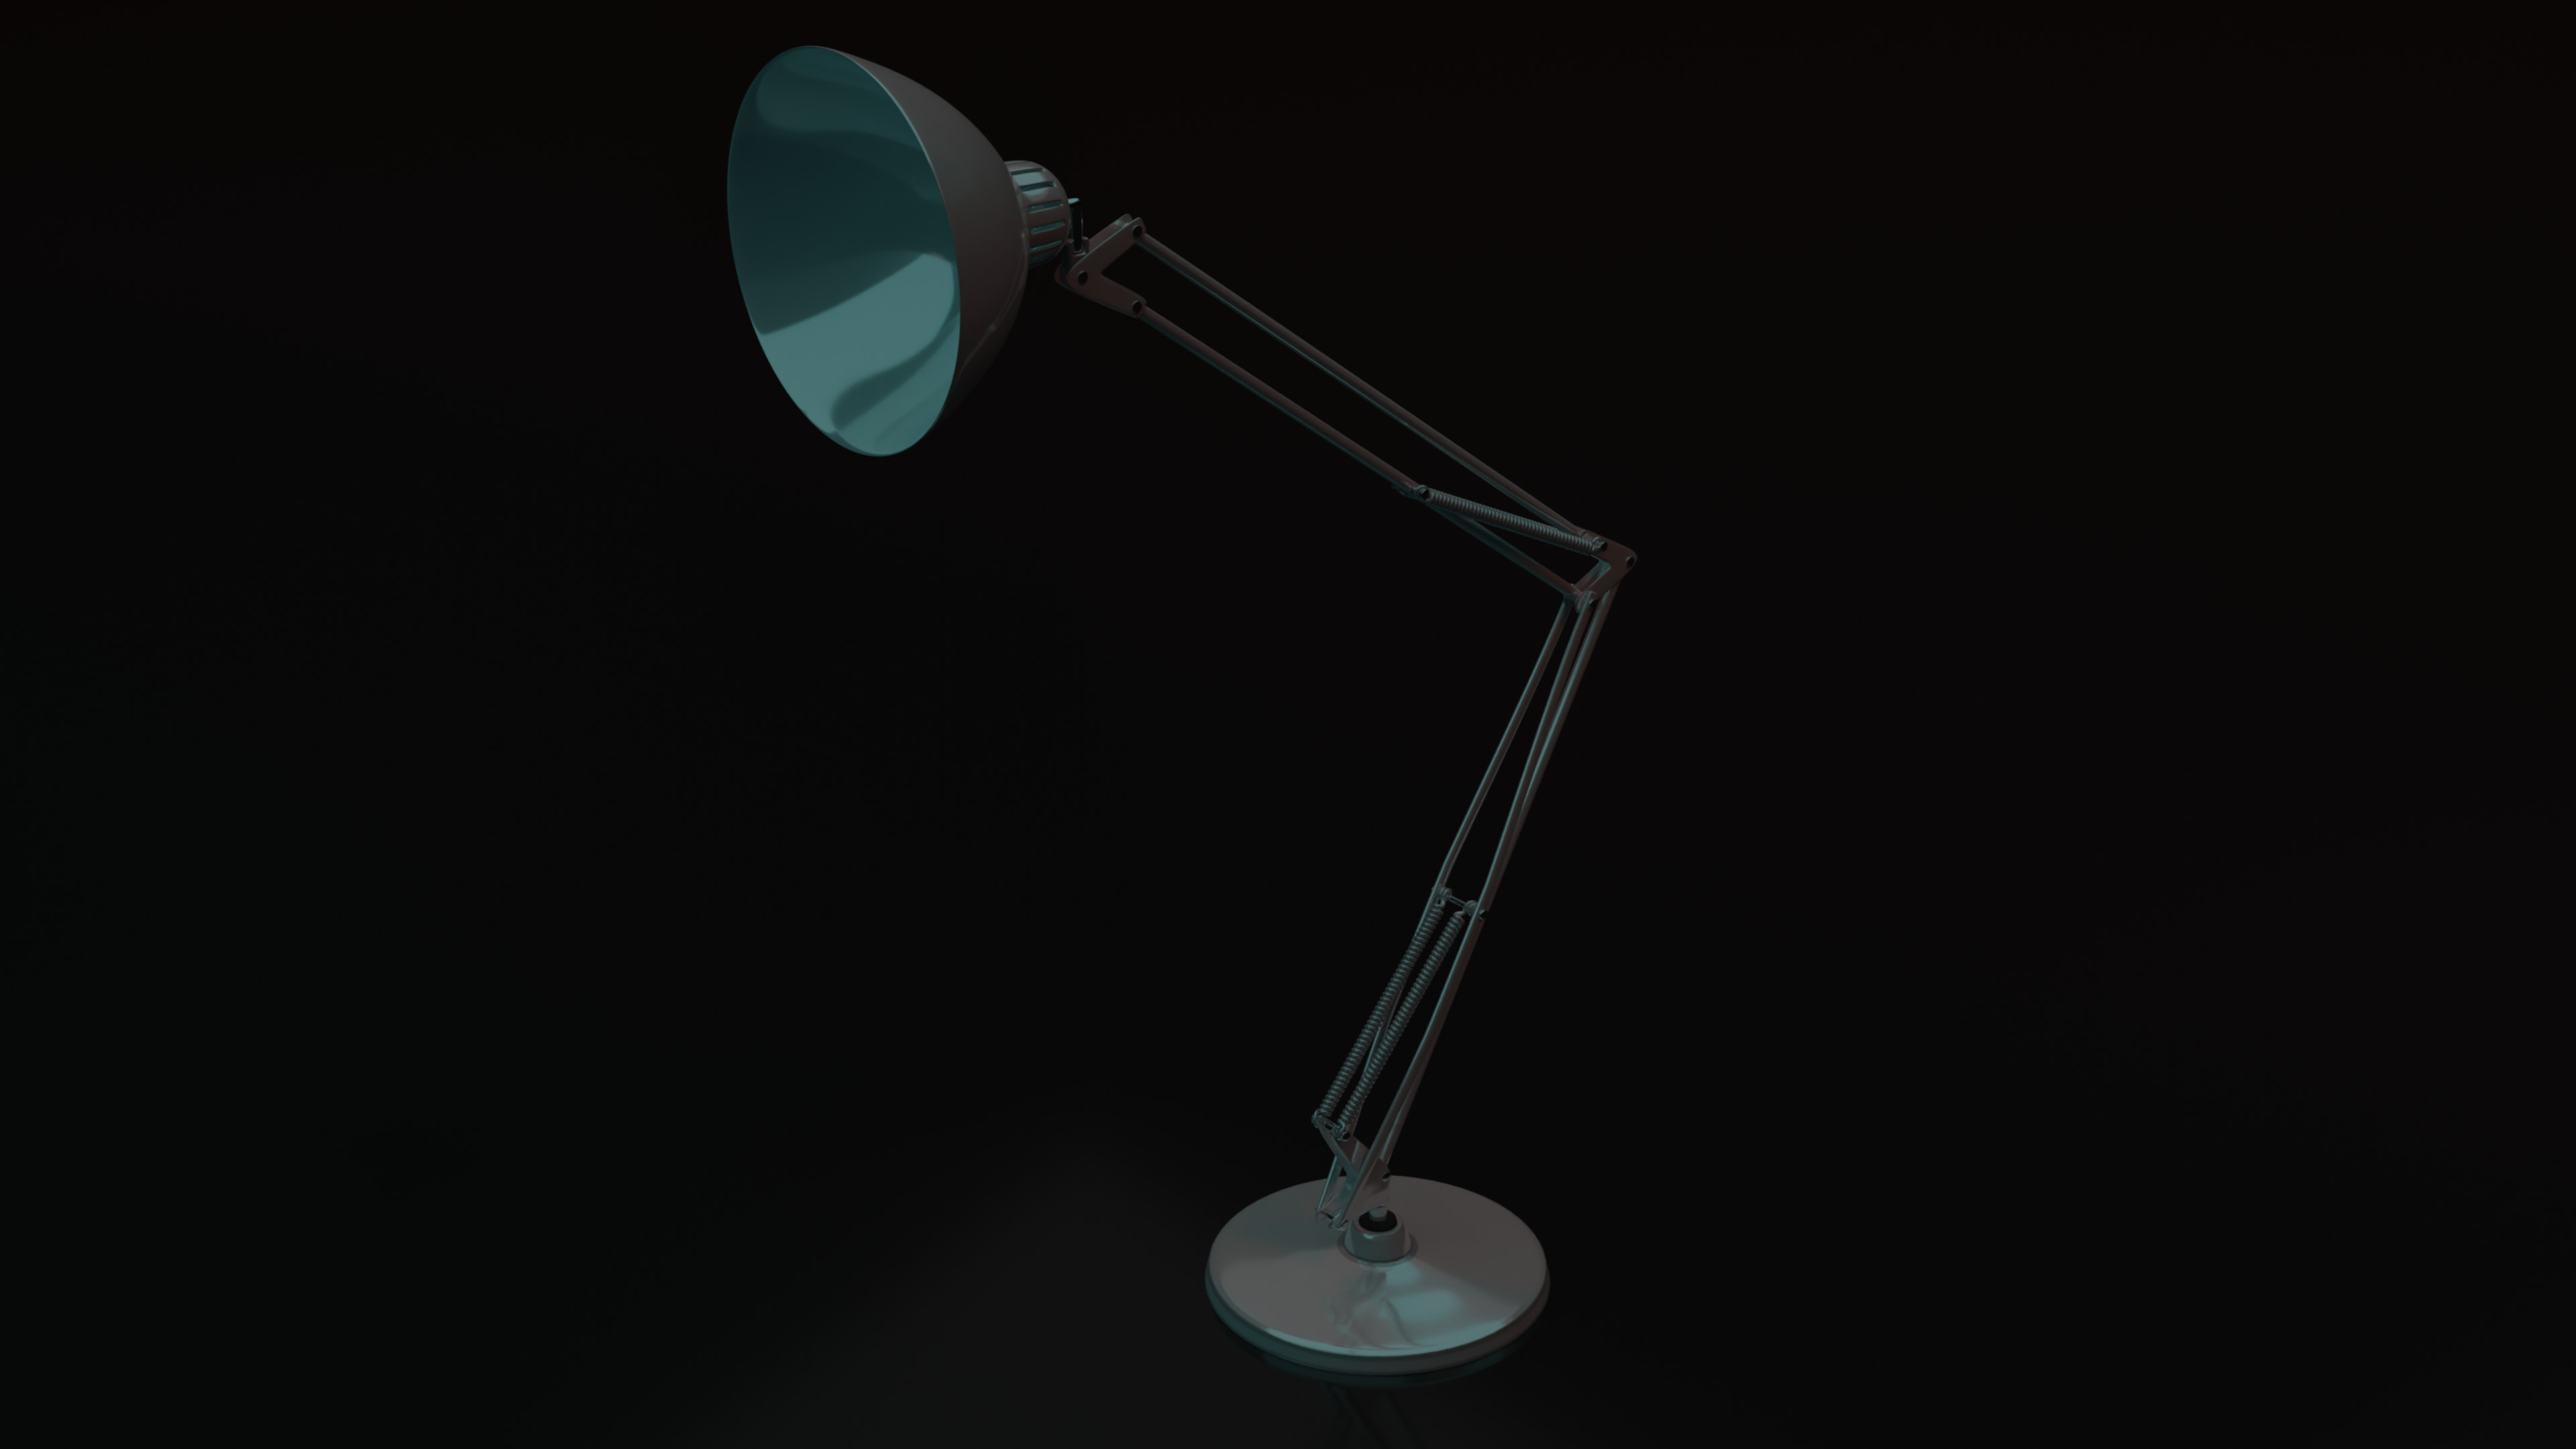
First of all, here’s my final result:

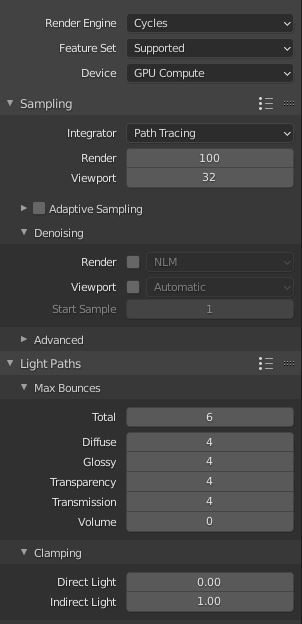
Render Settings:
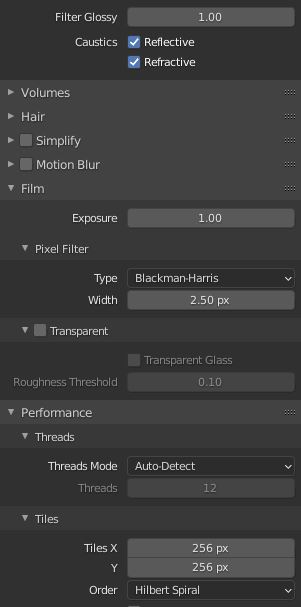
I lowered the light bounce values and adjusted clamping values to reduce render time. I wanted to keep the sample size as low as possible. Set at 100 samples, I still had a lot of noticable noise in my renders. Then I learned about the film pixel filter. Setting it to 2.50 px cleared away all the noise.
First I rendered my animation at 1080p. It took around 8 or 9 hours. I discovered that there was an old part of the lamp that I forgot to hide from renders, so I needed to do it all over again (I guess that’s why we were taught to pre render with lower quality first…  ). The second time, I decided to go all out, and wait for a 4k render. It took 30 hours, with approximately 2 min per frame. I think it was worth it.
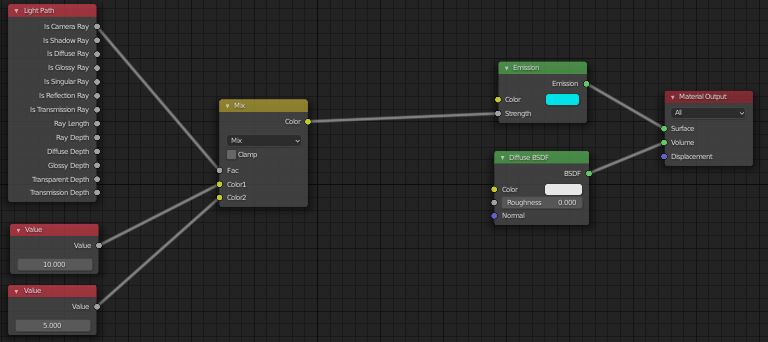
Lasers:
I made the lasers by simply scaling cylinders with added emissions shaders. The edges of my lasers were very jagged in my initial renders, but I managed to adjust the emission and light from the lasers with this setup:
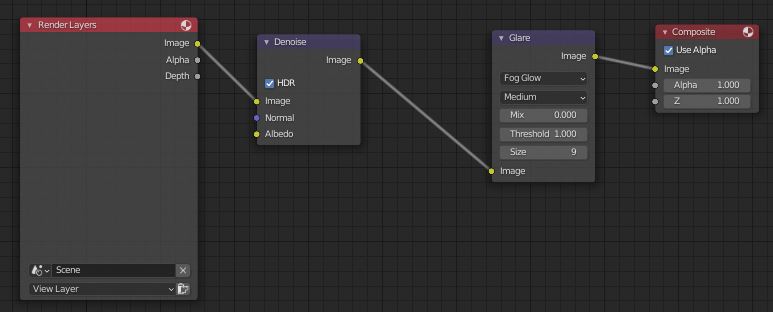
Composoting:
I wanted to get a nice glow from my lasers and light bulb, so I tried to use a volumetric cube to achieve the desired effect. However, it just added too much time and noise to the renders. That’s when I learned about composoting. With this simple setup, I was able to get a sweet glow from the lasers:
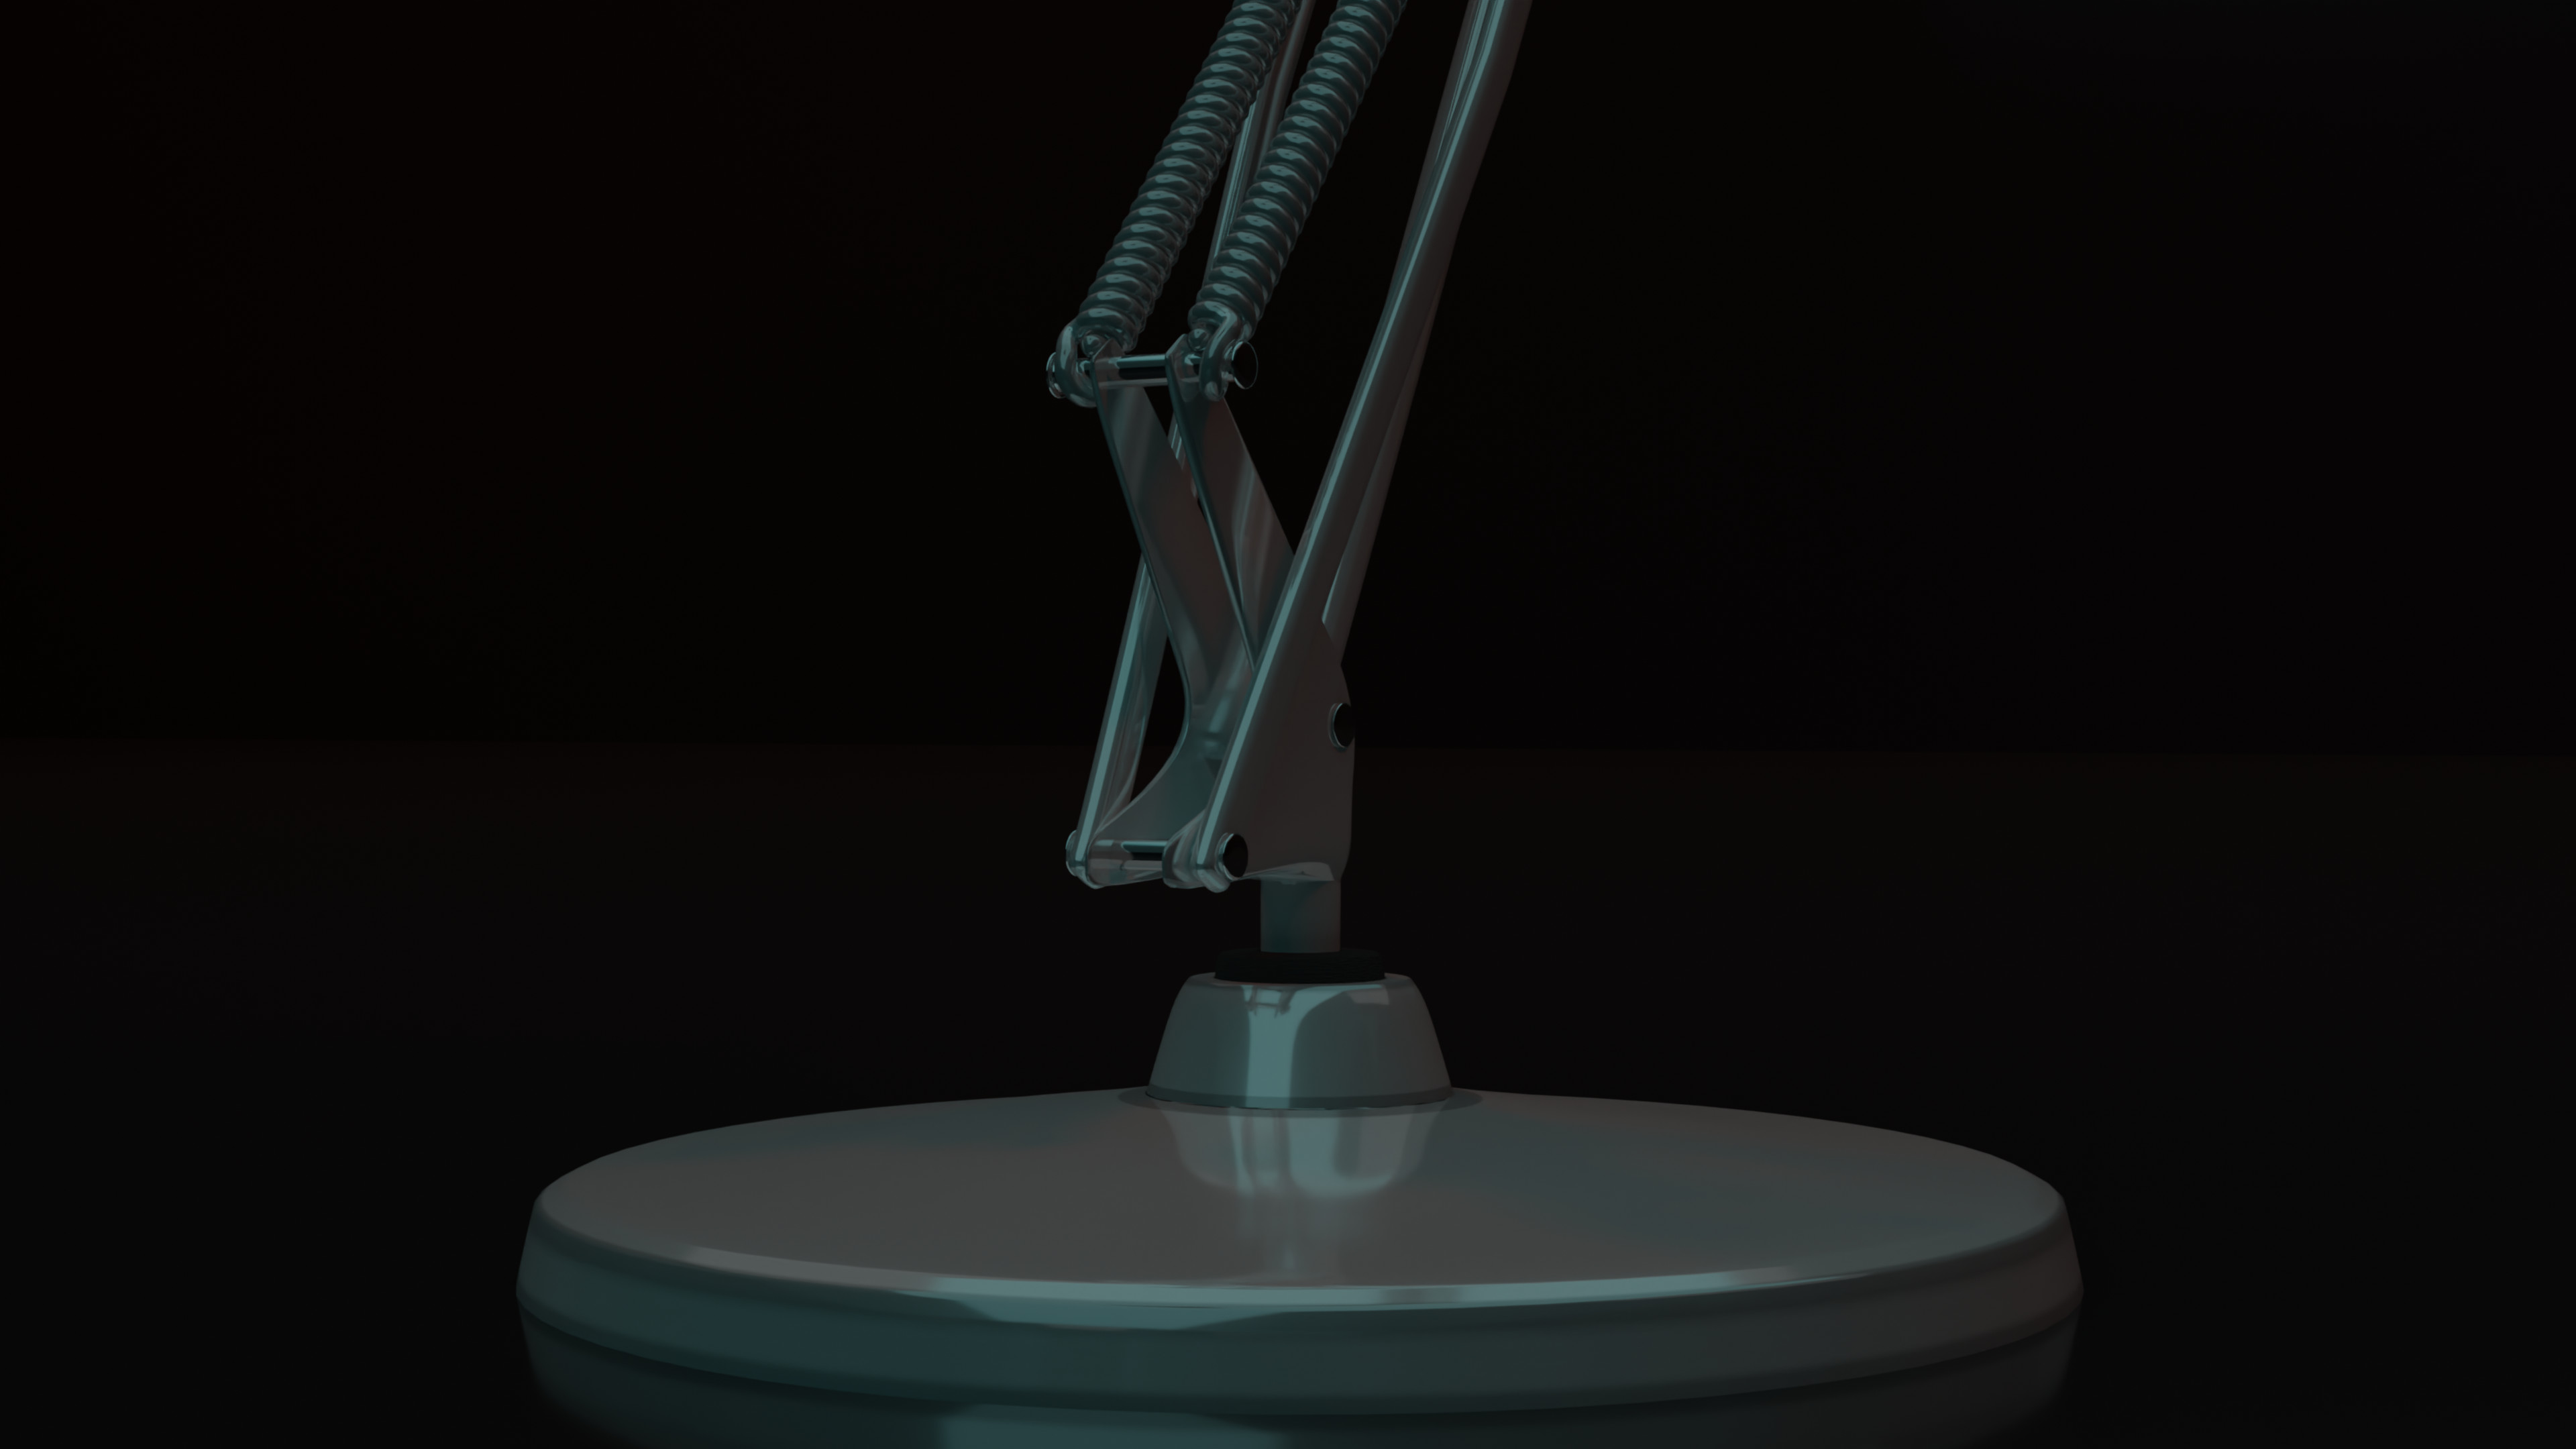
Lamp and Armature:
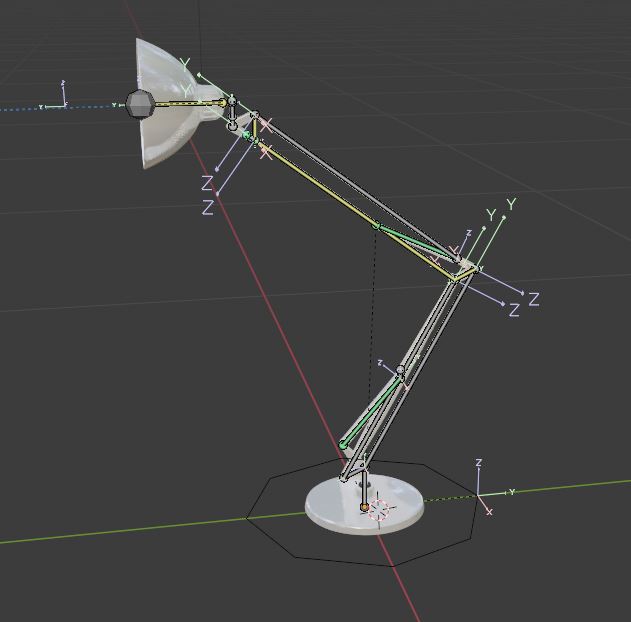
I created my lamp from this reference picture:
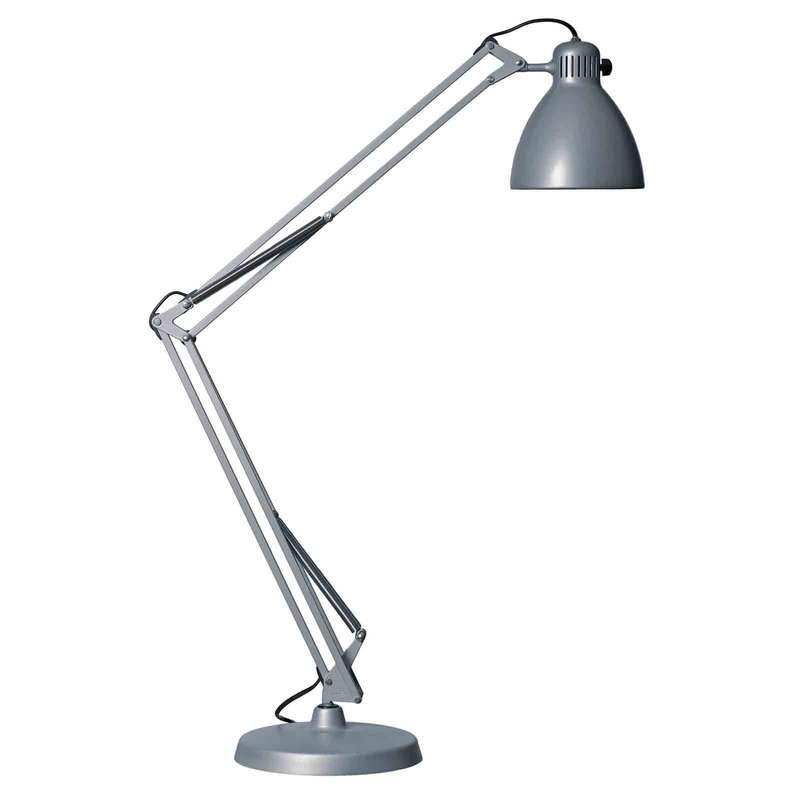
My lamp is not identical to this one, but pretty close. I also added an extra neck joint to the lamp, because I wanted to make a neck cracking movement in the beginning of the animation. But I ended up discarding that idea because I couldn’t fit it into the 30 seconds I planned.
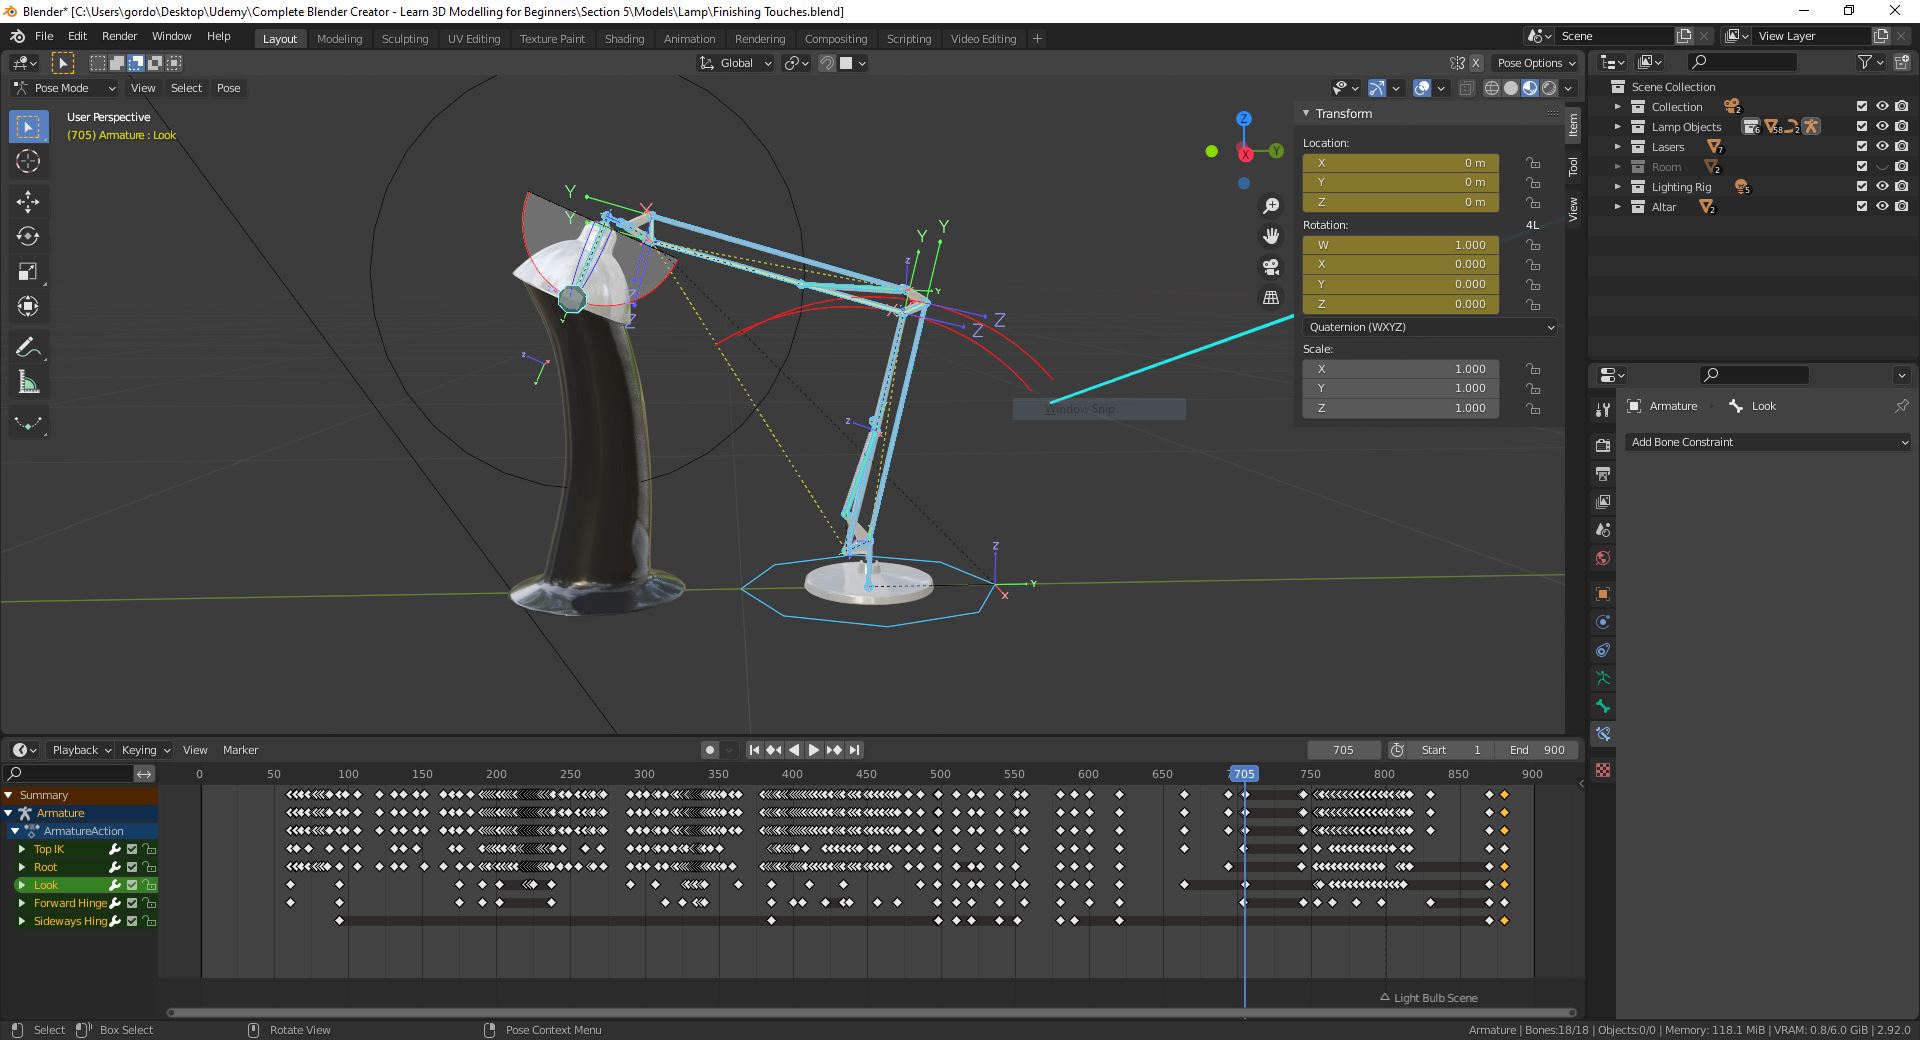
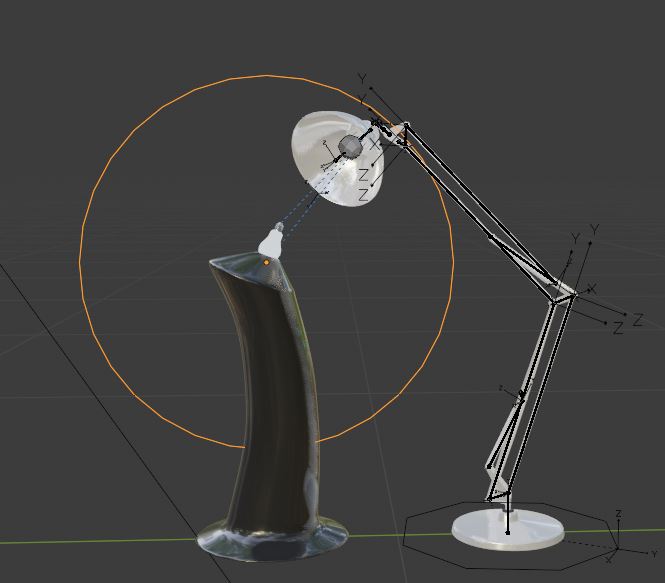
Here is my armature:
I used a YouTube 2 part video series as a guide when rigging my lamp. I had to change some IKs and make some changes to my bone setup to make it work with my model, but otherwise it is pretty much the same as in the video.

I used the same type of control bones as in the course. I tried adding a pole target. But it wasn’t really necessary for the animation I wanted to make. Also I didn’t want to dive into advanced rigging right now.
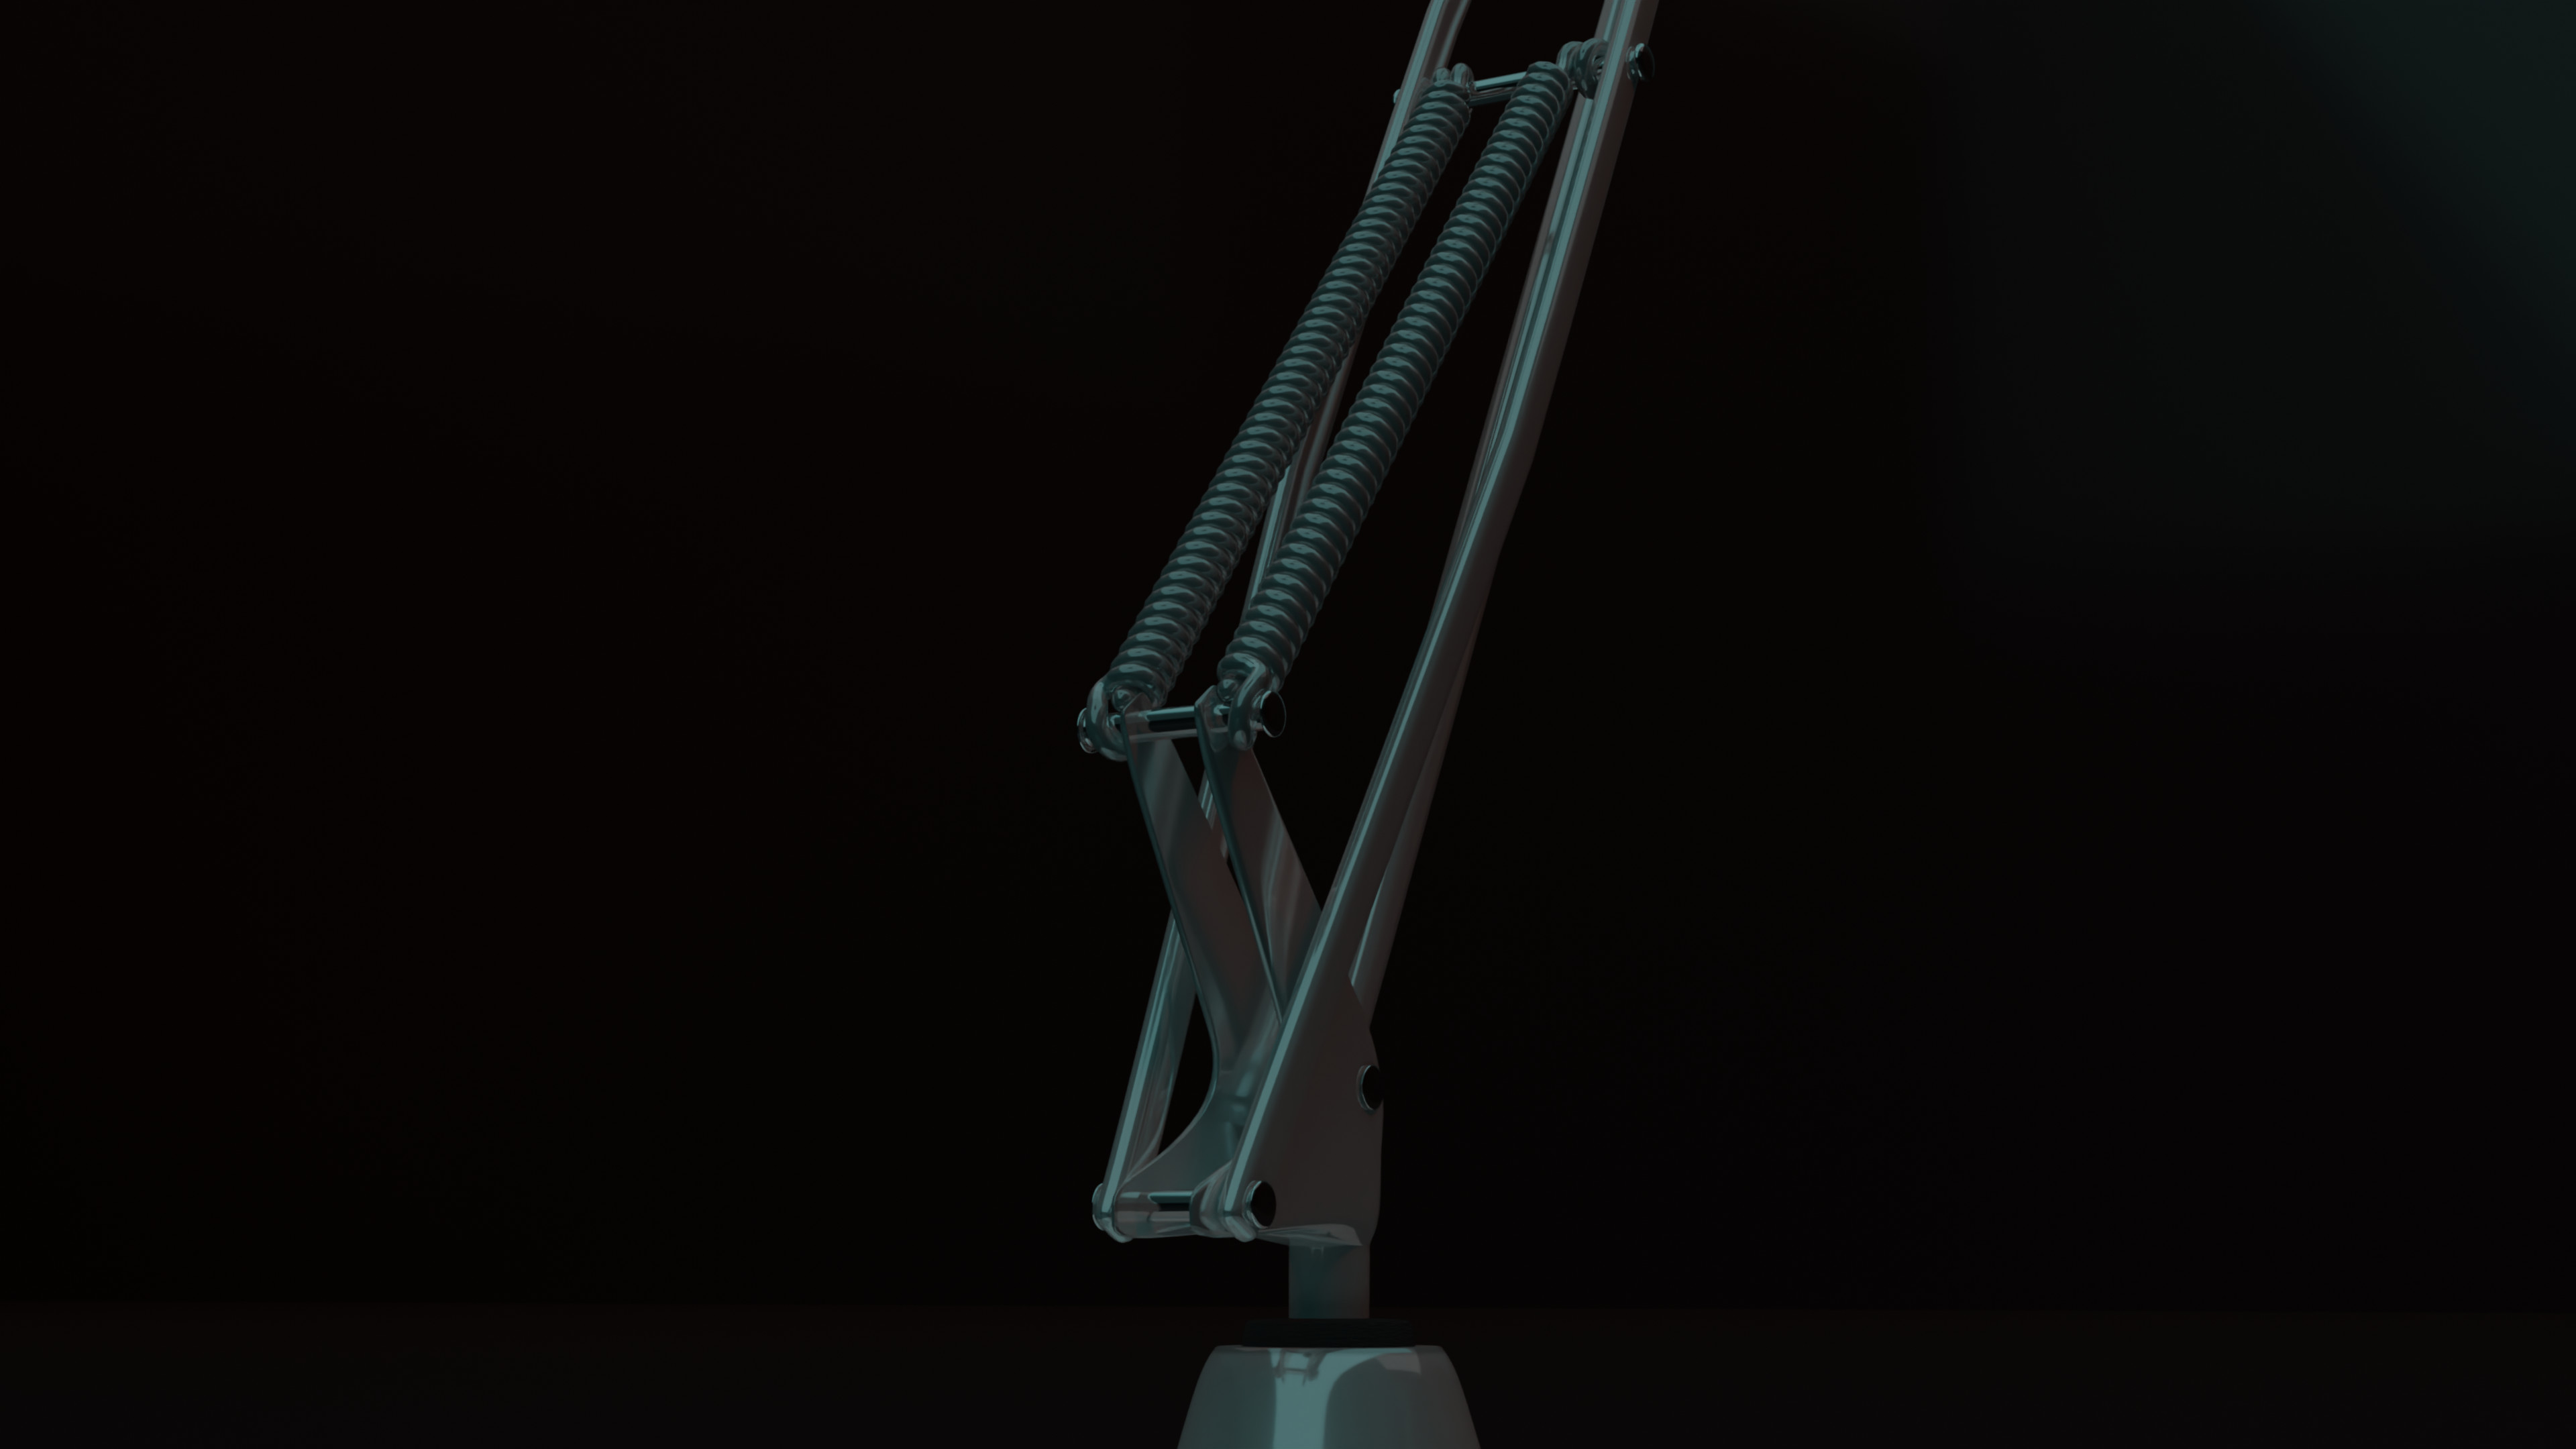
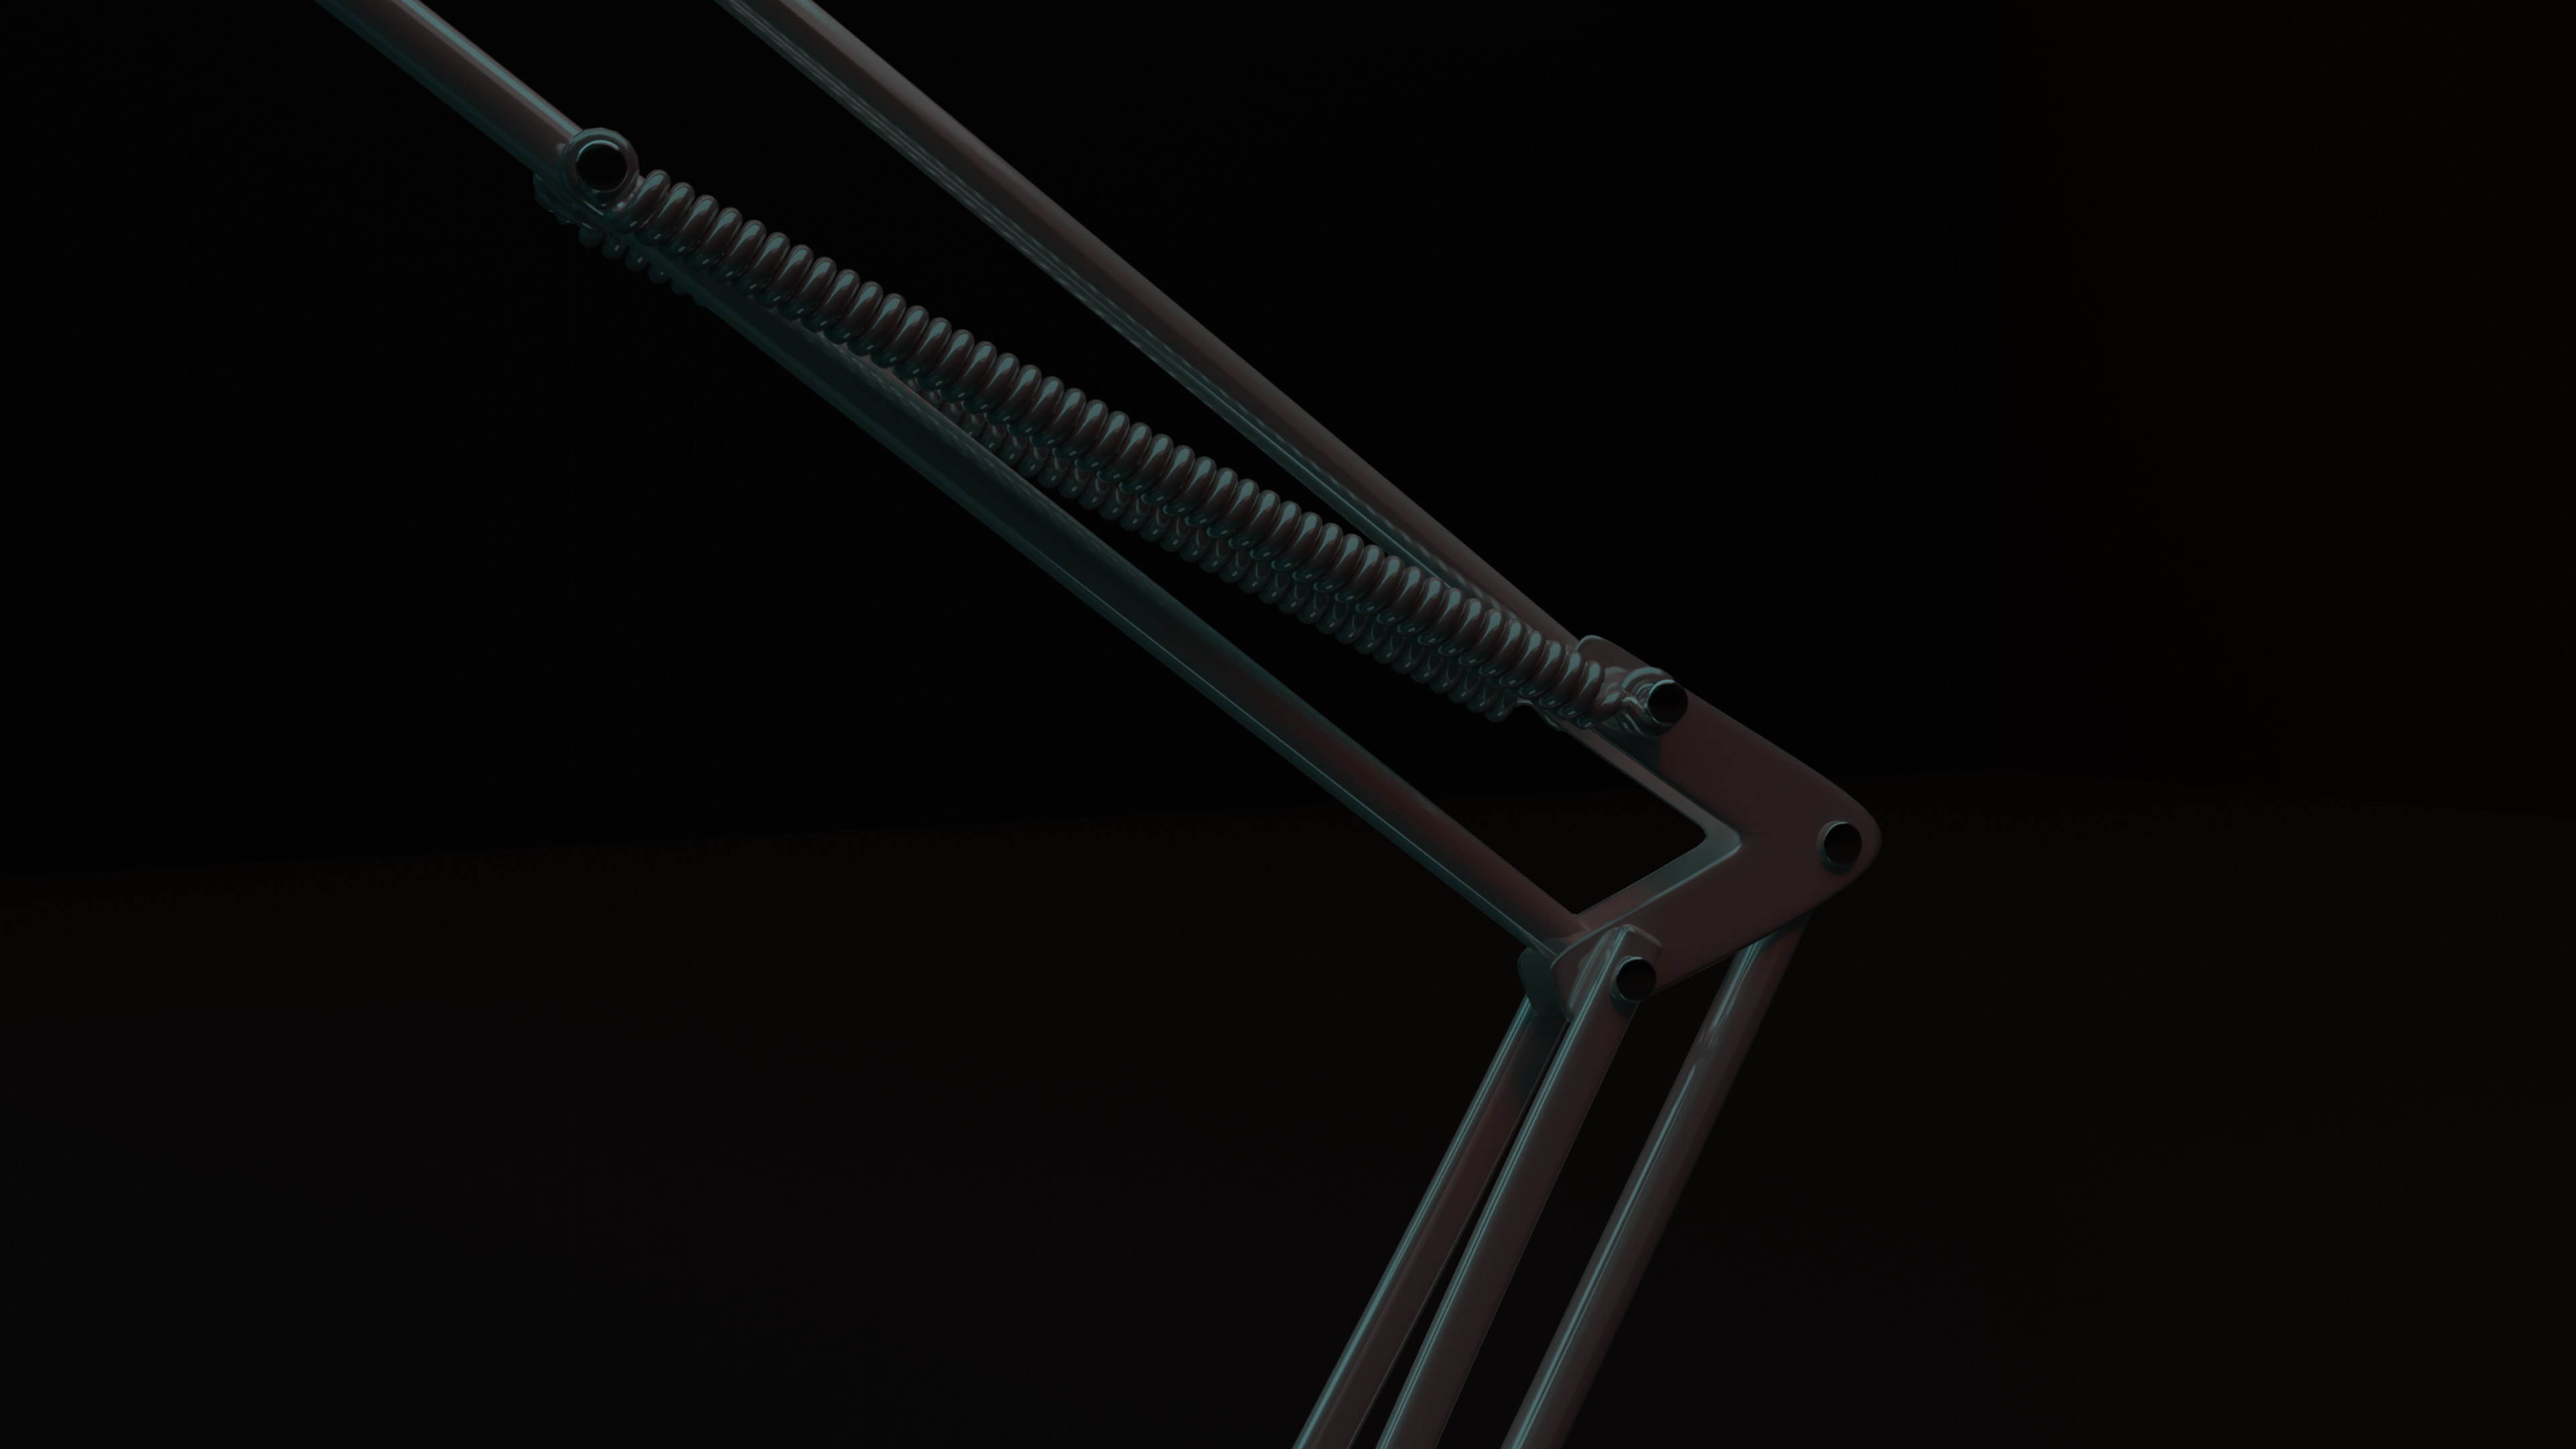
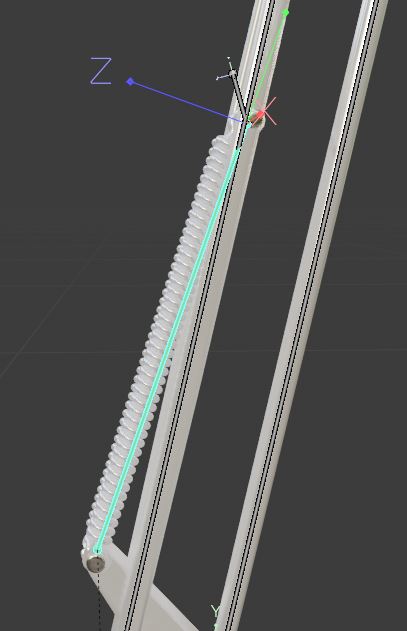
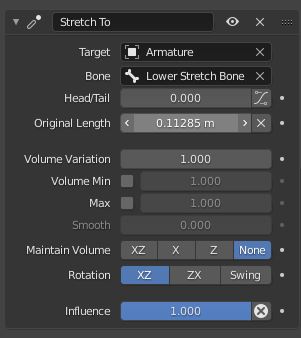
The video shows how to use the Stretch To constraint to rig the springs. But my springs were so fat and tight together, so you couldn’t really notice any stretching during movement. I didn’t want to create new springs, I think it is fine. I created the springs by using the screw modifier on a circle. The ends of the springs were made by duplicating parts of the original spring a couple of times and bridging edge loops.
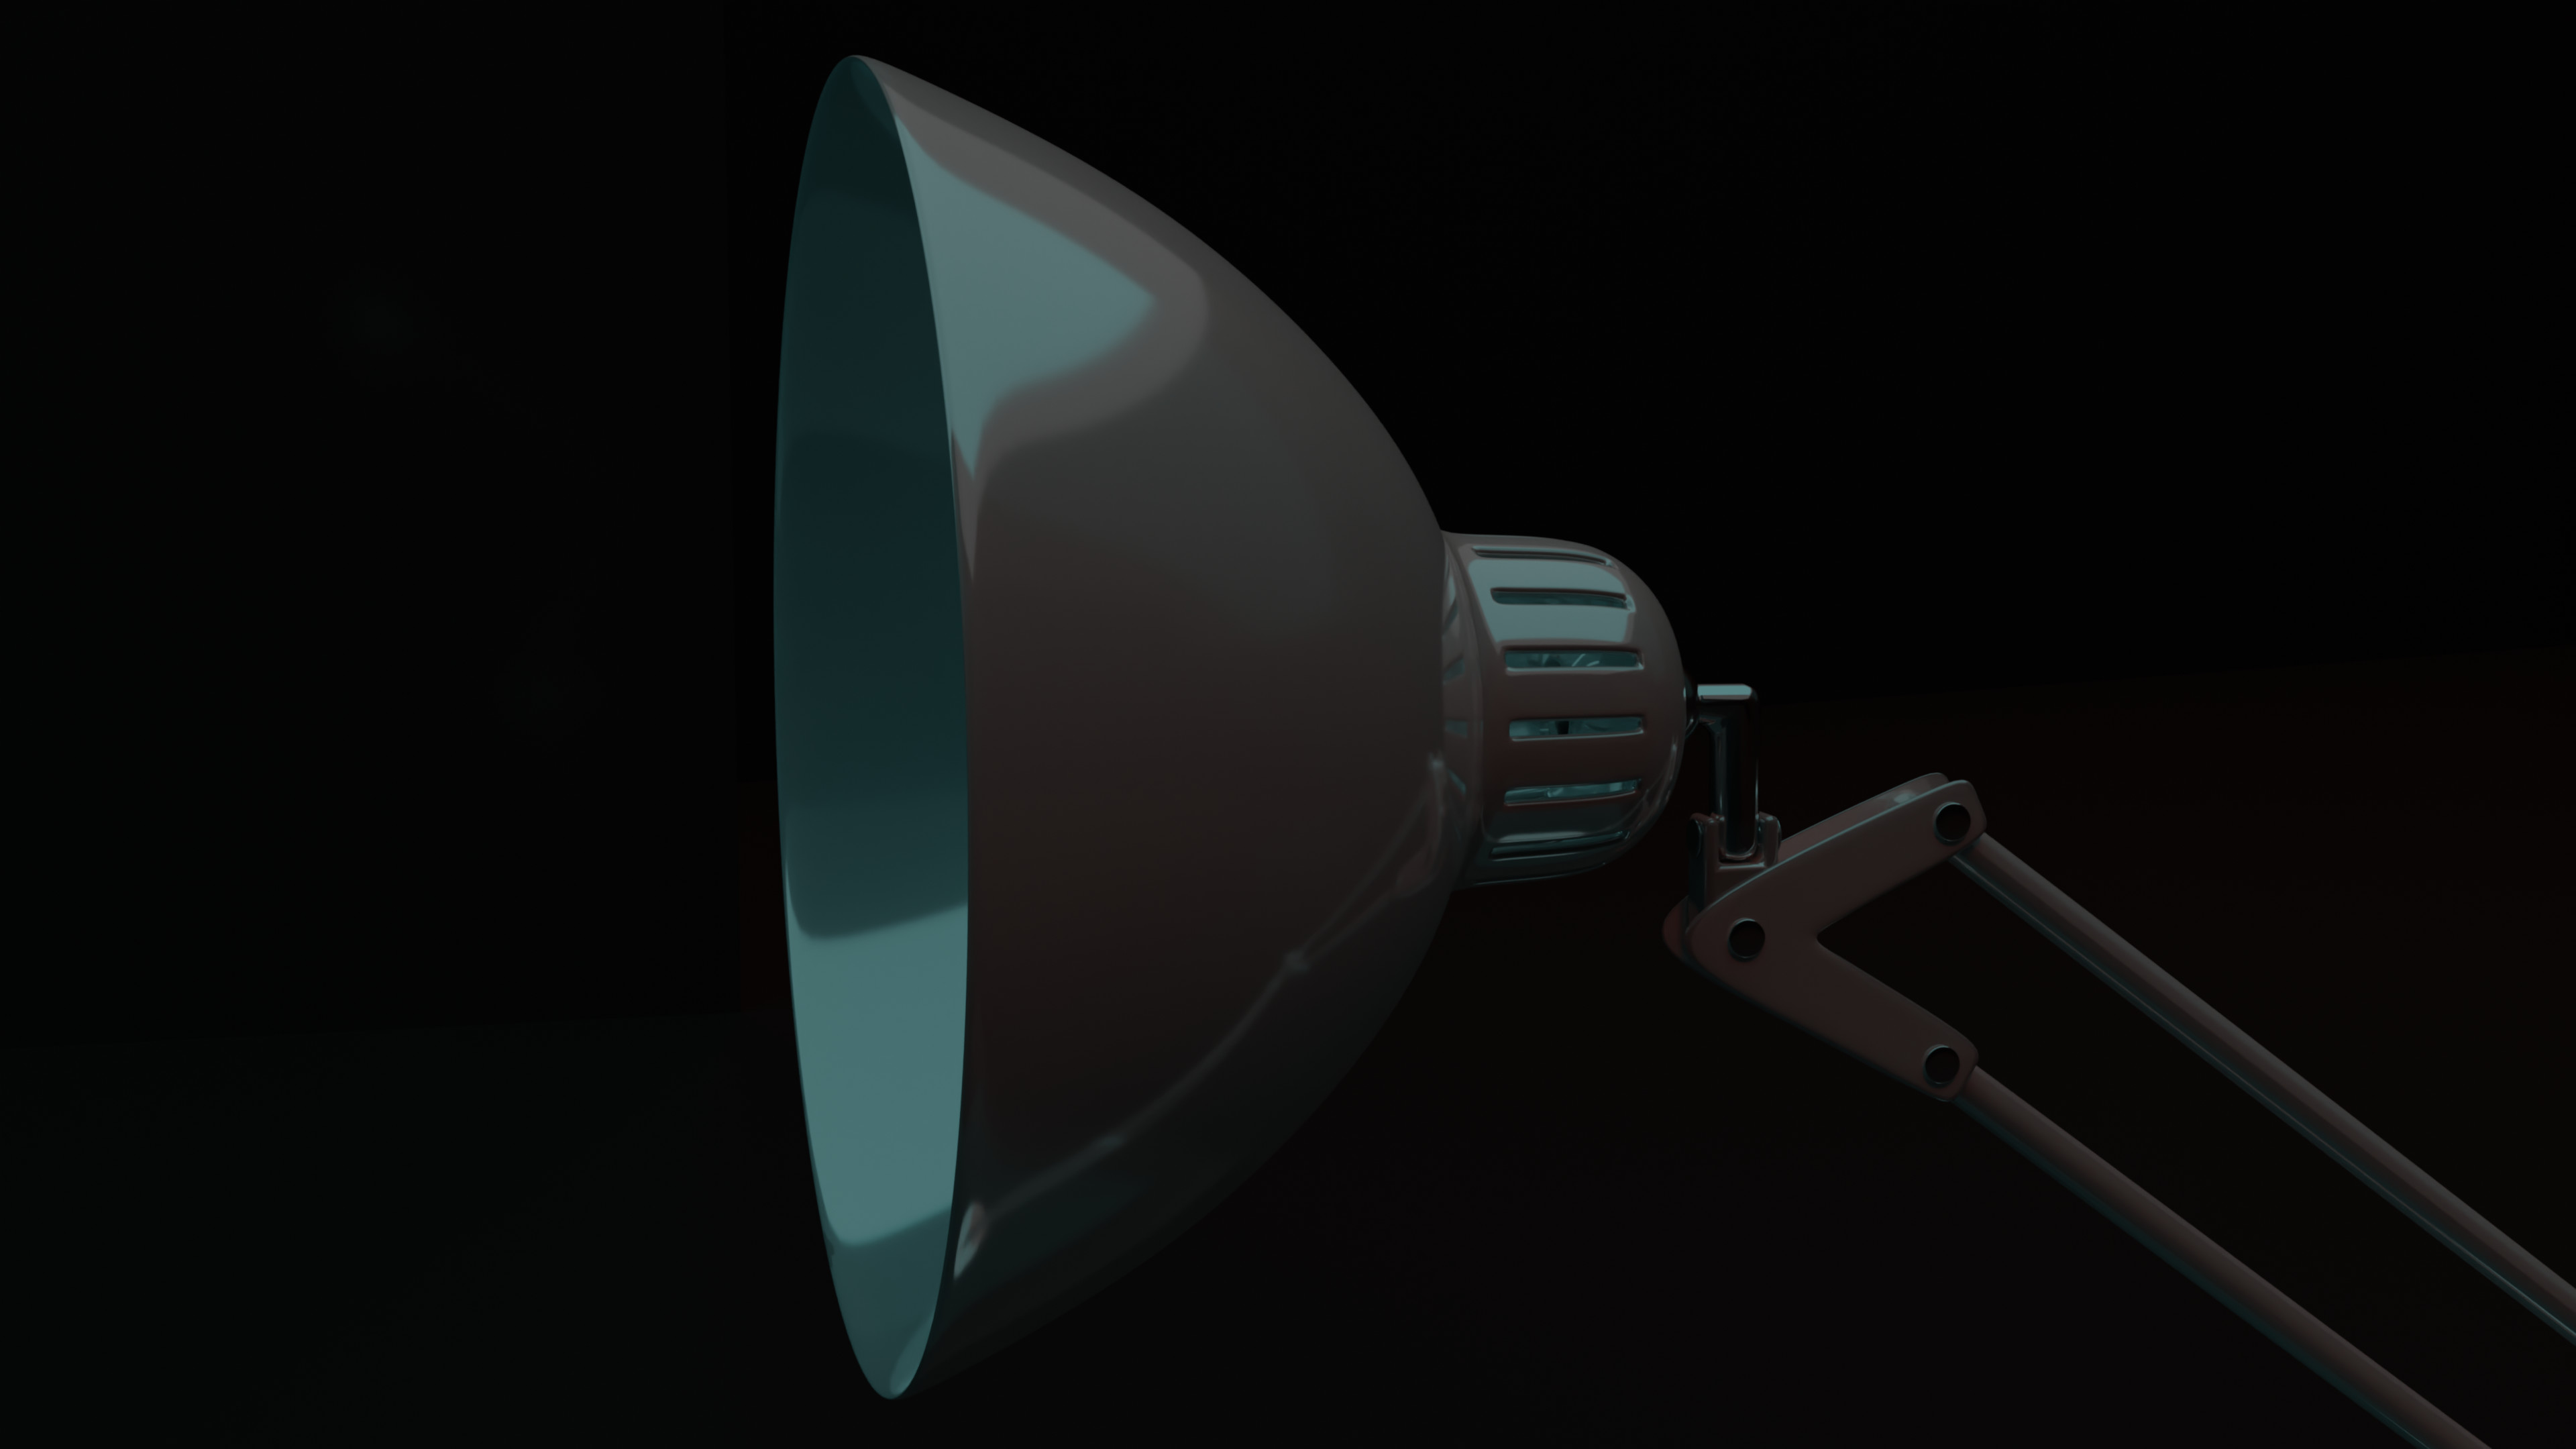
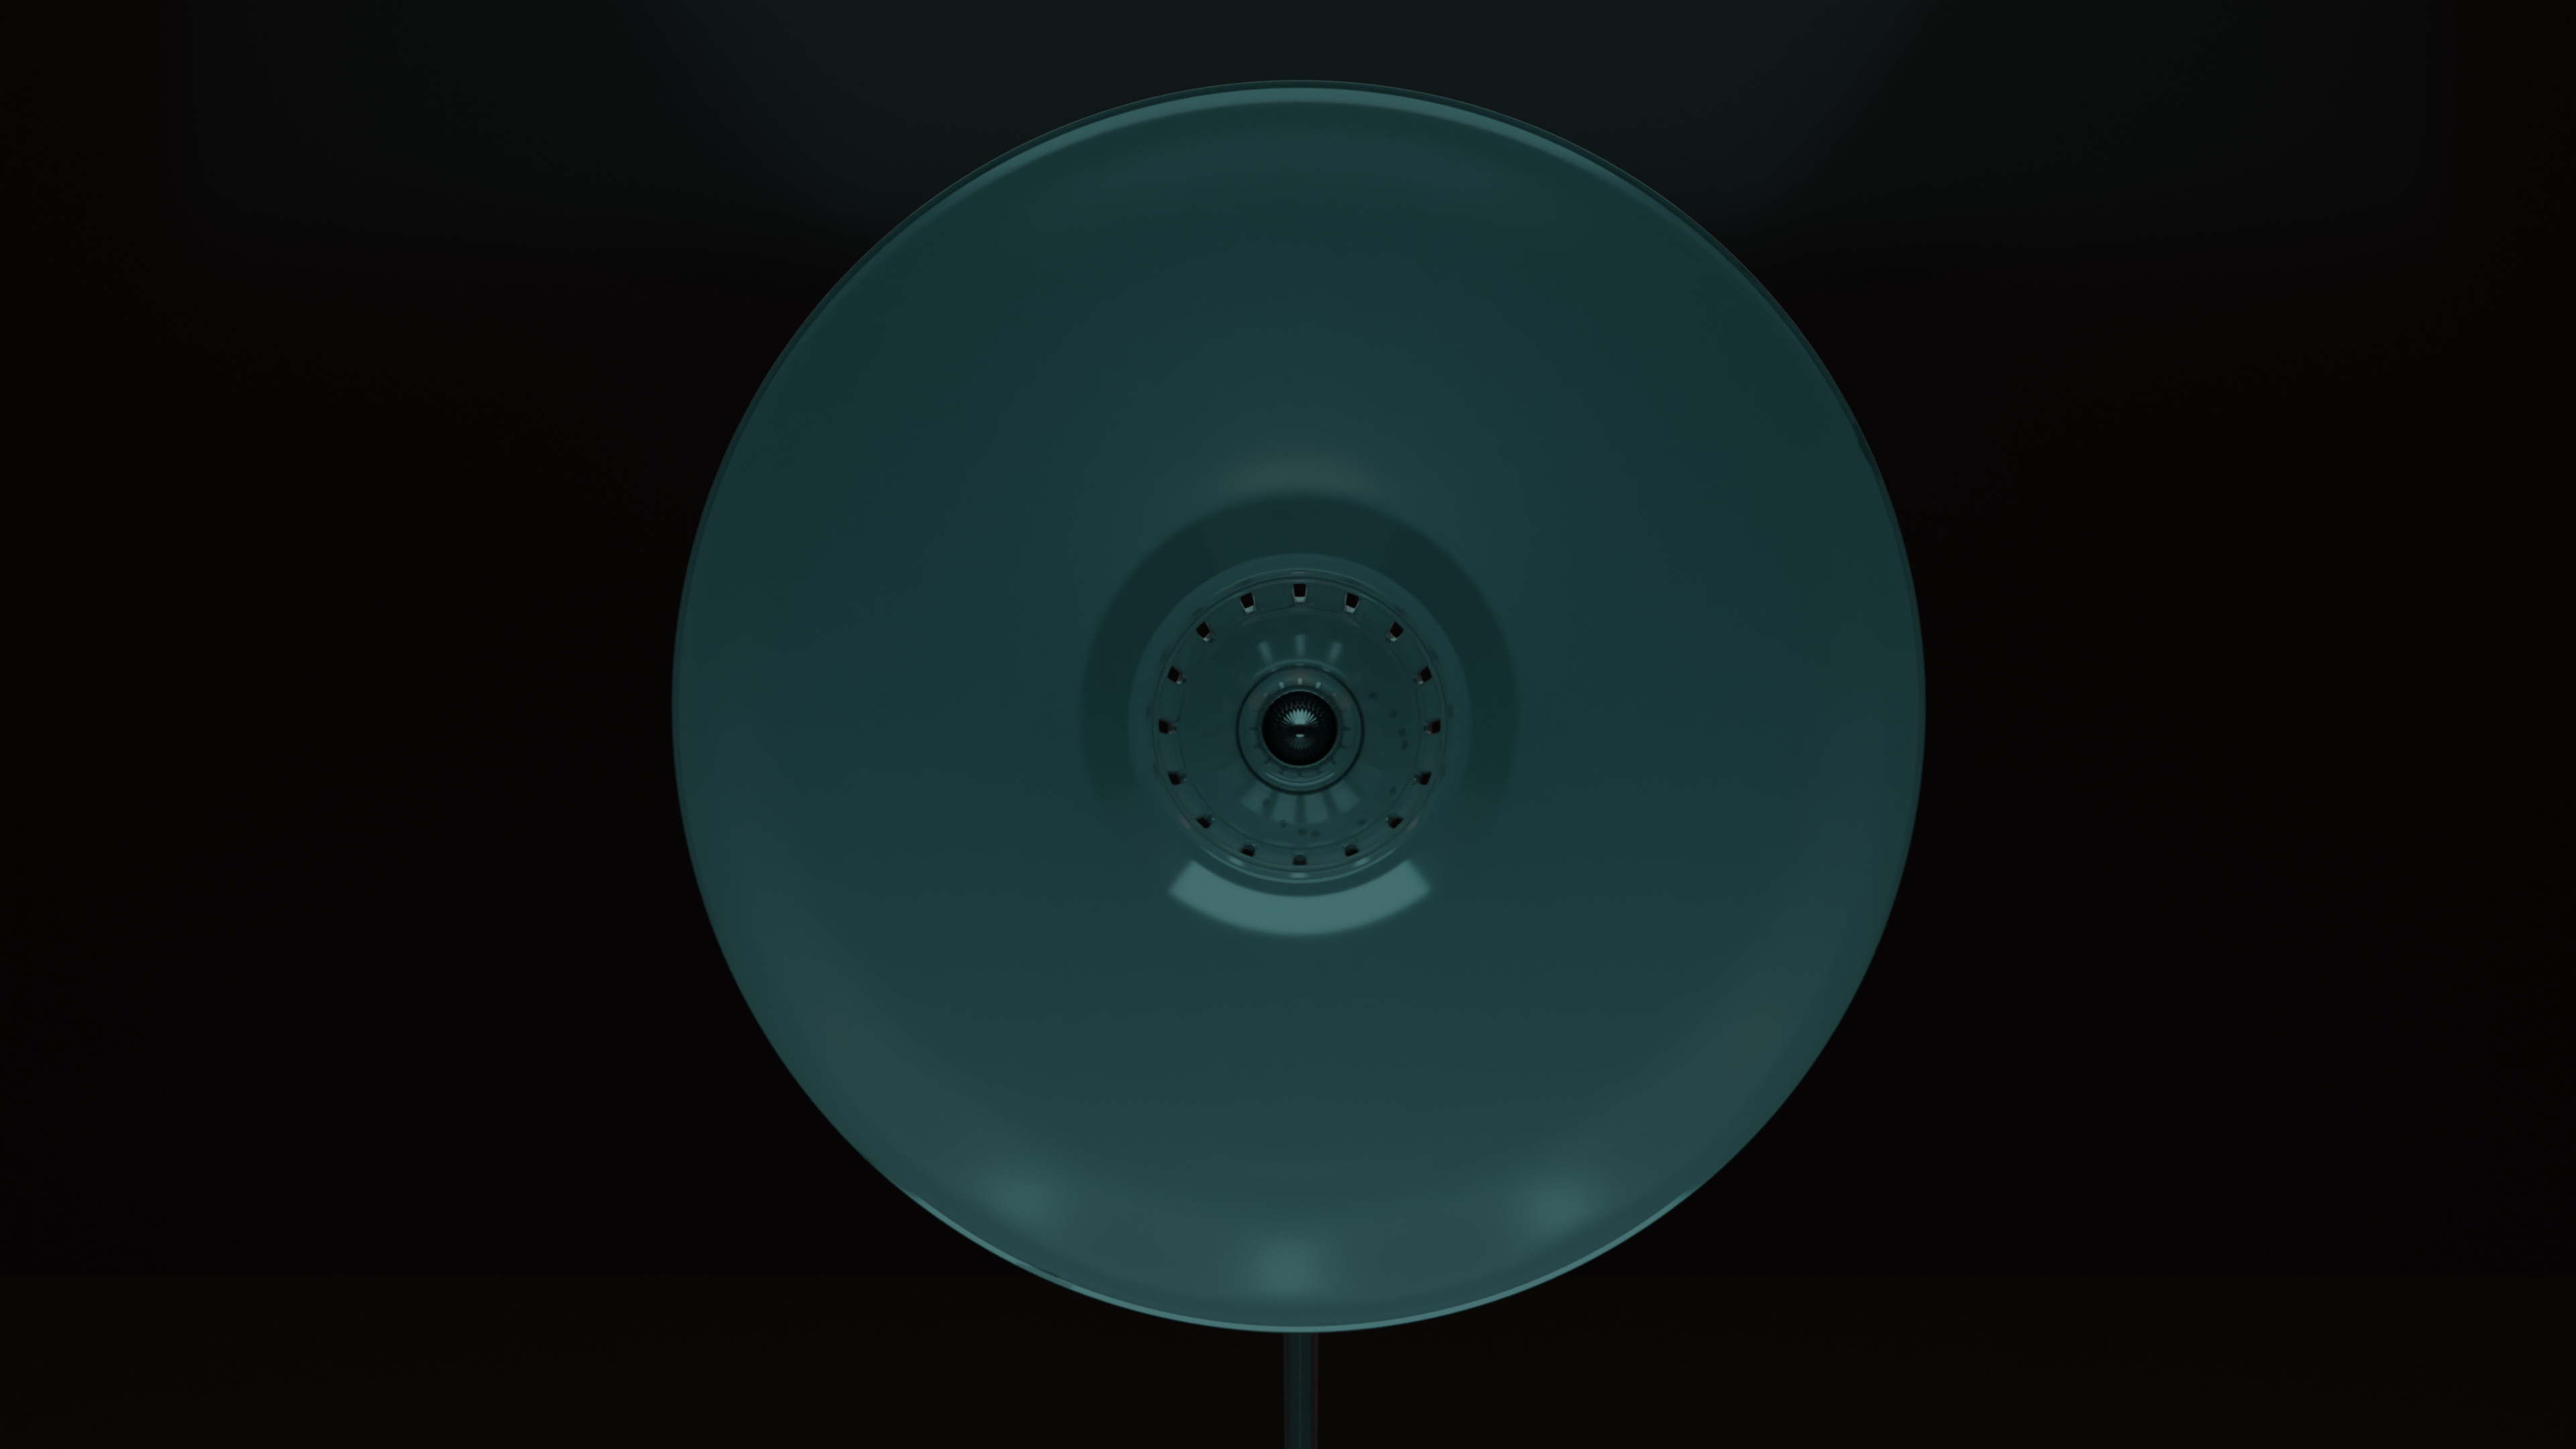
Light Bulb:
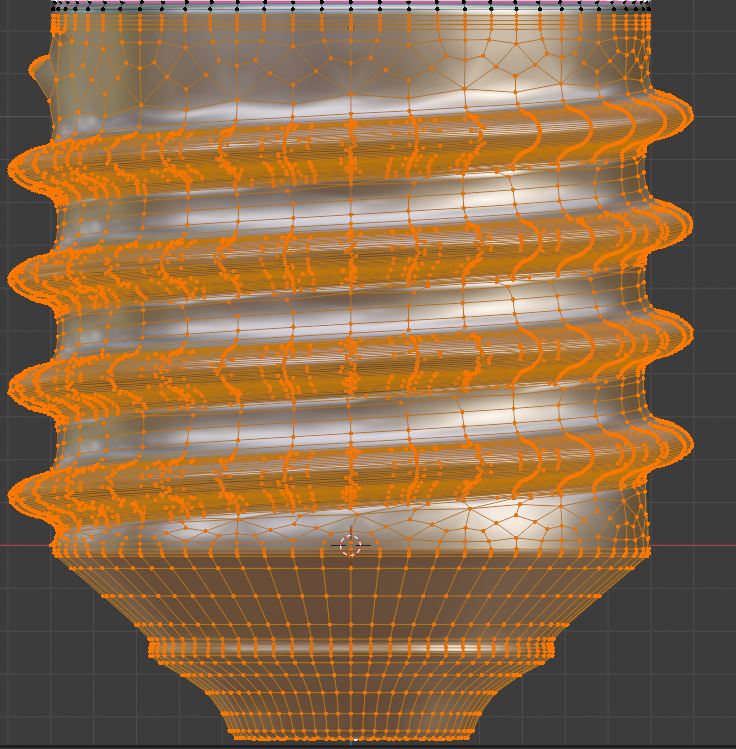
I also used the screw modifier on a bezier curve to create the base of my light bulb. Then I added mesh circle on both sides and bridged edge loops. I needed to bridge half the circle at the time in order for it to work. Some research about retopology was also neeeded to fix up the ends of the screw after connecting them to the circles. My first draft ended up with very strange topology:
So I redid it and it looked a bit better the second time around:
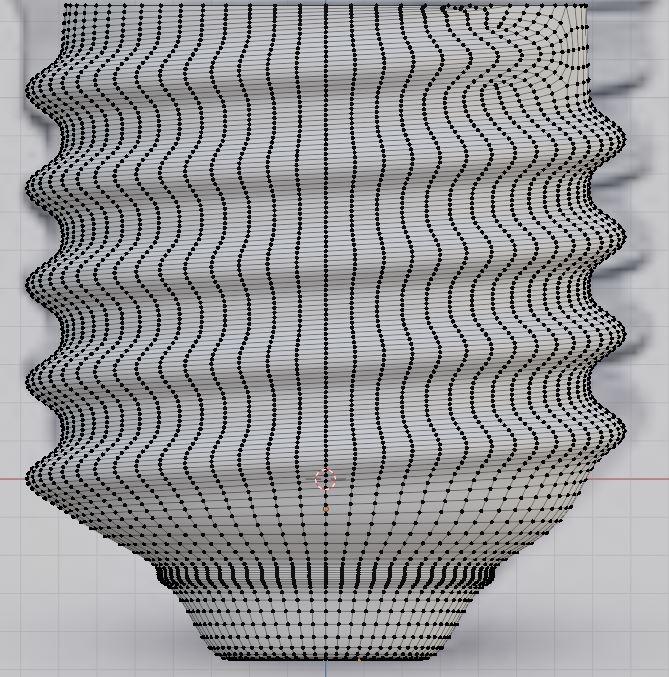
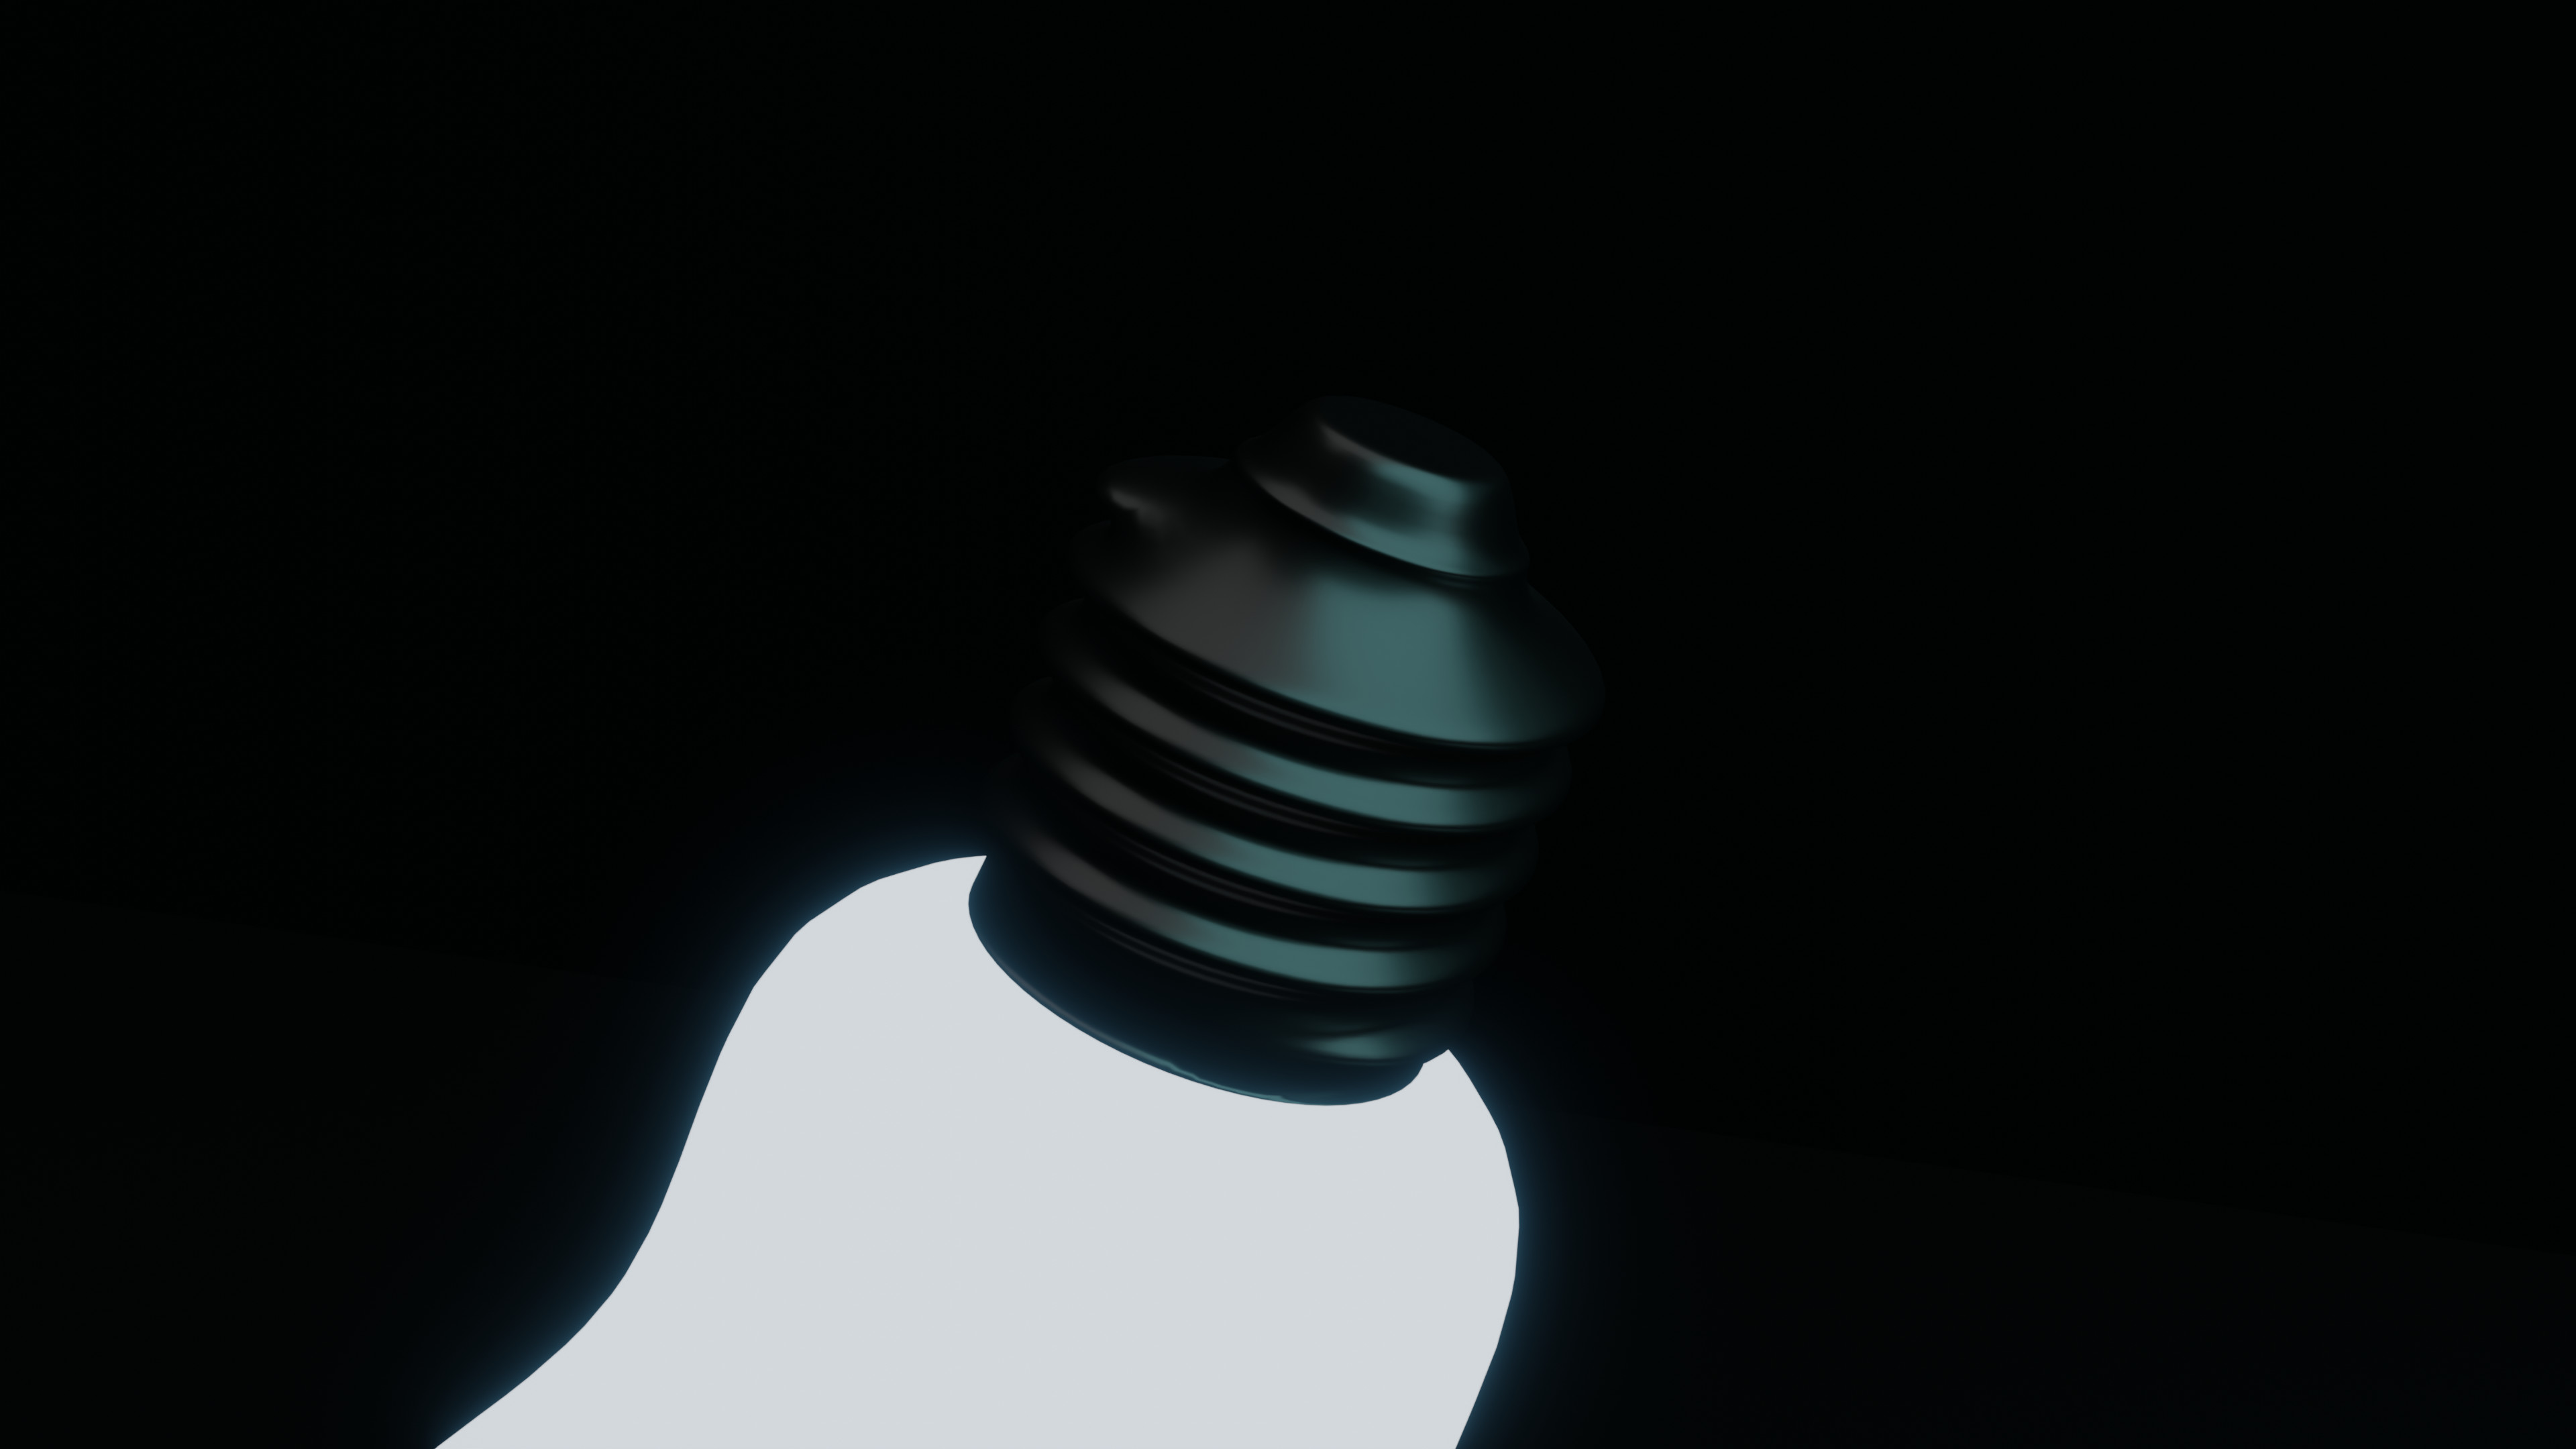
This is what I ended up with:
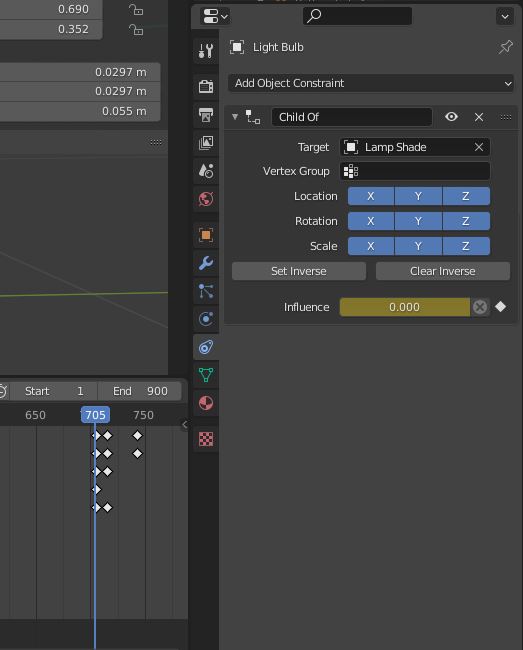
To make the light bulb stick to the lamp in the last part of my animation, I learned to use the Child To constraint and animate the influence so that it was 0 when sitting on the podium, and 1 when attached to the lamp. I did the same for a point light to add some extra lighting effect.
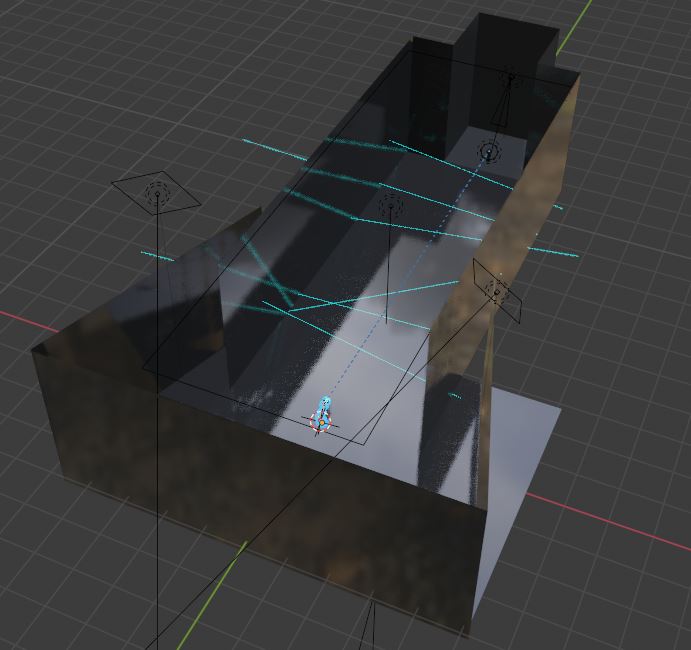
Scene:
Finally, here is just a little snip of my scene. I tried putting everything inside one cube, but the render time increased significantly like that, so i took off the roof and did some remodeling. I have two orangy colored area lights on the back, one bluish area light on top of the room, and a spot light on the podium with the light bulb.
I think that’s all I have to share right now. It feels really good to have finished this project, and I’m very much looking forward to the next section. For the people at the same stage of learning as me, I hope I was able to provide some valuable information. For the more experienced folks, please give me your feedback. Do you have any suggestions? Would you have done anything differently? Is there any part of the animation that jumps out at you as very strange or wrong. I’m very serious about getting better, and I appreciate all the help I can get.
Thank you!


")


