Align Face Rotation “Animated”

Hi every one

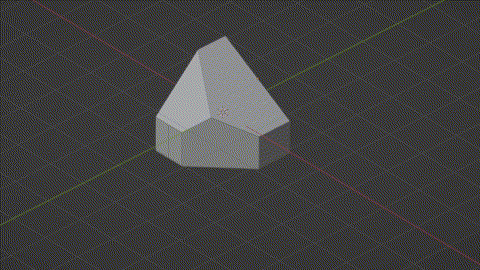
This is a part of UV Sphere, I separated each face, and positioned the origin point of each face at its edge (as shown in attachment).
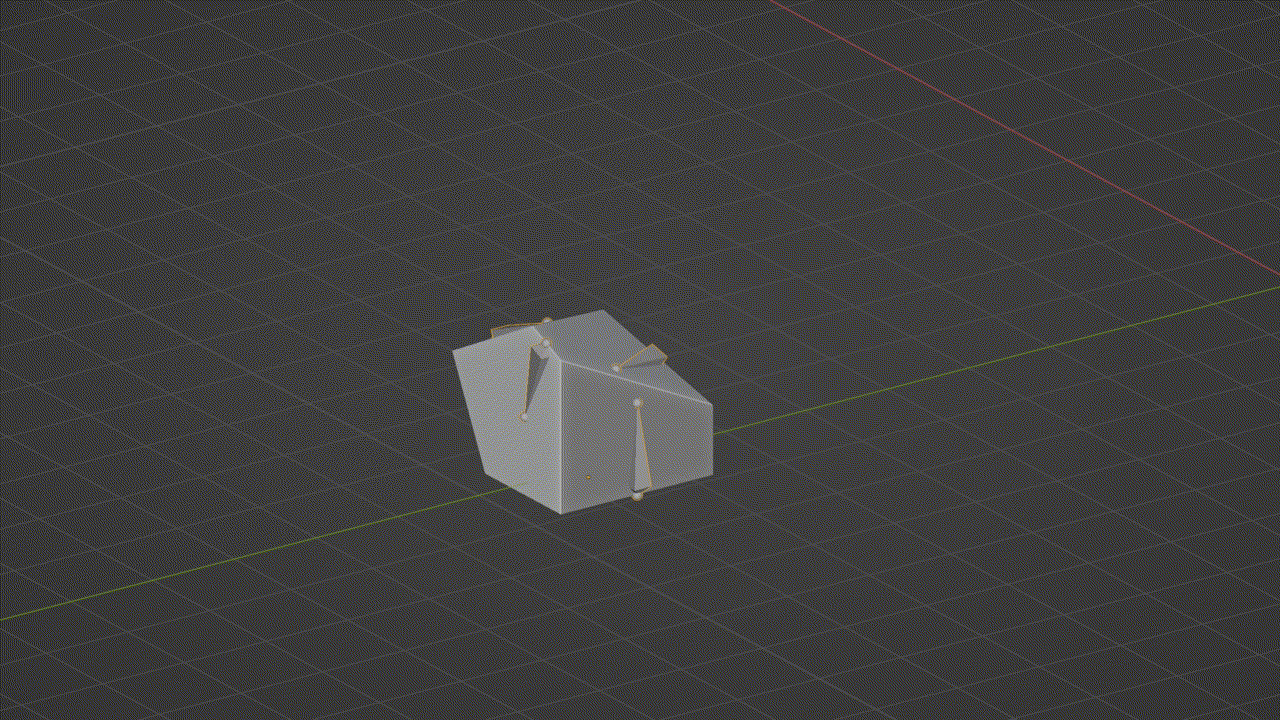
I Parented each face to the one a top of it.
I want to rotate (with animation) each face till it is aligned with the face top of it and finally aligned to the XY Plane (as in attachment).
The rotation axis is not the global or local axis, it is the edge itself.
The angle of rotation is unknown.
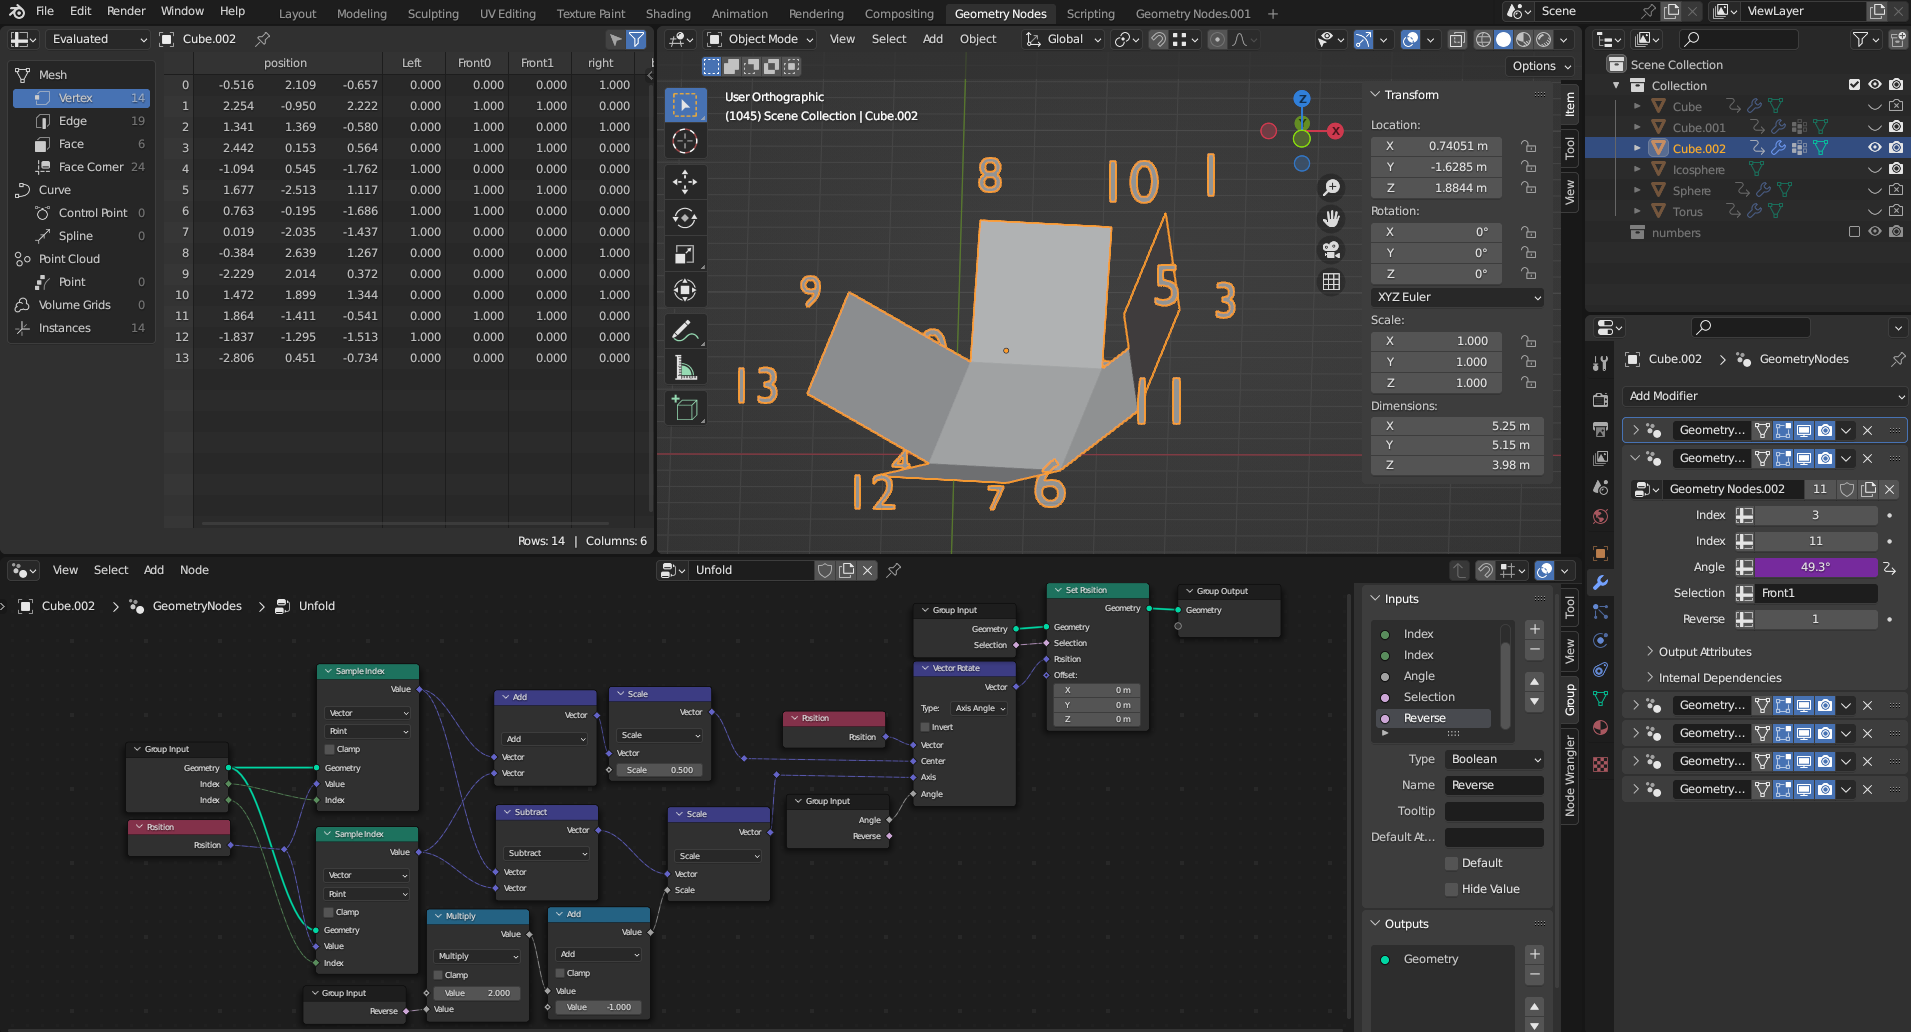
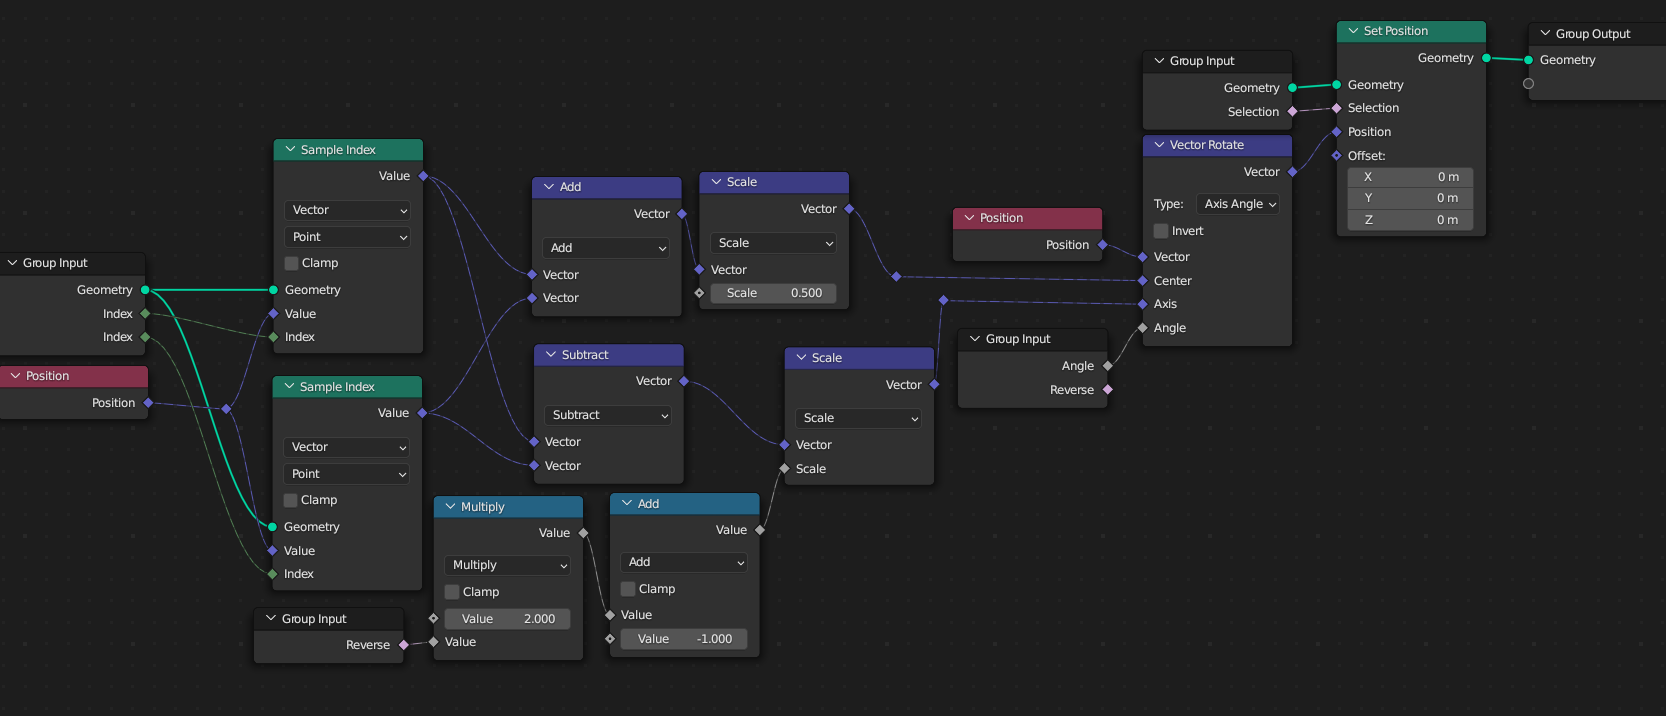
I tried using the Align tool , but when animating it gives a weird rotation, (sometimes it works well)

Note: to make this attachment video I just eyeball the rotation while using an edge as the transform orientation.
Rotation Blender

1 Like

I am not sure what your question is. I am guessing it is how do you get everything to align flat with the XY plane instead of just guessing on your angles. My method would be:

  1. insert a plane
  2. snap it to the origin point of your object
  3. Move the animation timer to the point where you want everything to be flat against the plain.
  4. Enable snapping tool to plane
  5. Rotate the bones and snap it to the plane constricting to the Z axis, start with the one closest to the origin of course.
  6. Insert keyframes for rotation
  7. delete plane
  8. enjoy
1 Like

Thanks for your reply
what I am trying to do, is to create Unfolding Animation of 3D shapes, it is similar to the UV unwrapping process ( which unfold the 3D shapes to a 2D Plane ) this can be done easily for shapes like Cube, cuboid, as all its axis is parallel to global or Local Axis.
I try to add bones, but it this case, the bone Roll must be parallel to the rotation axis, this can’t be adjusted accurately, I will have to eyeball it.
attached another example of what I am trying to accomplish, yet it’s not perfect
Unfold

1 Like

I understand what you are doing now. I see the flaws in the roll as the edges come apart and reconnect during the animation for anything that is not parallel to the X or Y axis. My intuition says you can calculate the roll necessary by looking at the different values of Z on your edge points before opening the first layer. If you open a 3rd layer the roll will be compounded on top.

I will have to open a blender project and play with that. Looks like a fun topic. Would be a nice quiz problem in a course.

1 Like

I had fun trying to come up with a solution to your problem.
This may not be useful for your purposes, but here is a way to do it in geometry nodes.


If you need to use bones, you could try using the 3d cursor with “Align to transform Orientation”. But take my suggestion with a grain of salt, because I don’t know much about armatures.

3 Likes

@zeRgenTa Thanks for your reply
apparently the Geometry Nodes is so powerful
I am not expert at Geometry Nodes, but will this node group works for any shape

@Michael_Legrande
I think I am missing something here :roll_eyes:

  • How can I align the bone roll accurately to the face
  • How can I manage to rotate the bone till the face is perfectly flat to XY plane

Might this route work?

2 Likes

Thanks a lot NP5. Now I have a whole new set of projects to add to my need to do list.

2 Likes

@NP5 Thanks for your reply
it is a cool idea to use shape keys to fold the Geometry, but in my case I start with a 3D shape (Ex: Pyramid – Cube – or more complex shape ) and want to unfold it.
also when folding Faces Using Edges, it’s an approximate method as there is a bit of stretch of edges.
I want to maintain the exact shape and size of all faces.

2 Likes

It will in most cases, because all it’s doing is rotating a vertex group based on the two vertices that you have set in the group input. The only issue I can think of is that you can’t pivot from a single vertex.

To align the bones, you could use shift(+Ctrl)+Num(1,7, or 3) to align your view to selection then place your 3D-cursor with shift+Right-click, select a single bone armature, then “object>transform>align to transform orientation” making sure orientation is set to cursor. After you have aligned all the bones this way, apply transforms, then join them together. Don’t worry about the tips of the bones, finish by parenting the bones with keep offset.

Neither of these solutions seam to be a good way of doing it, but they are the best I can come up with.

2 Likes

Unfold Blender A
Thanks @zeRgenTa
This alignment method works fine, I also Split the Faces (Y) so I can Assign each face to a Bone without effecting other faces, so I think this will be the best method to do it.
one small issues is, the final result is not 100 % flat, I only eyeball it from side view to make it almost flat, couldn’t think of a way to make it perfect.
if there is no way to Flat it 100 % I can just eyeball it, as its not visible to viewer. Thanks again

2 Likes

This topic was automatically closed 24 hours after the last reply. New replies are no longer allowed.

There is also an Blender add-on, that flattens your model.
Say you have a cube. Then by adding seams (needed also to UV-unwrap), the add-on will create (flatten) the cube in a 2D paper model, for print, cut-out and clue together.

2 Likes

Each bone, has properties. Location, but also rotation. you need them to set them by hand in the last frame. Don’t forget that Blender, by default, uses ease-in en out for animation.
So a little tweaking of those parameters in the graph-editor could also fix things.

By folding the ‘cube’ open, your showing the inner faces. Because full that they are rendered correctly, because in 3D game engines those are invisible. Blender Showns them, but not so sure in Cycle render mode.?!?

1 Like

Privacy & Terms