
Let’s get started!
1 Like
I want to finish those bulk heads before I do anything else, I have one week left of the current sprint I’m working through and then it’s Christmas, so realistically I think the new year now, but definitely will be coming back 
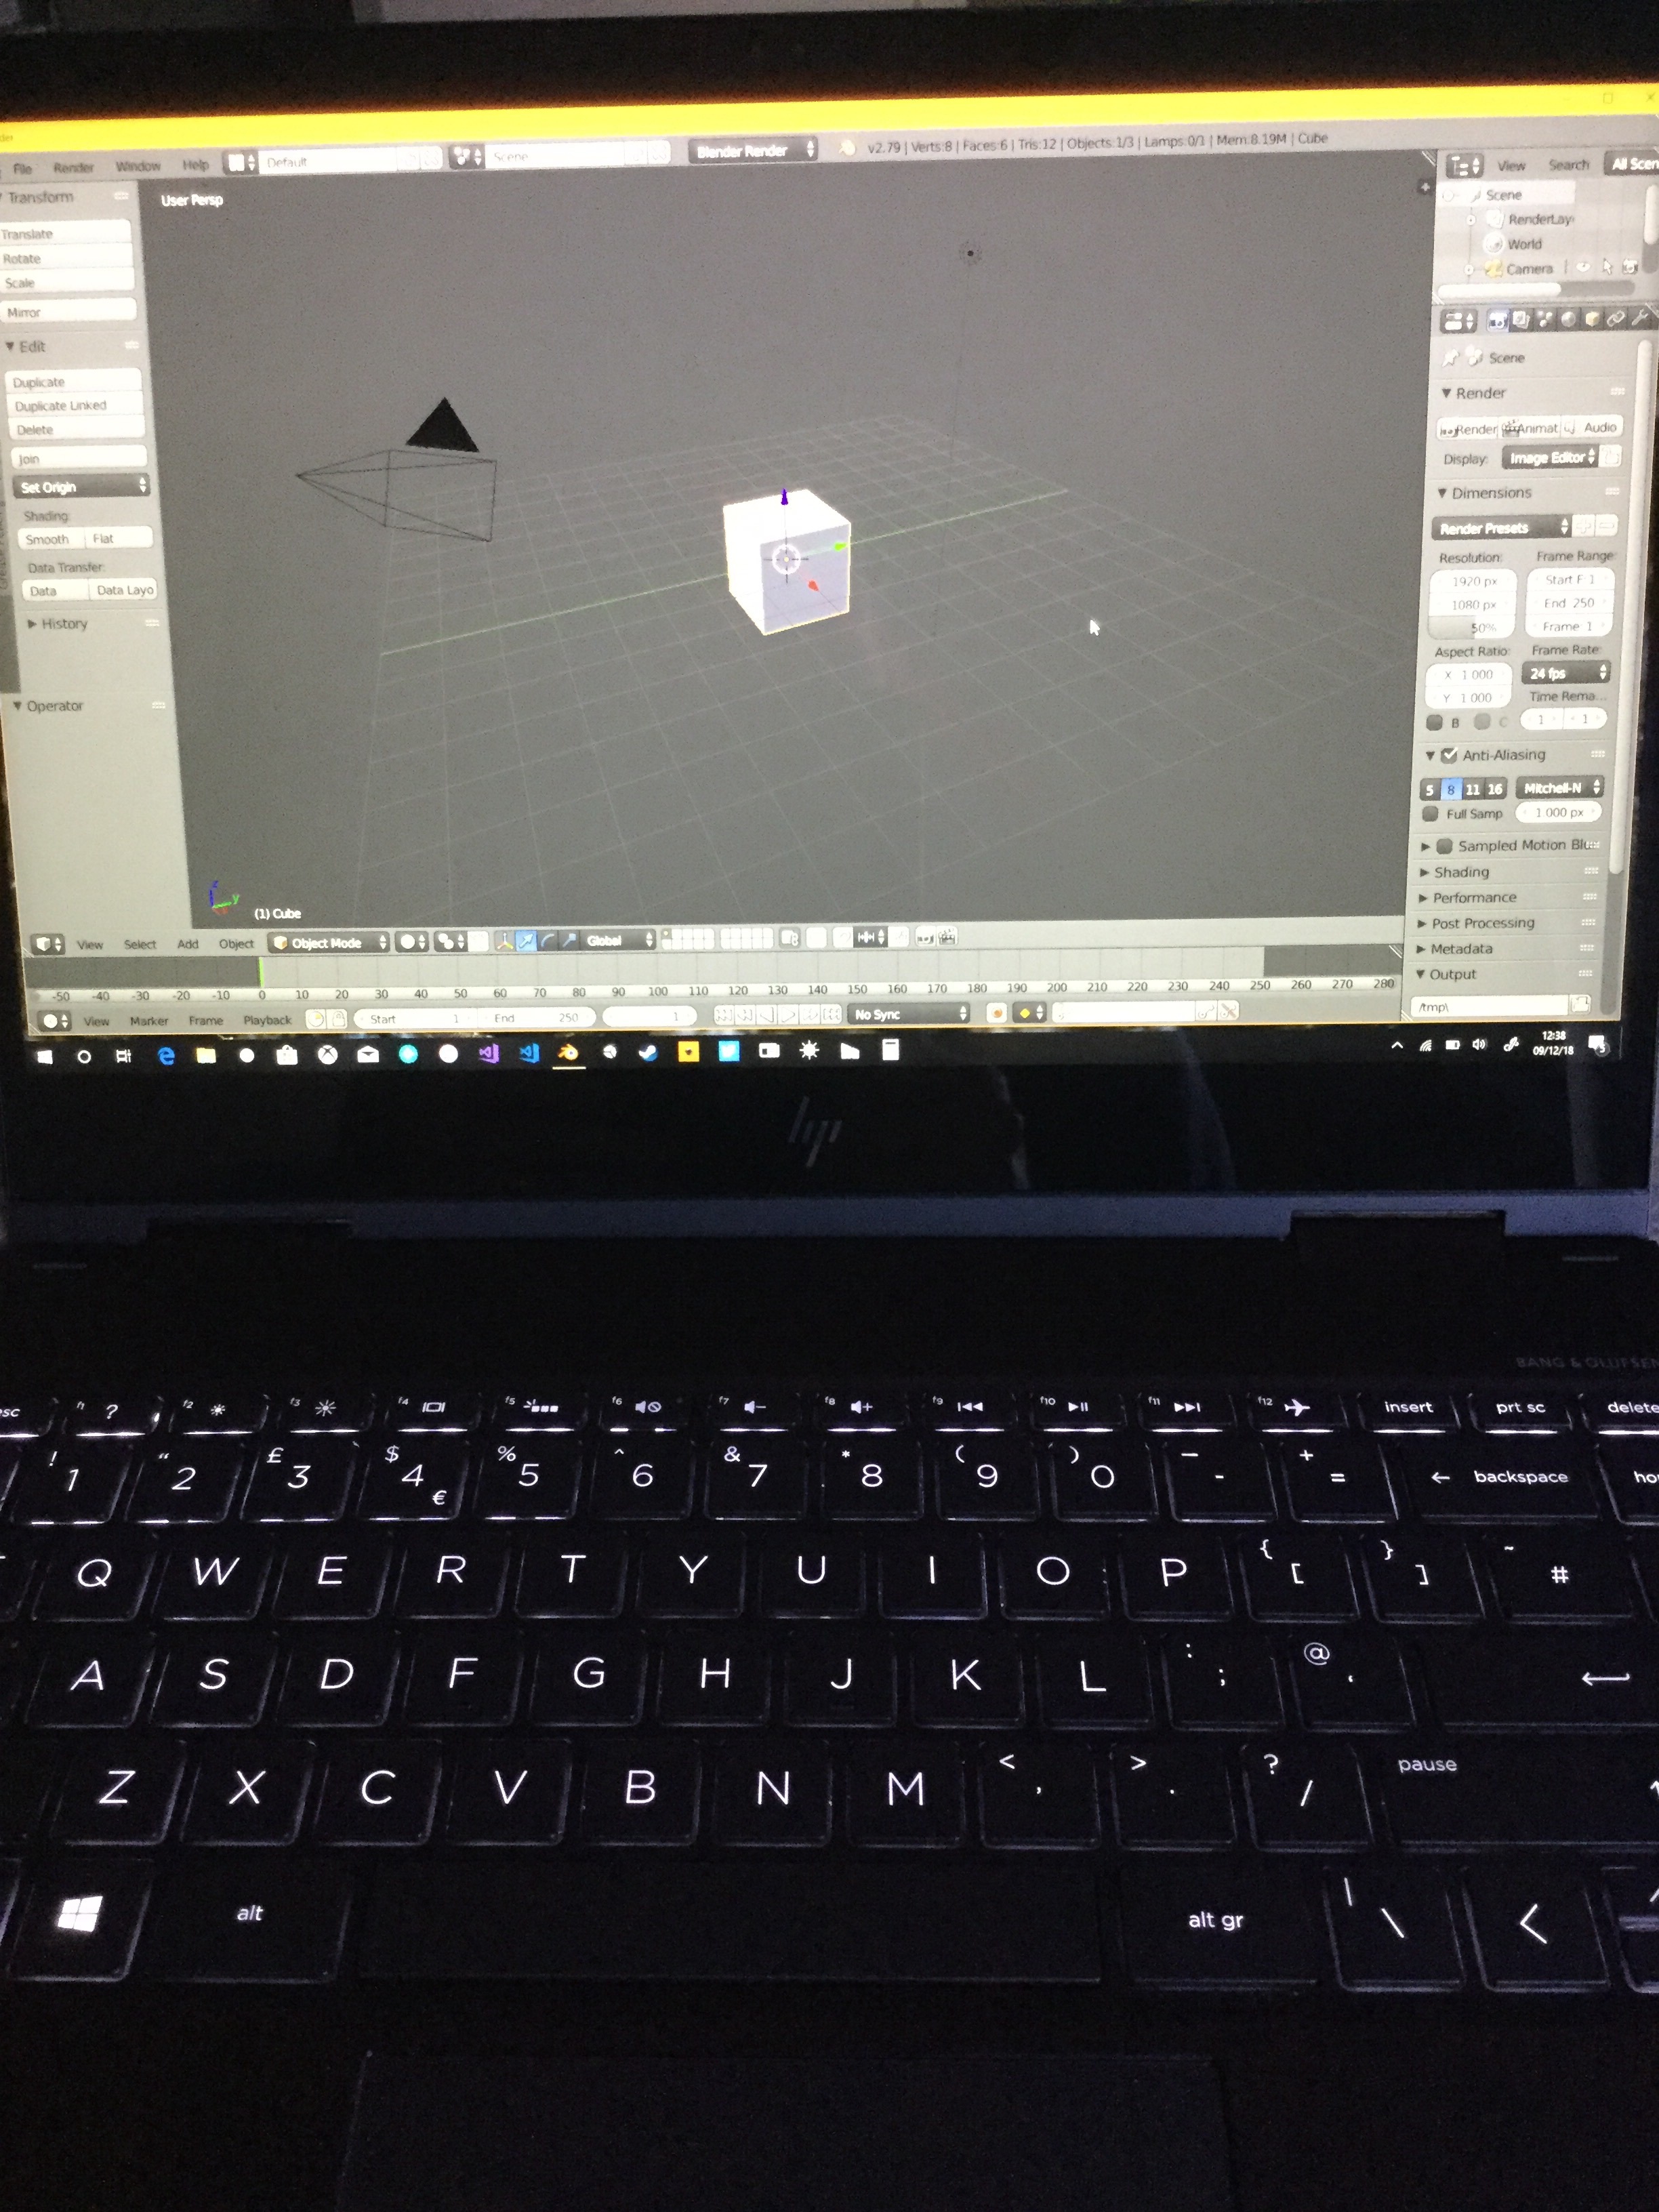
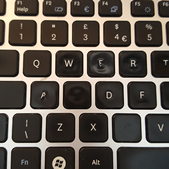
I am envious that your keyboards actually shows the characters, I’m missing S, C and half of A and E 
1 Like
Lol what do you mean missing? I am looking forward to seeing those bulk heads and how they look in unity together.
When I added one in Unity before it was quite a cool feeling being able to walk through the door way
Oh wow they look melted are you Johnny flame
1 Like
Yeah I wait with that until after the next chapter in the course
About that… I forgot to make some safe files… sooo… I’m just stuck with that highpoly, memory-wrecking monster, but thats okay. These plants should be feared 
(i will do a new one)
Next is the Toad-Pawn, he looks like a good challenge for me and most important on my skilllevel.
I will do the shells on the Bishops and the King (Koopa Troopas and Bowser), I just don’t know where to put just the shells on a Chess-Board and I still want to do a Chess
1 Like
I hope you don’t mind but I did make a version of the piranha plant. don’t want to take over your post, just let me know and I will take it down if you don’t want this post here.
1 Like
lol…
They could just be for fun/practice, but, when you get to animation, you could have one specific model, perhaps the King (as it’s Chess) and have them spinning around the base of the playing piece, like they do on the vehicles in Mario Kart
Not sure if there would be enough room to do this… if you were making a Mario-themed chess game, the spinning shells would be a great effect to have when the player hovered over a piece to move perhaps.
1 Like
You’ve seen how many people I reply to on here, right? 
1 Like
Yeah surprised your not down to the motherboard now then 
1 Like
I second this idea that would be cool.
1 Like
Of course I don’t mind! I can always learn with good examples. How did you do the white spots? Did you use textures or just the materials?
I like the leafs!
Thats a good idea!
2 Likes
I marked a few seams in the model and exported the uv map into Inkscape and made the texture there and then imported it back into blender.
Normally I make a large square with a few different gradient colours and then move the unwrapped model around till it fits the look I am going for. (Not on my computer at the minute so I can’t show you what it looks like)
And just for reference later on if you do this and want to share on sketchfab you will need to zip the texture map with the model and then upload it to the site.
2 Likes
Dang UV is hard… I could have been done by now 
2 Likes
It’s actually pretty easy once you’ve done it once or twice it will be second nature. And you come across quite creative from you models above so you should enjoy it like I do.
You can always message me on here if you ever need help with uv unwrapping.
2 Likes
Actually I need help… I don’t remember it from the course…
I have the UV like I want it I guess. I know how I can paint it, but i just looks horrible. The eyes are in the wrong place, and if I paint a circle it doesnt’ match the other side of the seamed part.
Do you understand what I mean? If you wrap it back again where the cut is.
Sorry english is not my first language…
Do I have just to practice or are there some tricks/funtions?
I use Gimp btw, I don’t have money for another programm
1 Like
If you’re not getting on with gimp there is always Inkscape which is free and is a vector based program which you might just get along with better but the stipulation really is that it does take a bit of getting used to.
From what I can get from what you mean you have marked your seams on your model where you want the cuts did you unwrap your model with U (for the keyboard shortcut)?
Also you can open a split view on the blender screen and in the bottom left change from the 3D view to uv editor that will show you your model unwrapped.
If you could take some screenshots that might help me see what you mean fully.
2 Likes
I watched a video about “seaming” and I know know about the “heatmap” and that the Seams are indeed very bad 
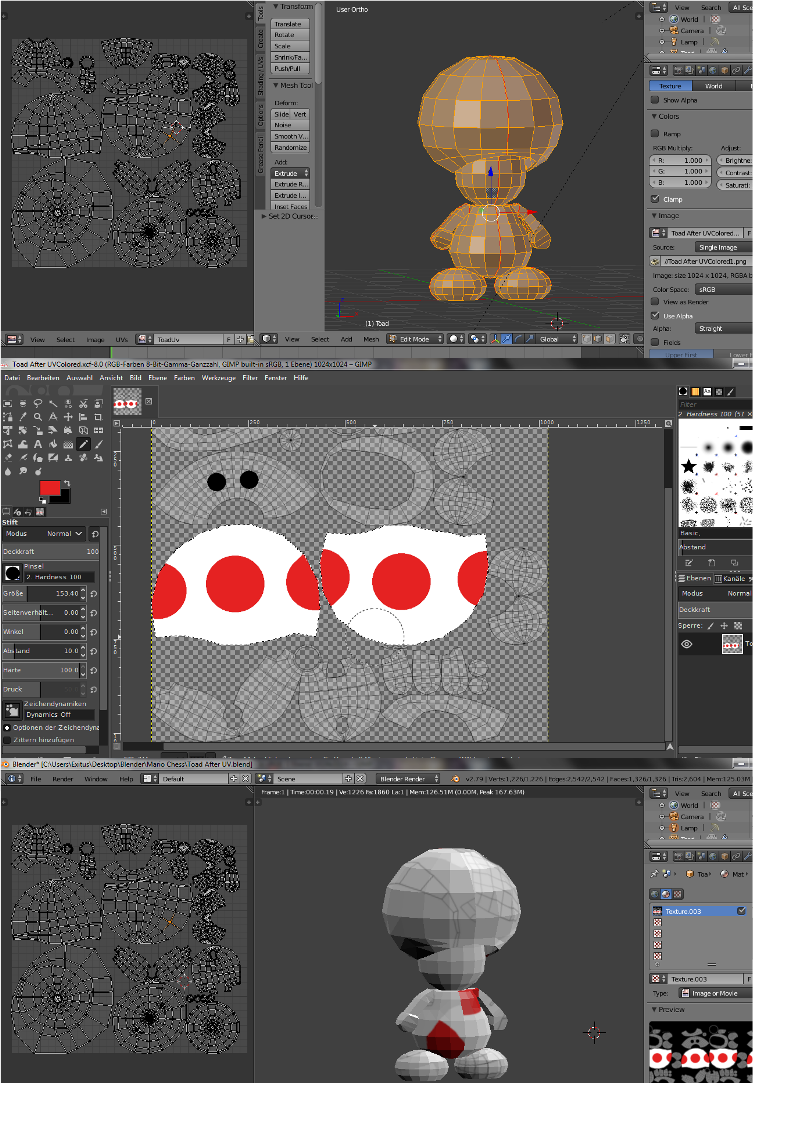
Why are the red dots on his belly? Yesterday it looked better, but still distorted. I clicked the sync button and the colored parts are on his head-shroom.
I guess first I should go with the smart UV and and texture paint in blender. How would you seam this guy?
first of all, that little guy is so cool well done!.
your edited picture in gimp doesn’t match what blender is showing that’s what the problem is.
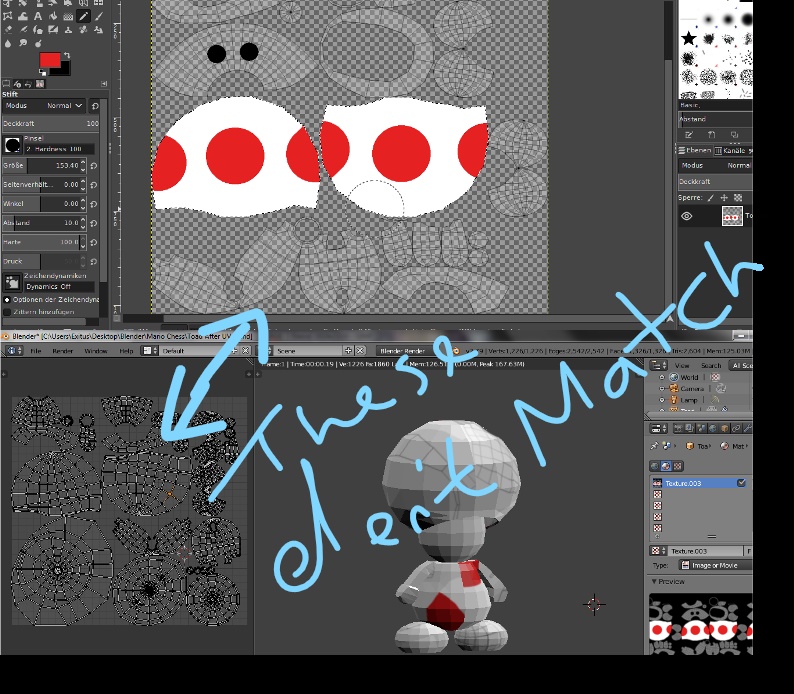
its best to move the islands of the cut seams in the editor and then export it ready for editing.
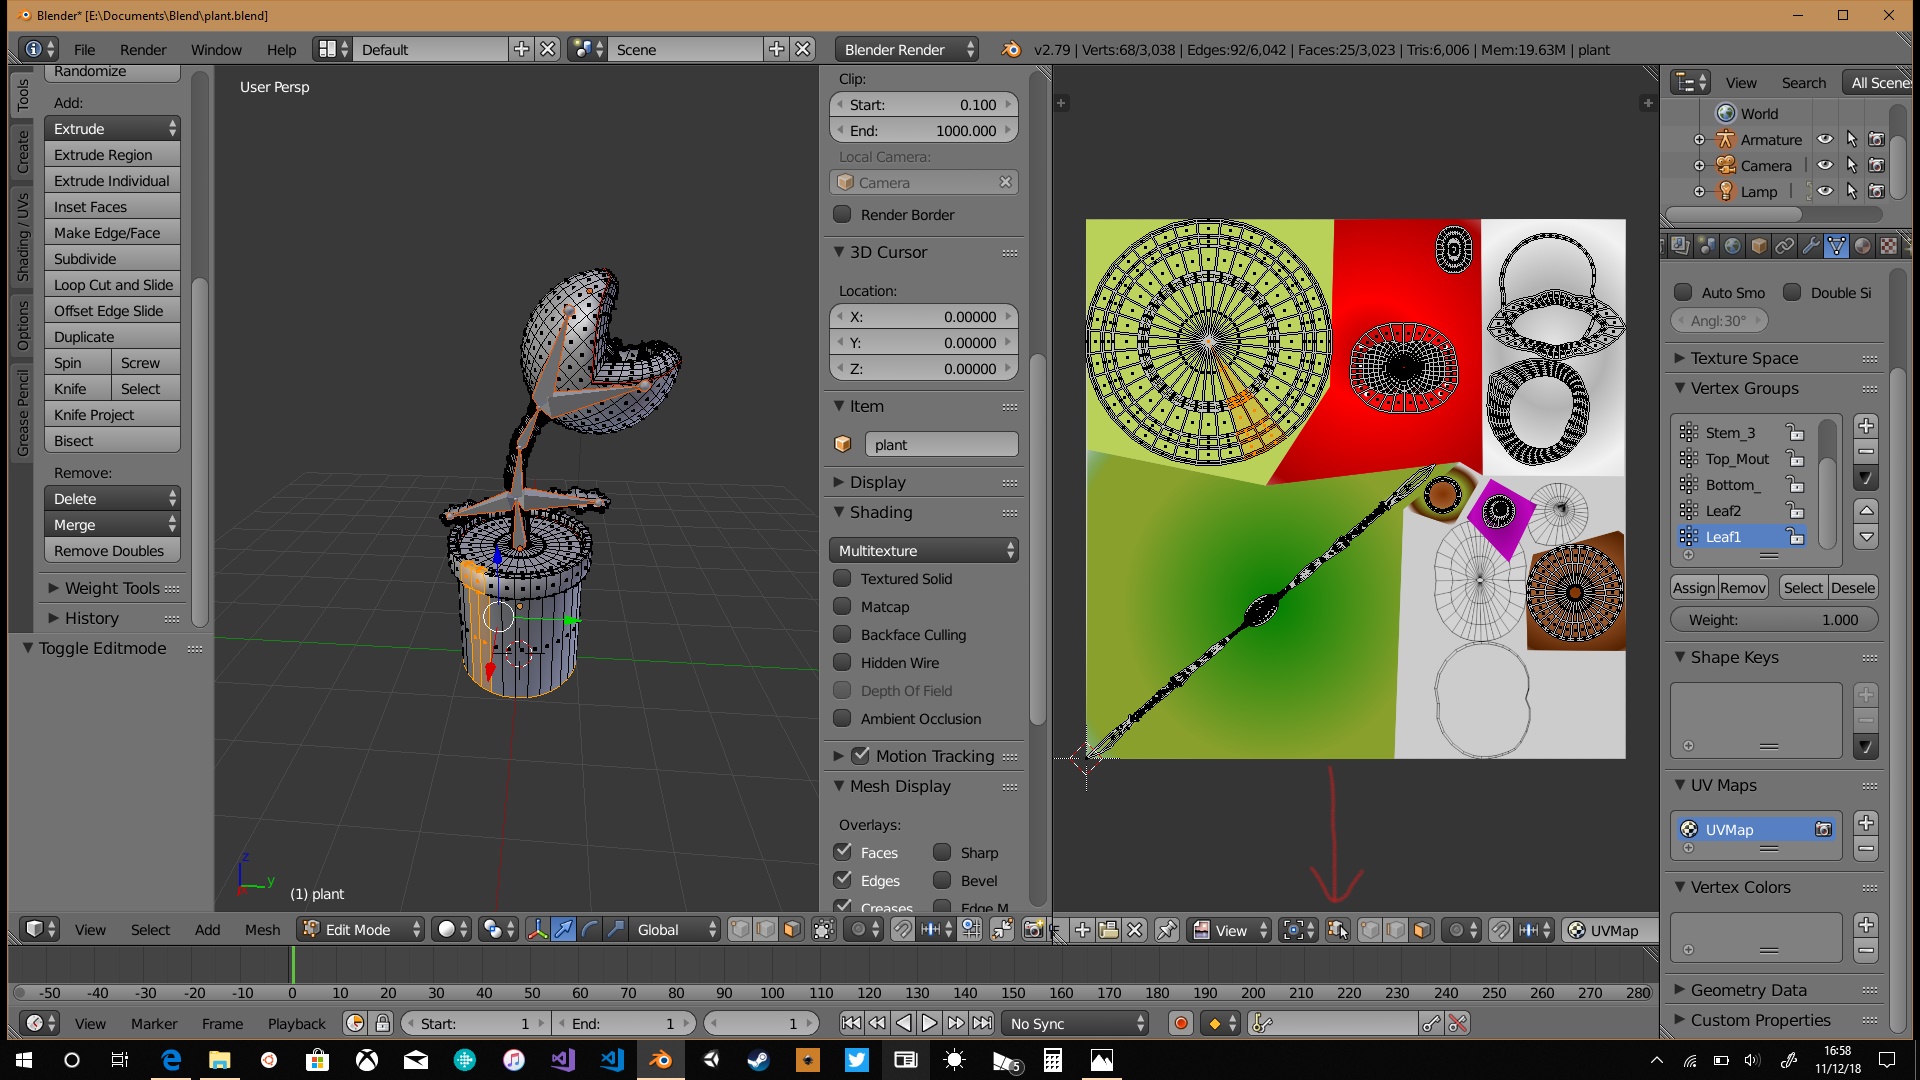
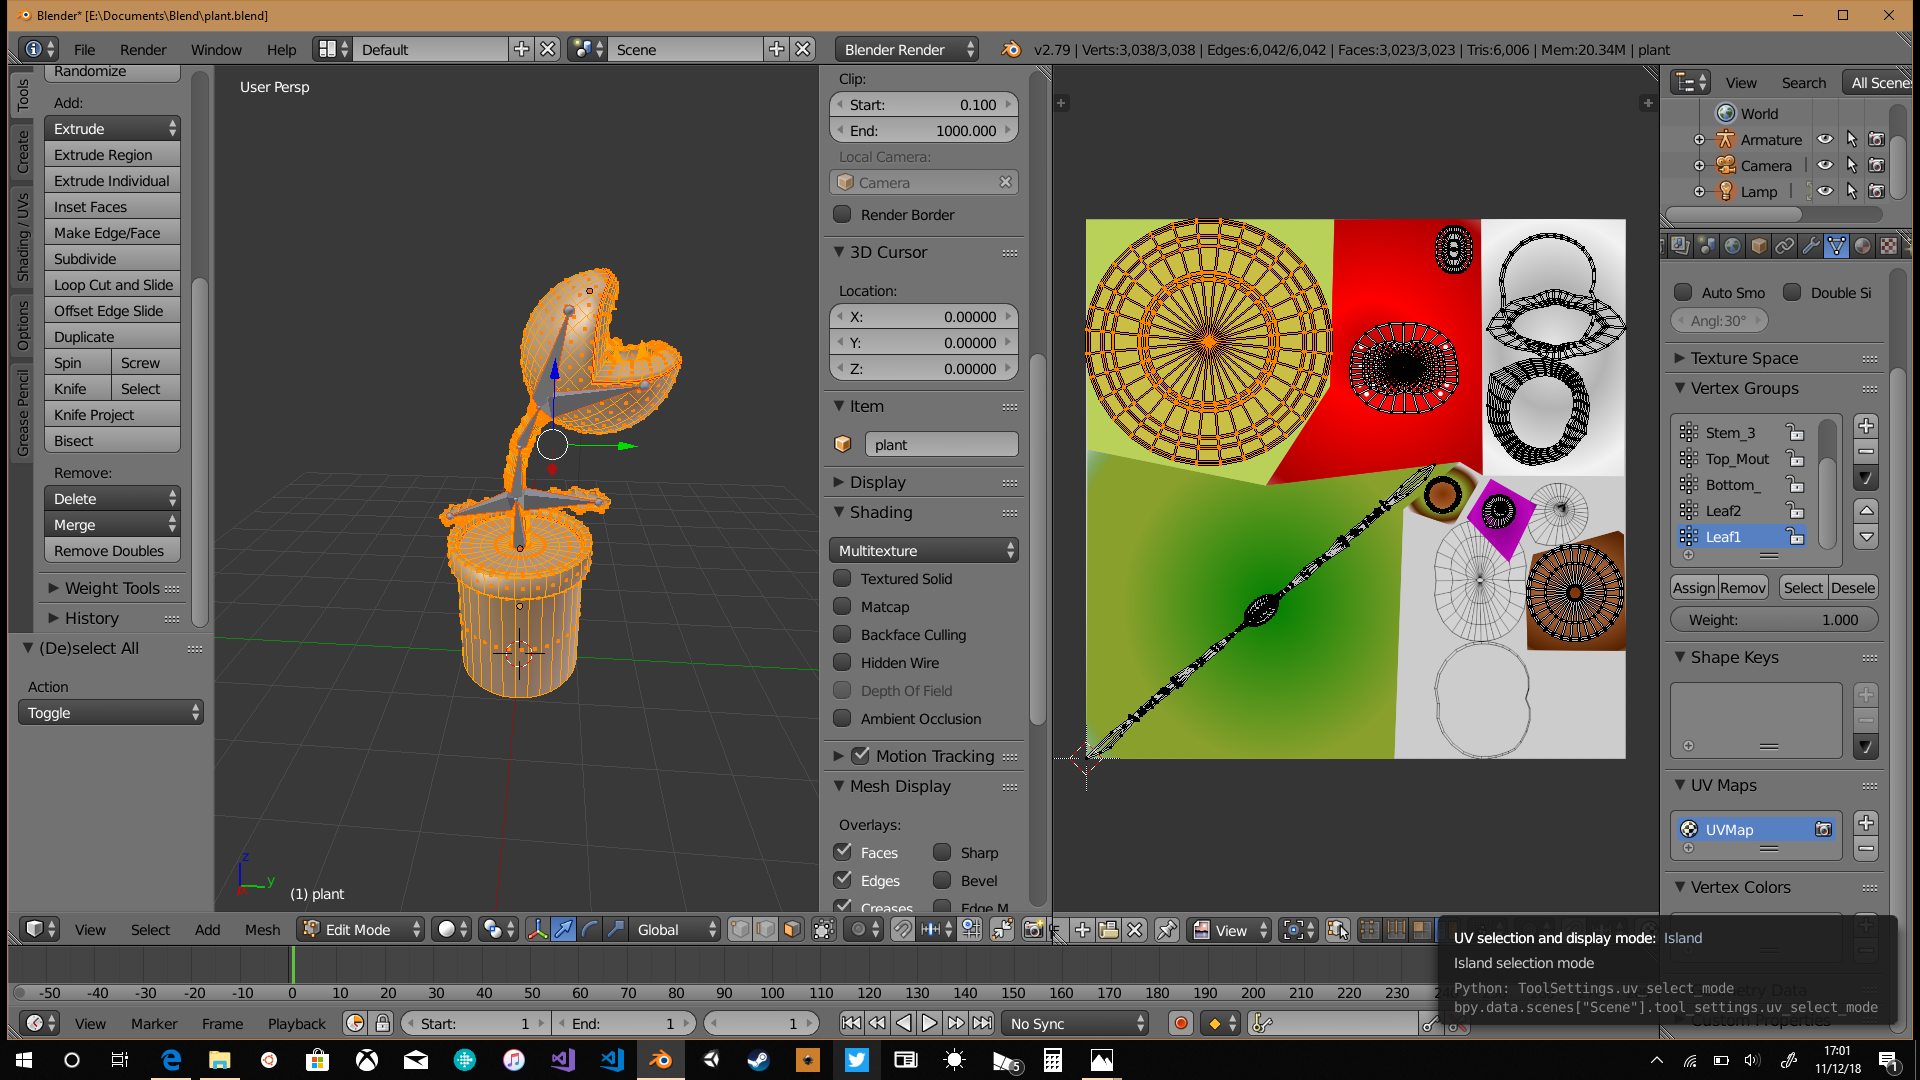
along the bottom of your UV window where the red arrow is, selecting this will allow you to select faces/edges or vertices in the UV editor and it will show you where the corresponding face/edge or vertices on the model.
and then turning of the above gives you island select which is where you can pick up the whole cut of your seam or if you really wanted to adjust individual faces or vertices.
I really hope that I am making sense.
normally what I would do is mark the seams and then unwrap the model and then when I import it into inkscape I will create three layers on the bottom layer I will have a base colour normally a grey as the main window of inkscape is white so I want something to contrast the UV map, the second layer will contain the actual UV map and then the top layer will be where I add all the detail of the model so that I am covering the grey lines of the UV map as if you leave them in blender will display them again which is why your model shows the lines on the head part.
1 Like
Thanks a lot! Yes you make sense I will try it today and maybe tomorrow as my time is always limited
Well, I’m off and give this another try!
1 Like