After dozens of crashes, got a rendered prototype scene with trees

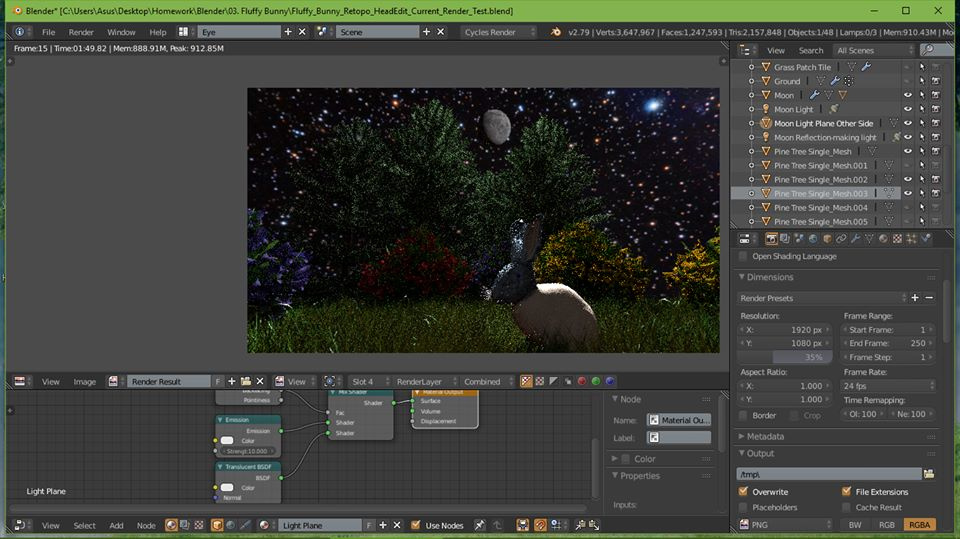
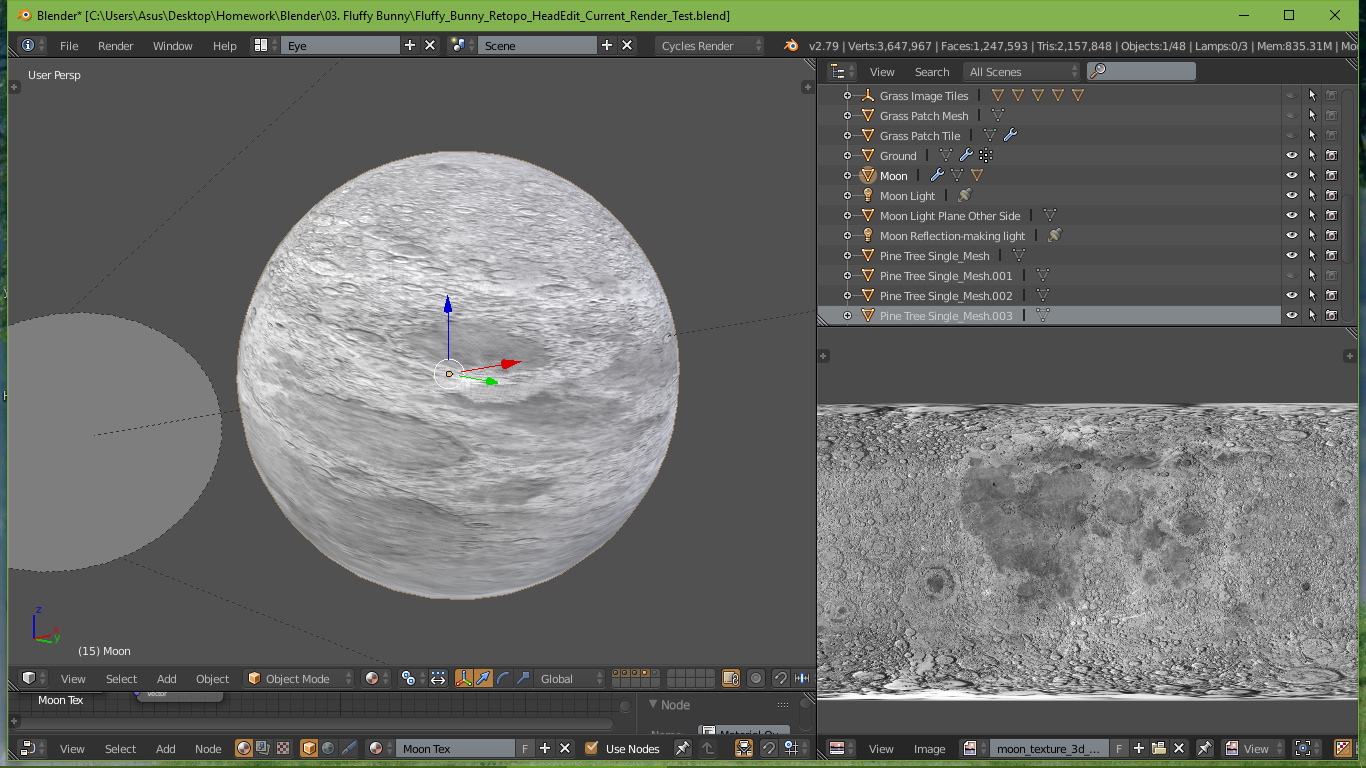
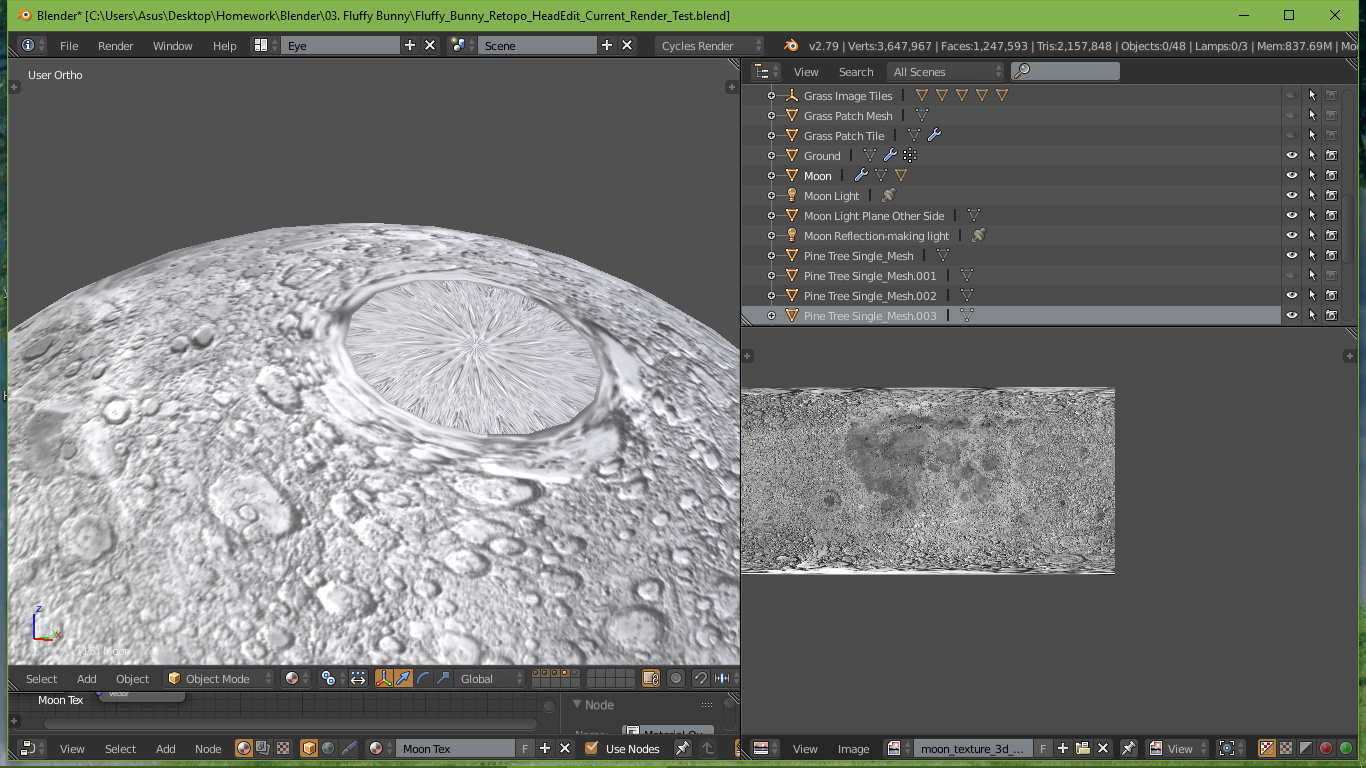
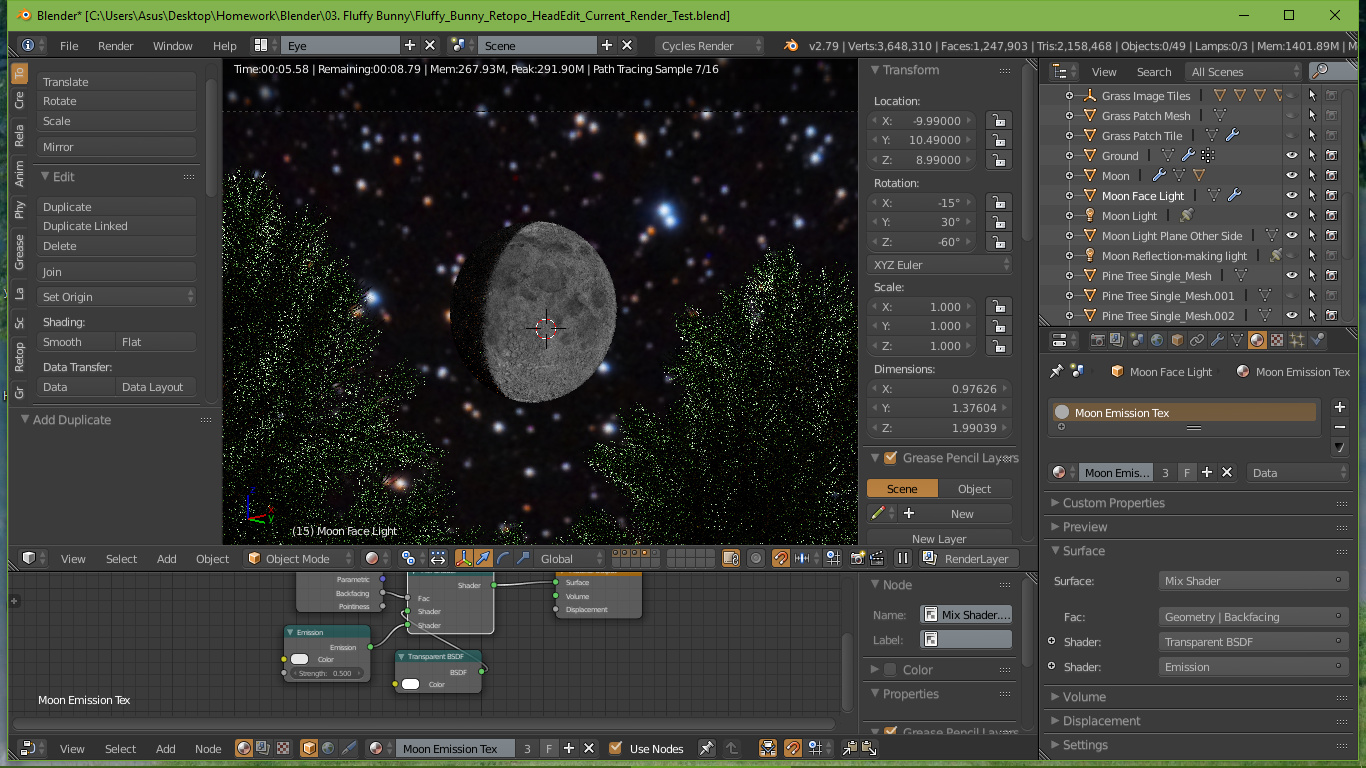
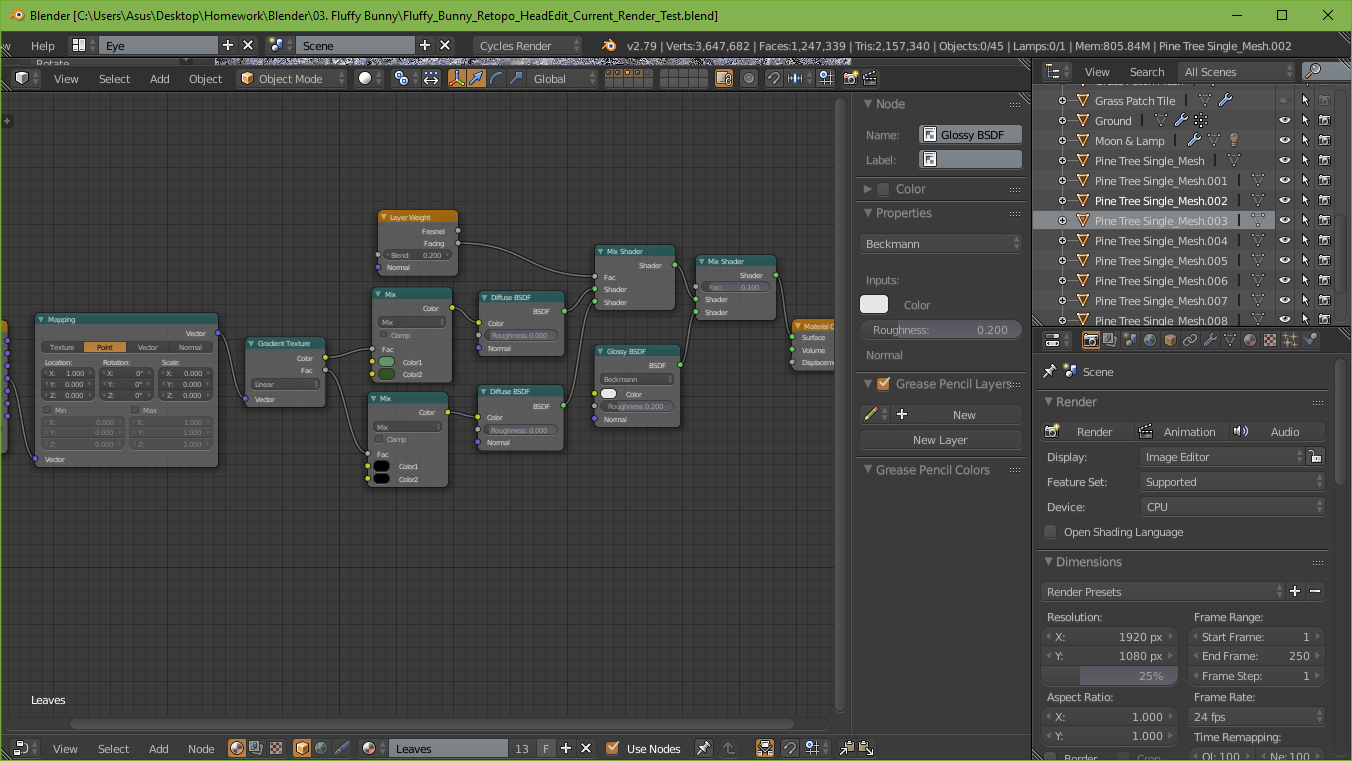
Allow me to tell you of the pain I went through to get here: it was difficult to get to this stage because of computer issues (dealing with almost 2.2 million polygons and who knows how many more from children particles), but also because of diffusion setup on the trees to get a true pine-like color and having a poor understanding of it. To show what I mean, see the pic below the render.

As for computer issues, mine froze/crashed at least 20 times in total. Had to do many tweaks, including reducing of bounces and attempts to get BVH compiled by tweaking grass (mostly) and other stuff, like reducing how many trees I used (stuff would freeze, with the only solution of pulling the plug). Everything is a mesh, too… I mean, no image planes used (an effort to offload stress on PC).

I will render depth of field later. Right now I will work on some minor tweaks because I can’t spend 1.5 hours to render a decent image every time on my slow computer. Will get different angles later and show what I got when the time comes (and I need to move some stuff, like a bush that you can’t see b/c rabbit is in the way :frowning:)

EDIT:
I applied the fixes to make this a slightly better looking scene, but I still need to work on a few more things.

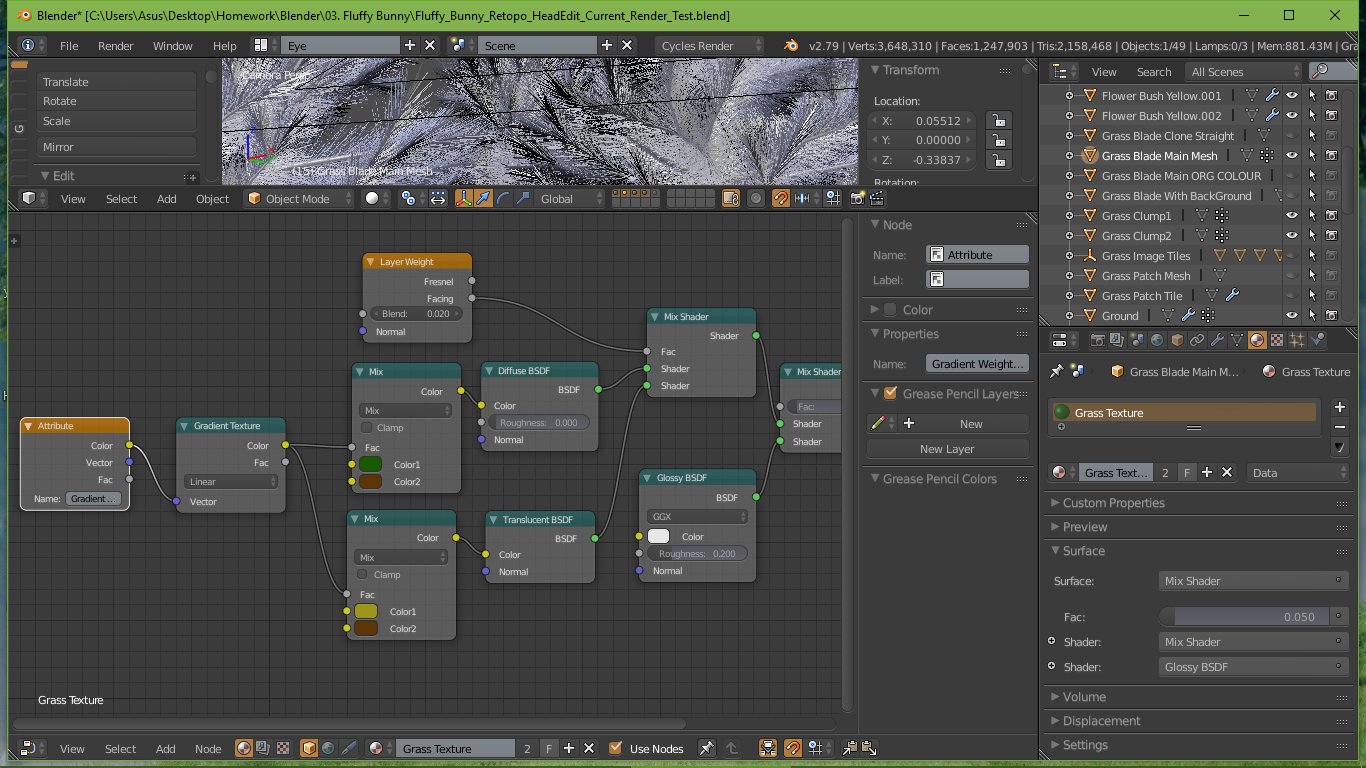
The grass alone took me several hours in trying to figure out the right colors and coordinates (then I figured out that this method cannot be used for particles!!! :frowning: so I had to do an alternative method) :

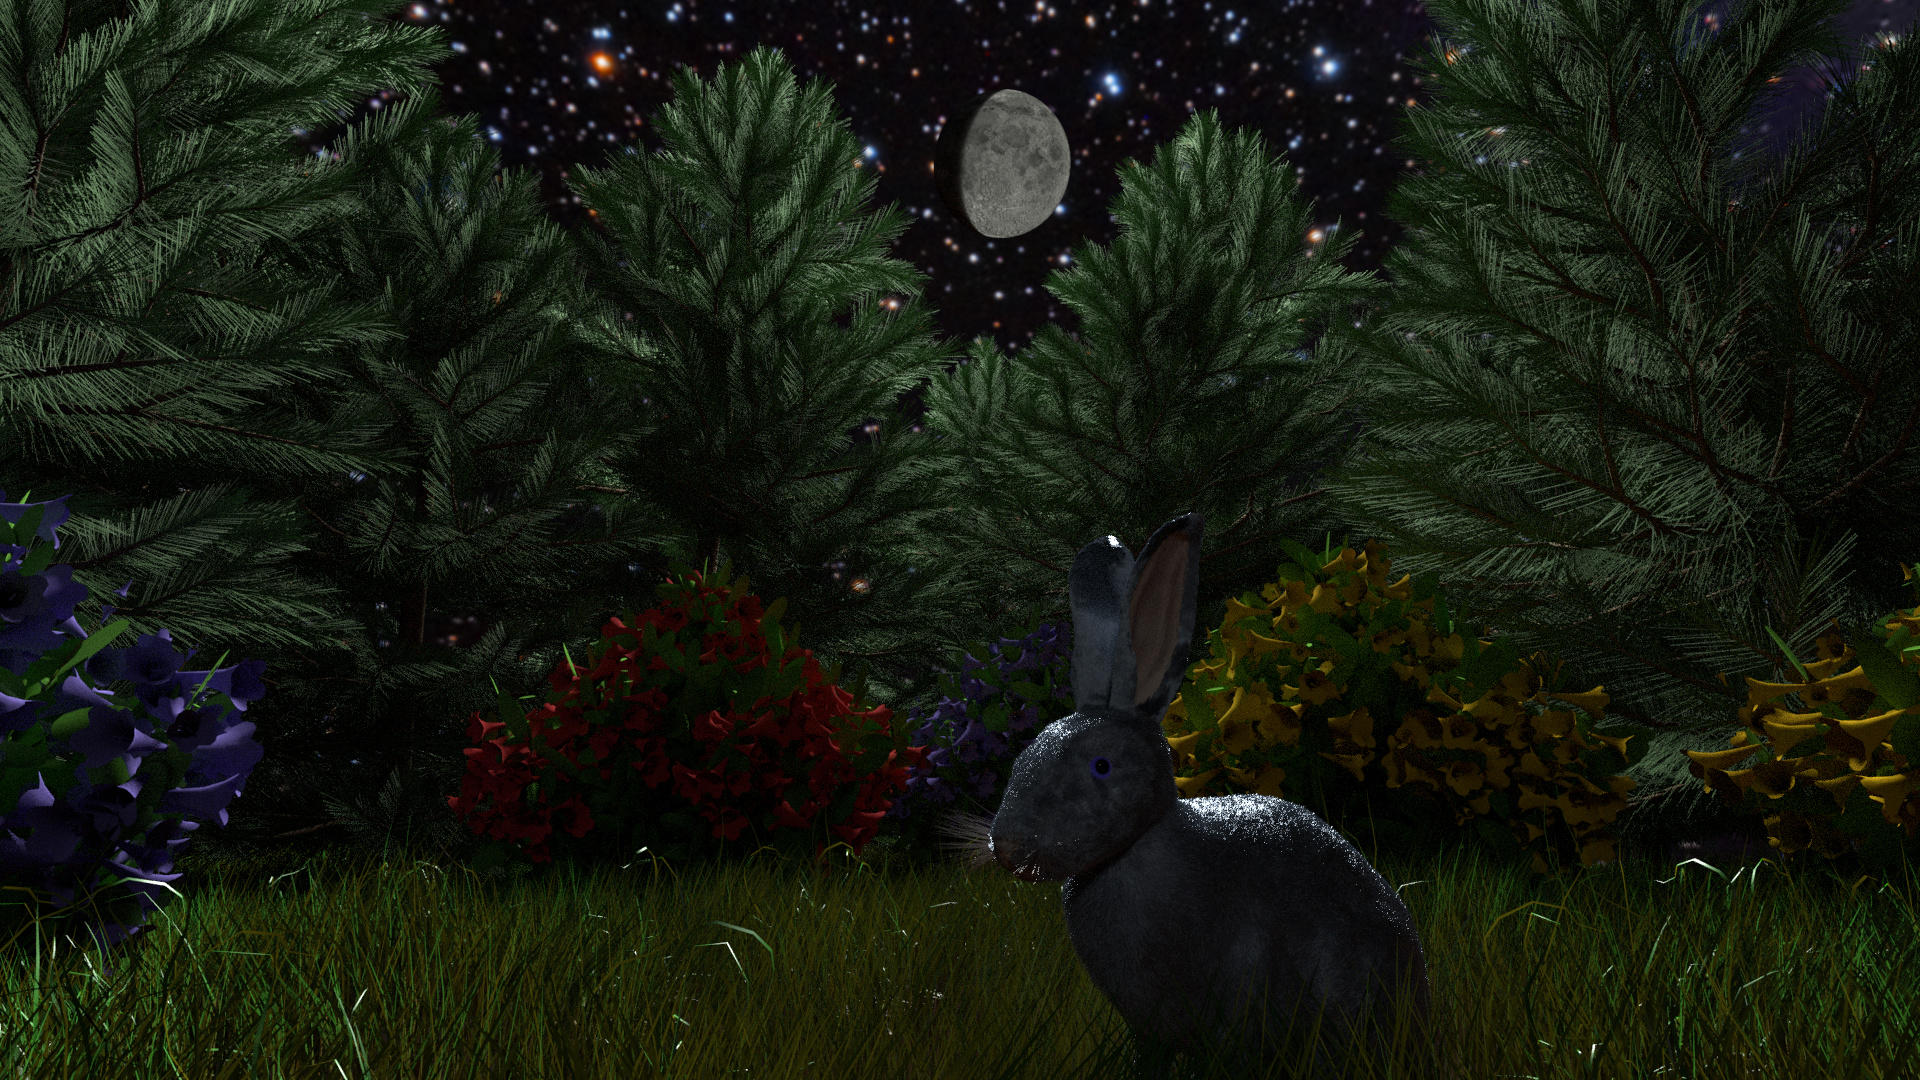
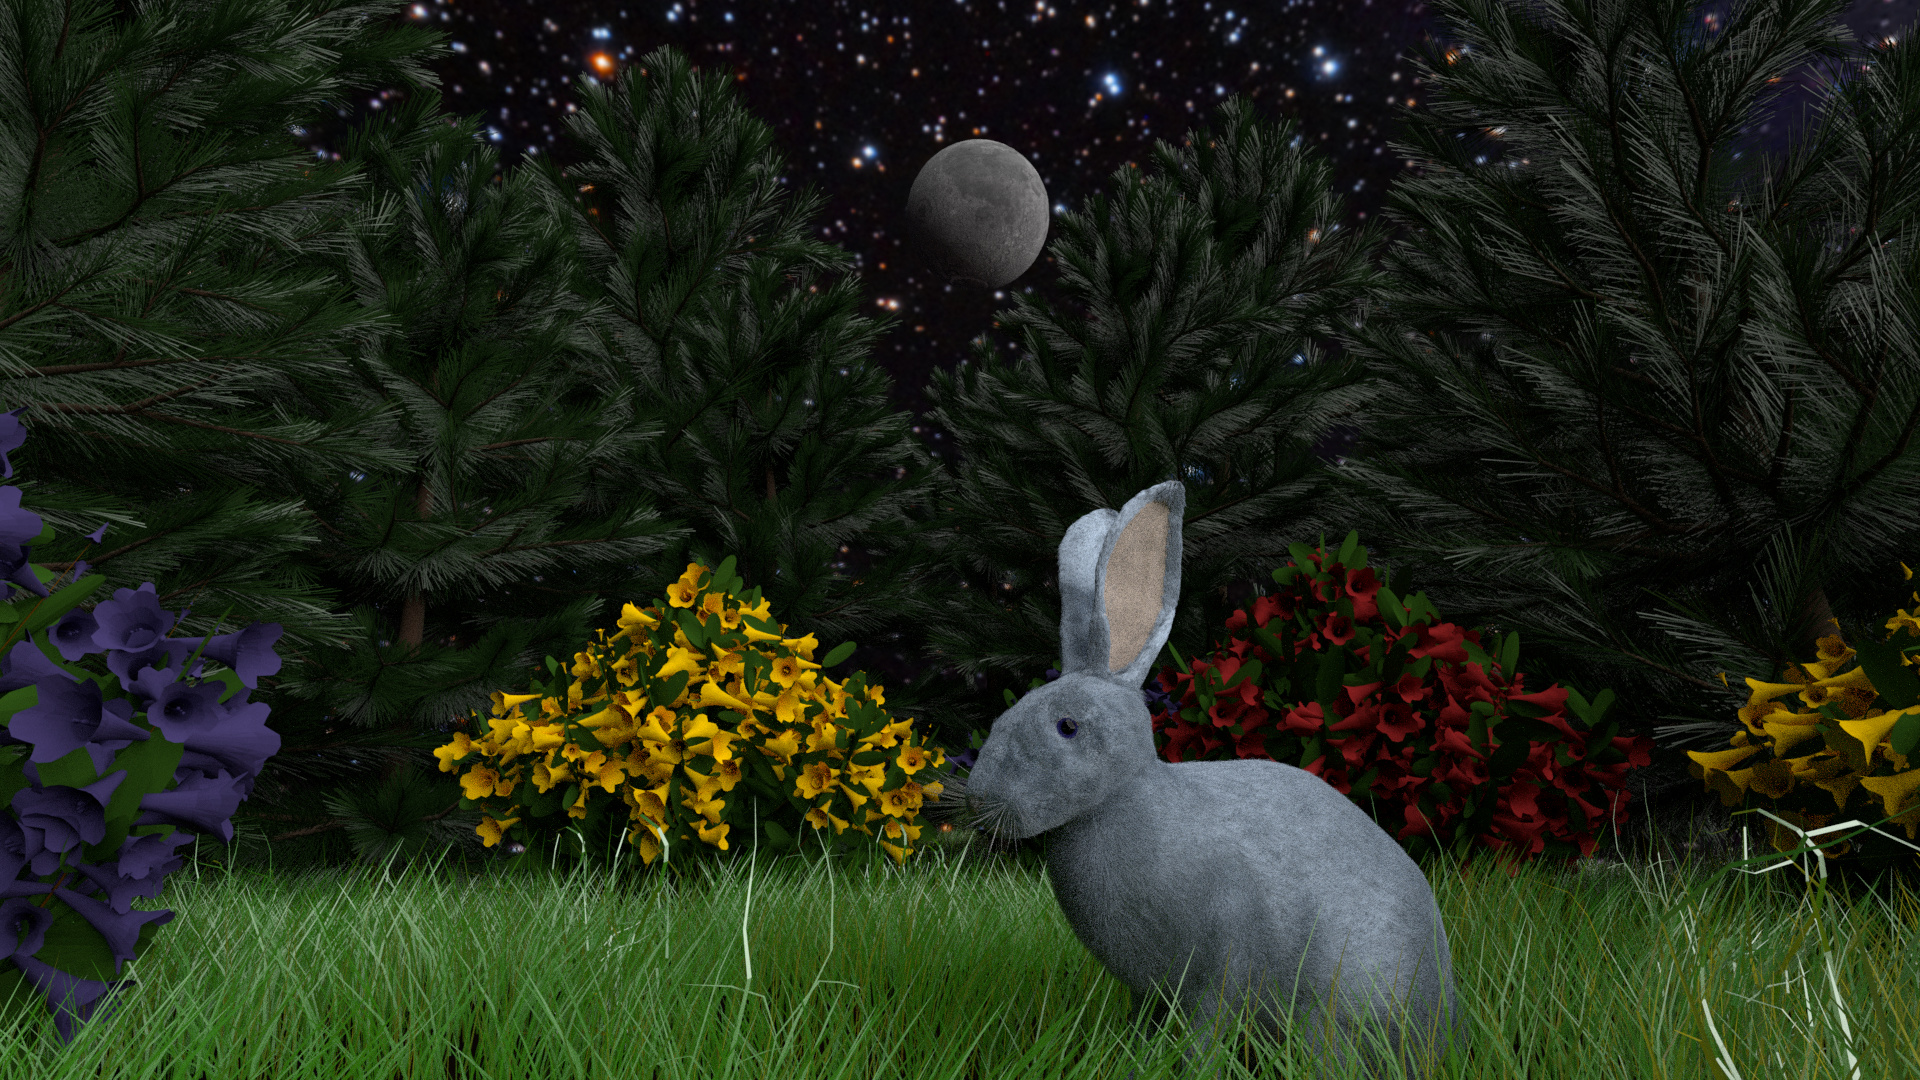
The final product (512 samples):

6 Likes

Looks awesome already! I love the pine trees there! Sorry for the comp issues… but the result is great!

1 Like

Thank you, Maya. I’m glad you like it.

Yes, it’s unfortunate with the computer issues. I’ve been messing with this render even to now, and I find that the rabbit hair partially is what is responsible for making the rest of the scene not render-able (removing the rabbit seems to solve all issues, but obviously not an option). At least I have a working reference that I can now use to improve some stuff. Wait for the final version–it should be pretty good.

1 Like

Think this is really good as is already!
The pines look great, this grass is awesome.

One thing i would do is add emissive to the moon though. I know that in the real world the moon doesn’t have light itself but you can fake it in the render :wink:

About the bunny making it “unrenderable” maybe you can reduce the number of hair strands and increase the length a bit, after combing again, maybe you notice that you can have it “filled” with less strands.

1 Like

I did play around with it some more, and I did research it. Emission is a good way to go, but there’s a thing that is preventing me from using it: it shows the poles (or edges of them), which with UV wrapping look not-so-good because of the sphere’s faces not being able to cover it. I will attempt it one more time but it requires some playing about to get the Mercator projection (as it is called) which makes the sphere into a rectangular/square projection rather than a spherical one (in fact, there’s an answer on how to do this with an add-on and other stuff here: https://blender.stackexchange.com/questions/3315/how-to-get-perfect-uv-sphere-mercator-projection). Not doing this, though, in essence, creates a problem where there is a skipped face (every other face) where the sphere connects at the poles. I’m probably going to do some more lamp movement tricks to get it to be more of a crescent than what it is below. Below is what I’m actually aiming for (low res pic to show detail because it’s too grainy in regular res without turning up samples to 250 or beyond):

And thank you for the suggestion. I should try longer hair instead. I was afraid that it wouldn’t be as accurate, but i think you’re right–it should work just as well. Right now my solution is to restart my computer and without doing anything else on it, run Blender until it finishes what it needs to do.

You could potentially try to bake meshes, i’m not really sure how it works but I think Blender Guru does it in this tutorial:

PS: I haven’t gone that far into the course, so I don’t know if that is not a viable solution. (I don’t think it is…)

1 Like

Hmm, that’s interesting. Do we ever learn how to do this in this course? I attempted to do the Mercator projection and it does not look good.

I’m eventually going to have to look at Blender Guru and see what he has that I can learn from.

Here’s the result of the moon with Mercator. It looks BAD because it is stretched =\

There is another way to fix this, which I’m going to attempt to do (using seams, which we didn’t learn yet). Edit: yep, that works.

Thanks for sharing, though. I’ll definitely have to look into that.

Here is what happens with UV unwrapping the Mercator projection way (as you can see, this needs to be fixed somehow):

There is a way to fix this, also, by creating a perfect circle with quads only. That would go against the “stay lean” way of doing things, though. It’s because we’re working with limited knowledge, so better stick to what we know and not go beyond until we’re at that level, lest we spend lots of time figuring out what perfection is.

Anyway, I thank you all for suggestions. I’m going to try to get this rendered out so that I can finish this section, move on to the next (I hope soon) and finish the whole course. I’ll look into baking and everything else once I get to that point. I’ve already put waaaaaay too much time into my scene and feel that I’m not being productive anymore :frowning:

I just wanted to say that I will be going with the emission idea, I think. Here’s the result (I will tweak it so that the top also emits):

Looks good, I think. It’s a back-face emission based on the actual faces of the moon (a separate mesh).

If there is something we need to learn when making a scene is when to stop :slight_smile:

That said, i think you are overthinking this moon situation.

I mean… The real moon is so far away that without a binoculars it’s hard to see that it’s spherical…
So… why not using a simple circle or if you want it to have some depth, use something like the shape of the eye lenses.

Btw, the next section of the course Game assets pack, has a lot of info on UV, Baking and such… Will be very enlightening to you and the sphere moon thing.

Ah! About the blocky look when you apply the normal map! Thats because you did not set the image texture node of the normal to Non Color Data( This is shown in the next section)

2 Likes

Wow, thank you for that information! Super useful! Yes, I’m not aware of a lot of stuff. I want it to be PERFECT 100%. It eats at me. I’m a perfectionist, somewhat. I totally agree with the “knowing when to stop”. I’ve done everything I could, now, and I’m satisfied with the results. There are just an infinite amount of tweaks one could do.

Good to know that at least you’re that far in to share what I’m going to learn so that I can relax and stop this madness (I’ve spent probably 30 hours on this scene lol). I’ve been using non color data after having my grass break on me. Here’s my node setup for that (note the use of the attribute node–something I did not know how to use):

I had asked on stackexchange because object data wasn’t working. Ended up using weights and and converting them to vertex color values to get the grass to look right. Ideally I’d want to use a color ramp, but I decided it’s easier to do it the way I have it set up.
image

Nice! Try a white-yellowish tone to the diffuse and emission texture.
Plug a ColorRamp and try some colors :wink:
It’s too gray right now

1 Like

Are you referring to the moon? I’ll give it a shot. Thanks for the advice, once again. You’ve got an eye for things I am blind to :frowning:

Well… It’s the sun’s light it reflects so…

Yes, right. LoL. I was looking at pics like this and that’s why I didn’t think of it:

image

image

So, I applied all your ideas and every suggestion I got. See top post for the updated result.

1 Like

Privacy & Terms