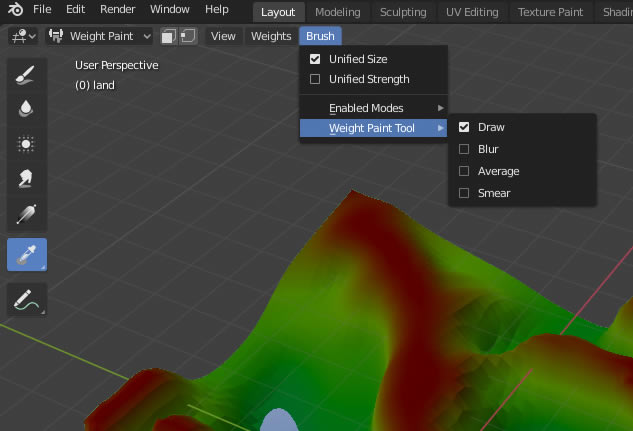
Look at an alternative way of assigning vertex groups
Understand the brush tools are the same as with texture painting
After watching (learning outcomes)…
You will be able to use weight paint to control the geometry of your models
(Unique Video Reference: 10_PW_BEC)
We would love to know…
What you found good about this lecture?
What we could do better?
Remember that you can reply to this topic, or create a new topic. The easiest way to create a new topic is to follow the link in Resources. That way the topic will…
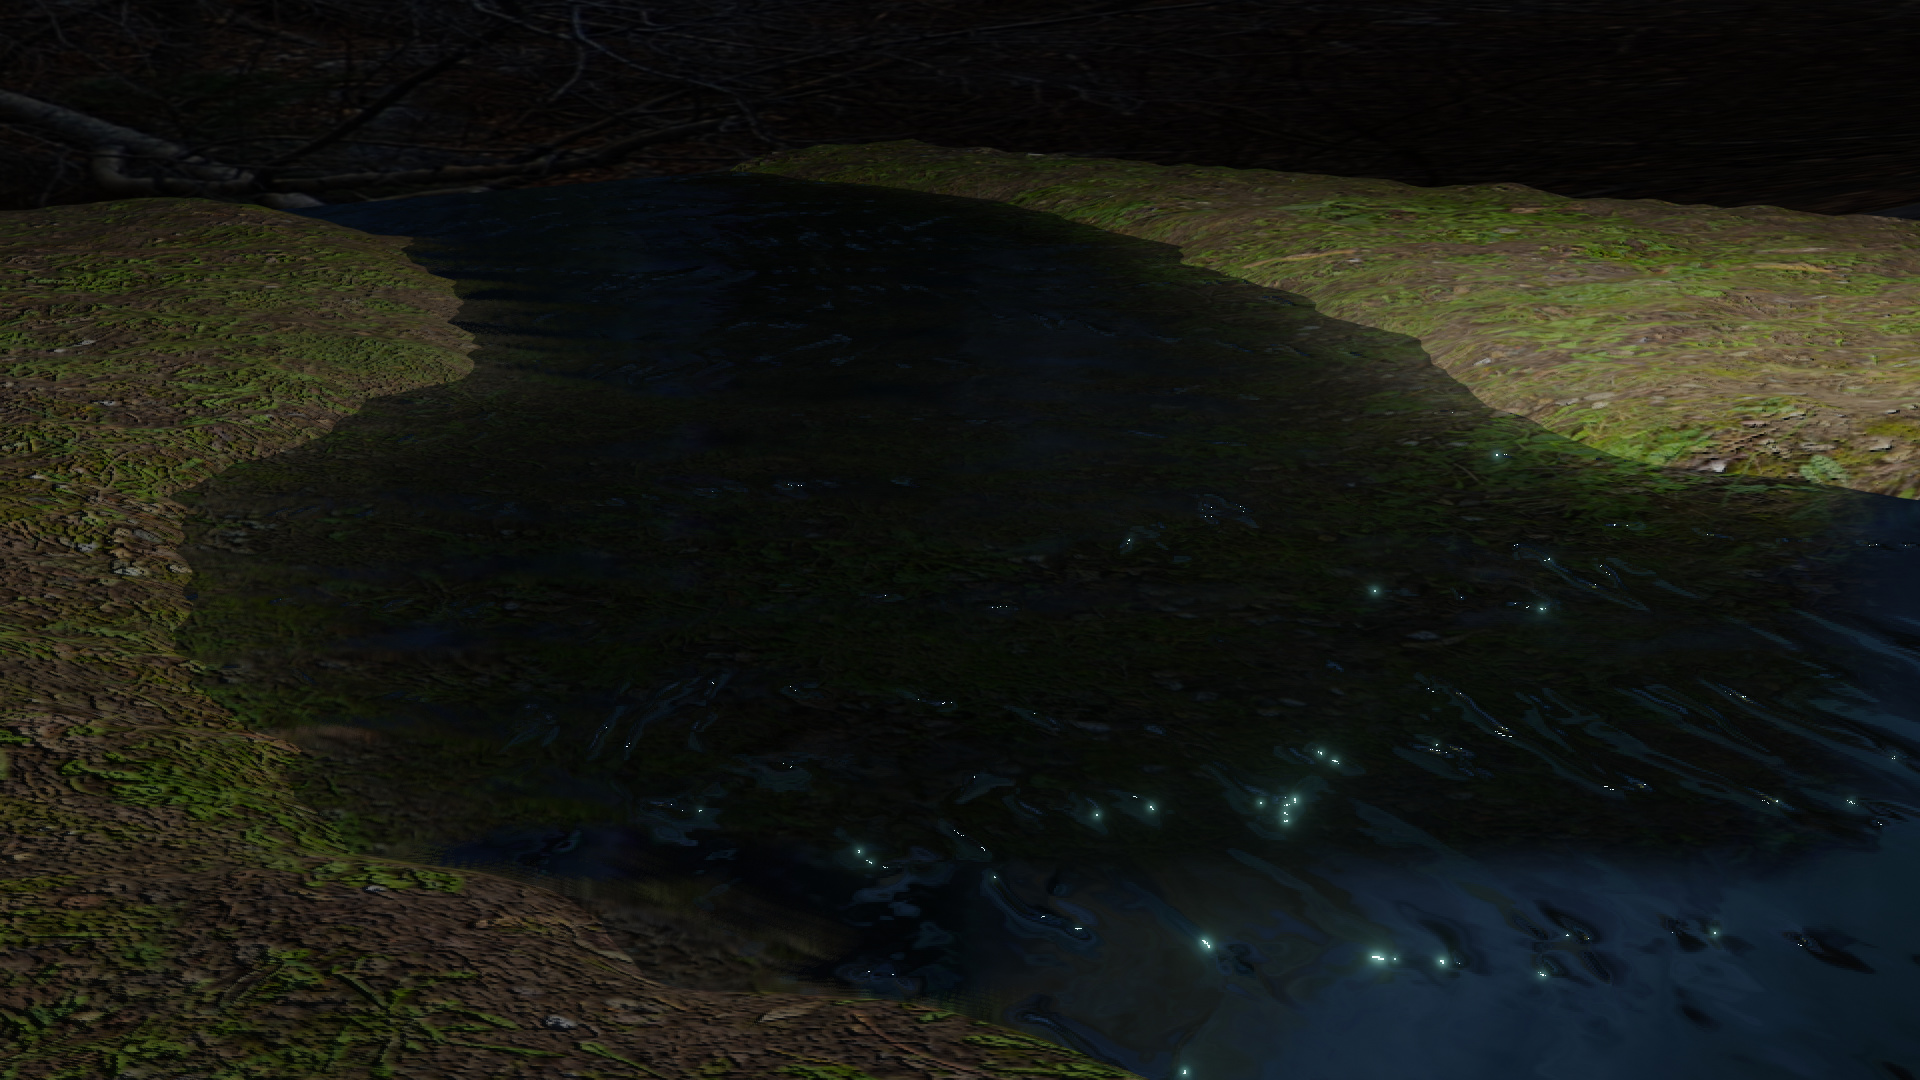
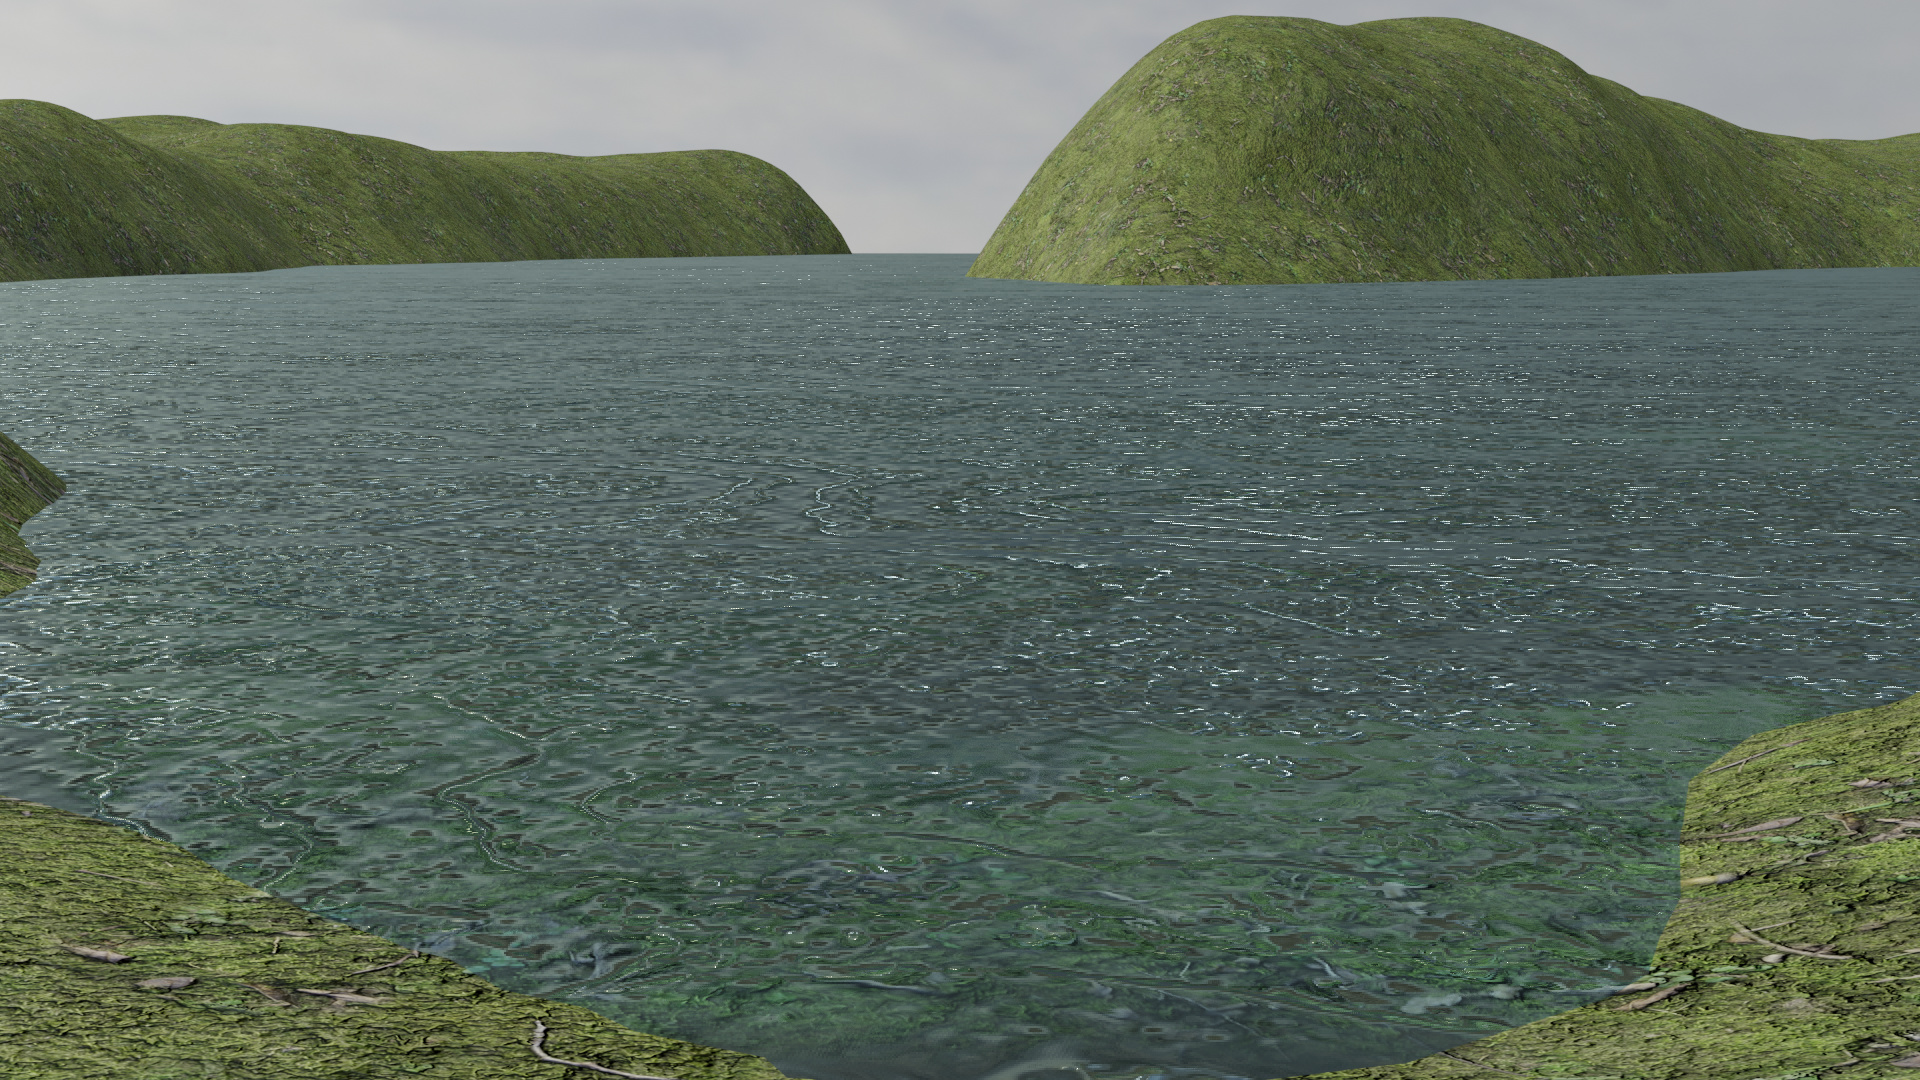
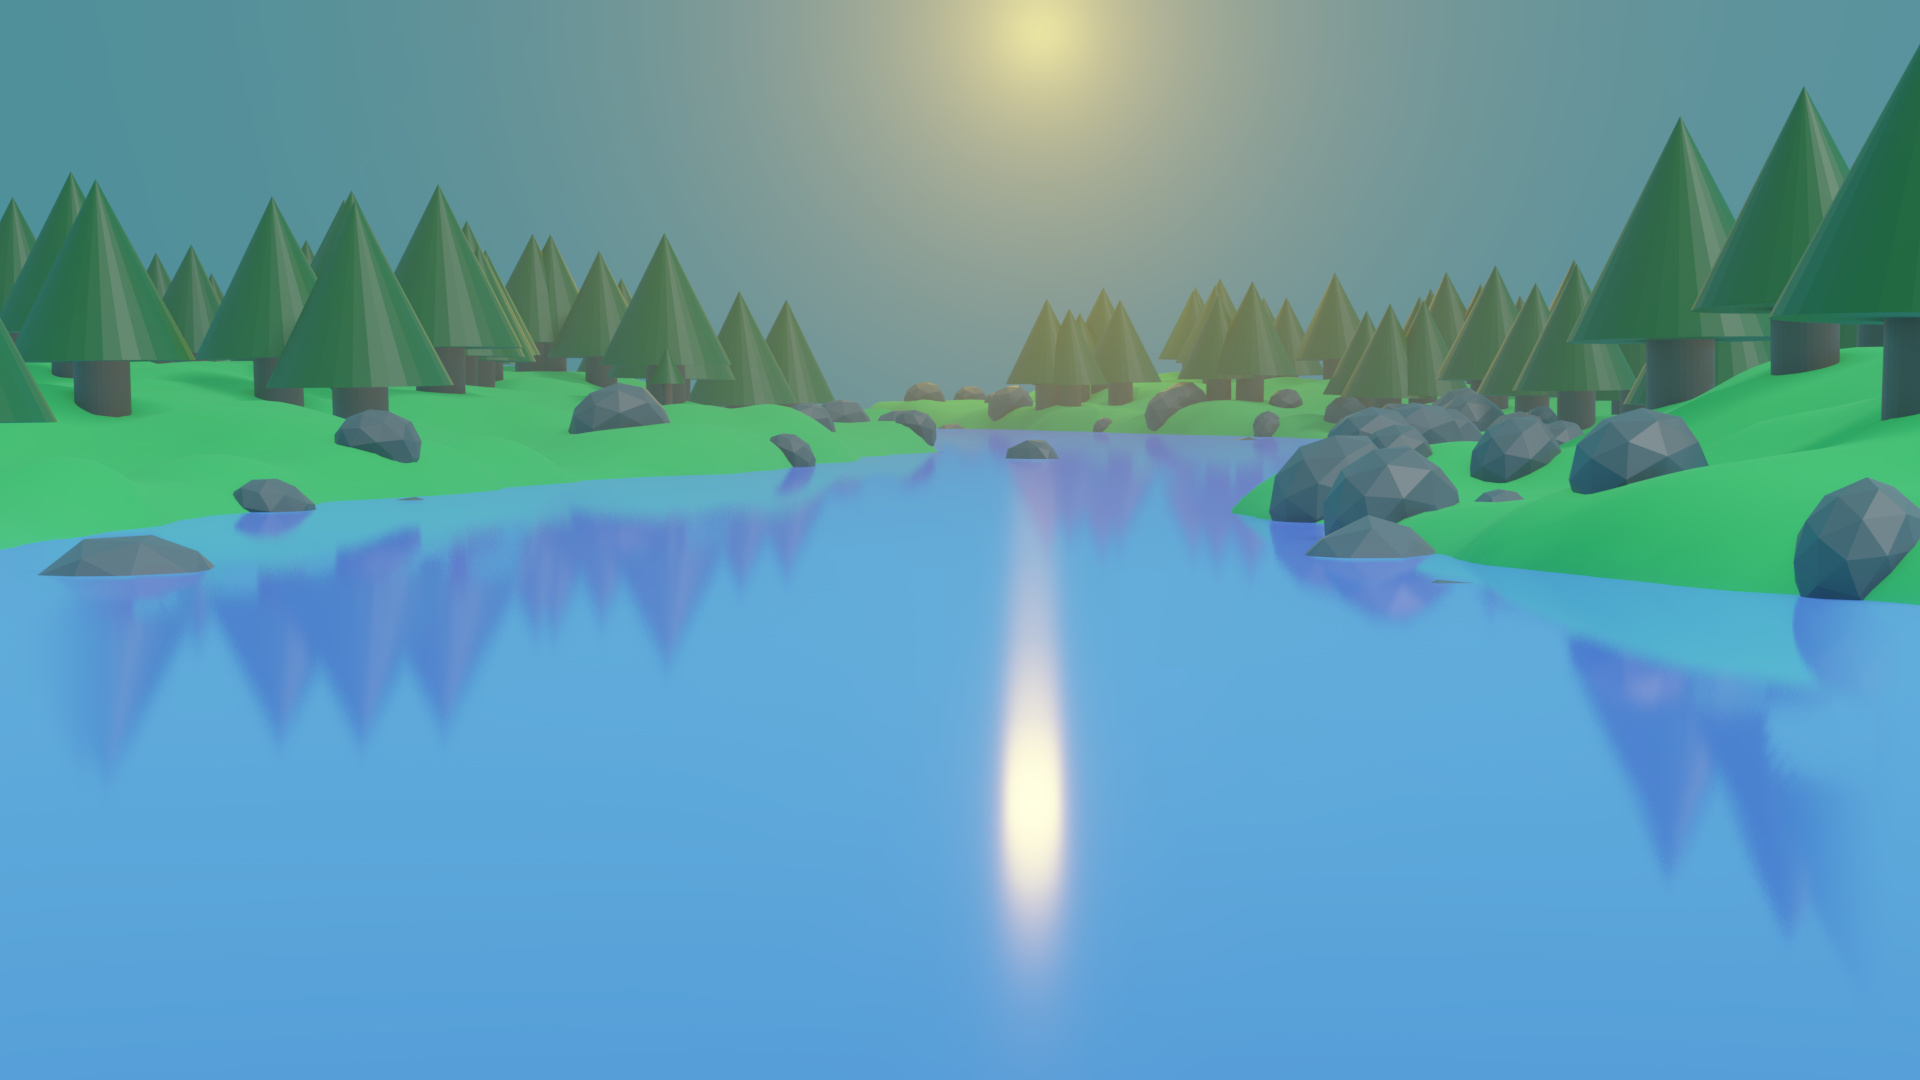
I did a little more on the scene after watching the conclusion of the Lecture. I did not put shader reflections in the Eevee Camera settings and when I did it added a bit more realism.
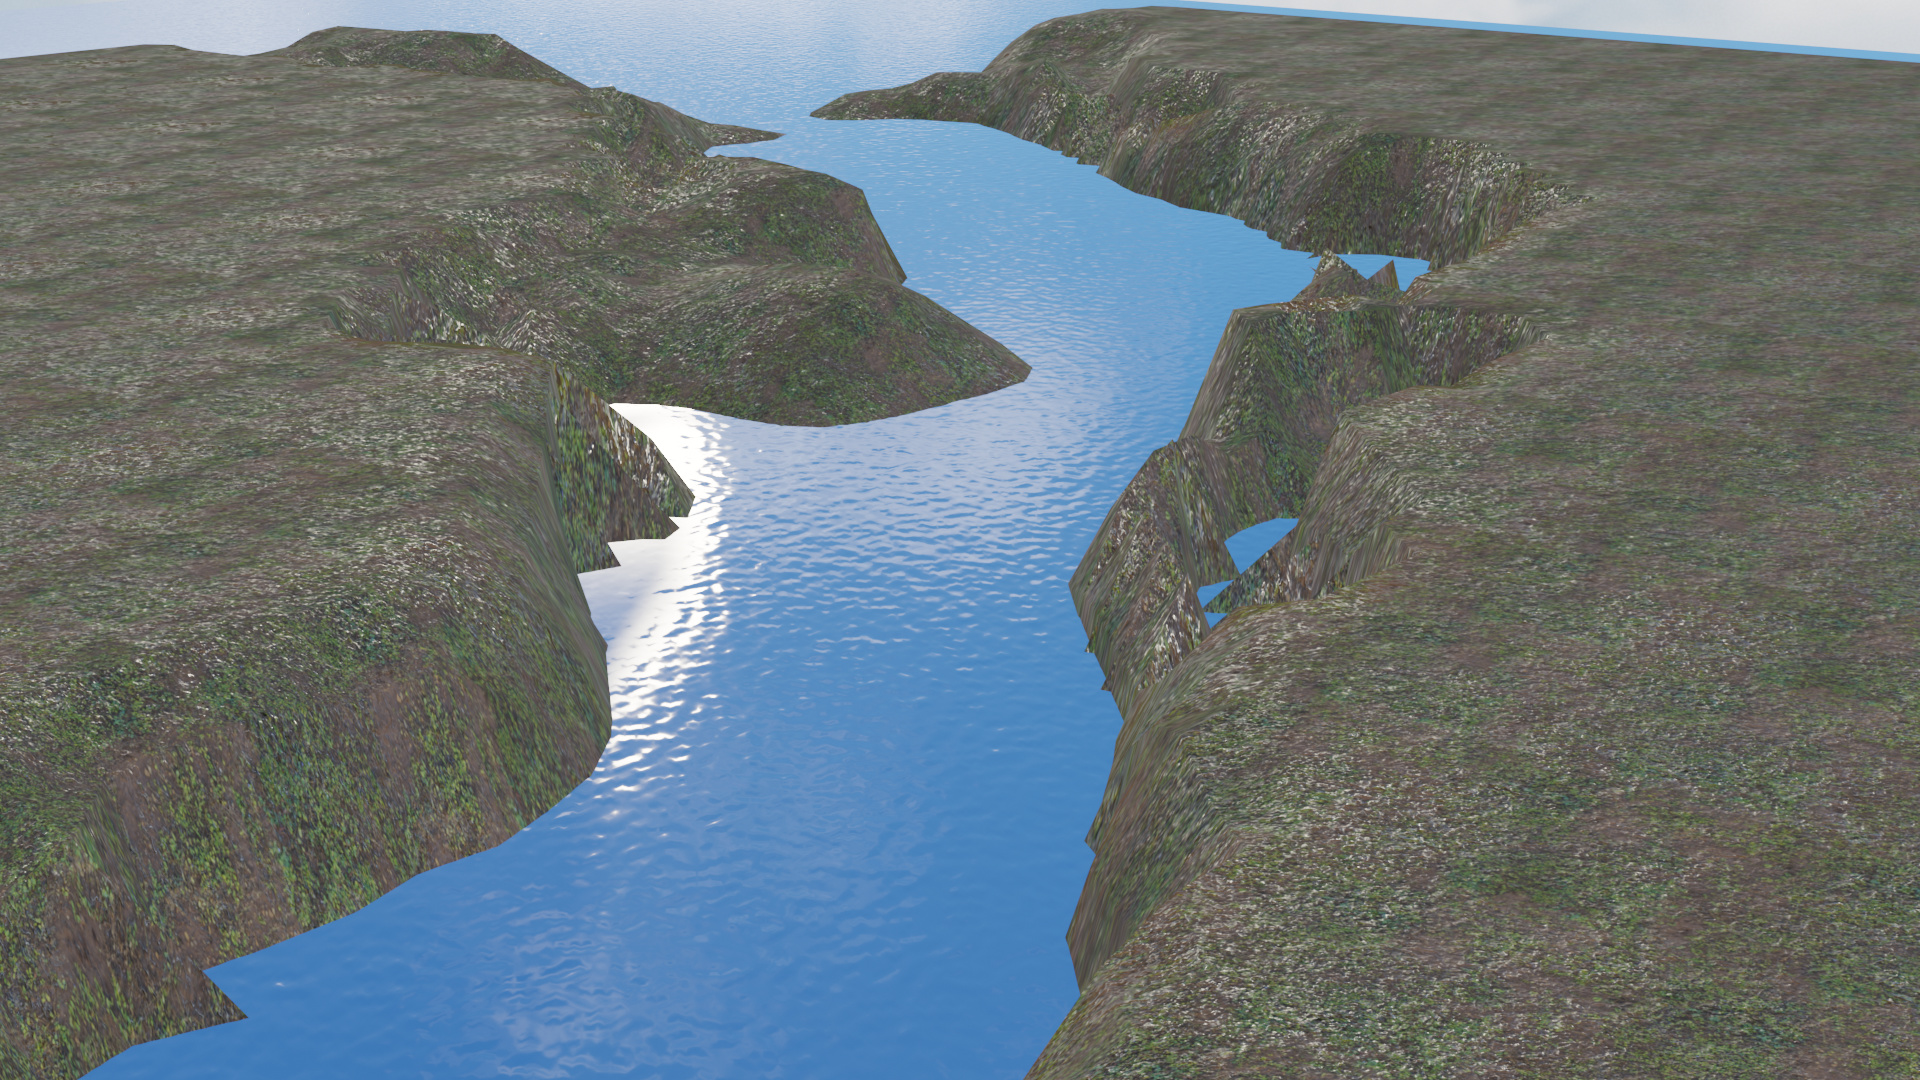
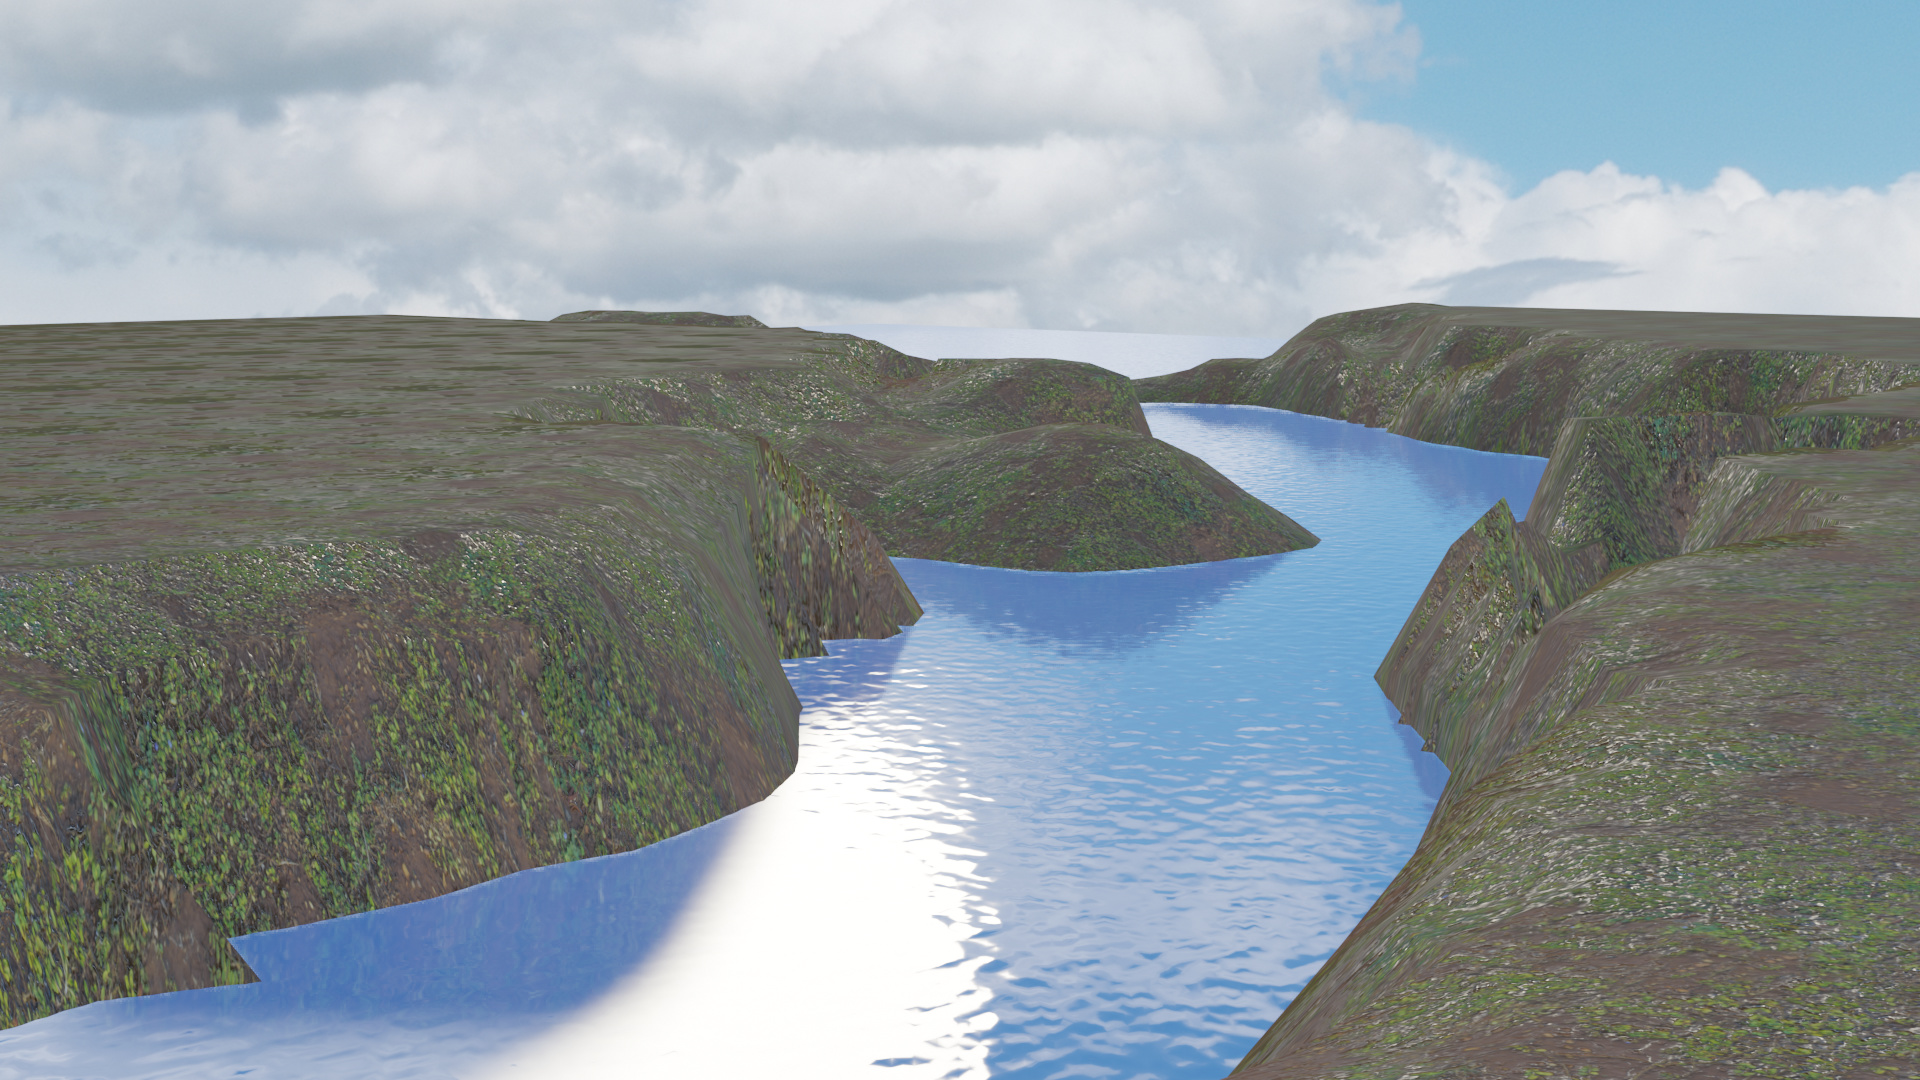
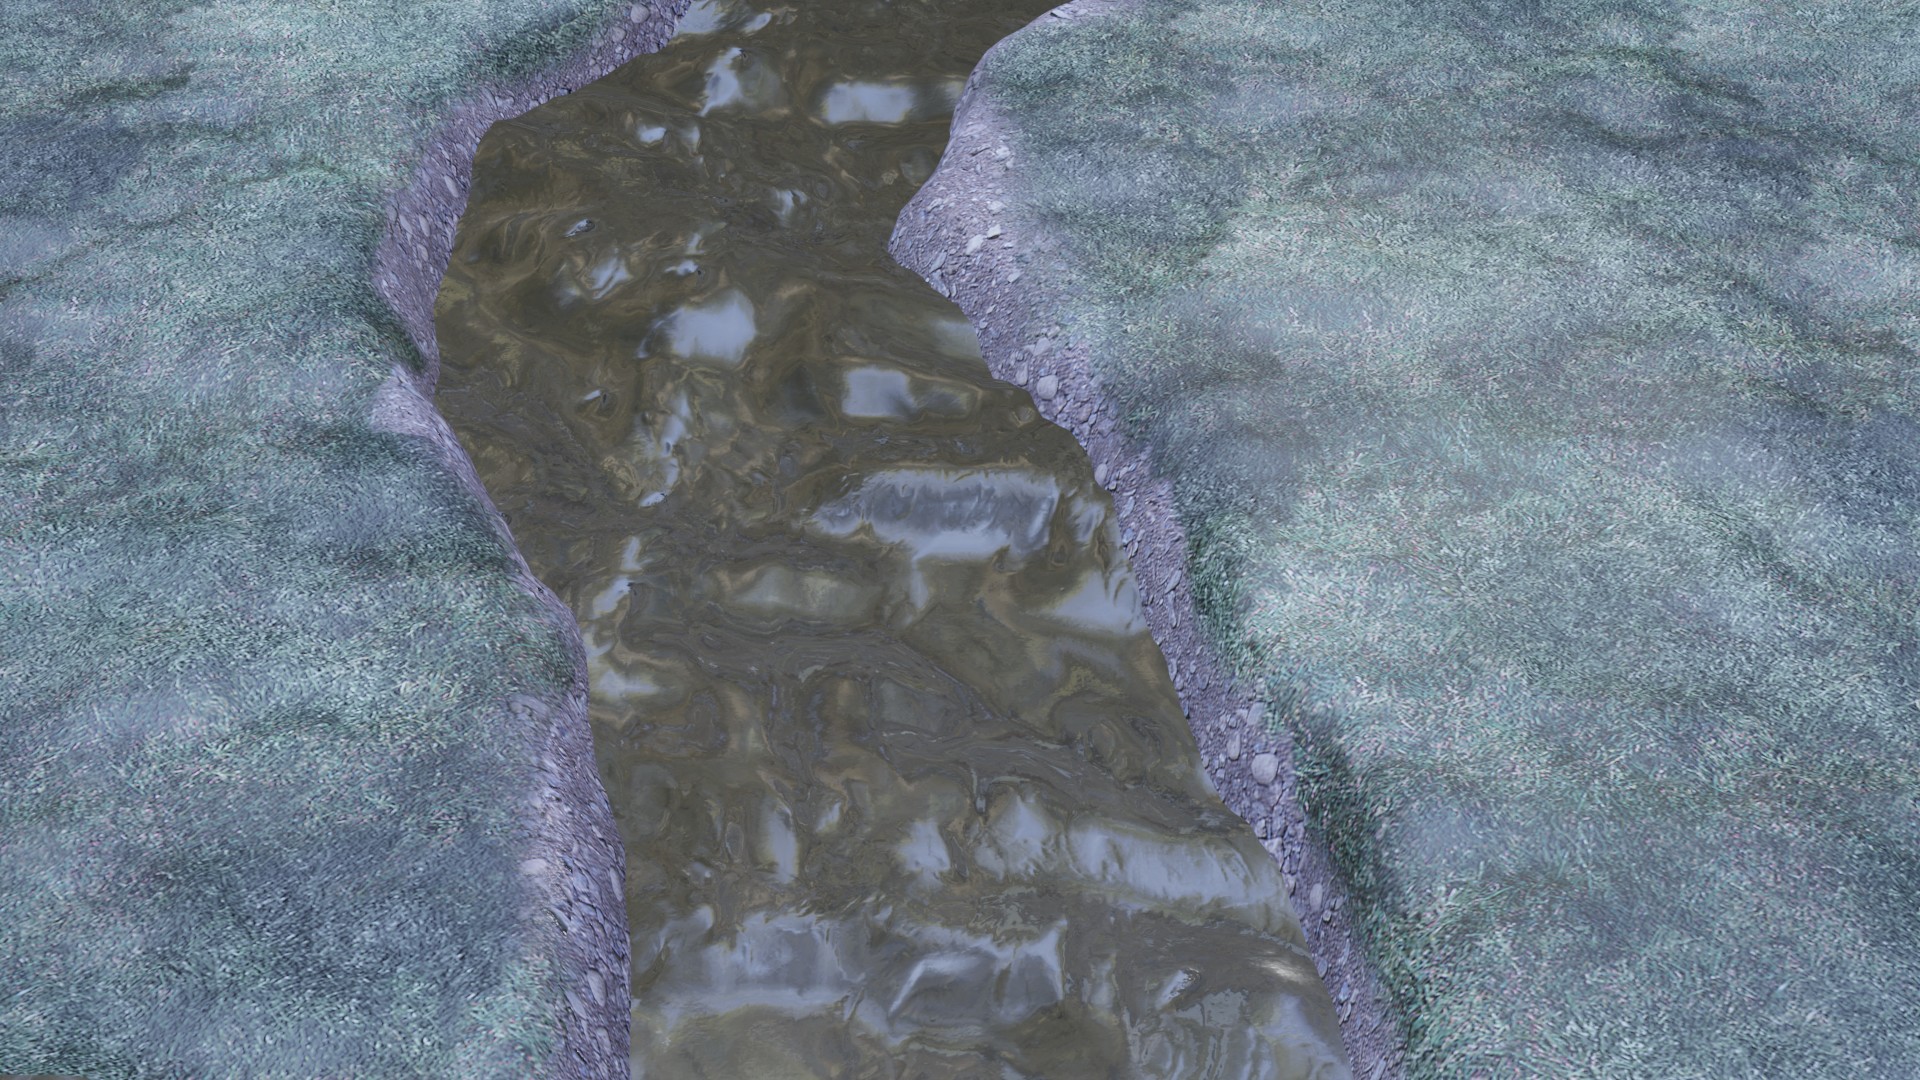
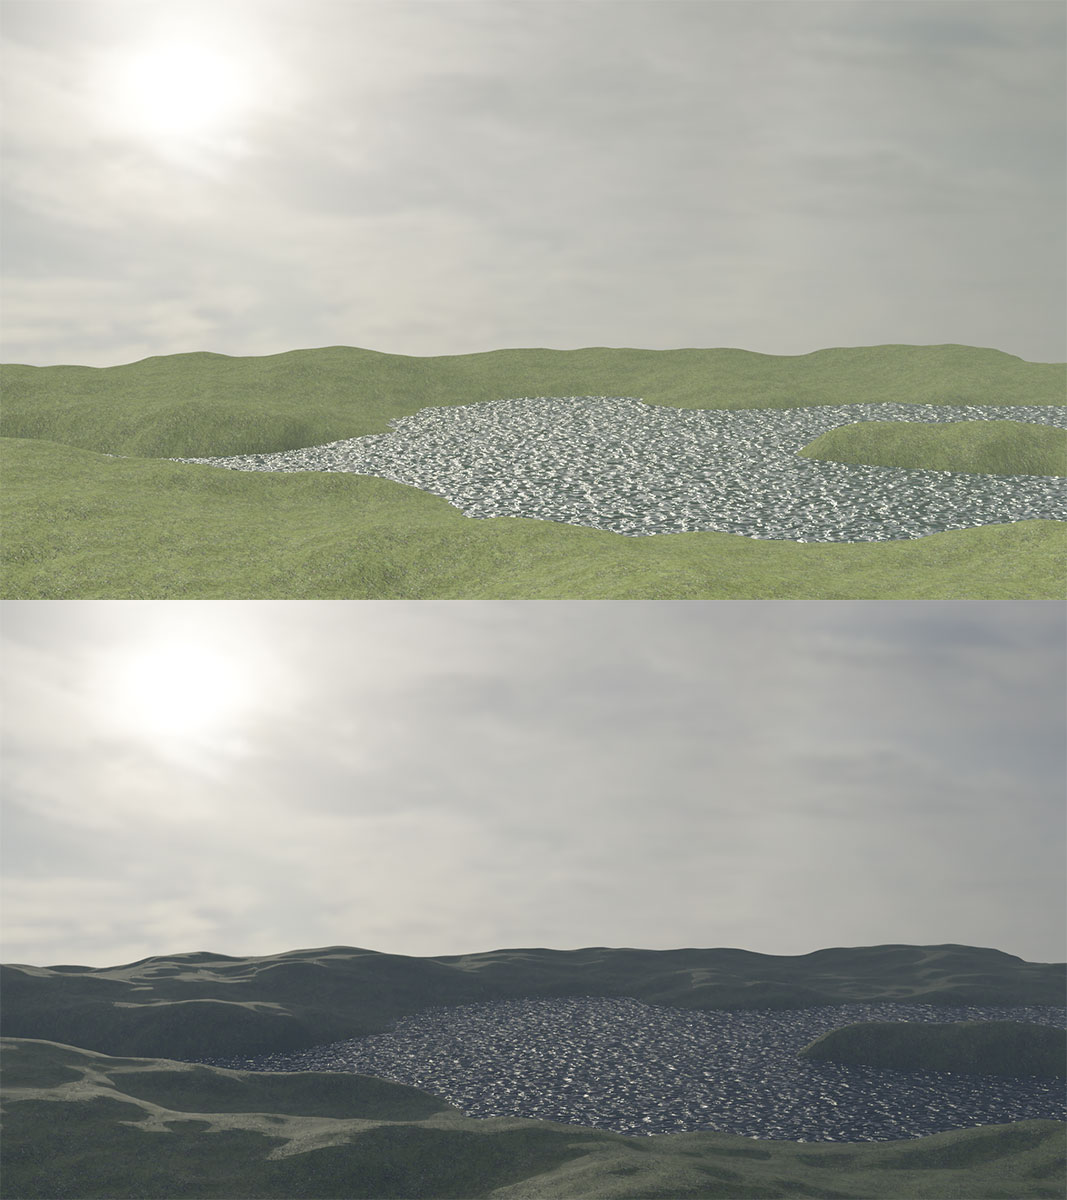
Same image in Eevee and Cycles. Added - HDRI map and the sun, volumetrics for haze (as explained in Section 1), free texture for the ground (PBR workflow), displacement for water.
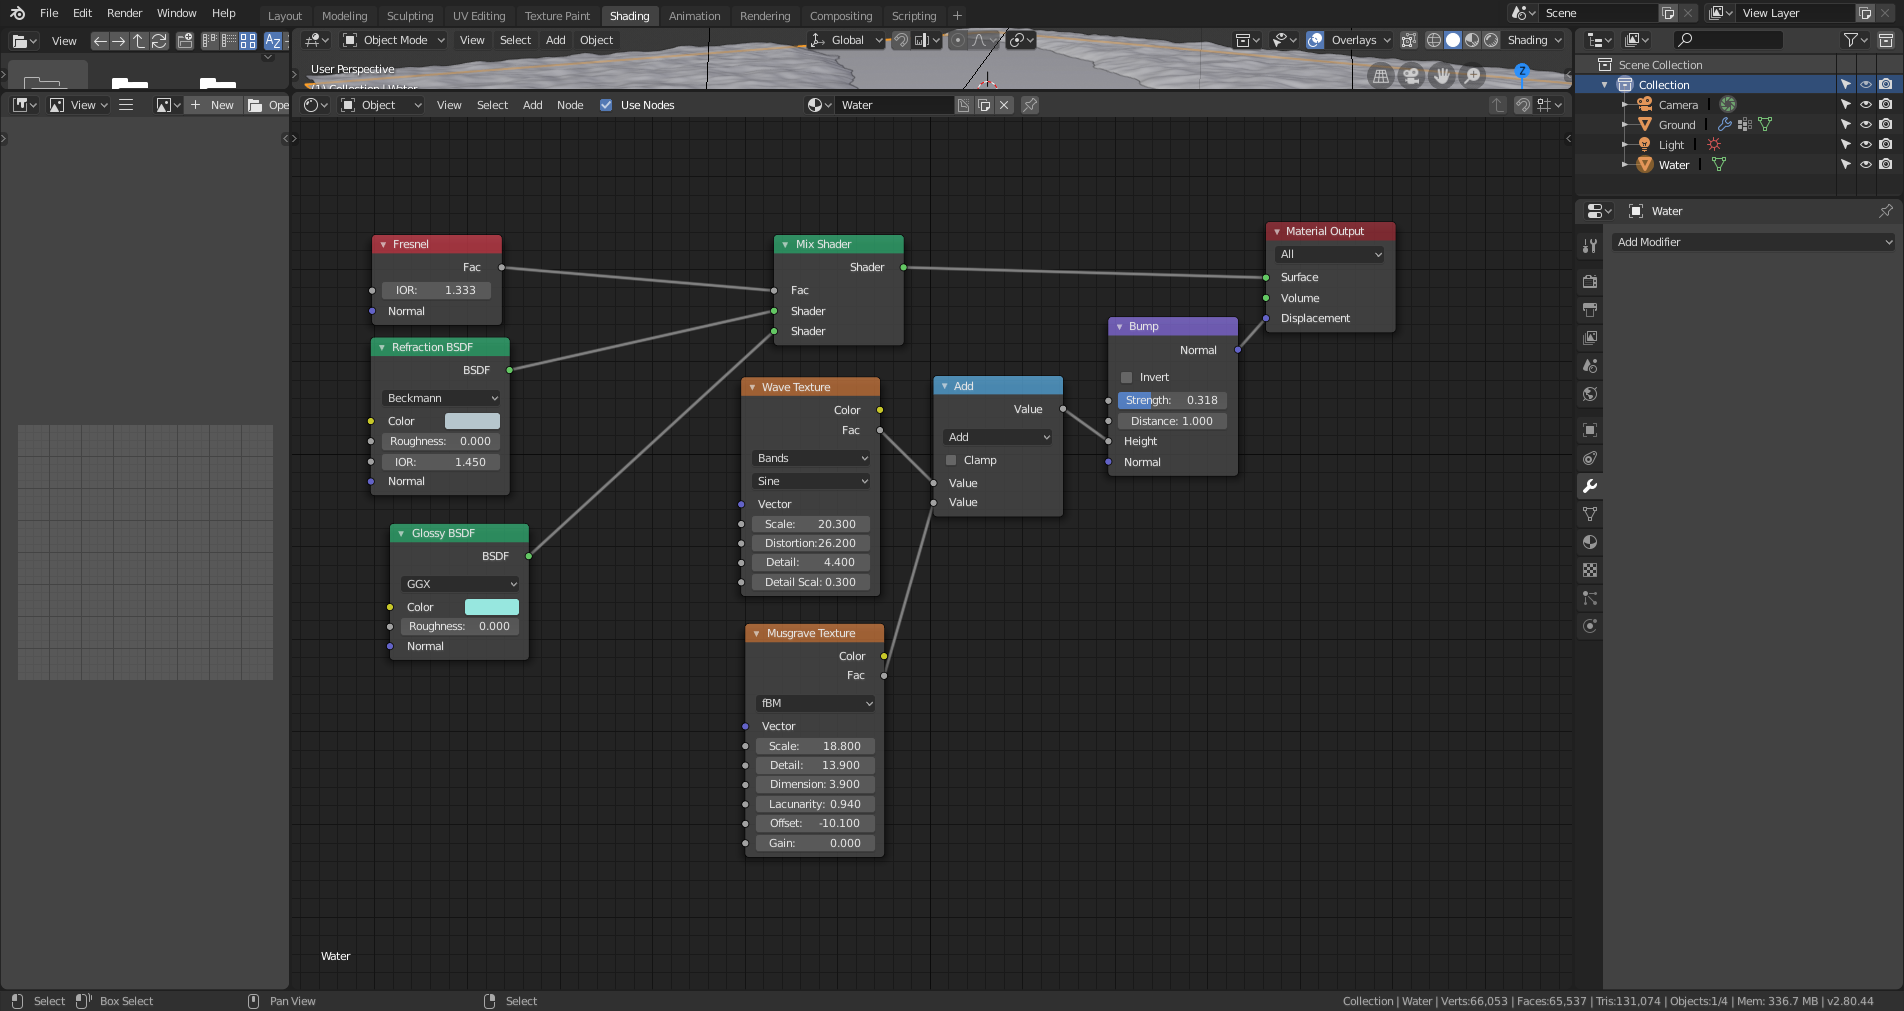
Now interested in the image of irresistiblejelly… which I am not sure yet what makes water looks like this - just transparency or something else…
Well, it took some time. Especially to find ALL the places to switch on so Eevee can show transparency of water. Not sure I still remember them, so I copypaste an answer by strategaD I found on Blender Stackexchange forum:
Render → Screen Space ReflectionsON
Render → Screen Space Reflections → RefractionON
Material → Surface → Principled BSDF → Transmission1.000
Material → Surface → Principled BSDF → RoughnessPLAY WITH IT
Material → Settings → Blend ModeOPAQUE
Material → Settings → Screen Space RefractionON
P.S. I didn’t use the Principled BSDF (used the one by irresistiblejelly instead), so skipped 3 and 4.
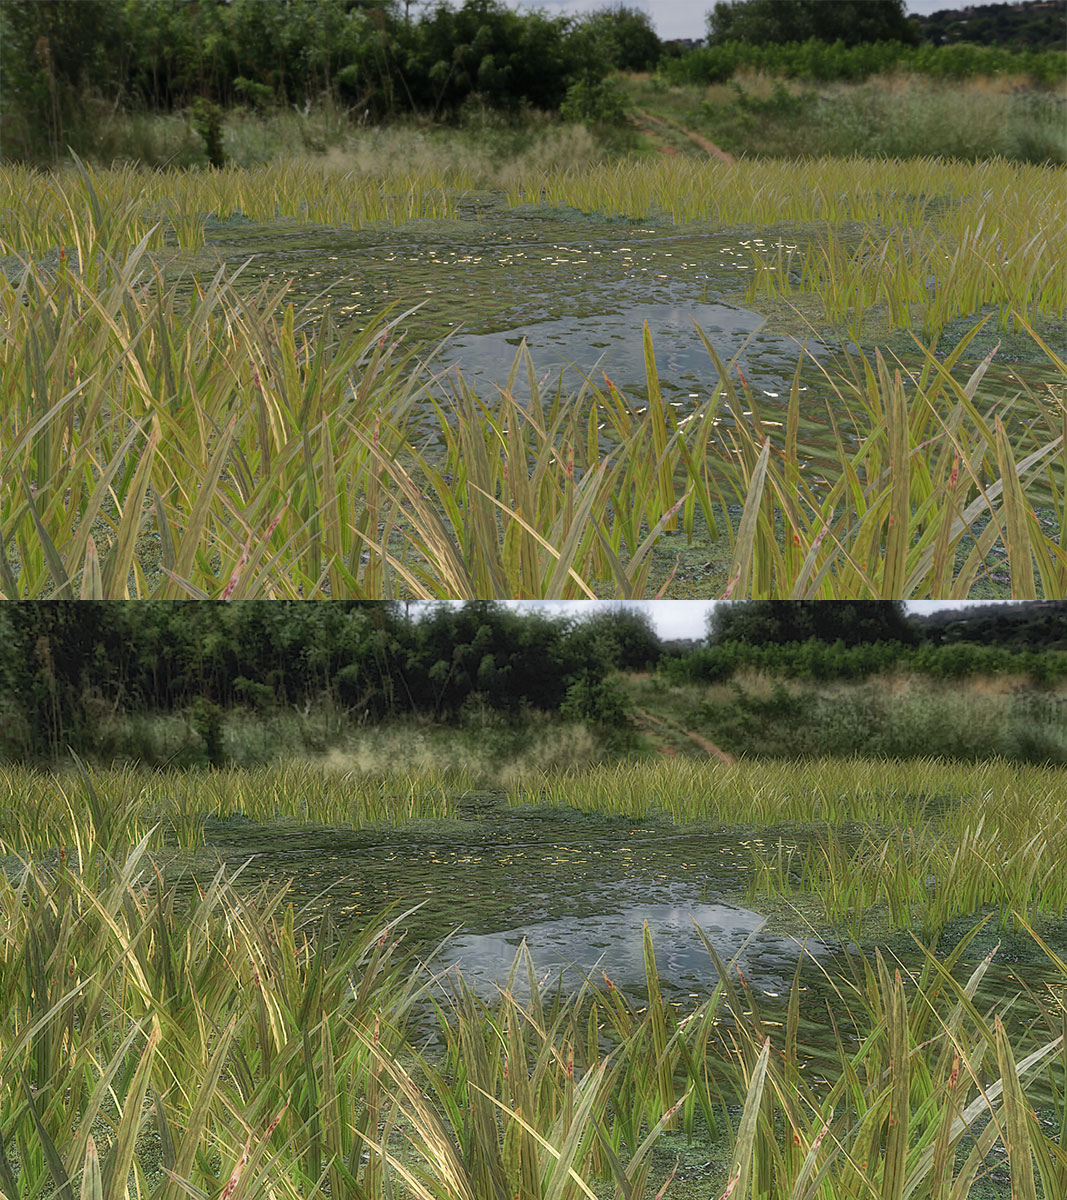
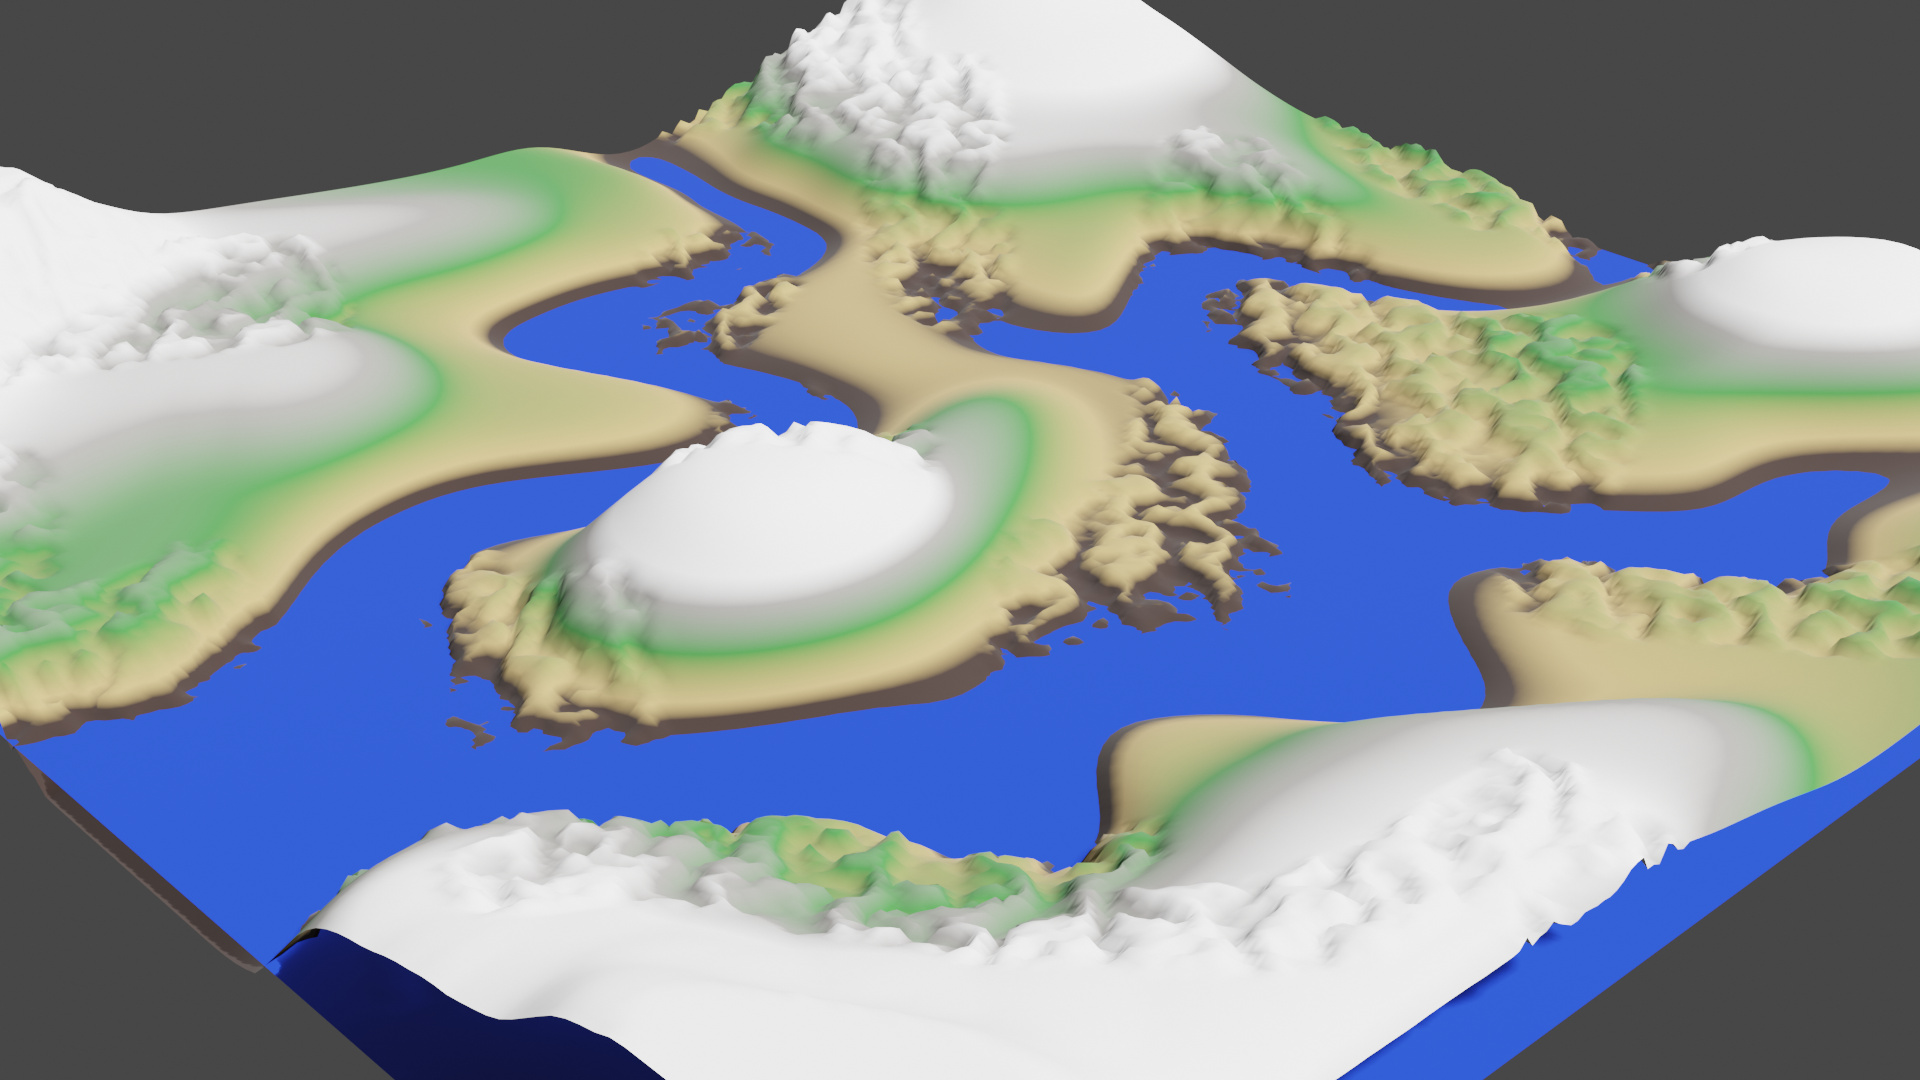
And one more. I hope the last one so I can move on with the course. While looking at the last render I was thinking: “Miss some grass here.” And today found a nice grass tutorial which I could combine with the weight painting from this lecture and terrain creation with modifiers. So, here it is. Above - pure render as it came from Eevee, below, some postwork in Photoshop. From one side I am surprised how easy it goes, from another - still a lot to learn and spend time to gain experience.
As a compliment to Michael… I tried to follow a tutorial before, but was kind of just blindly following the instructor, getting lost sometimes and not knowing how to get out. This time felt more confidence and could understand WHAT I was doing and WHY. So, thank you!
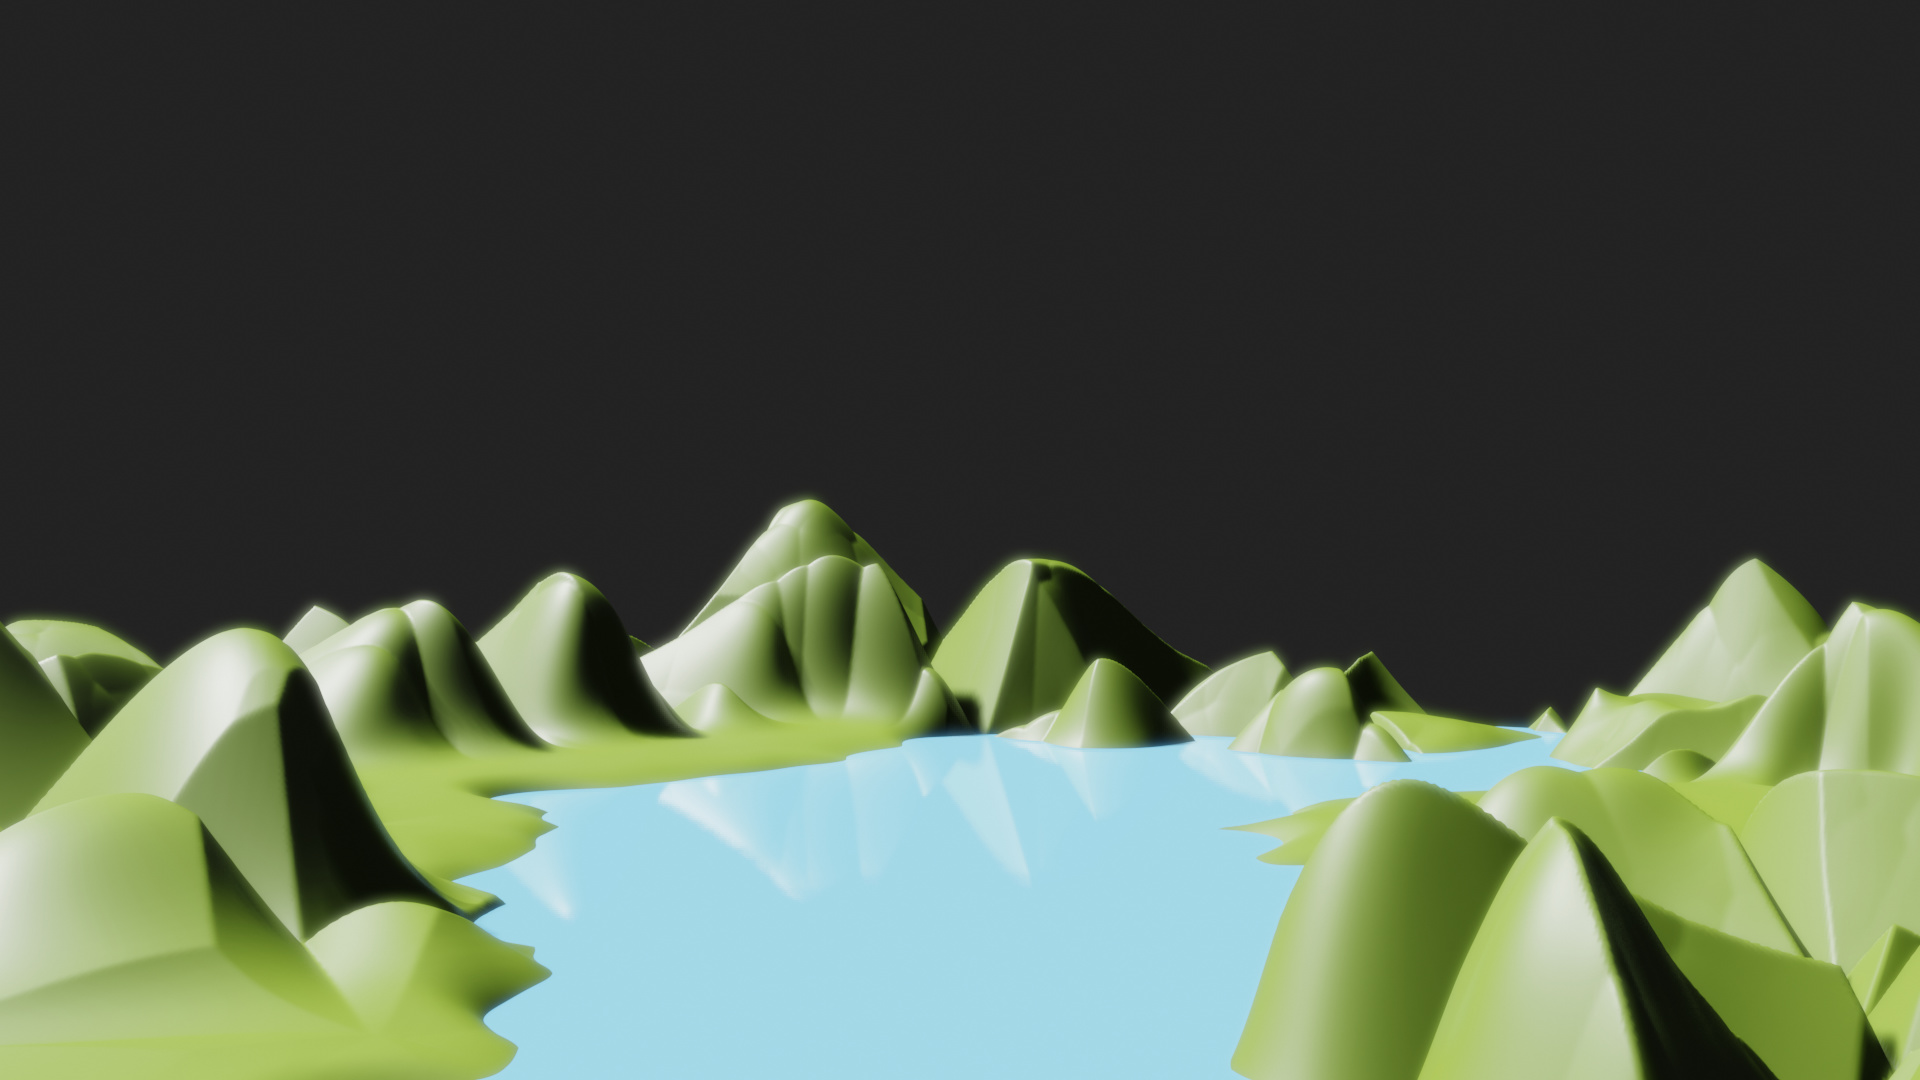
It’s more a crash course (fun intended). I decided to keep it simple, because somehow my poly count explodes and my computer follows.
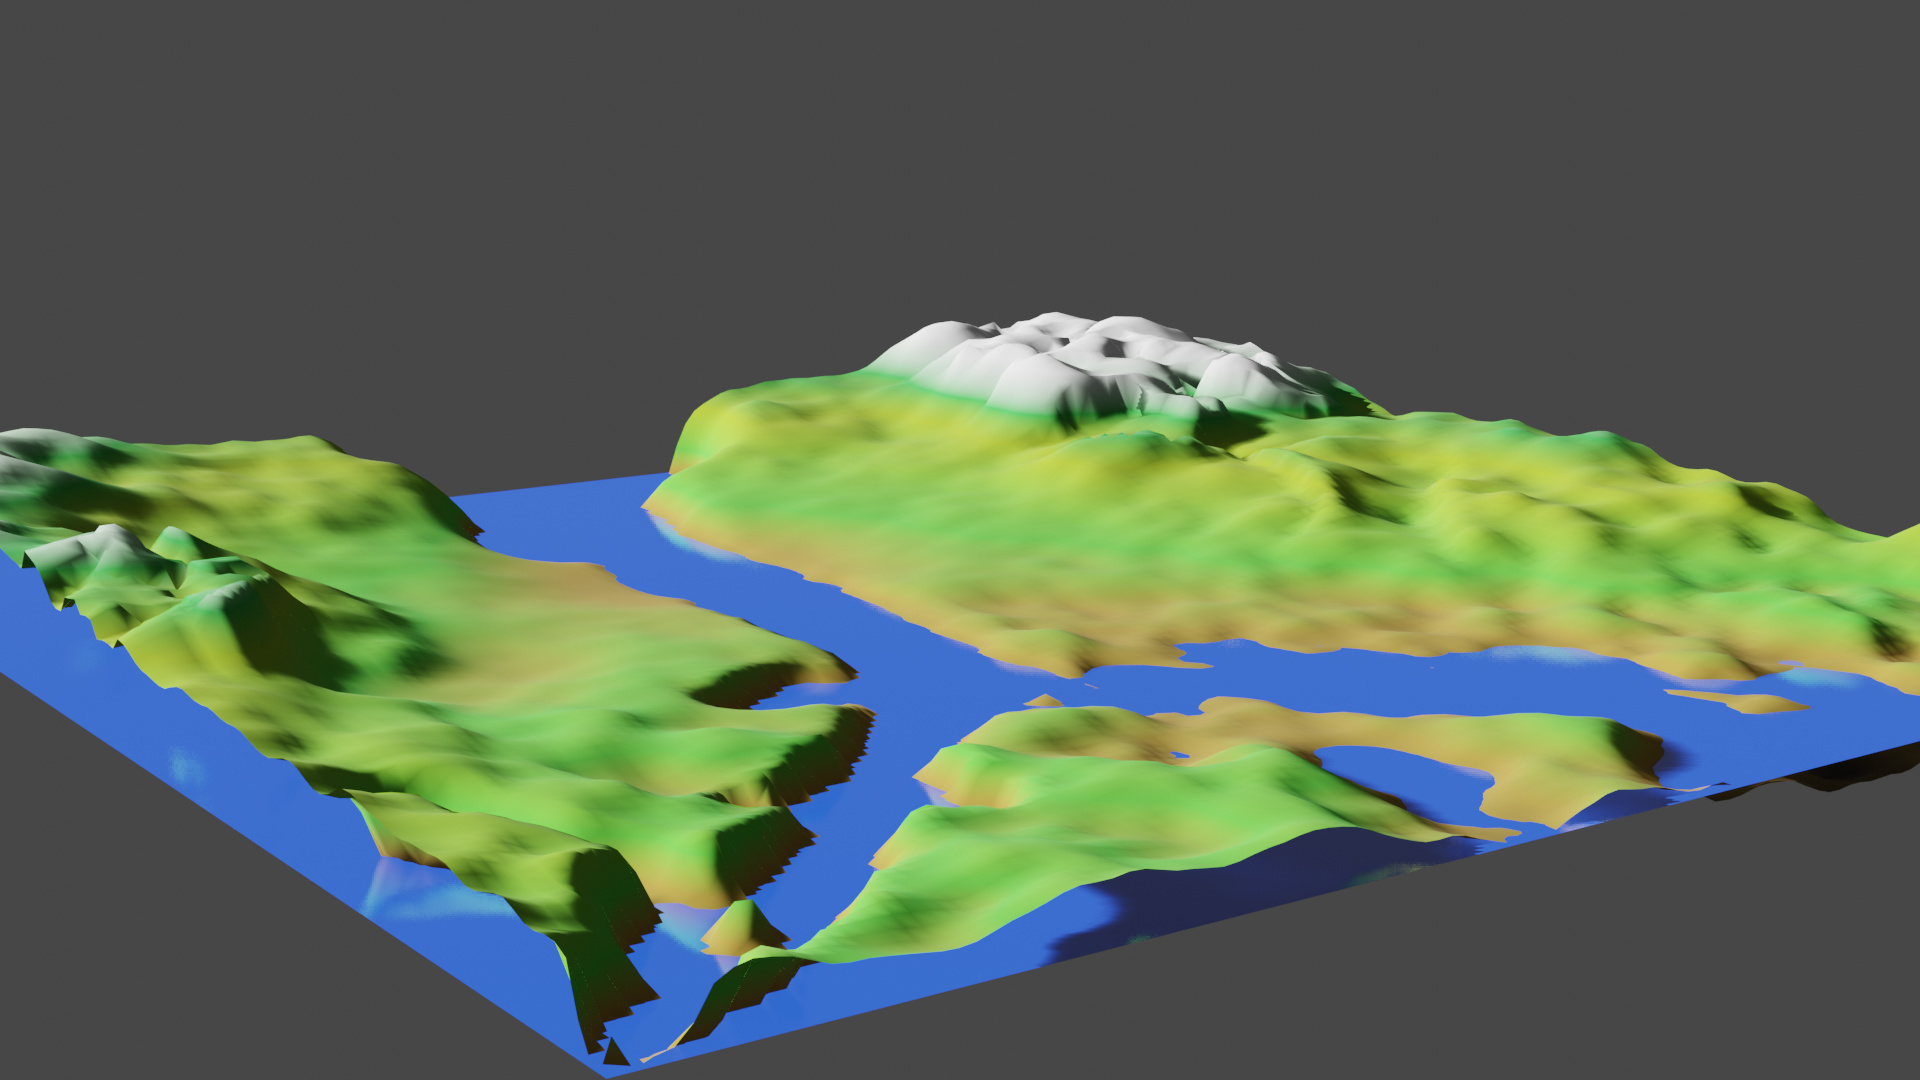
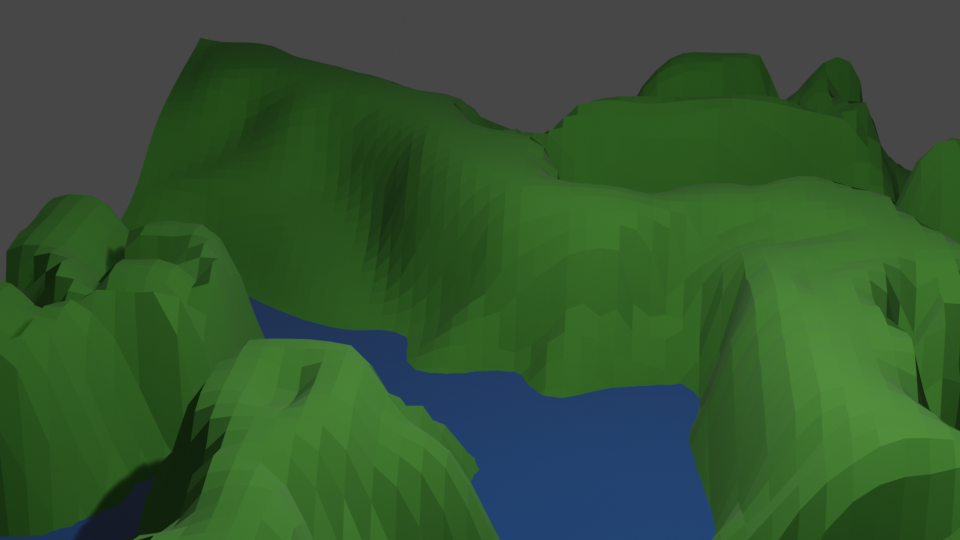
Besides my vertex paint I added an extra marble texture displacement. This texture I controlled with an additional vertex-group. This made it possible to activate parts of the marble texture on certain places on the map. Creating soft slopes or crevasses.
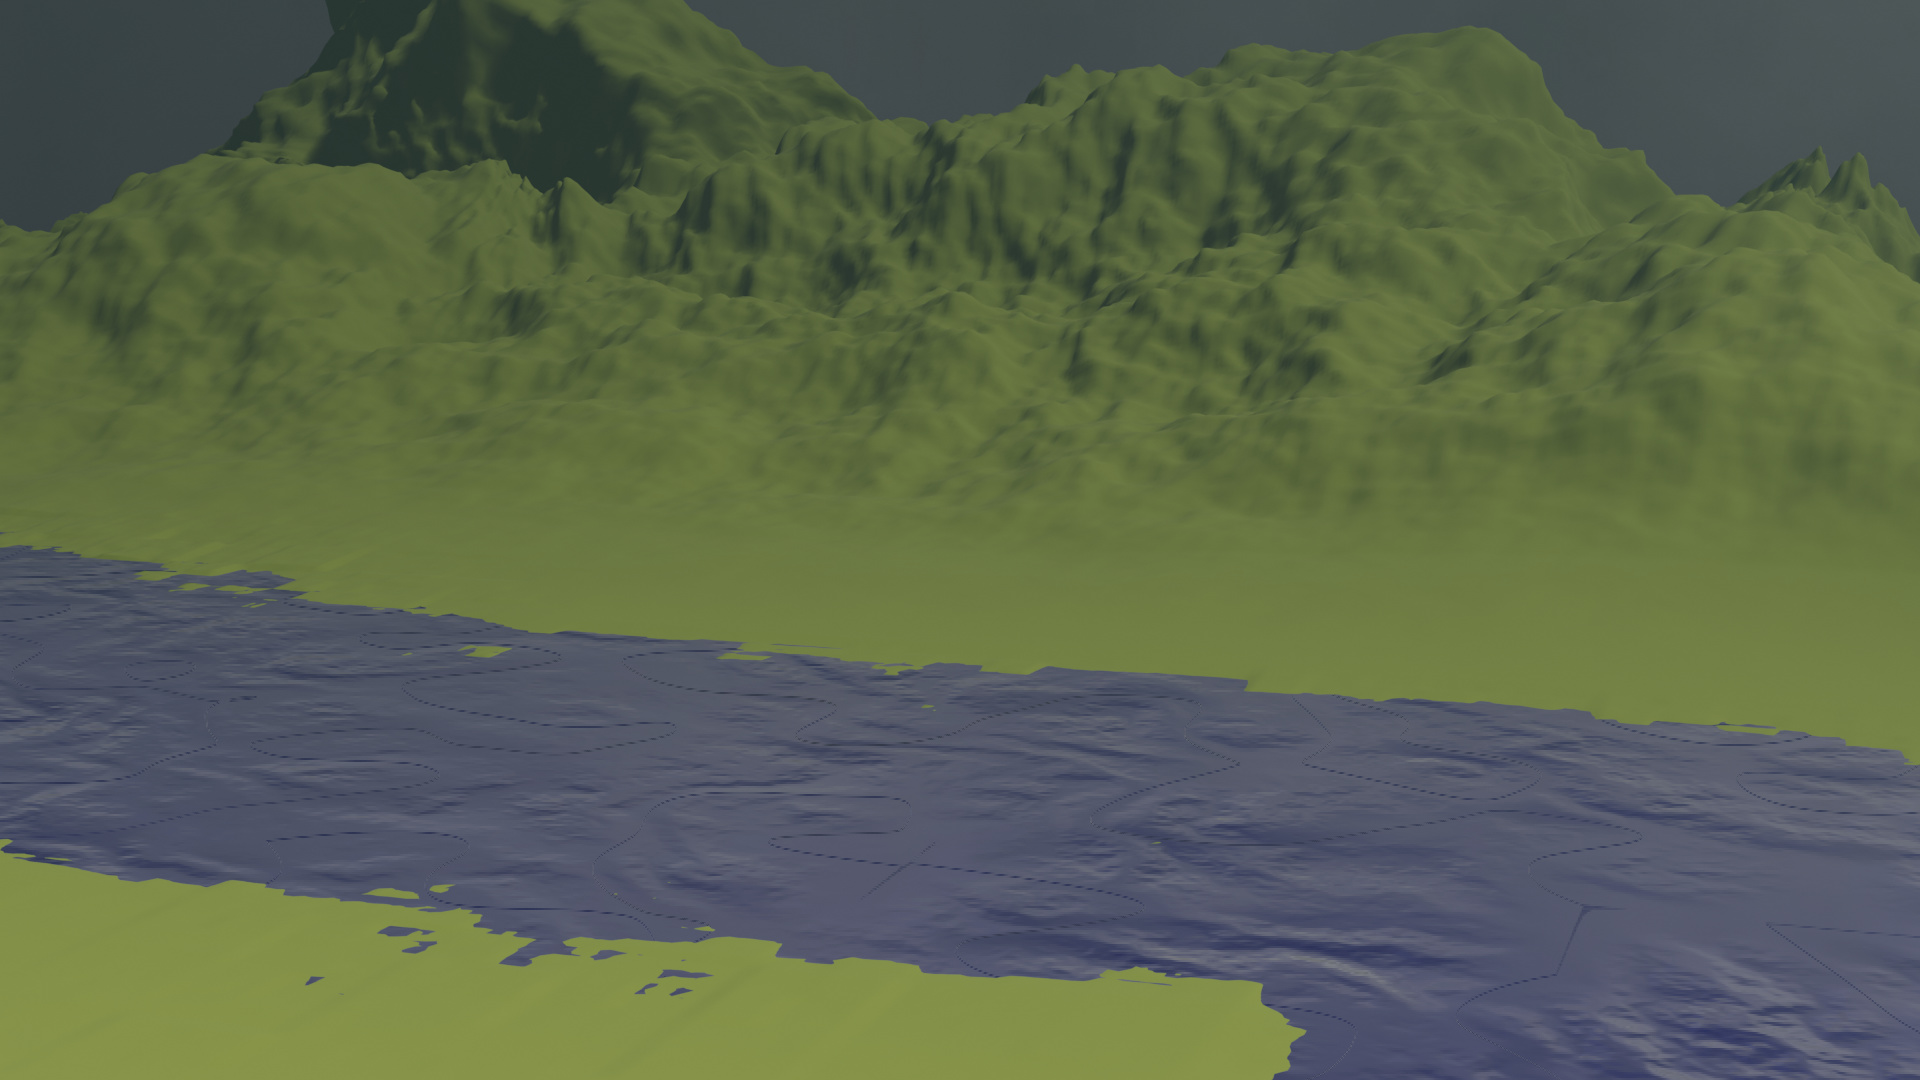
The texture of the landscape is colorized by using the z-ax value.
I had the intention to add some trees (particles), but this project leads to crashes on my machine. So I could go for baking options, applying modifiers and so on. But no inspiration here.