In this video (objectives)…
- Switch between the various selection modes in the UV Image Editor
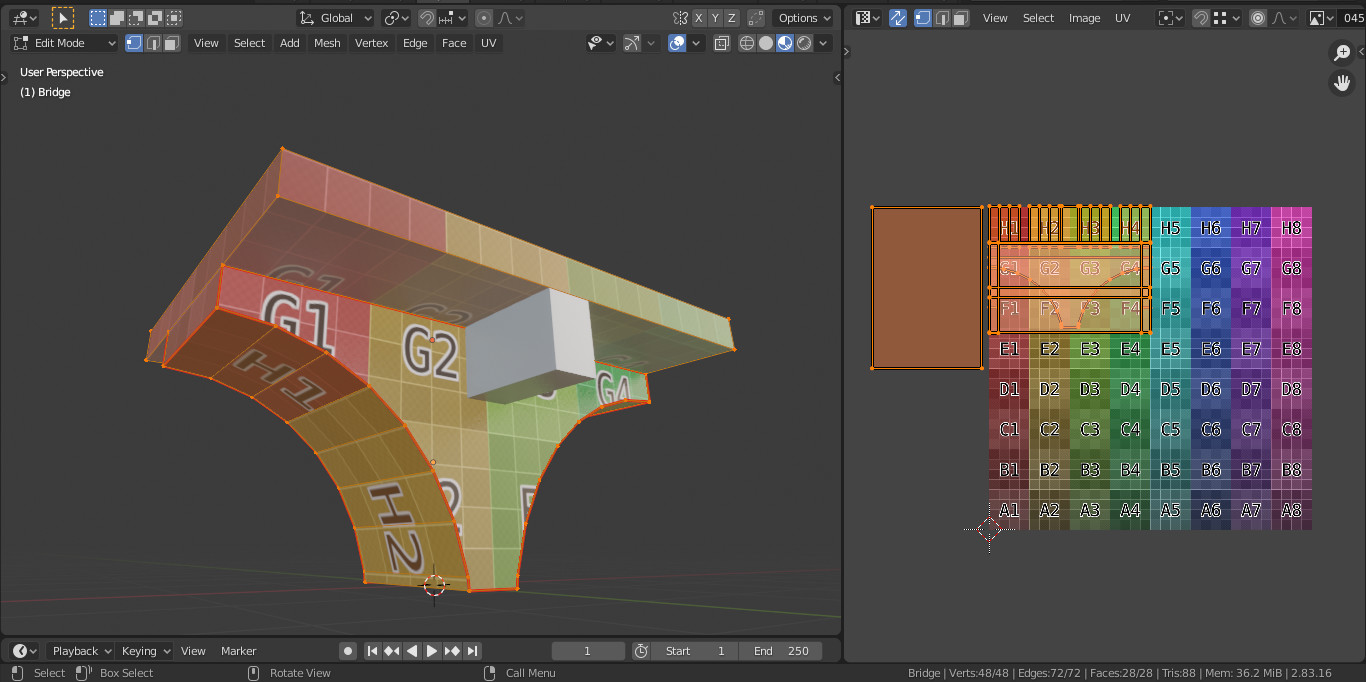
- Synchronise with 3D view selection
- Select different parts of the UV Map
After watching (learning outcomes)…
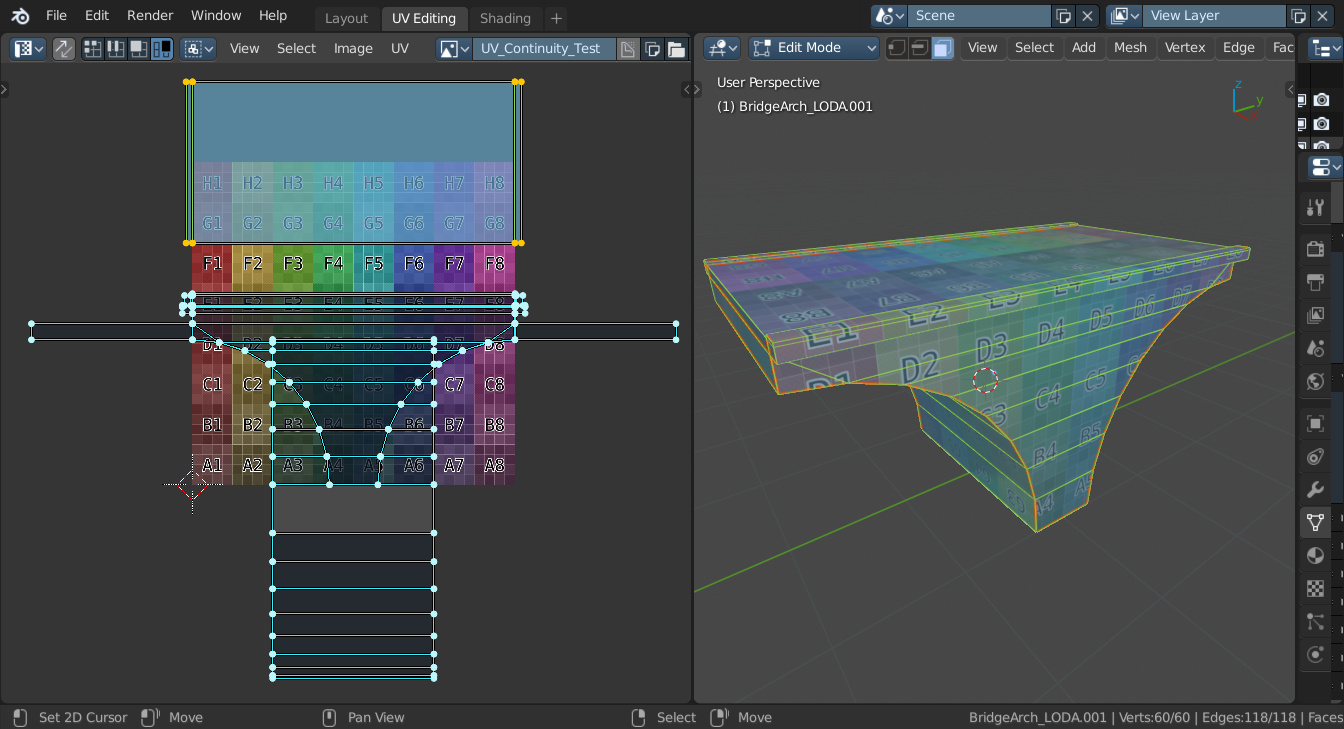
You will be able to manipulate the UV map to position it correctly onto a texture
(Unique Video Reference: 16_TB_BEC)
We would love to know…
- What you found good about this lecture?
- What we could do better?
Remember that you can reply to this topic, or create a new topic. The easiest way to create a new topic is to follow the link in Resources. That way the topic will…
- Be in the correct forum (for the course).
- Be in the right sub-forum (for the section)
- Have the correct lecture tag.
Enjoy your stay in our thriving community!
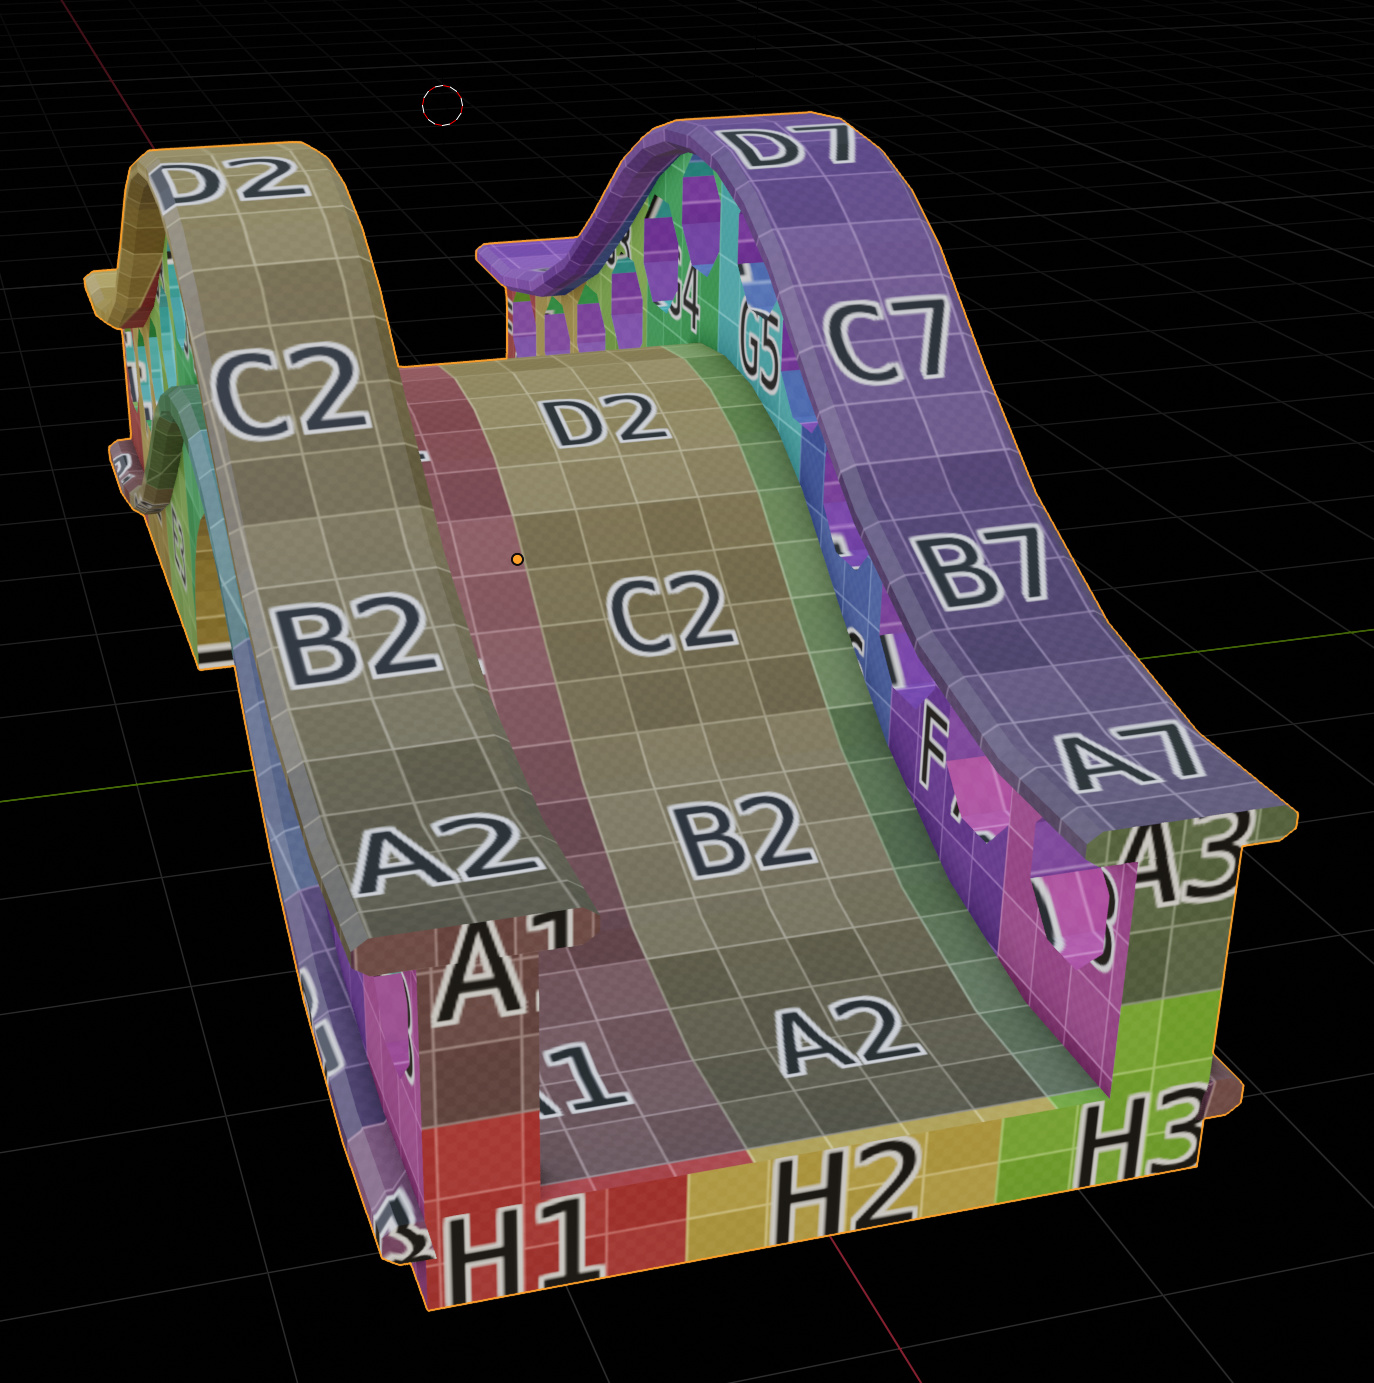
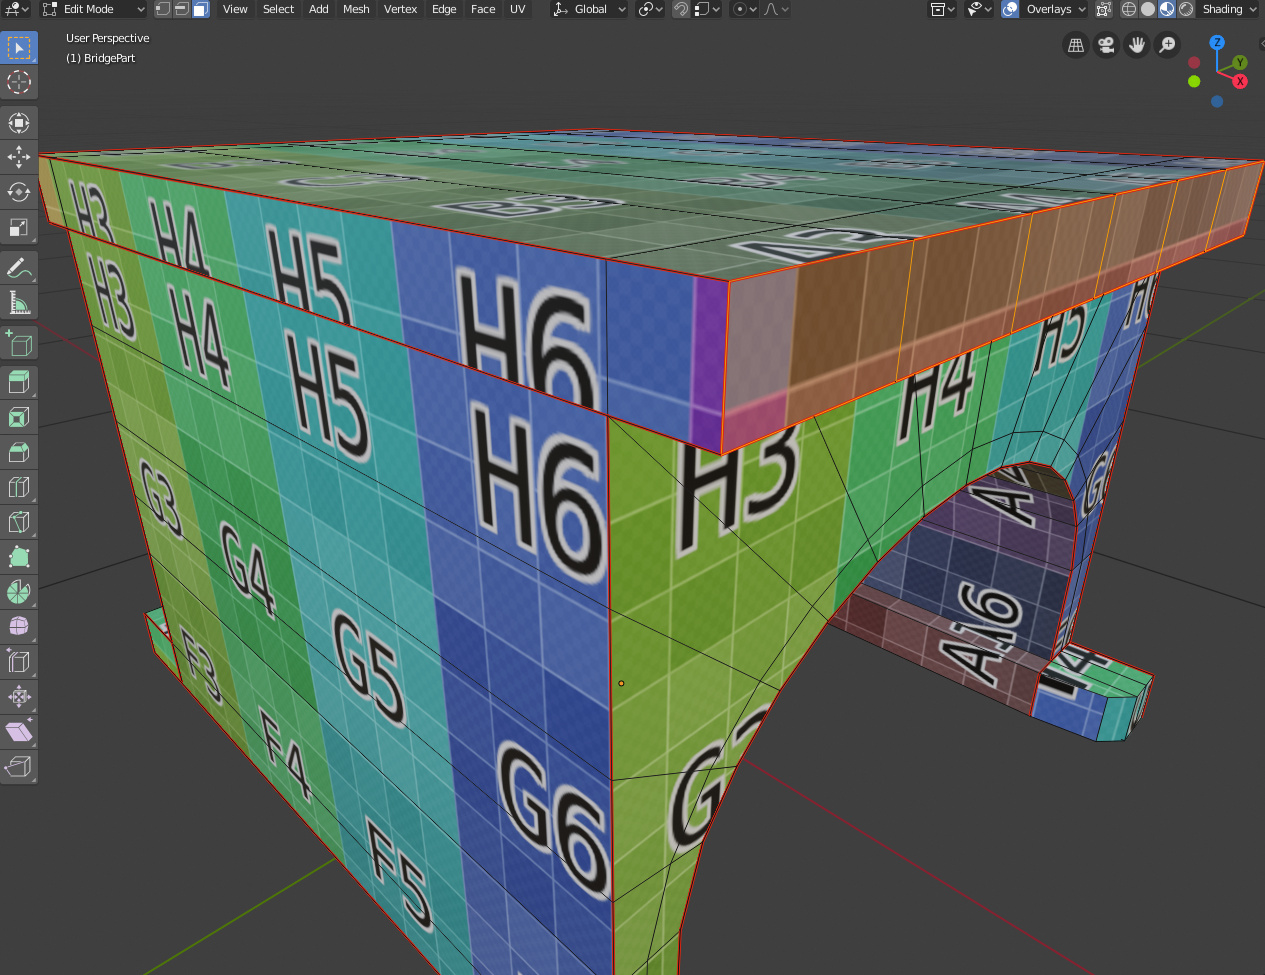
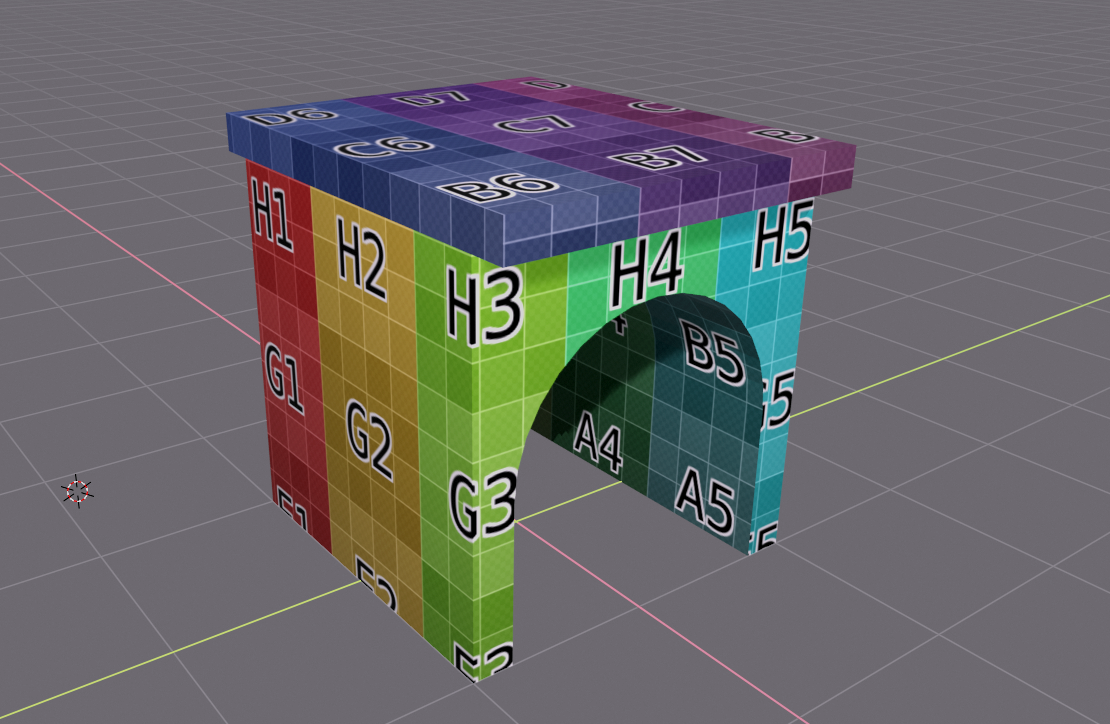
So… this is not perfect, but will have to do for now.
The big “C2” on the top is deliberate.
3 Likes
That’s Sweet, good work, UV mapping has it’s challenges but you have overcome them. Well done for persisting with an awkward shape!
1 Like
That was a bit of work getting the UV map to position correctly. The challenge explanation really helped a lot in getting a grasp of the concept!
1 Like
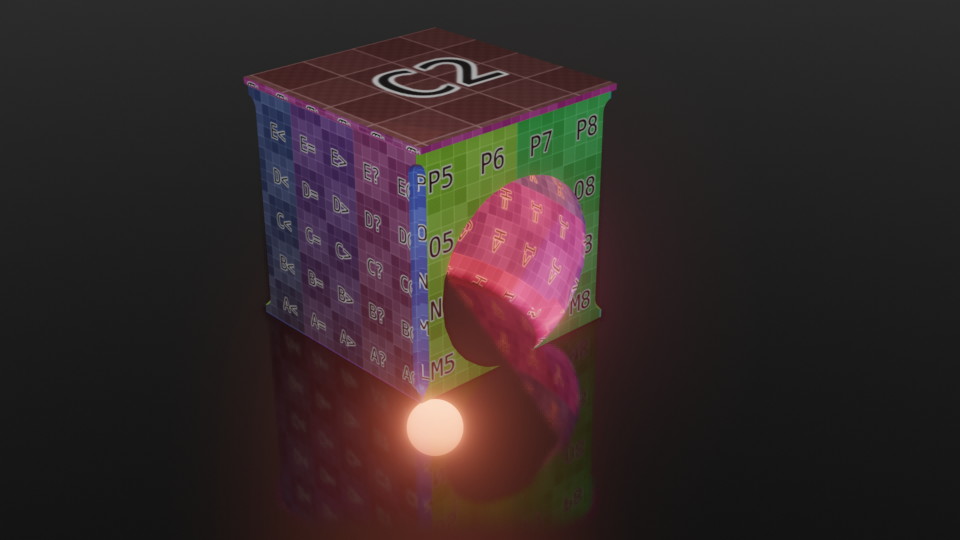
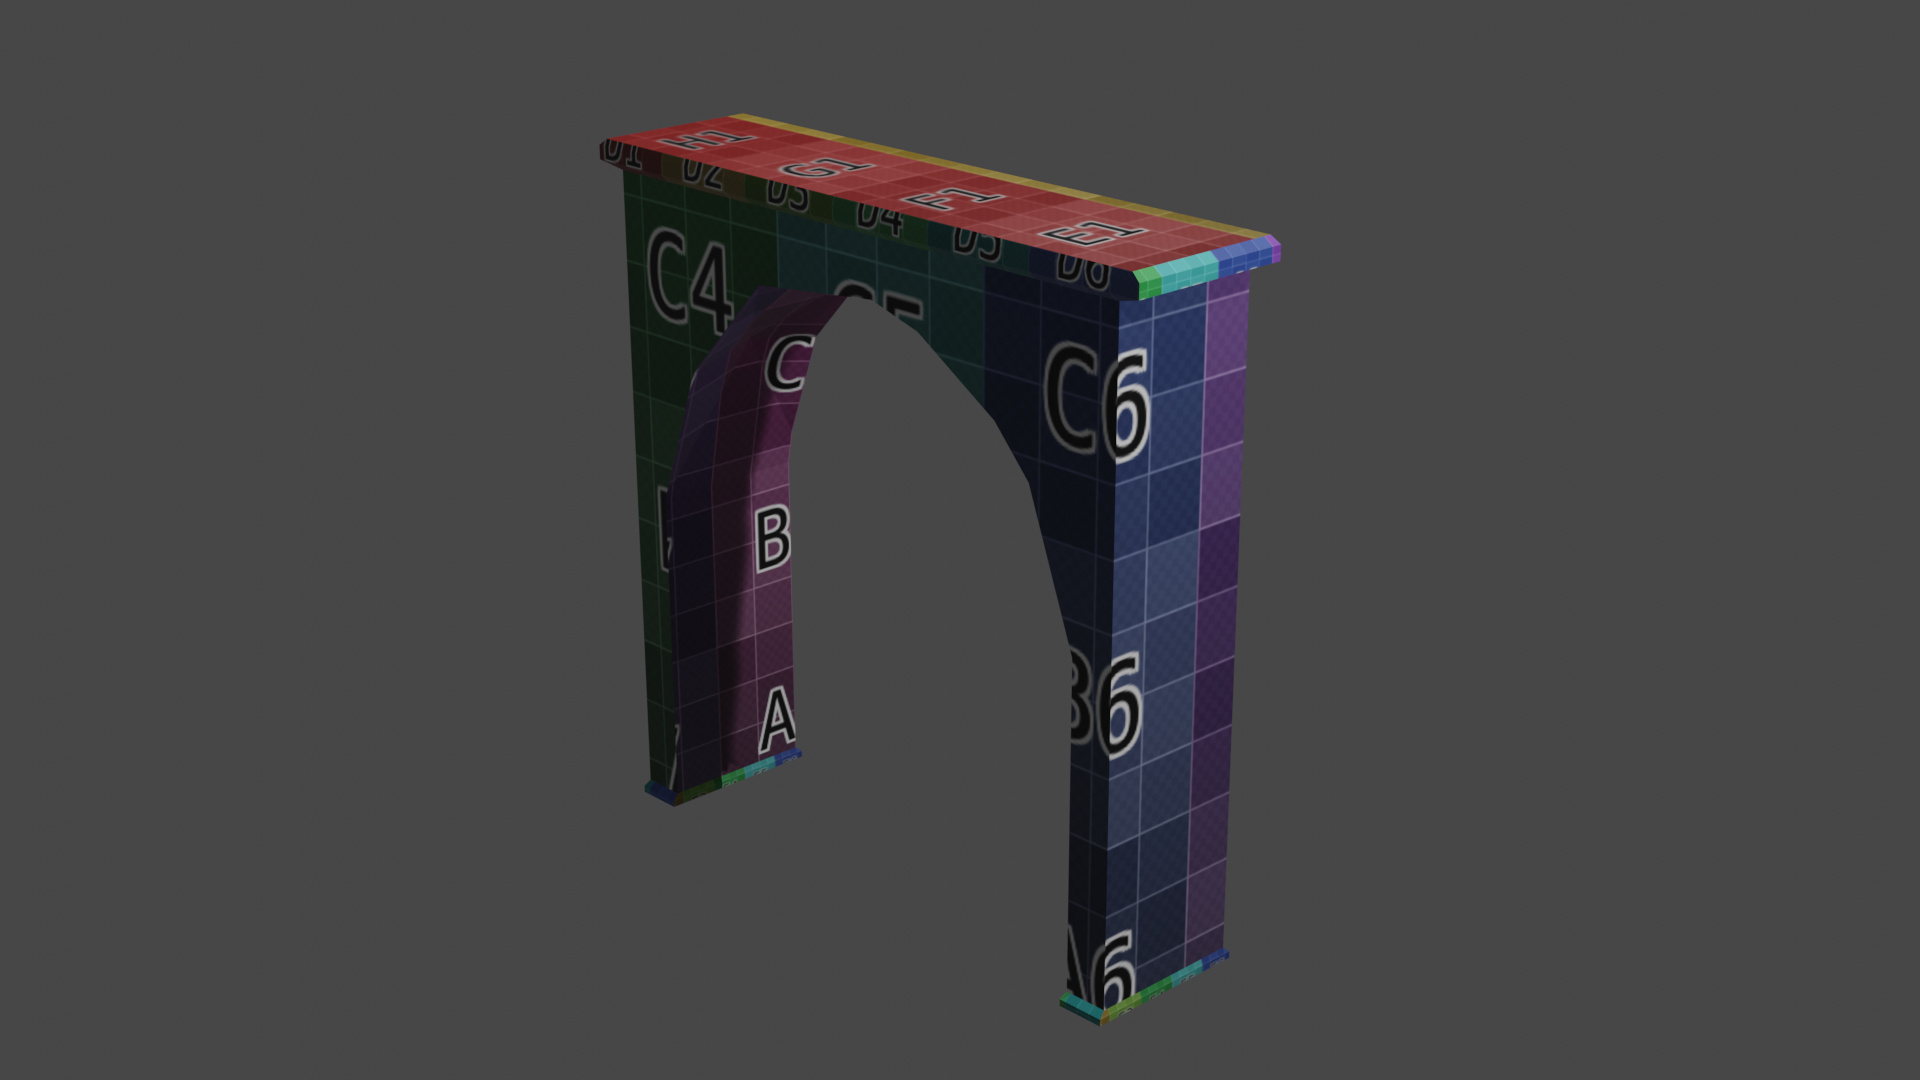
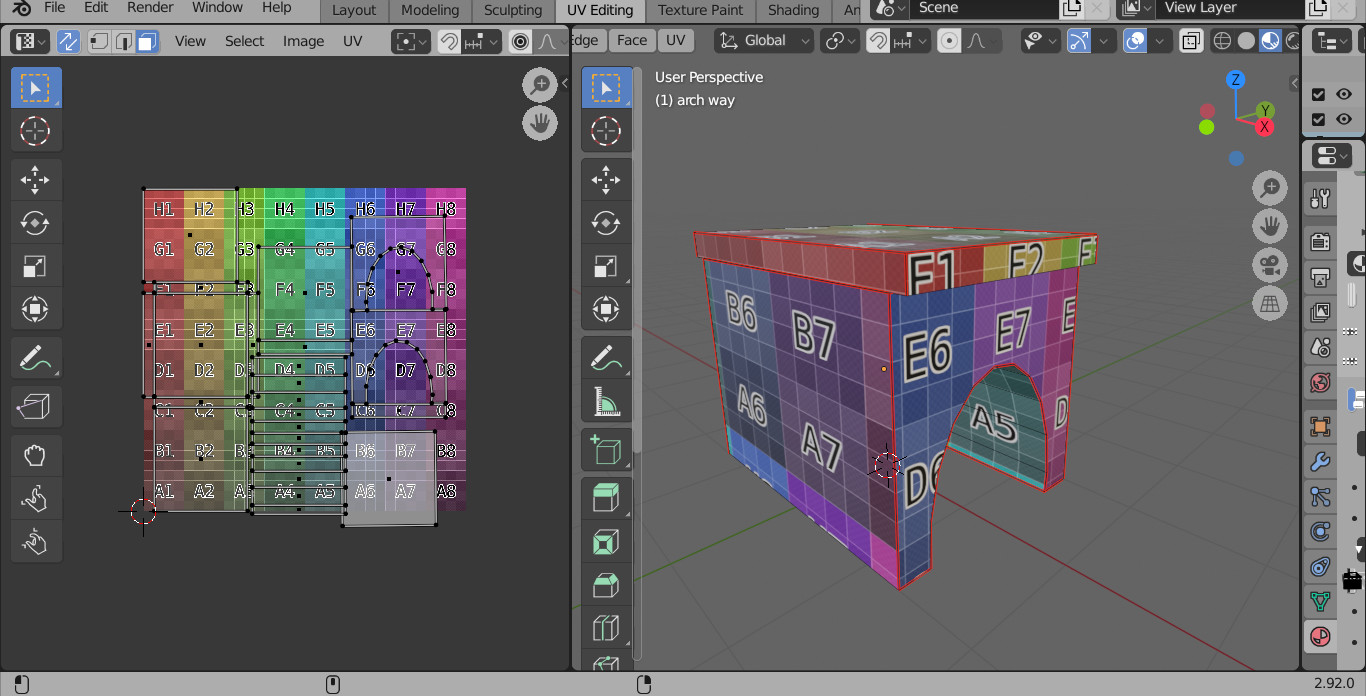
Here is a scaled version of the UV’s I tried to line things up in a logical way.
This may yet need some more work for the texture I’m thinking of but, It is good for what it’s supposed to be
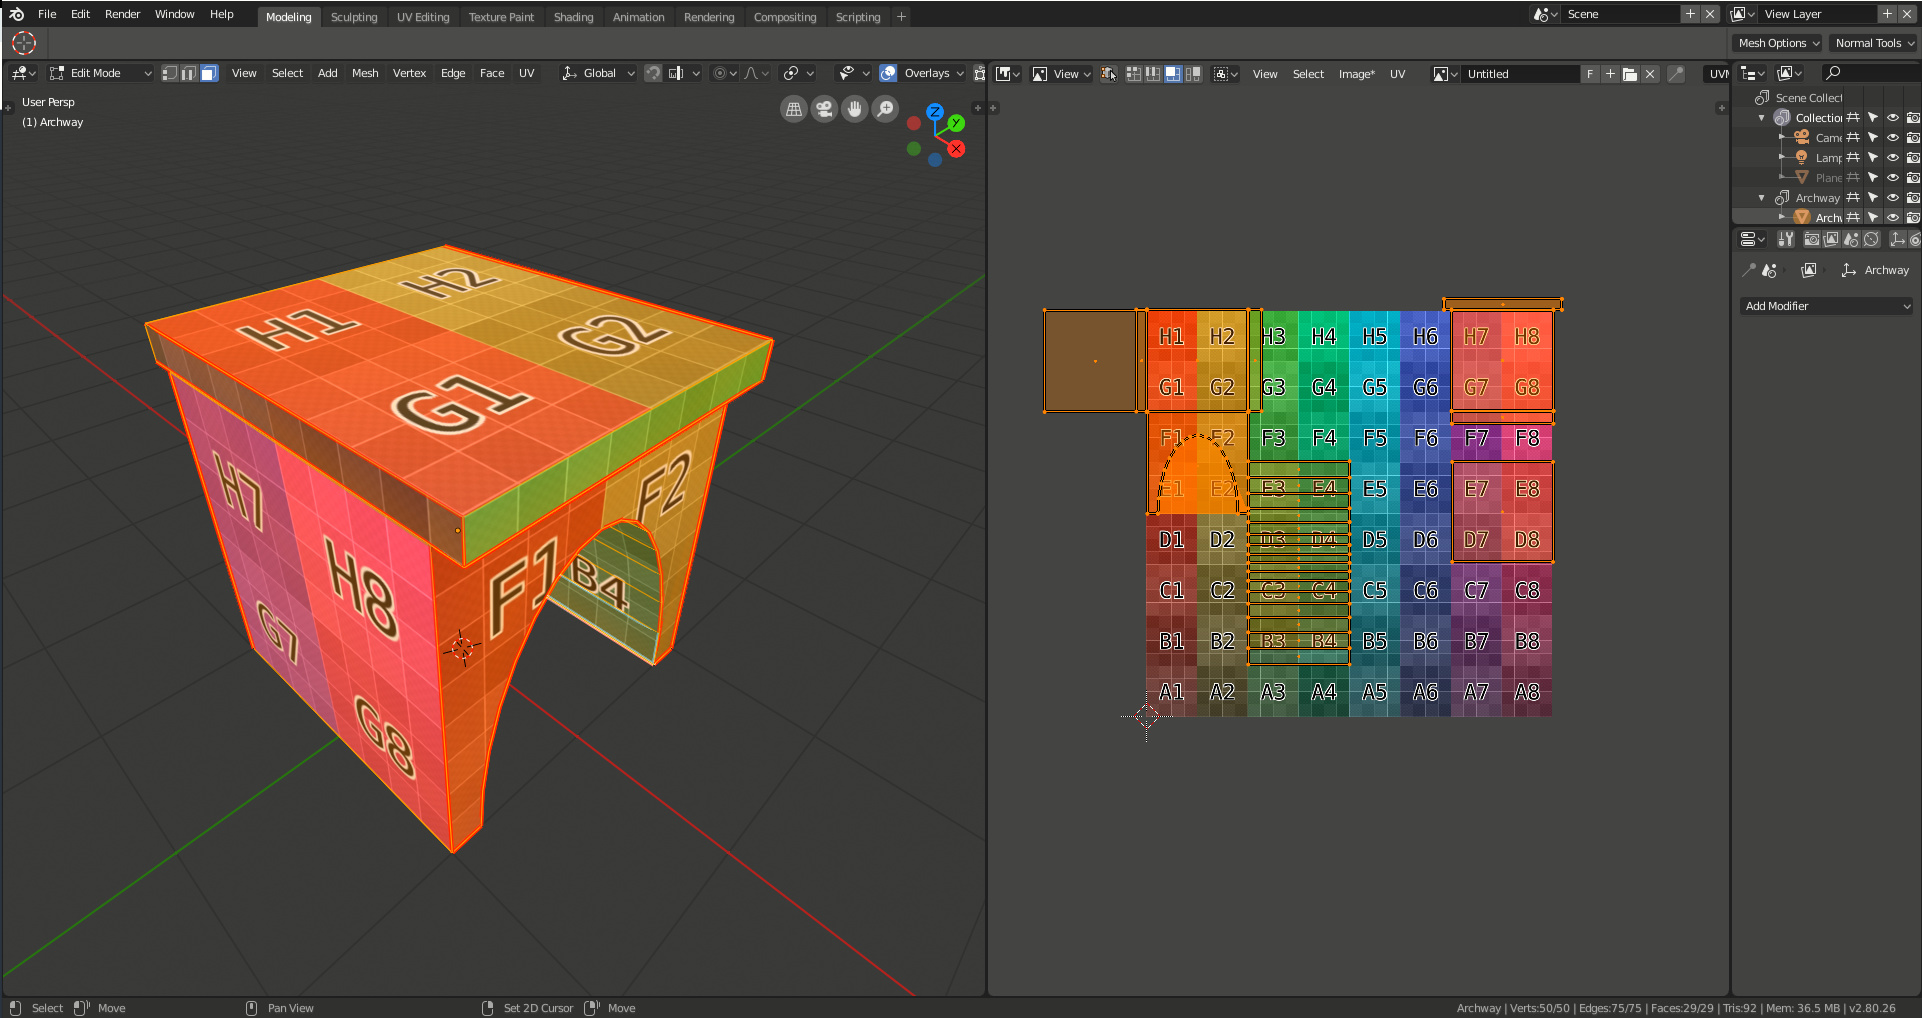
I had a lot of problem with this one, using the 2D cursor.
Selecting a single vertice and positioning the cursor there (Shift-s), didn’t work always.
So exact scaling was a problem, using the 2D as center.
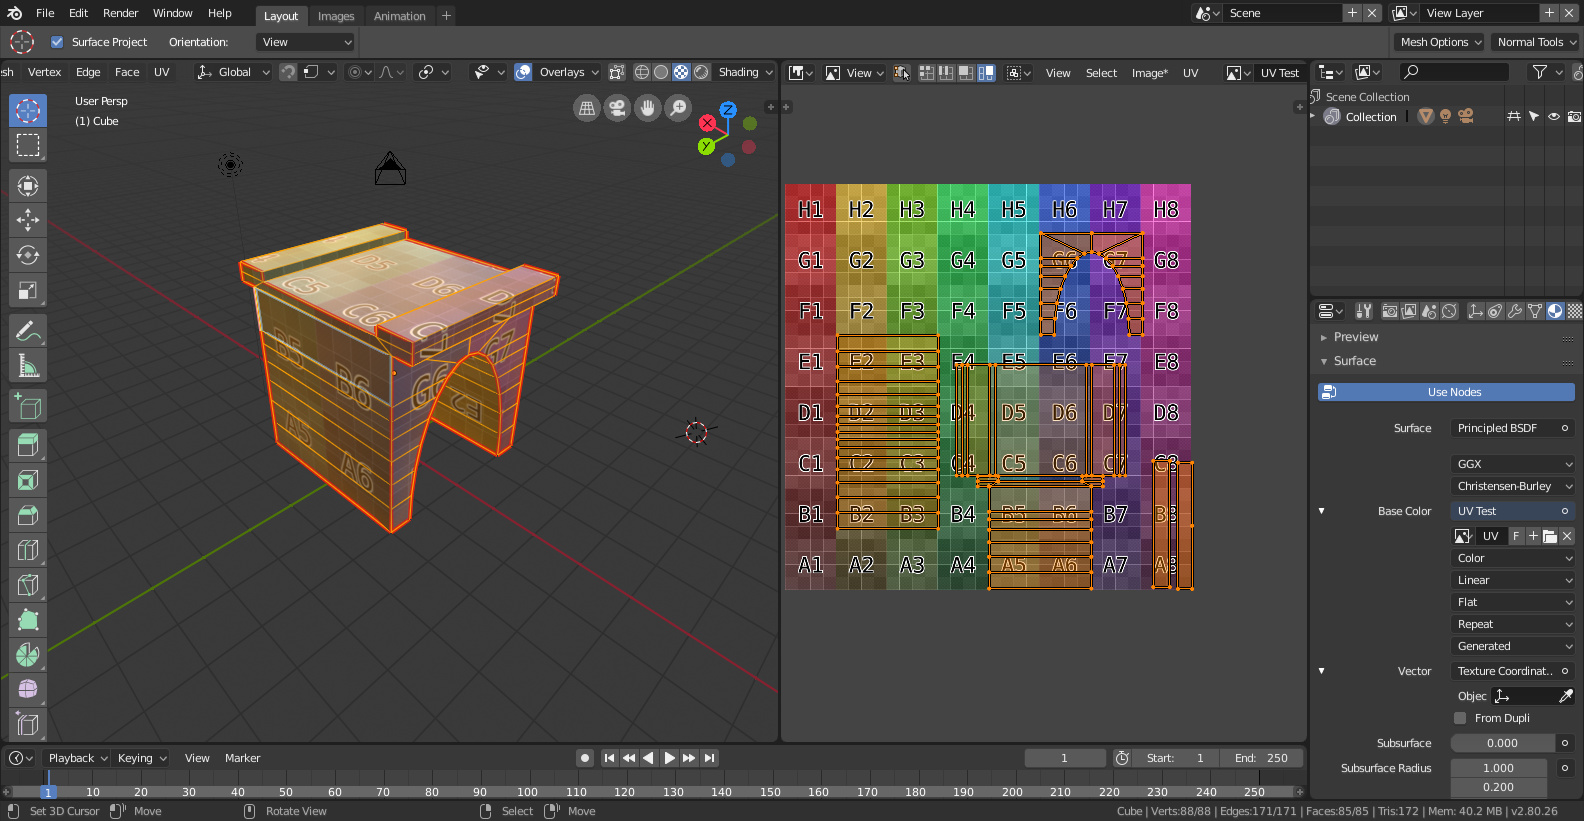
I must say I learned a lot these lessons. Somehow I had a similar work process, but, it becoming more clear and intuitive for me. And after hours of tweaking meshes. We are now hours, also busy tweaking textures. 
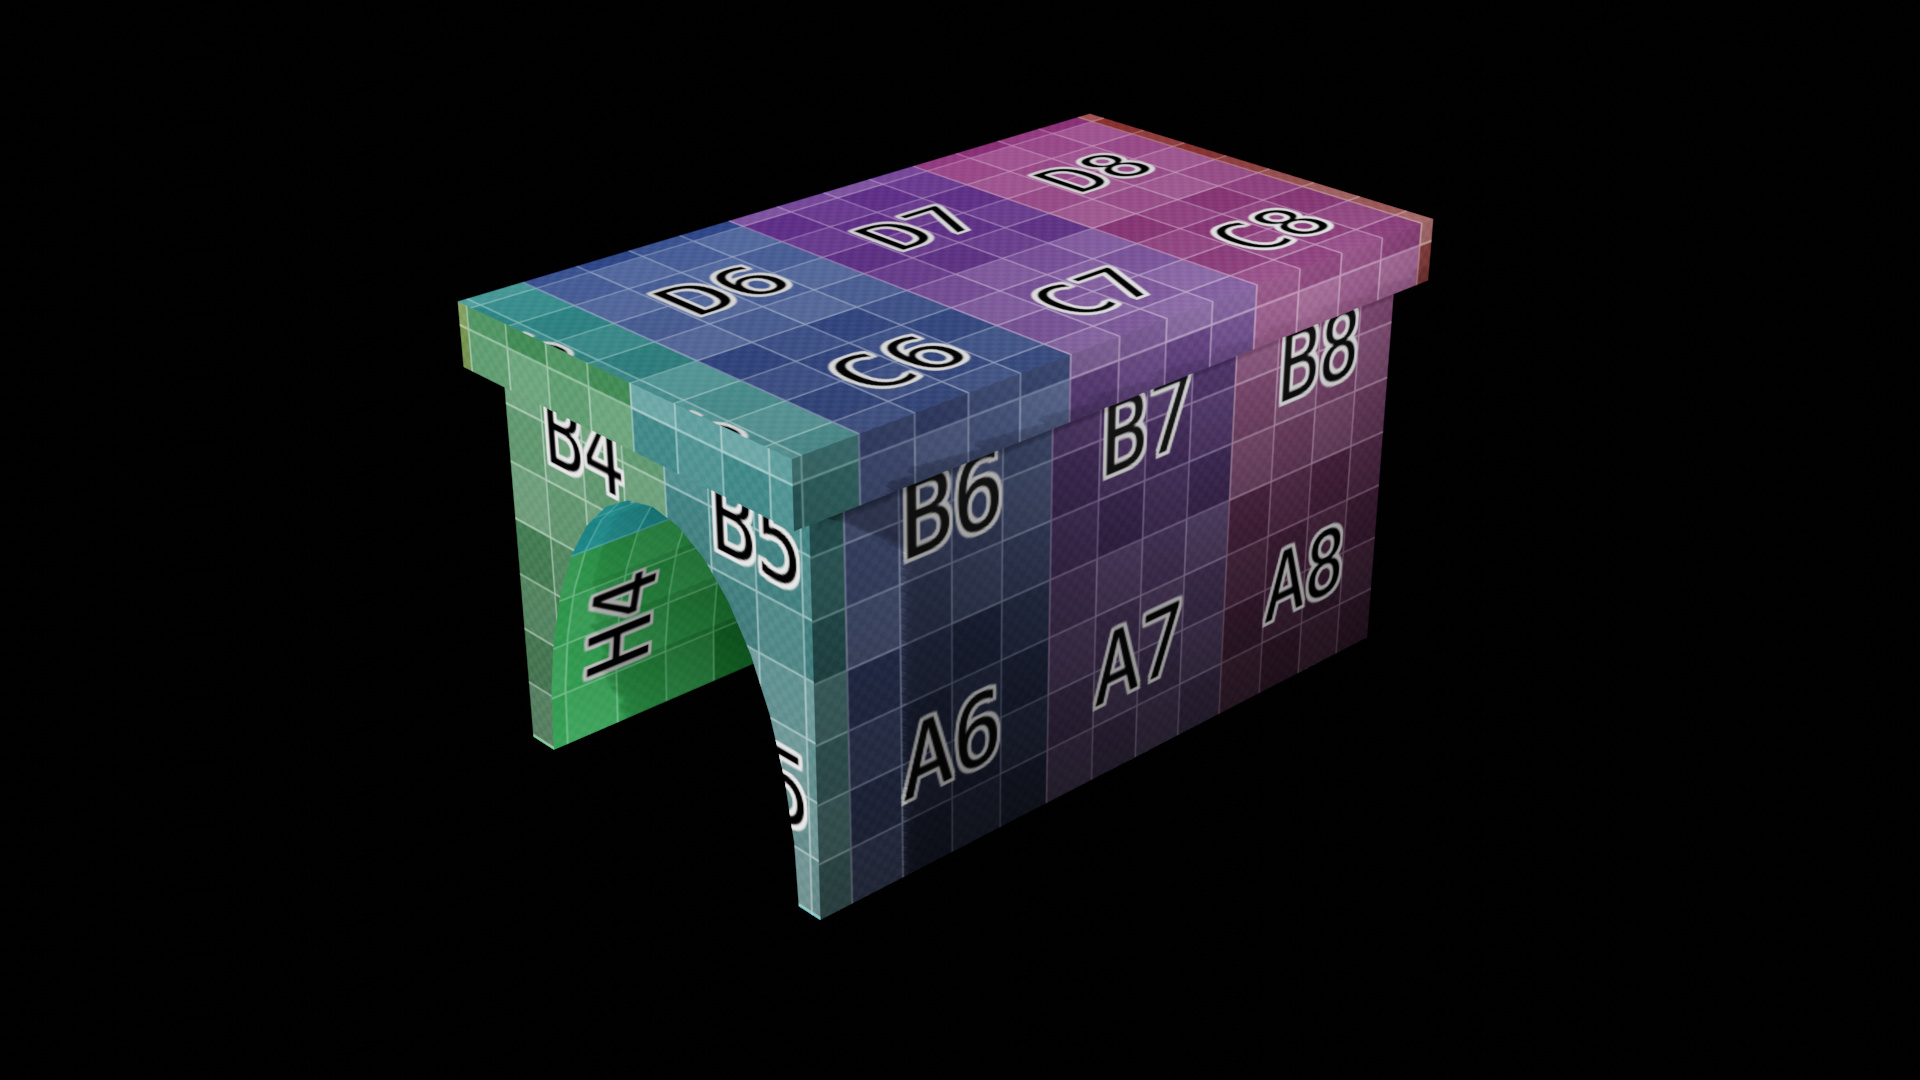
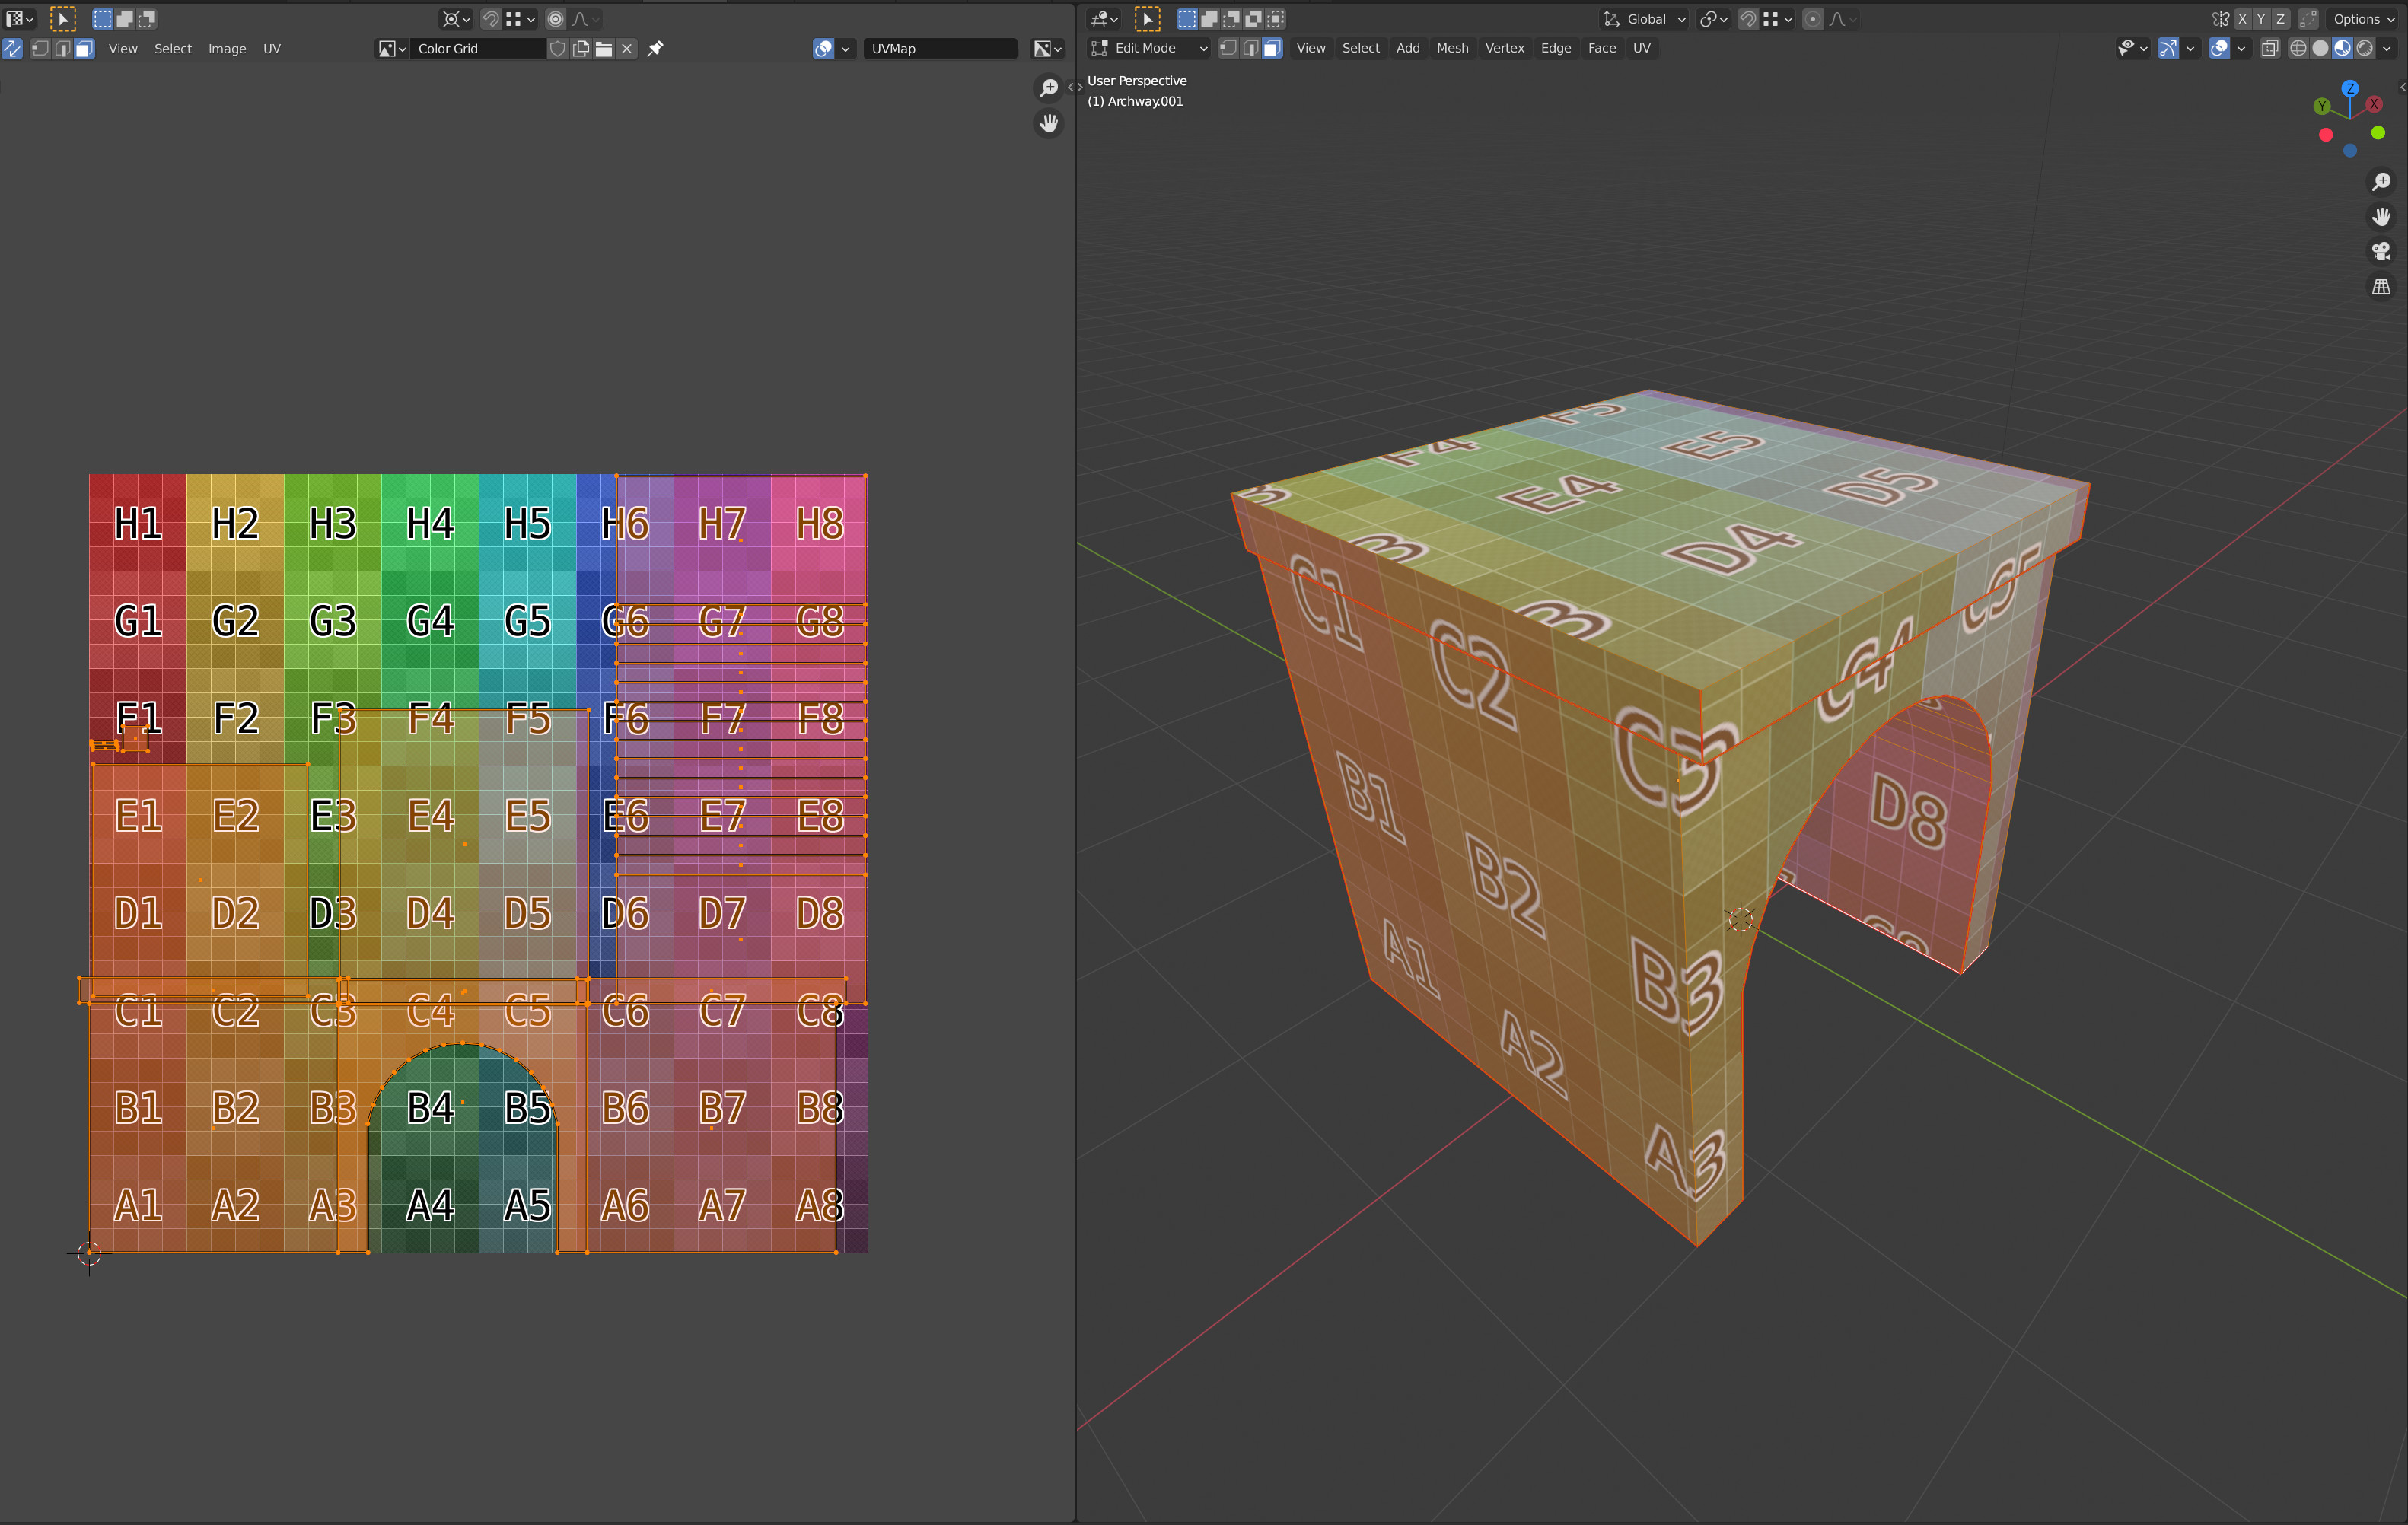
I took Michael’s advice to overlap areas that will be identical, in my case the archway’s front (and connected side). Other than that: snapping to the grid by holding Ctrl helps a lot.
EDIT: Tweaked the locations of archway(s) and top island to match at the front. Should make it simpler to edit the texture, as it will most likely (have to) align there.
1 Like
Good alignment.
The arc under the bridge is always difficult.