About 'The Color Ramp Introduction'!

In this video (objectives)…

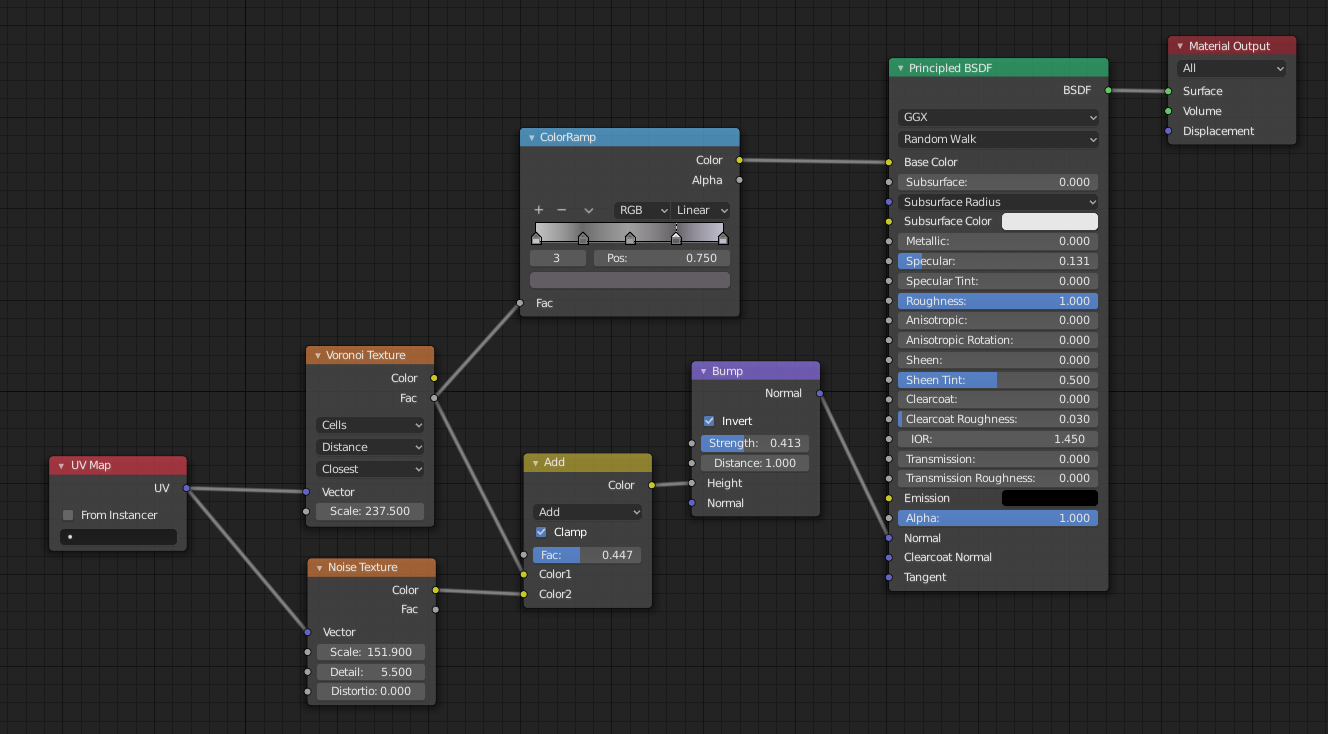
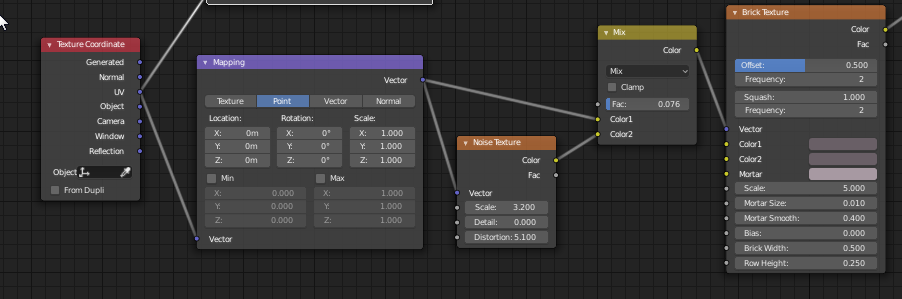
  1. Explore the color ramp node
  2. Know how to change the settings
  3. Incorporate it into your node toolkit

After watching (learning outcomes)…

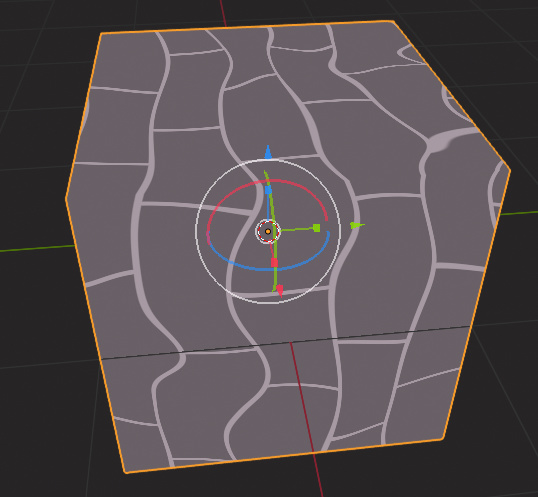
You will understand how to use the colour ramp node to manipulate your textures

(Unique Video Reference: 27_TB_BEC)

We would love to know…

  • What you found good about this lecture?
  • What we could do better?

Remember that you can reply to this topic, or create a new topic. The easiest way to create a new topic is to follow the link in Resources. That way the topic will…

  • Be in the correct forum (for the course).
  • Be in the right sub-forum (for the section)
  • Have the correct lecture tag.

Enjoy your stay in our thriving community!

Soo… THIS was interesting! I noticed that it is possible to use a Noise texture to slightly disrupt the texture mapping for e.g. a Brick texture. :smiley:


Resulting in…
image

:laughing:

3 Likes

So… here is what I came up with.
It is meant to look like slightly irregular bricks with some dents, and on top of that some green weed. :slight_smile: 
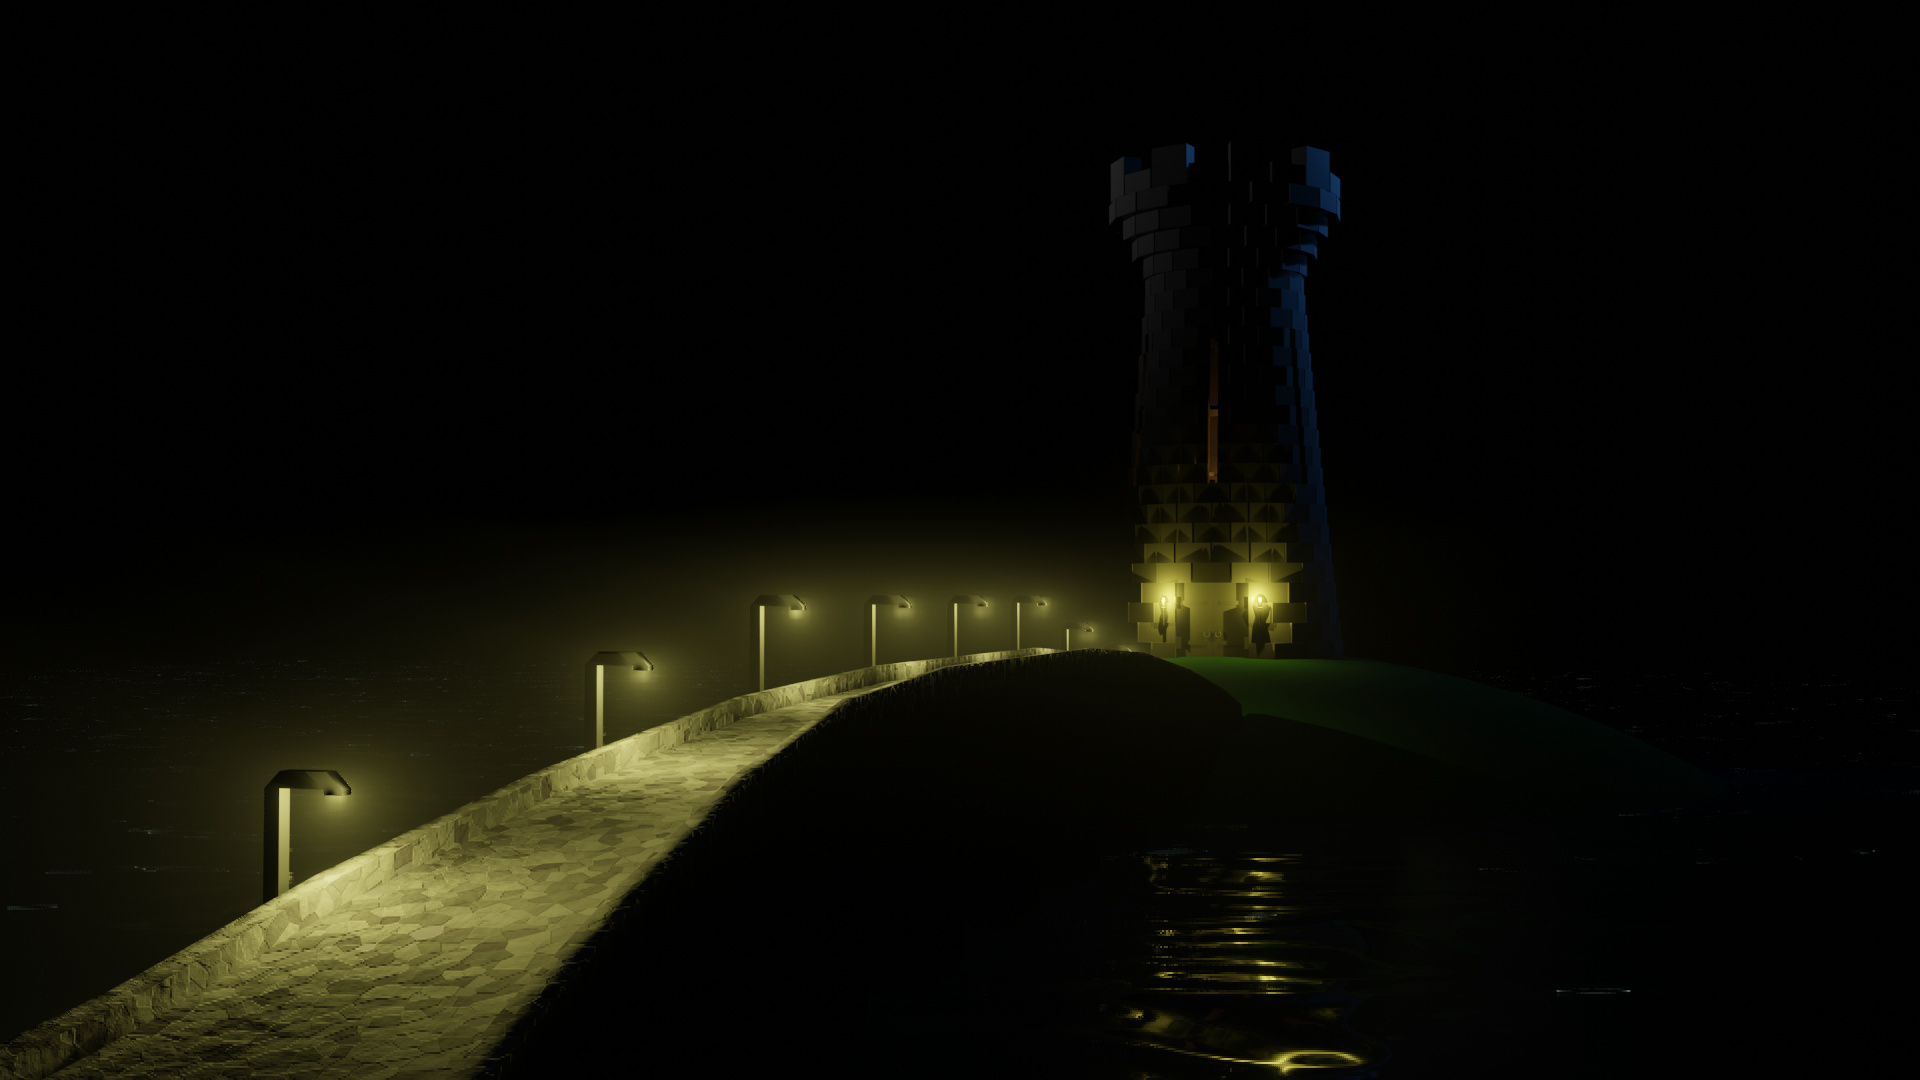
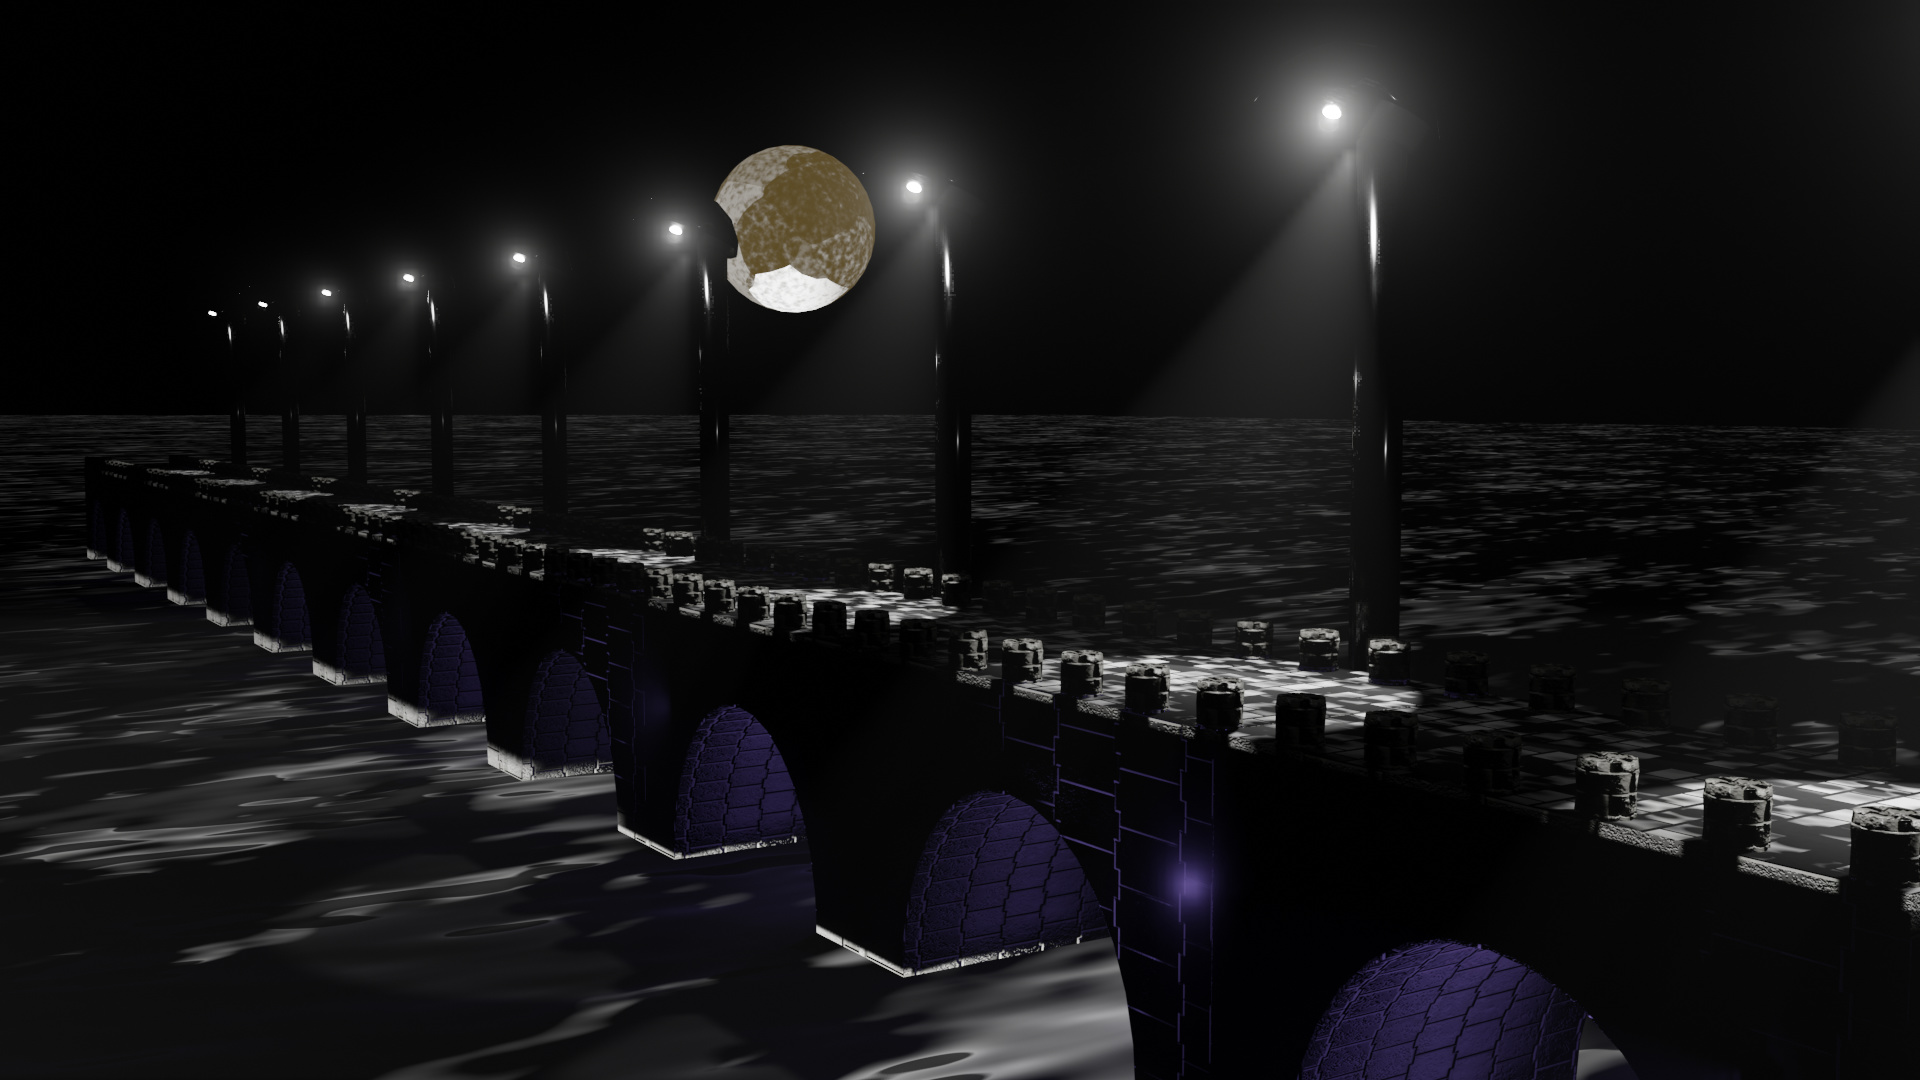
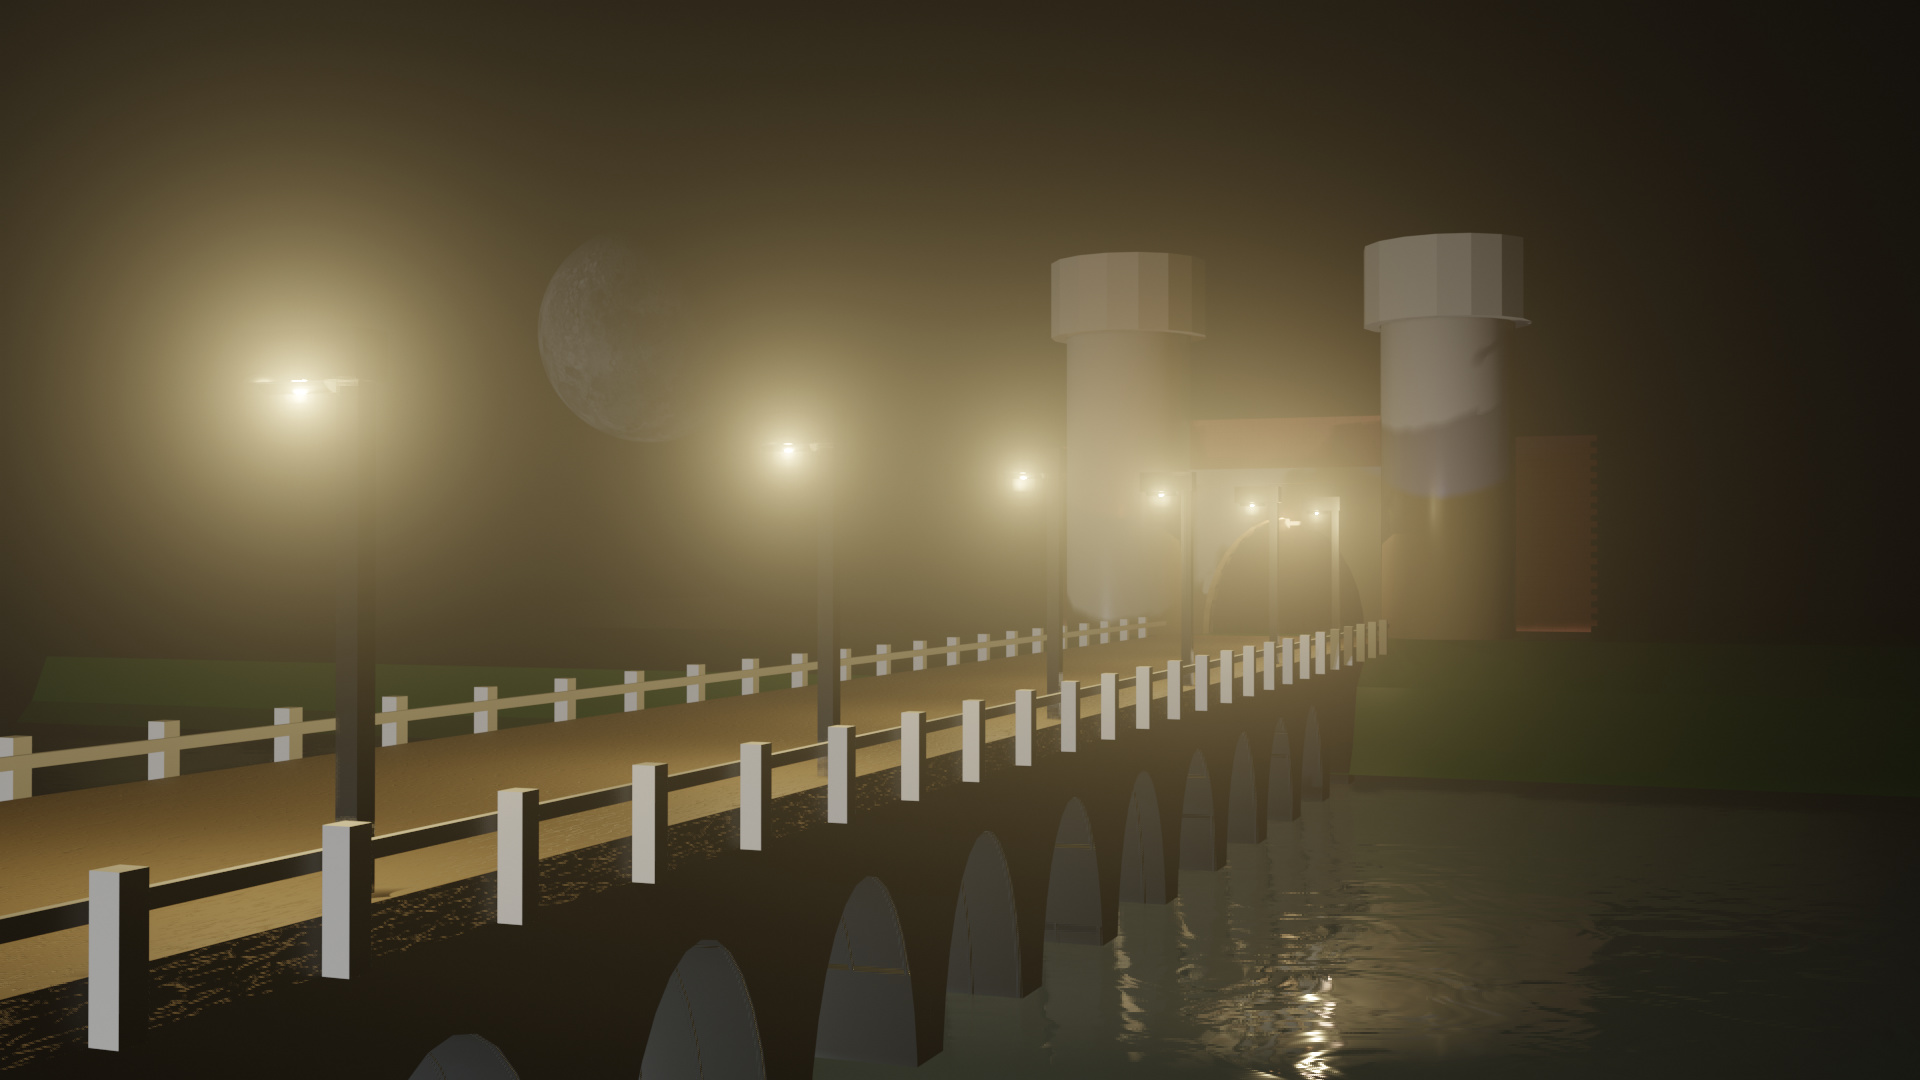
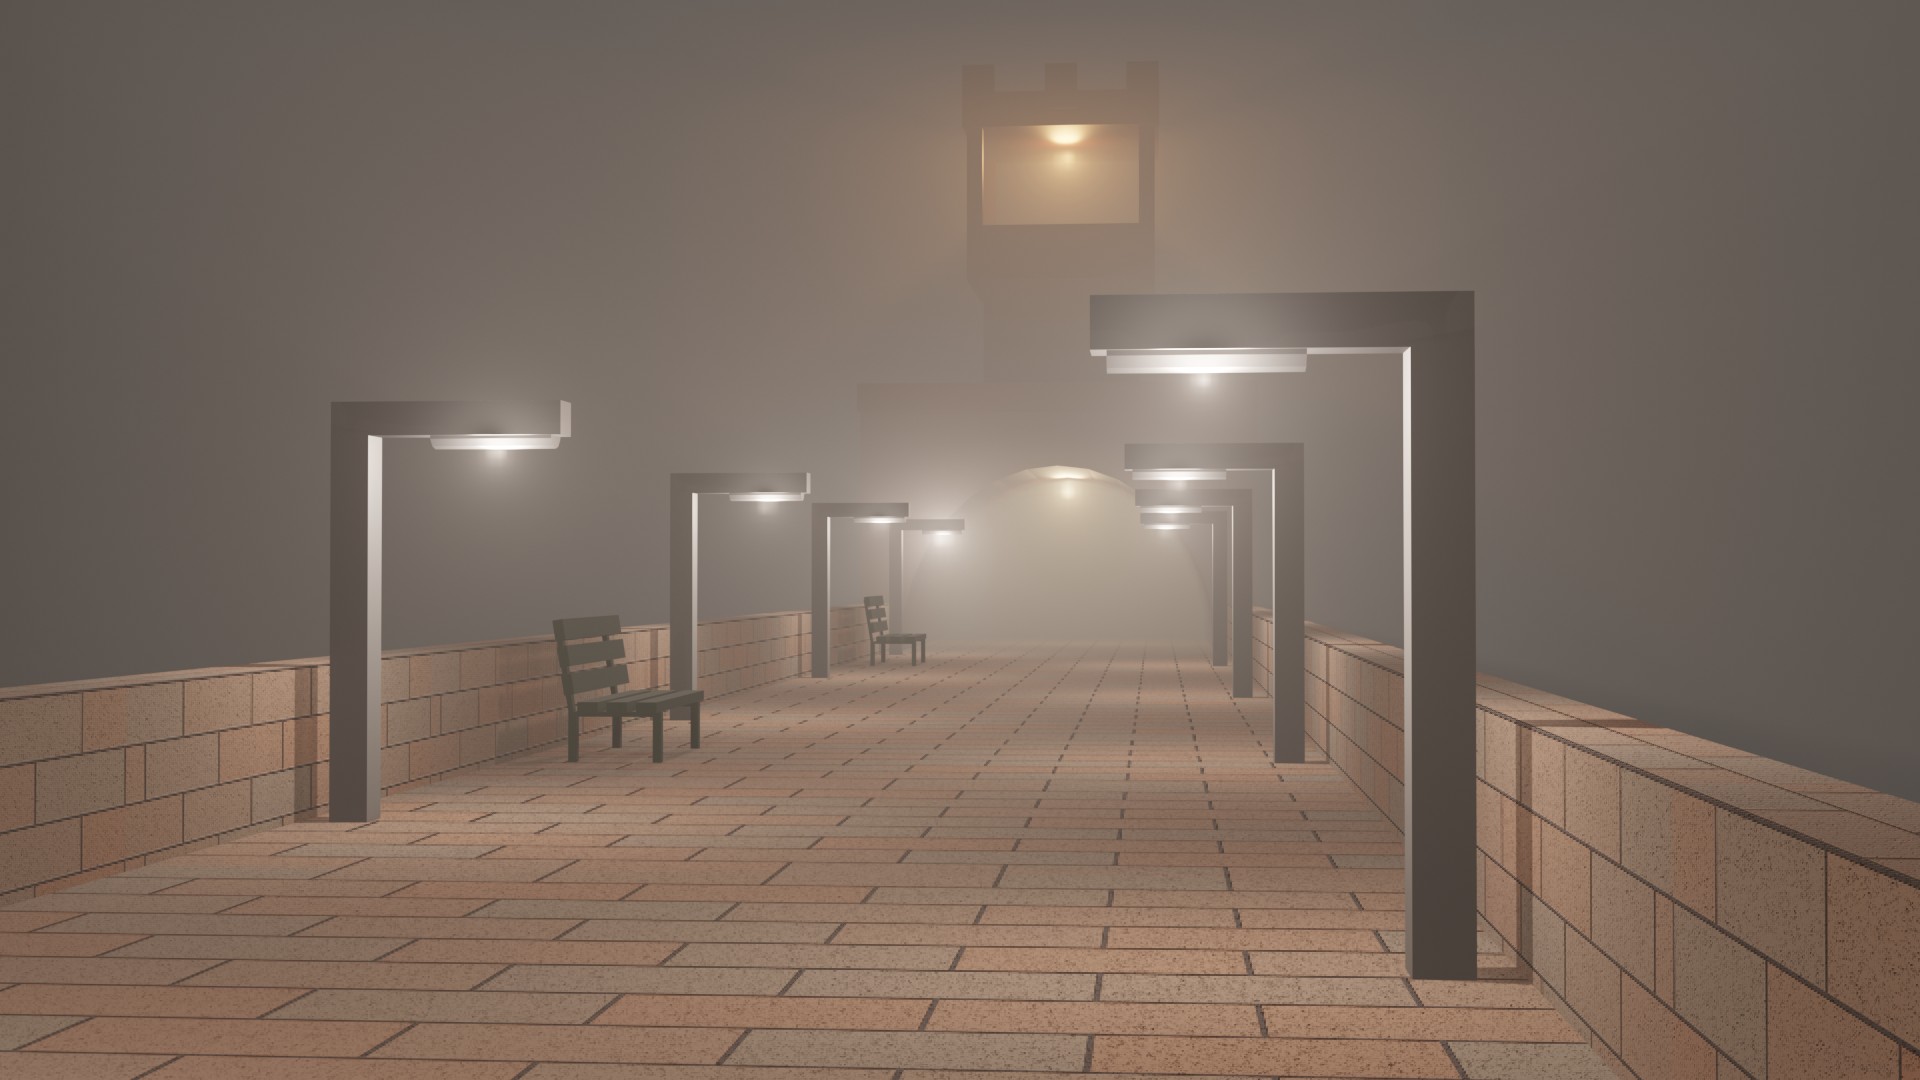
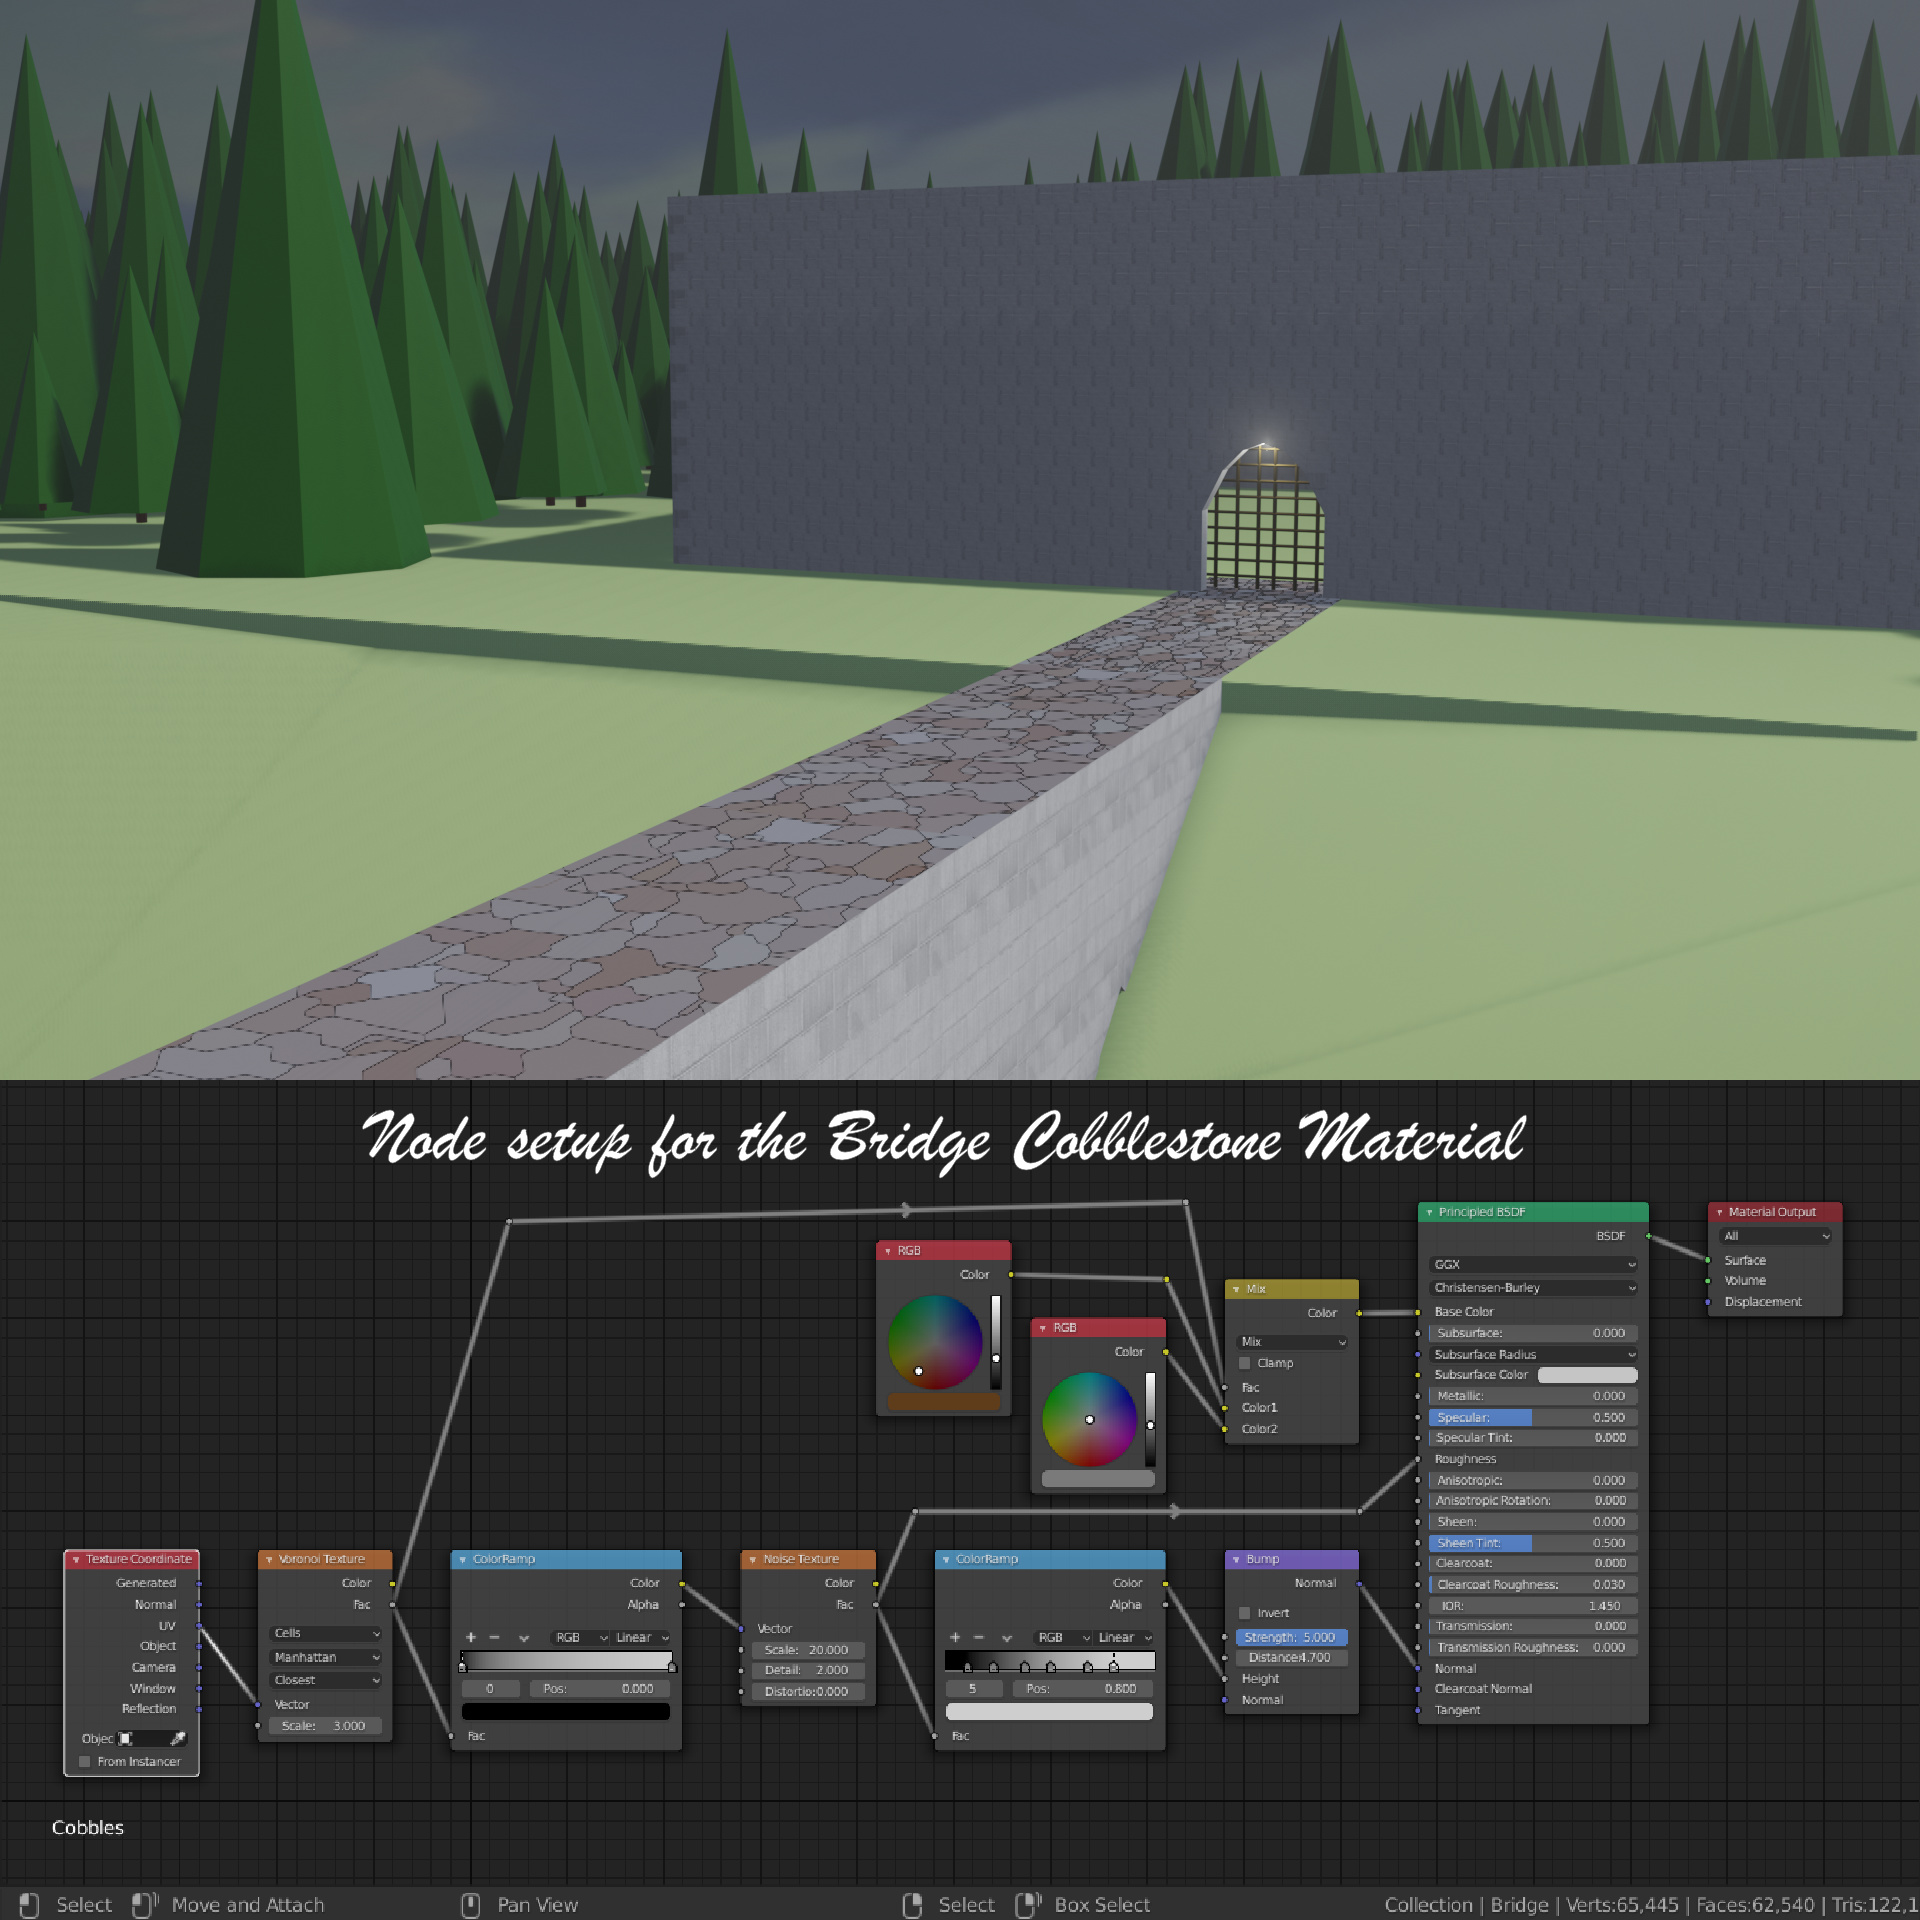
Actually pretty satisfied with this so far, but it sure can be improved upon.

5 Likes

I made my archway with the pavement of roadway as part of the arch section itself. So, I had to go into edit mode and assign the road faces as a material and the bridge as another. Once I did that then I could work with materials on the pavement section and all worked just as the lecture.

Here is my attempt at the challenge:

…and here it is after I watched the rest of the lecture:

They are different and I am not sure which I really prefer.

1 Like

Here is my color ramp texture. I ended up having to redo the stone castle texture as well as it was mapped to the same texture as the brick work originally. I went ahead and did a color ramp and combination on that material as well.

3 Likes

It took a while, but finally I have a result I am satisfied with. This is a combination of a brick texture and a noise texture both using color ramp.

2 Likes

It’s not exactly the challenge, but I found that by adding a texture to the bridge material I was able to make the bridge more visible from the side.

1 Like

After having Blender crash on me 10+ times during development of the tire tracks material I did it :slight_smile: (there was quite a bit of swearing at Blender)


And the node graph

4 Likes

I managed to keep mine a bit simpler than @Stephen_Jenkins up there (I’d love to see a larger pic of that since I might want to wrangle it myself :slight_smile:) but I’m satisfied with how it turned out.

1 Like

Finally remembered to make a larger pic. The difficult bit was the stuff on the left, which generates the 4 stripes which can then be multiplied later to look like tire tracks

2 Likes

:open_mouth: 
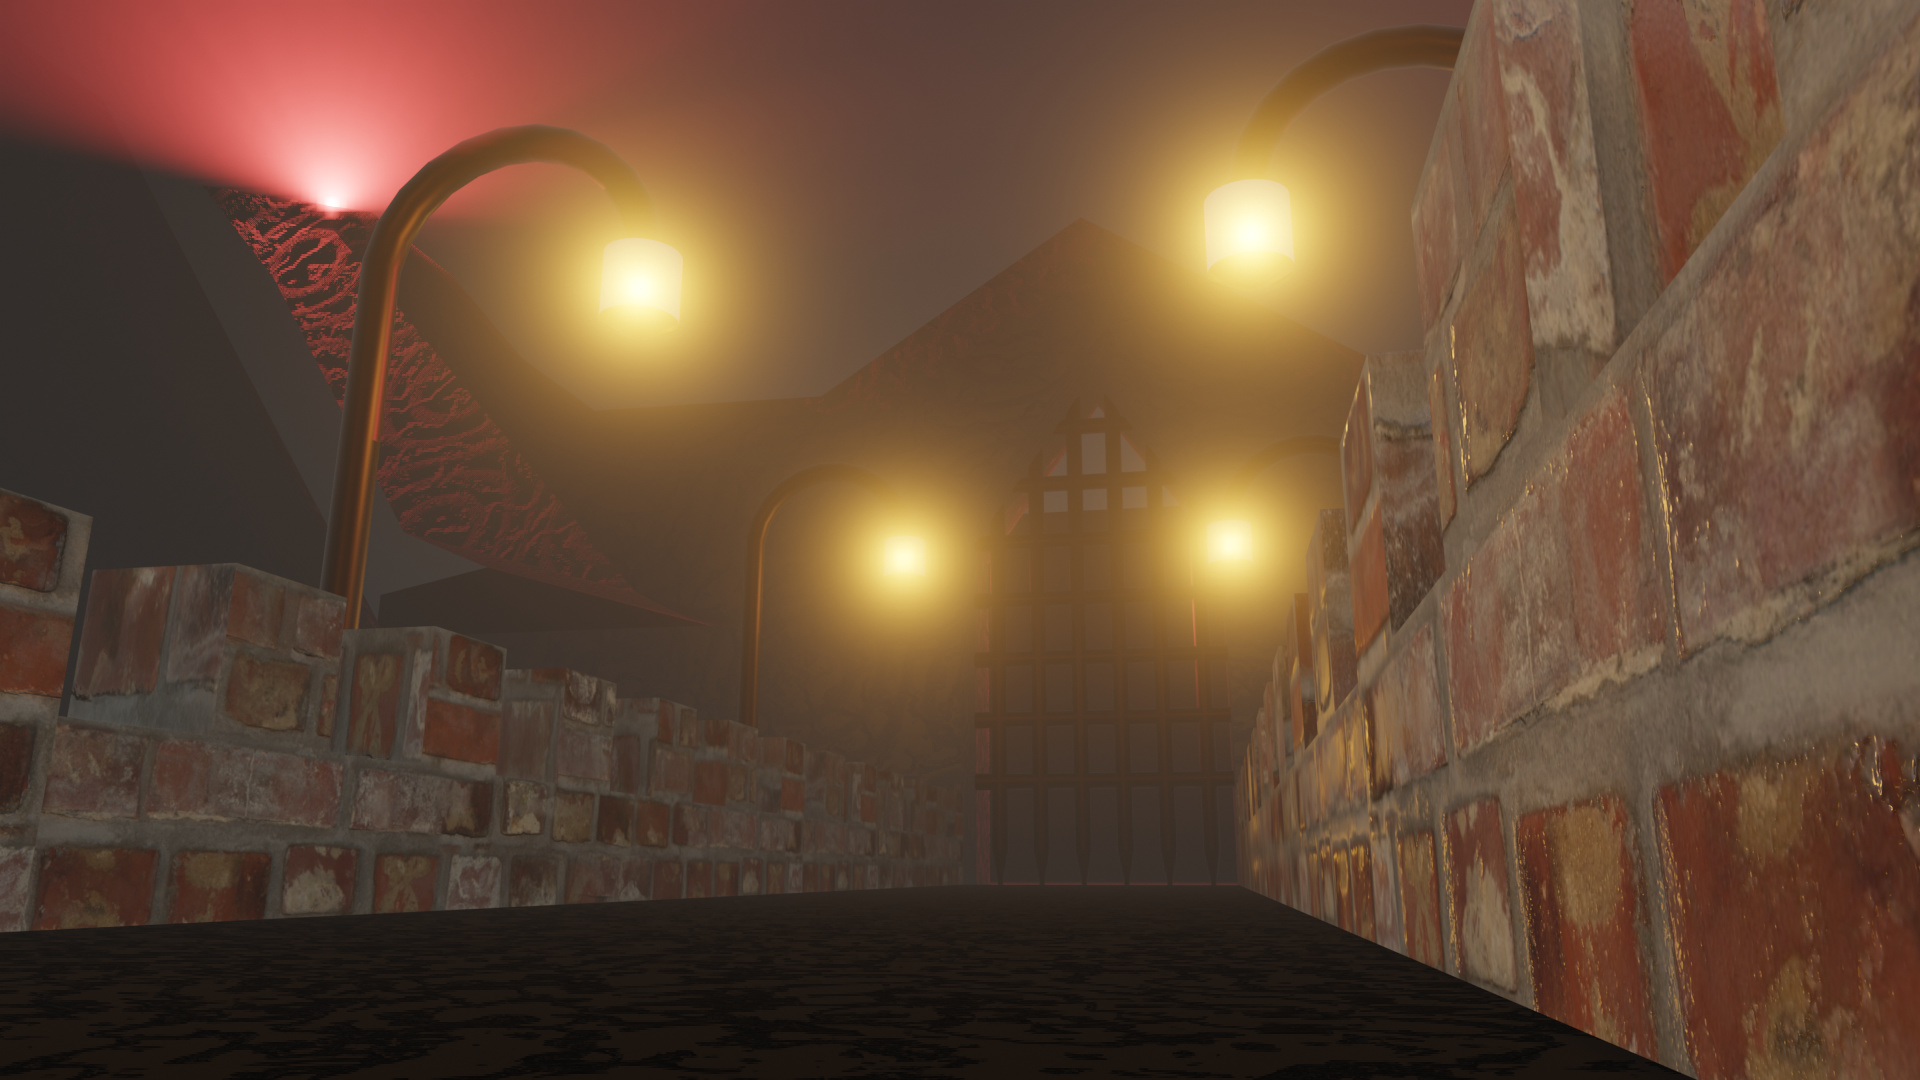
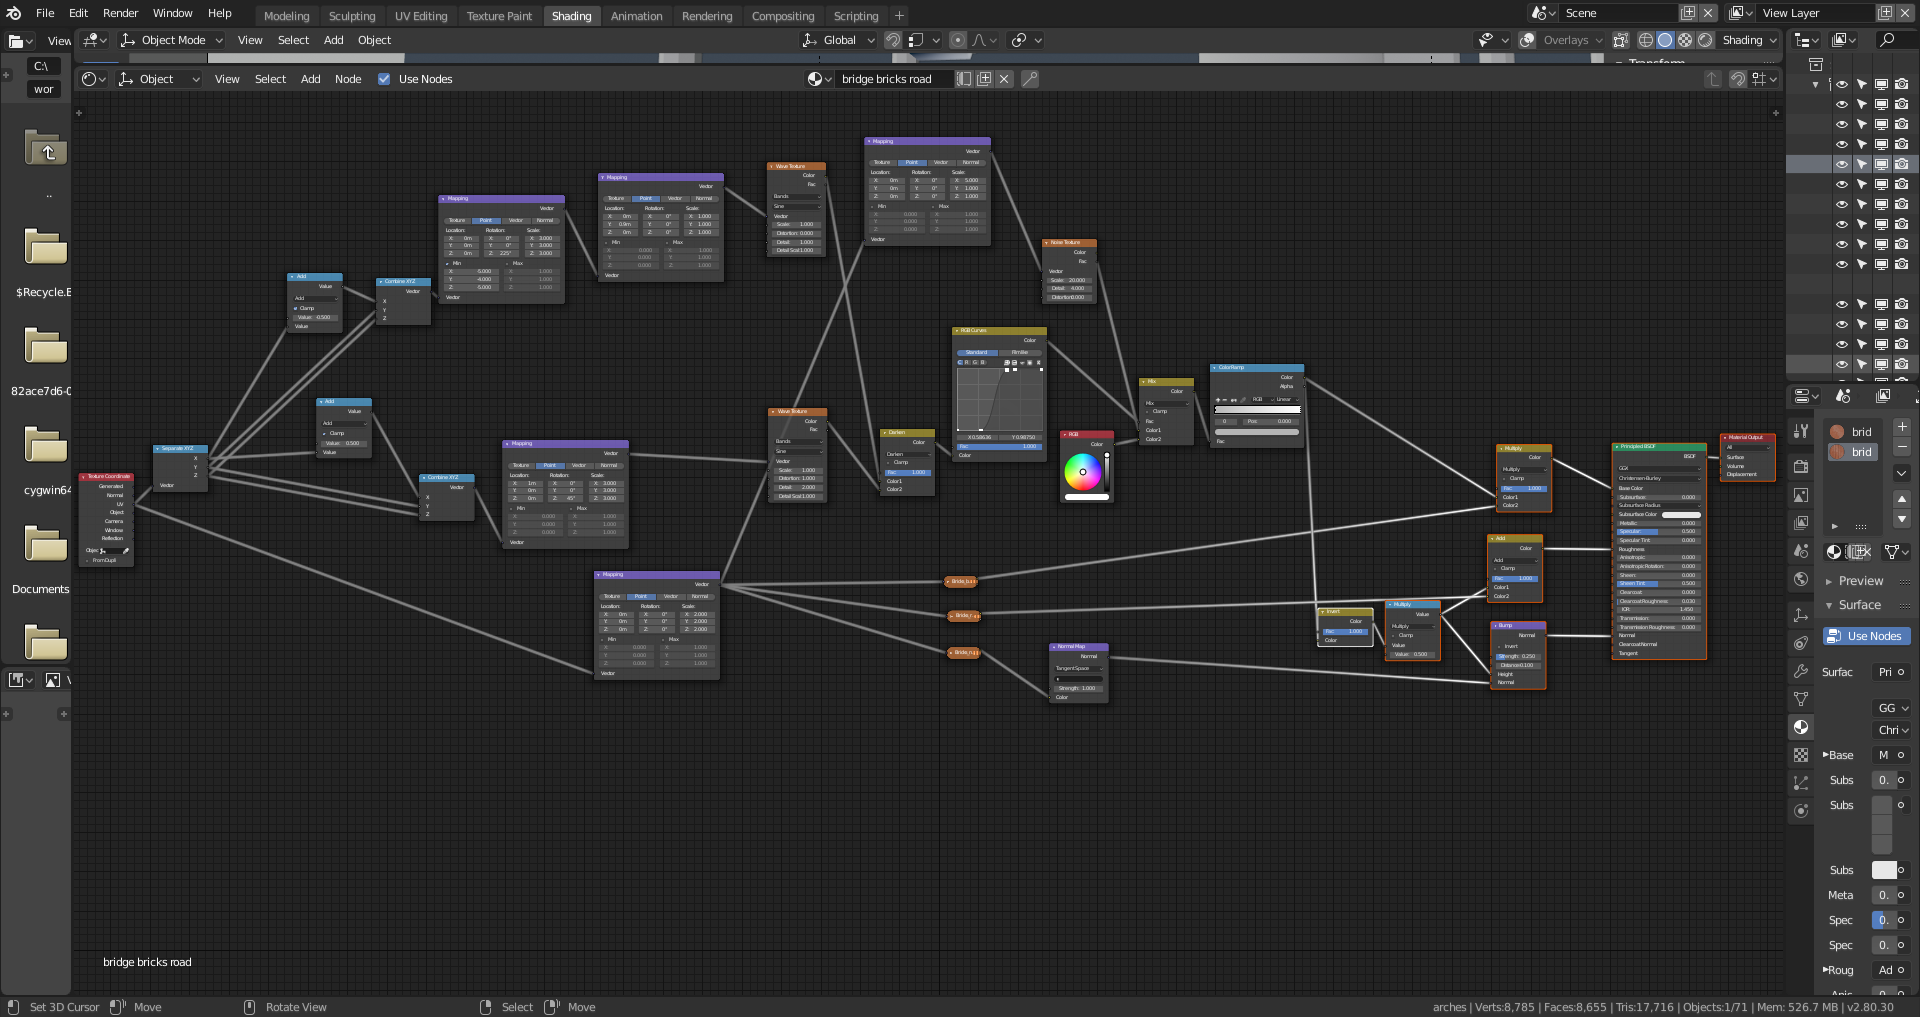
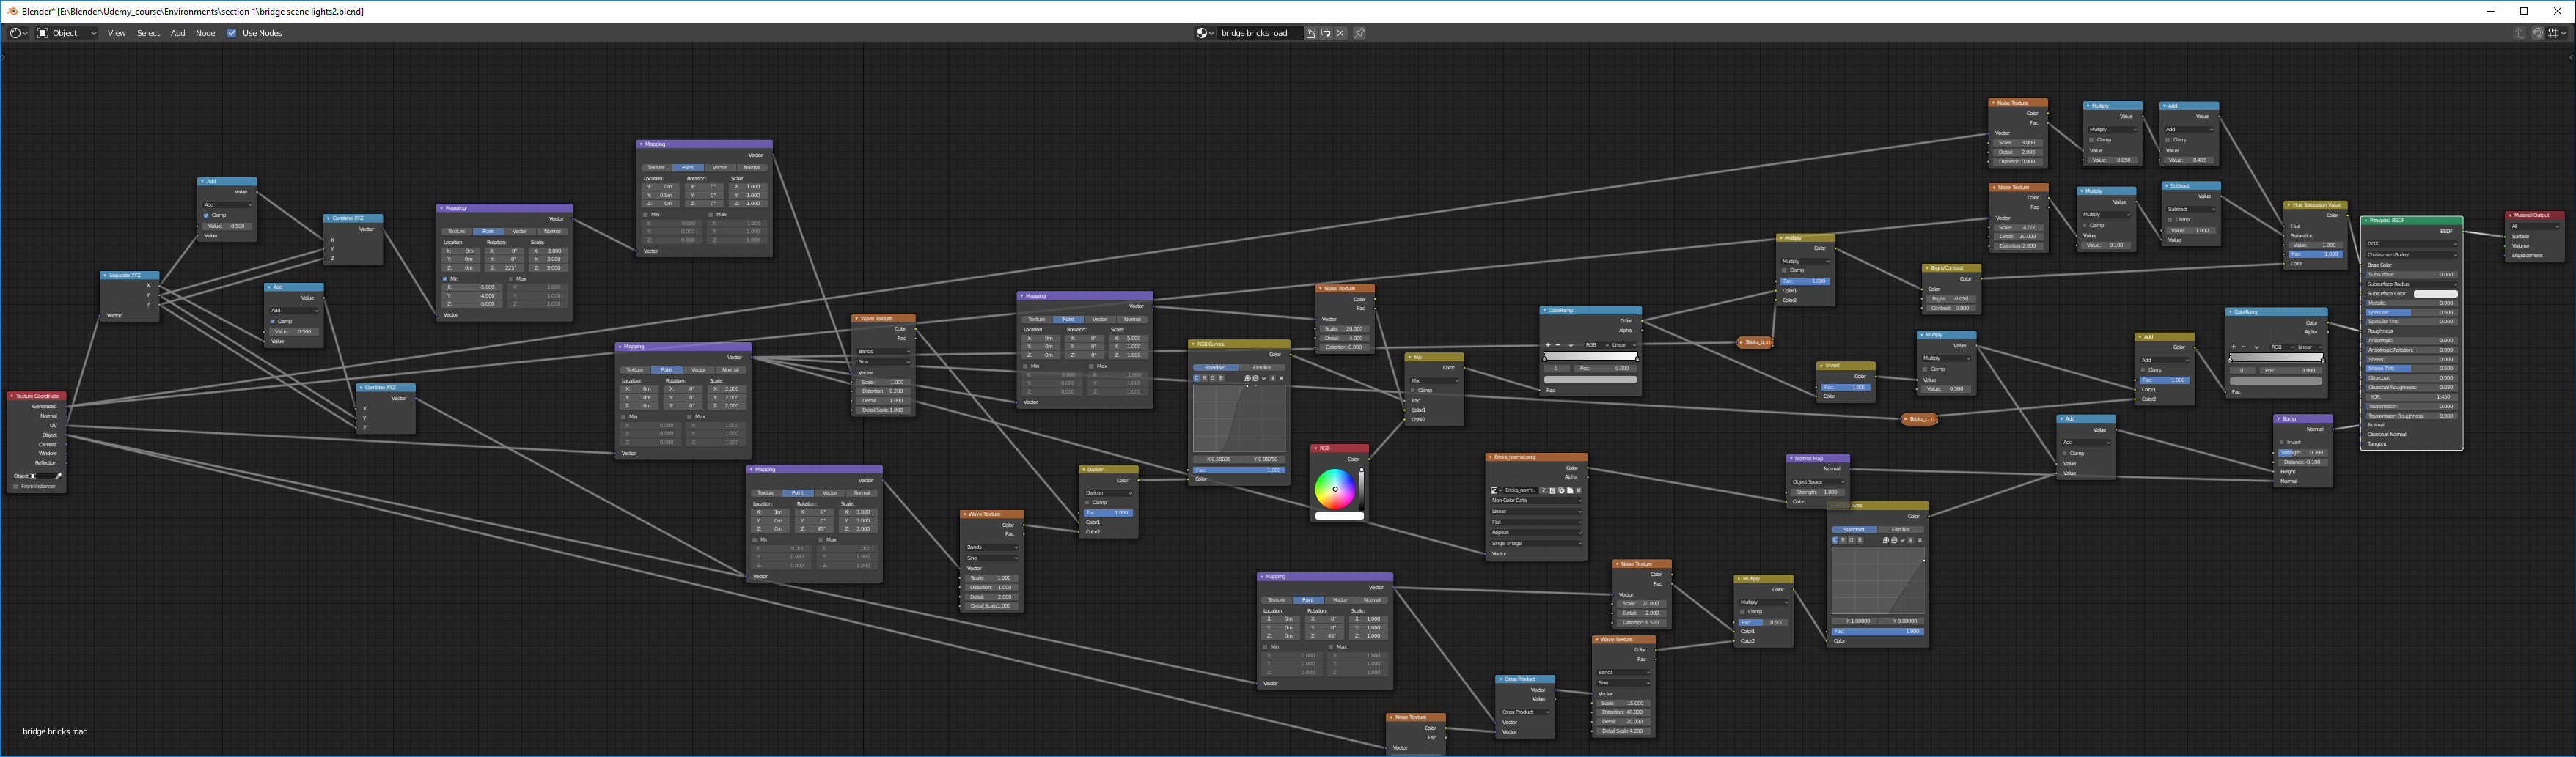
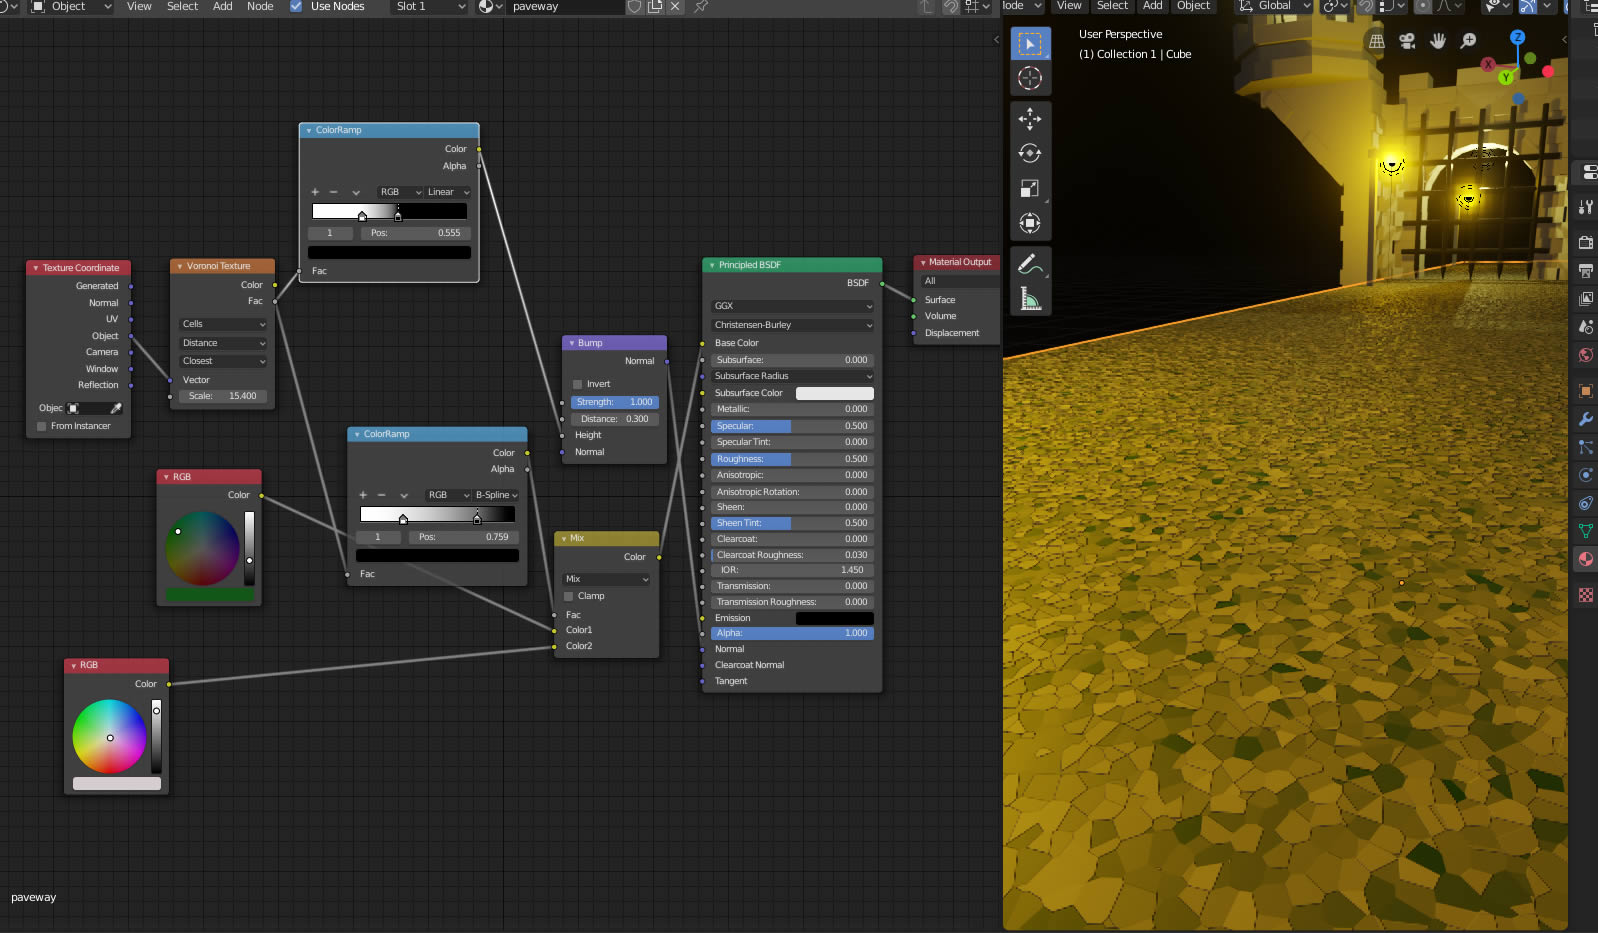
How on earth did you work that one out? I am struggling to manage even a few nodes. I guess that there was a fair bit of trial and error but even then you must have a reasonable idea of how the nodes work together. I think that a course on the theory and practice of node generation in Blender wouldn’t go amiss.

Lots of practice and trial and error and I knew what I was trying to achieve. First started by trying to get plain bars for where I wanted the tire tracks, then multiplied that by a noise to look like a tire tread, then added that on top of what I already had for the plain untouched road

My initial render avoided the bridge surface, since it wasn’t detailed at all. Yet for this challenge I’ve managed to move the camera, especially once the texture on the bridge acquired decent quality:

Here’s the nodes:


At first it was pretty hard to find usage for color ramp that could improve the picture. Yet, after some practice I’ve managed to paint the bridge tiles appropriately and avoid too bright or dark tiles.

2 Likes

2 Likes

1 Like

Color ramp with noise and voronoi looks like wood textures

.

3 Likes

Good experiment. Maybe change the yello-ish color?

Thanks for the suggestion, I added red instead of yellow.

2 Likes

2 Likes

Privacy & Terms