About 'Real Displacement Using Textures'!

In this video (objectives)…

  1. Explore in detail the displacement modifier.
  2. No Current way of passing through our previously generated textures.
  3. Must have geometry in order to function

After watching (learning outcomes)…

You will have a much great understanding of the displacement modifier and how to use it.

(Unique Video Reference: 4_PW_BEC)

We would love to know…

  • What you found good about this lecture?
  • What we could do better?

Remember that you can reply to this topic, or create a new topic. The easiest way to create a new topic is to follow the link in Resources. That way the topic will…

  • Be in the correct forum (for the course).
  • Be in the right sub-forum (for the section)
  • Have the correct lecture tag.

Enjoy your stay in our thriving community!

Reminds me of the Wizard of Oz: “I’m melting, I’m melting”!

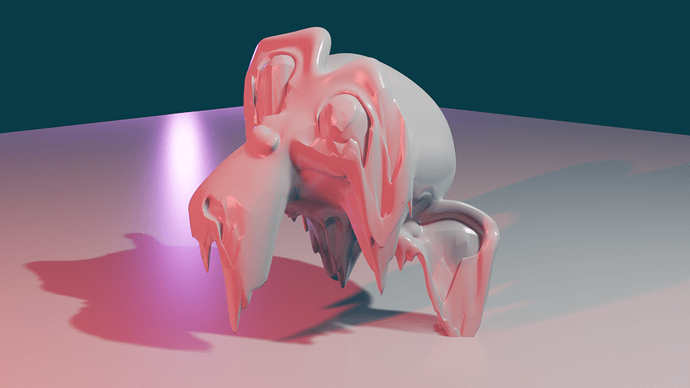
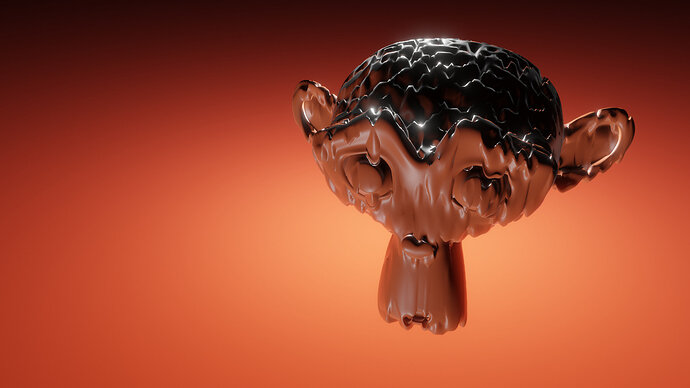
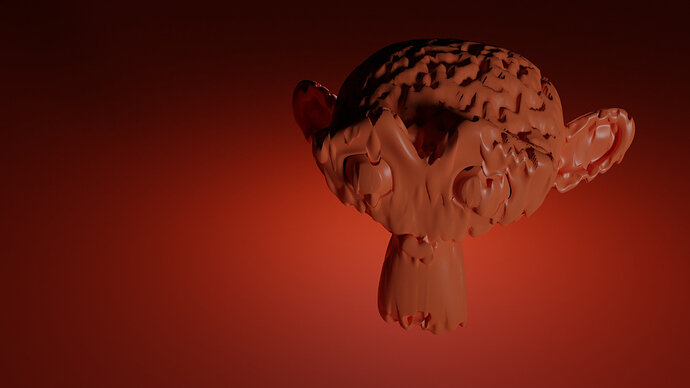
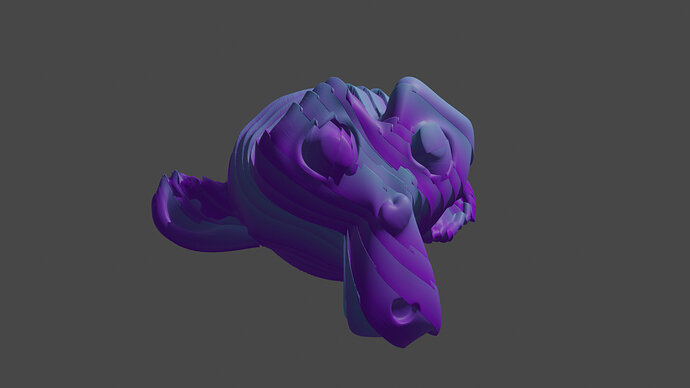
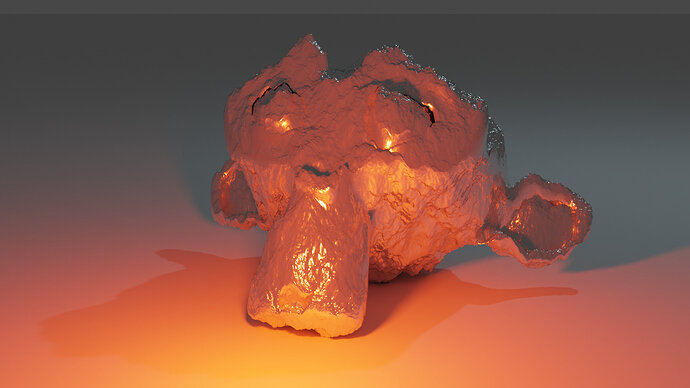
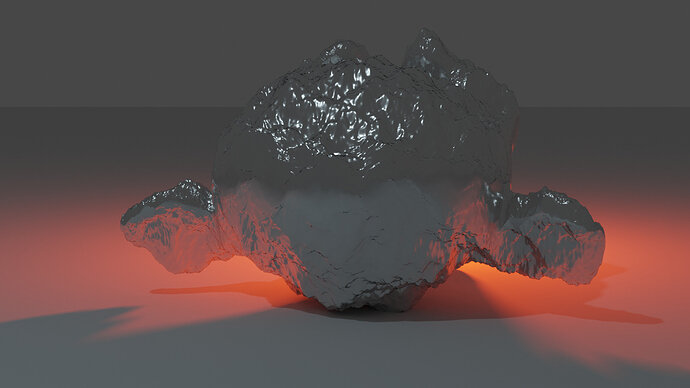
Here is my attempt at using displacement modifier to melt Suzanne. It was so grotesque that I decided to add lights and make it look scary for Halloween. I used the Musgrave Texture (not baked but procedural).

So here is Suzanne:

Melting%20Suzanne%20Halloween%20style

AND… BOO

3 Likes

I listened to the rest of the lecture and came up with the following Animation (Thank you Mike for the suggestion!)

I had to do the animation in Blender 2.79 because I could not find the appropriate tab in 2.8 to do this. Suzanne and the .png files were all done with Eevee in 2.8 (only took less than 2 minutes to render all the frames).

1 Like

Almost feel sorry for her.

Used vertex weights to apply the modifier to only parts of the mesh. Cheating? :smiley:

As I recall, “Suzanne” was the name of an ex-girlfriend of one of the early developers. But then, that might just be a myth…

EDIT: Oooh, oooh! Making an animation was interesting!! :smiley:

8 Likes

1 Like

I made the roughness decrease as she melts more too

1 Like

Made a melting animation straight away. I think it looks pretty cool.

Also took his sub challenge and fed it just some random animation I had made for a monthly contest. The results were…unpredictable ahaha

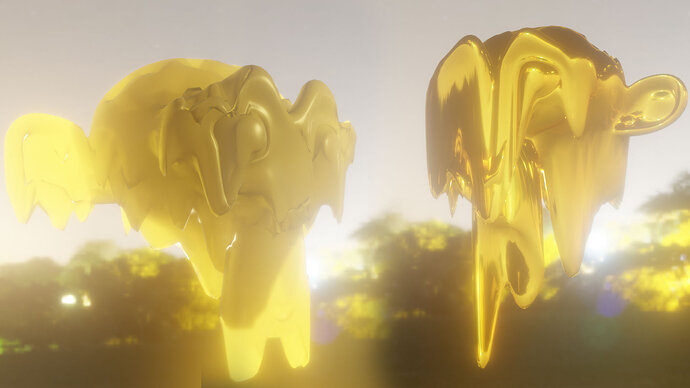
That was fun to play with the displacement. Was also trying to match the materials.
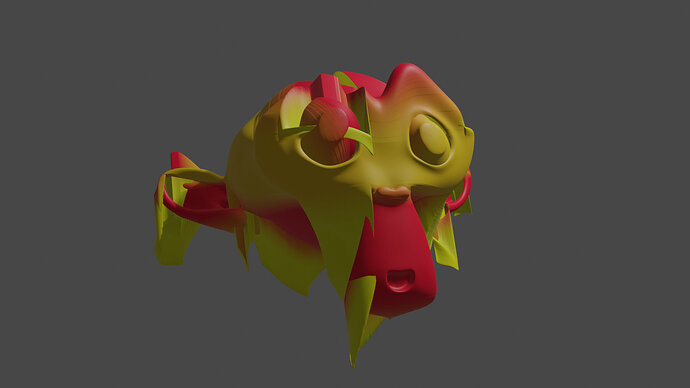
On the left - the first idea, on the right - after some re-thinking and re-working. Another hard lesson - sometimes it’s good to abandon the initial idea, go a couple of steps back and re-work.
P.S. Used Photoshop just to combine two images in one, but no postwork, pure Blender Eevee here.

2 Likes

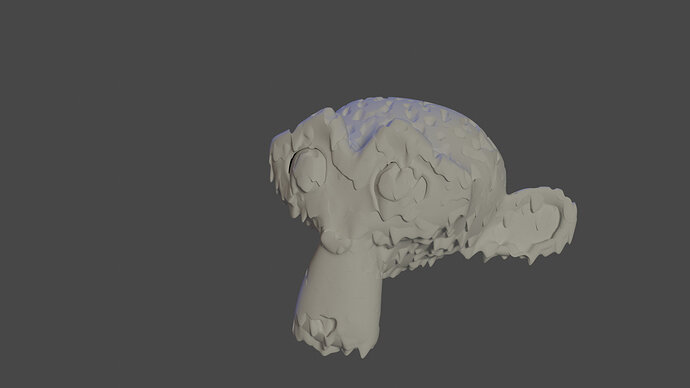
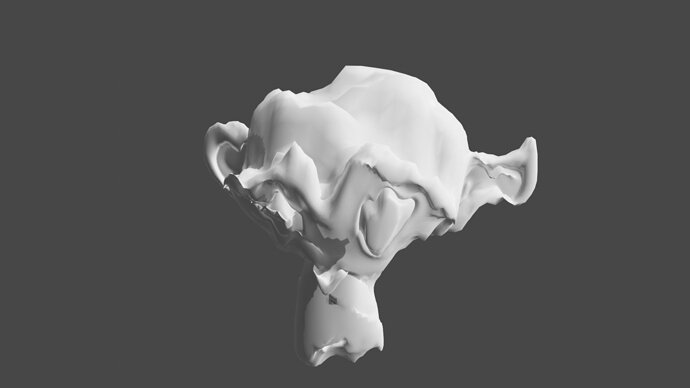
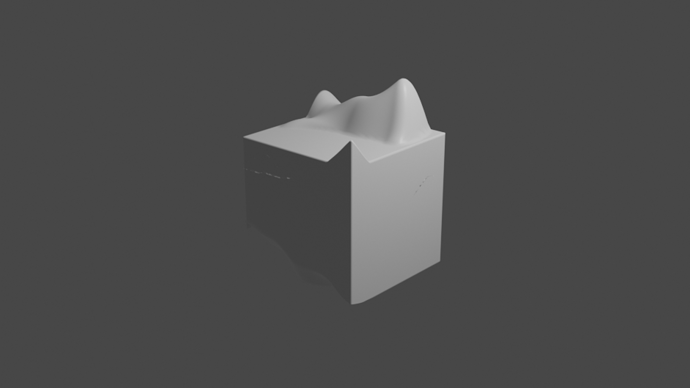
Nothing too fancy I just applied the marble texture to Suzanne, poor old lass she puts up with a lot in the cause of us lot learning Blender. One thing I did wonder about is if it is possible to easily give directionality to the effect, when we apply in the Z axis it stretches in both directions, and for melting it would be useful to stretch just in the negative Z. This might be useful for say imitating melting candles.

1 Like

Evee render

Cycles render

2 Likes

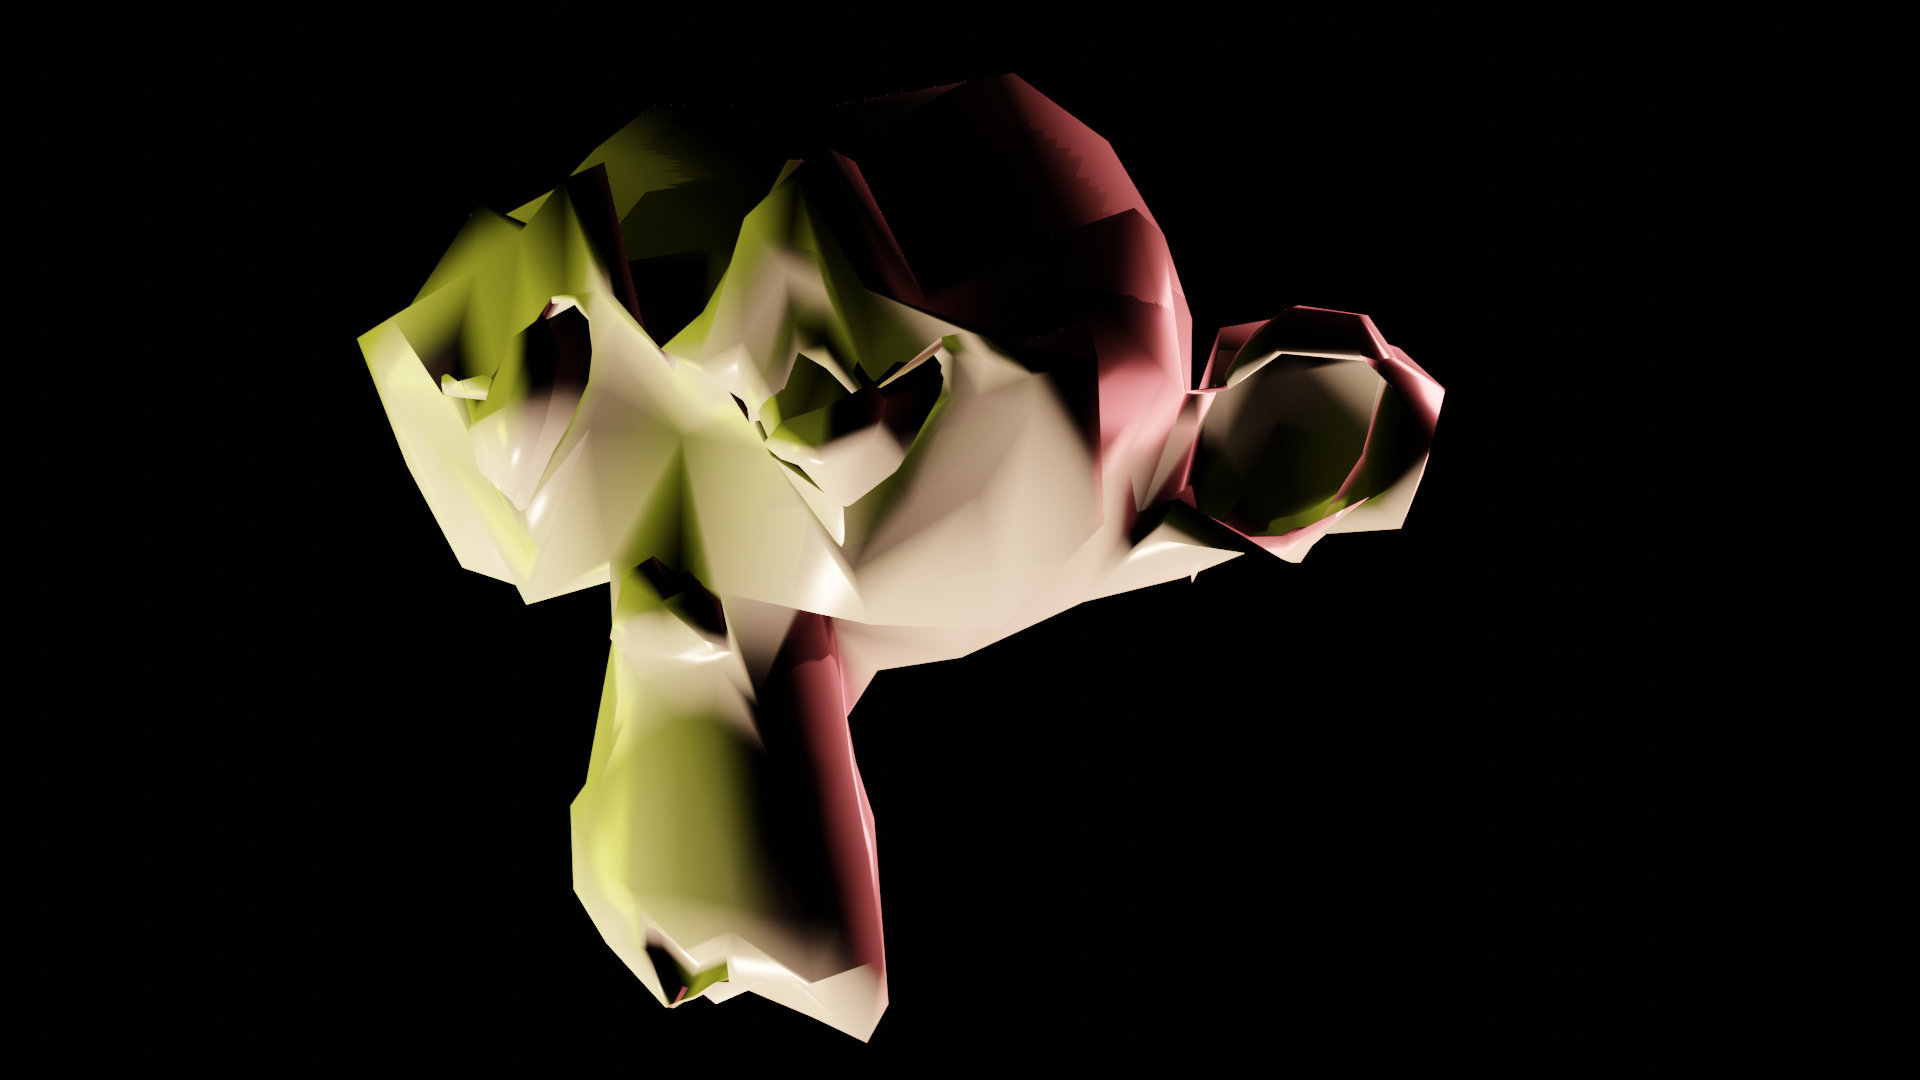
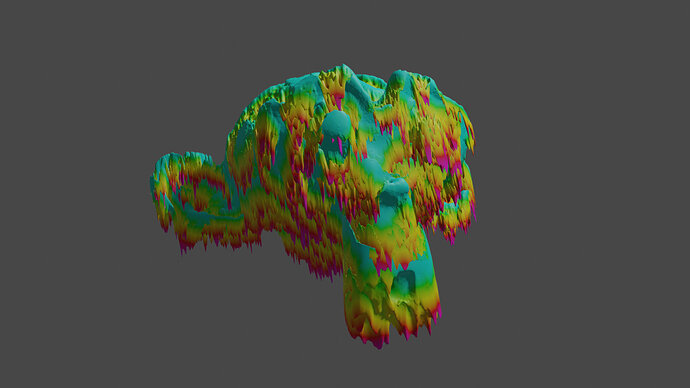
I used my 3 previous rendered (baked) textures (not yet tiled). And use them also to add some colours to it. The size of deformation is equal to the colour.

2 Likes

image

3 Likes

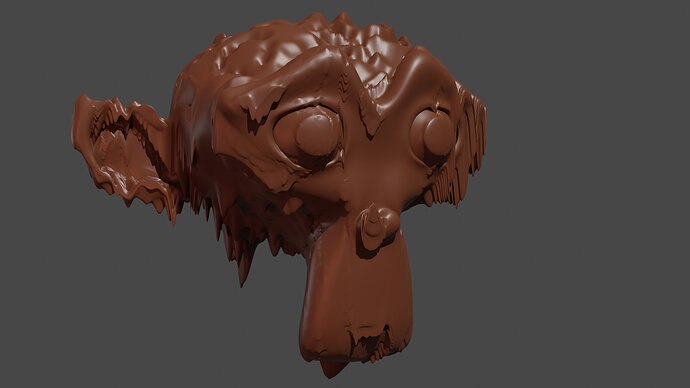
Chocolate Susane.

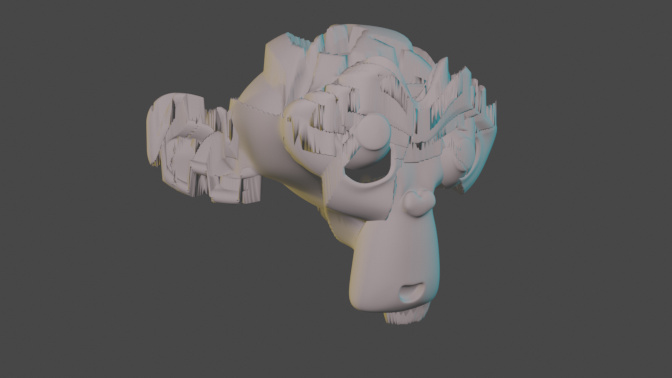
I have problems with the eyes being “separate geometry” and as such ripping open the model when displacing:

So I just added a render from the back :slight_smile:

Maybe assigning the eyes (mesh vertices) to an other texture (less disruptive).

I used the clouds texture in displacement.

1 Like

Privacy & Terms