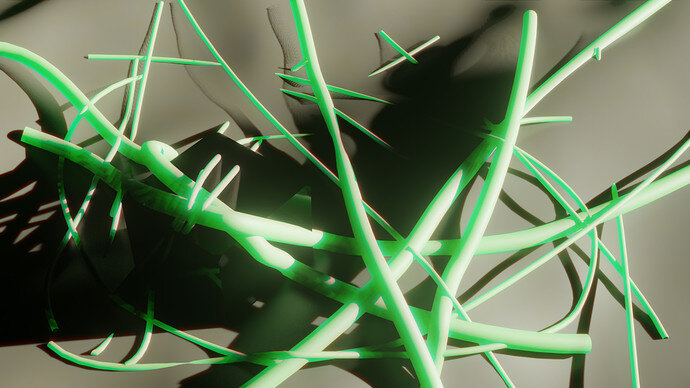
About 'Quick Tip: Drawing Curves'!

In this video (objectives)…

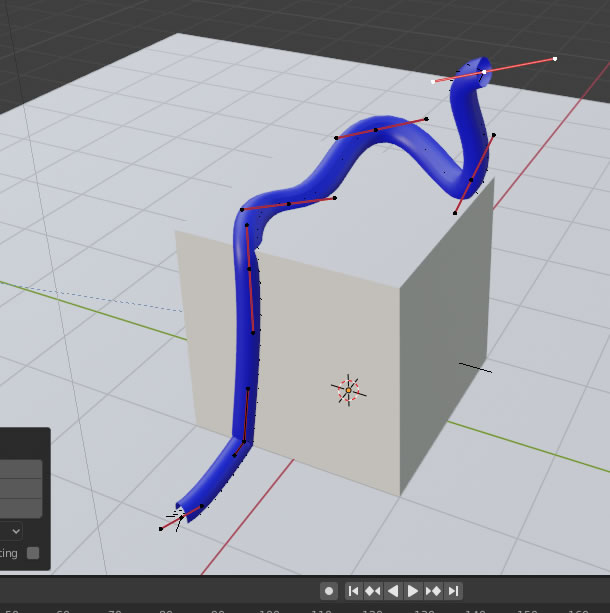
  1. Draw a curve rather than converting a grease pencil
  2. Understand it's limitations
  3. Far fewer control points to manage

After watching (learning outcomes)…

Use the mouse to sketch curves directly

(Unique Video Reference: 10_SG_BEC)

We would love to know…

  • What you found good about this lecture?
  • What we could do better?

Remember that you can reply to this topic, or create a new topic. The easiest way to create a new topic is to follow the link in Resources. That way the topic will…

  • Be in the correct forum (for the course).
  • Be in the right sub-forum (for the section)
  • Have the correct lecture tag.

Enjoy your stay in our thriving community!

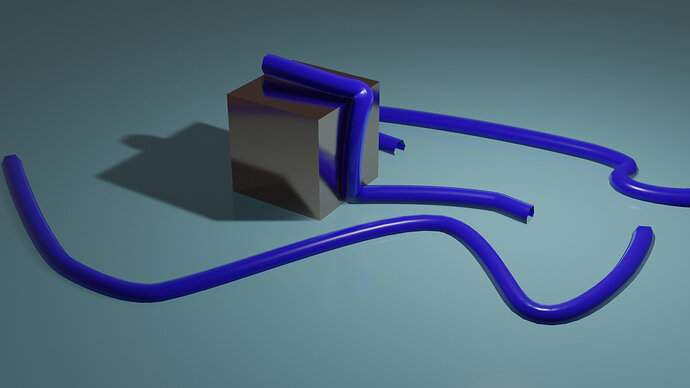
I find this way a lot easier for some straight forward items (like pipes and tubing attached to a wall, floor or ceiling). I can picture a spaceship area with conduits hanging from the ceiling and along the floor. I might have to try that!

Okay, this is not great but quick and fun. I experimented with some of the Beta features in the camera settings and used the bezier curve to make a little scene that I call “View from inside the Tardis.”

5 Likes

yes like this way better too. great tip tut.

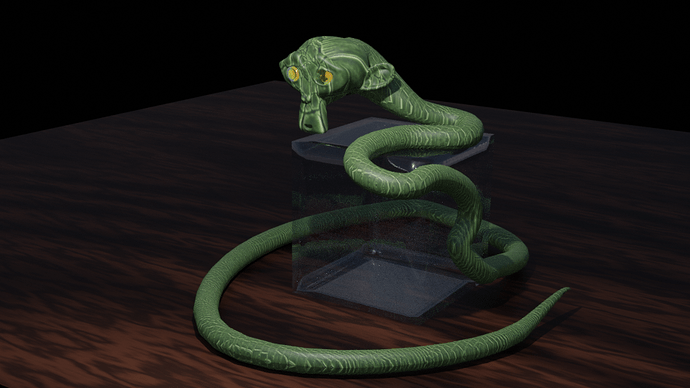
Still using the grease pencil. Made a simple animation by changing the start- and end-offset of the bevel options.
Done with Eevee, just to use the render speed of Eevee.

6 Likes

I agree with @Richard_Rayer - prefer the curves for drawing this type of item.

3 Likes

For me personally, curves are difficult to manage.

What I do is to draw one single vertex and extrude it in the shape / tube I want.
Then, because it is a mesh, I convert it to a curve and add a bevel in the curve properties.
Use Alt+s to scale individual curve nodes.

1 Like

Thanks for the tip @FedPete!

1 Like

Thank you for the tips, really. It’s just in time. Btw nice animation :slightly_smiling_face:

1 Like

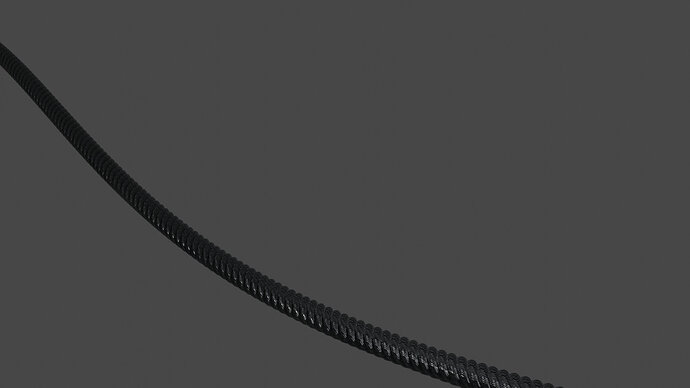
Using Nurbs and YouTube on the Screw modifier, I made this for my bridge. Tried the Bez and didn’t have much luck with all the distortion.

1 Like

When using it on a larger model (bridge), the details are not needed.
And the solution of a special node set-up is more plausible.

In your example, you can see this in the rope right bottom part, showing dents.
But the left top part not visible. But still consuming a lot of vertices.

1 Like

Thank you!

2 Likes

Privacy & Terms