Have a better understanding of what the generated textures look like.
(Unique Video Reference: 7_PW_BEC)
We would love to know…
What you found good about this lecture?
What we could do better?
Remember that you can reply to this topic, or create a new topic. The easiest way to create a new topic is to follow the link in Resources. That way the topic will…
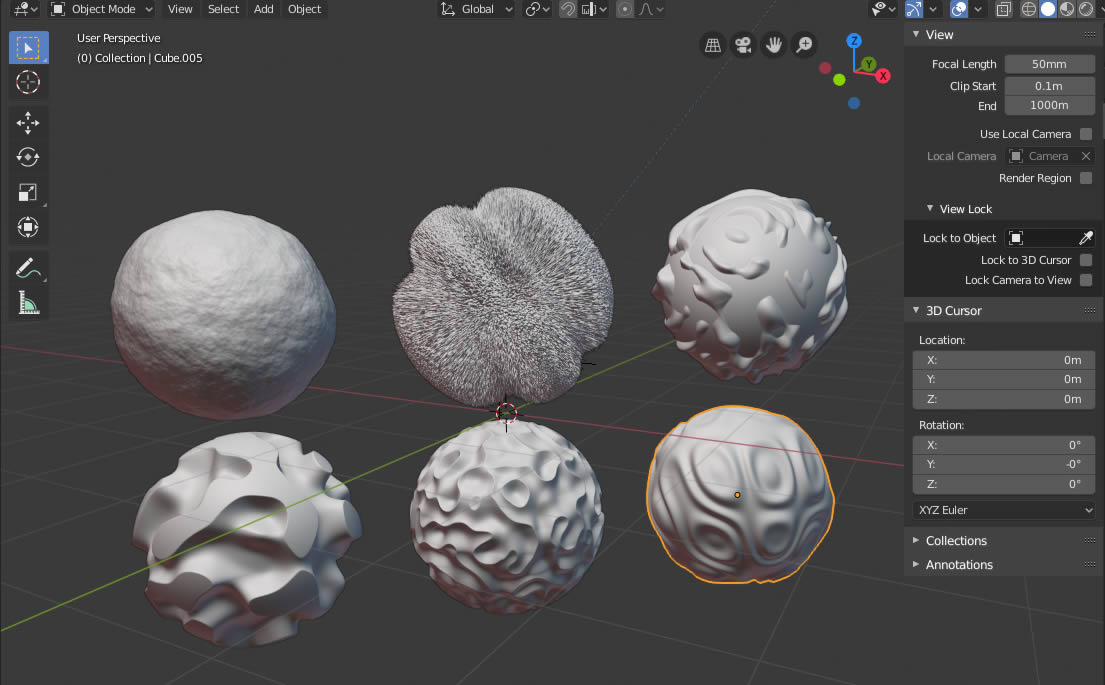
This was fun. I did notice that you can really add up the vertices count if you don’t keep an eye on the subdivision surface when you are playing around. Luckily, I did not have a crash thanks to your comments about being careful! The lecture was well presented and I found no problems in understanding what was said.
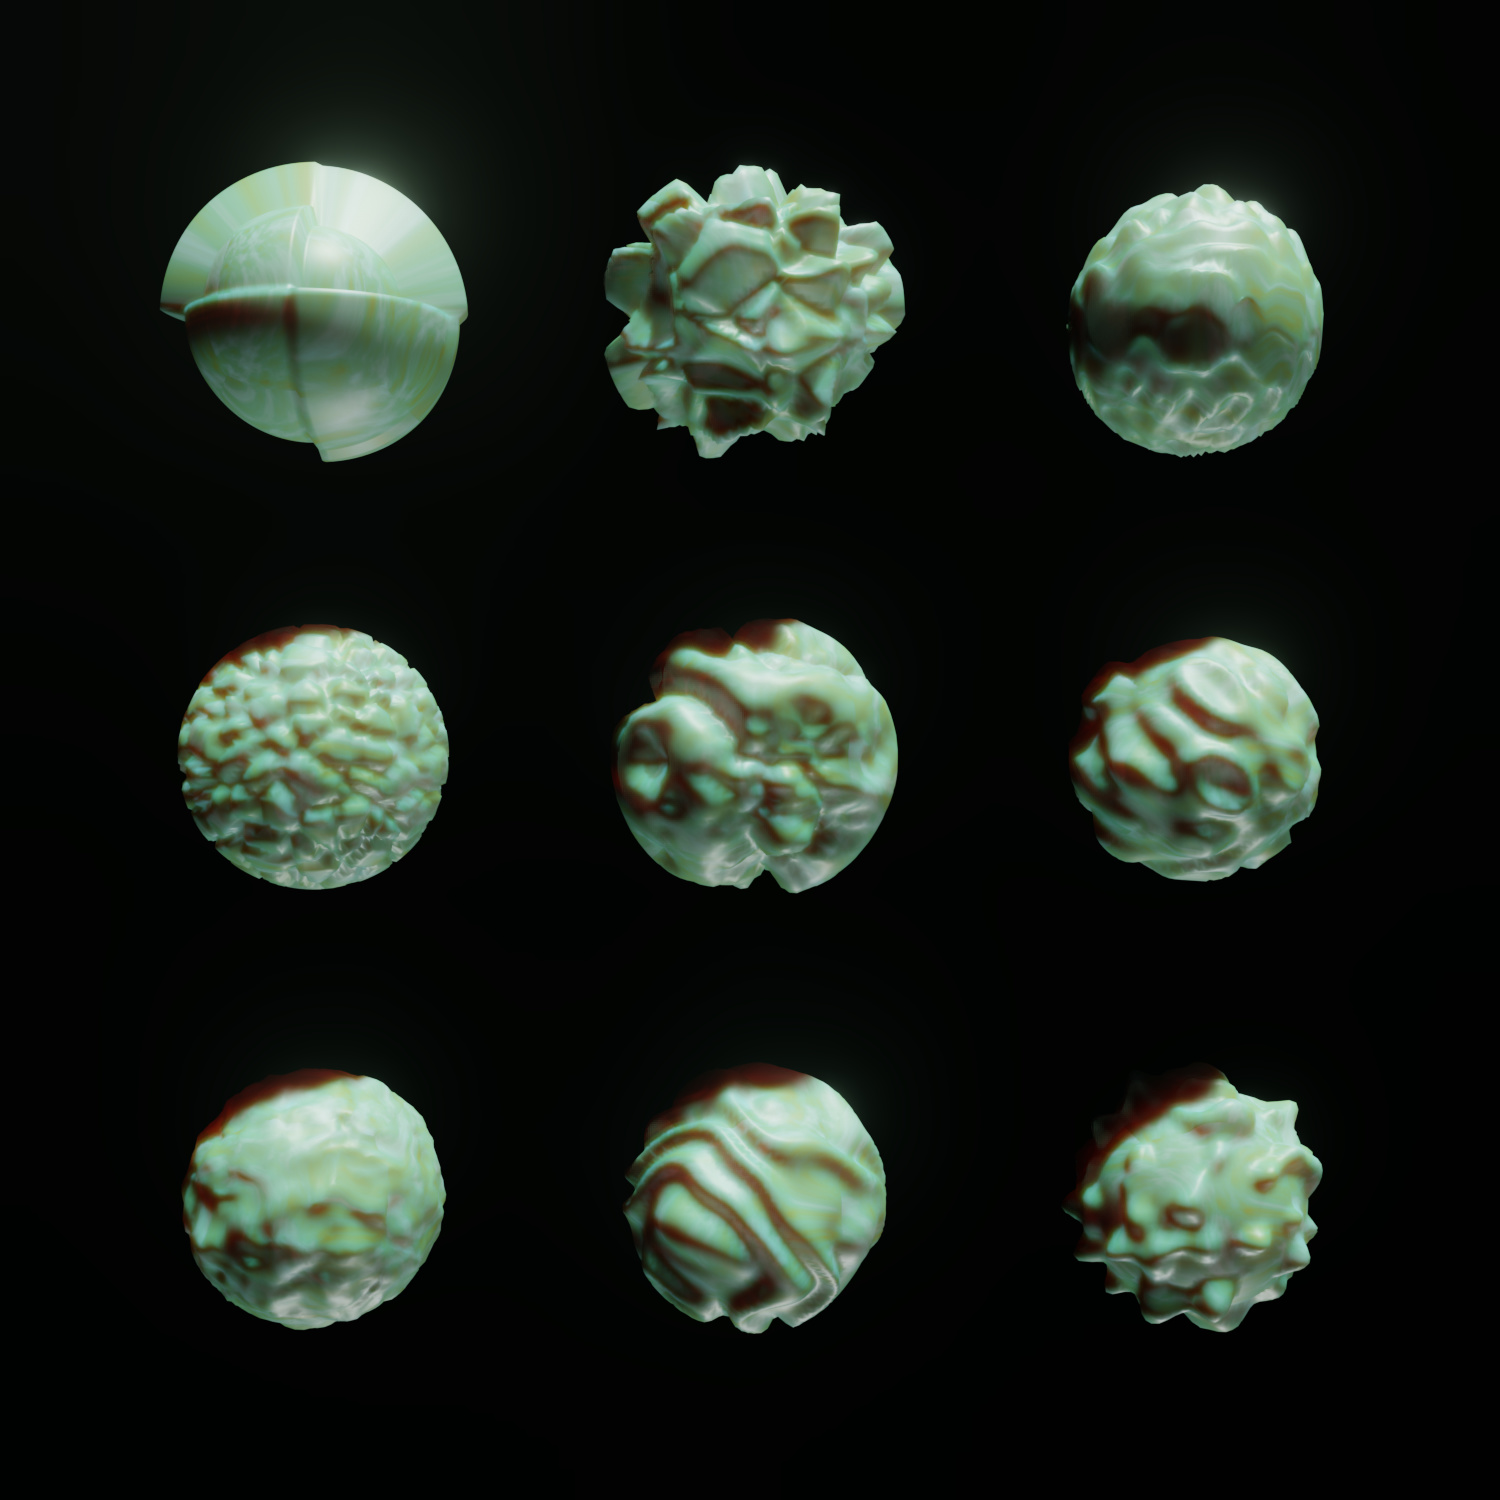
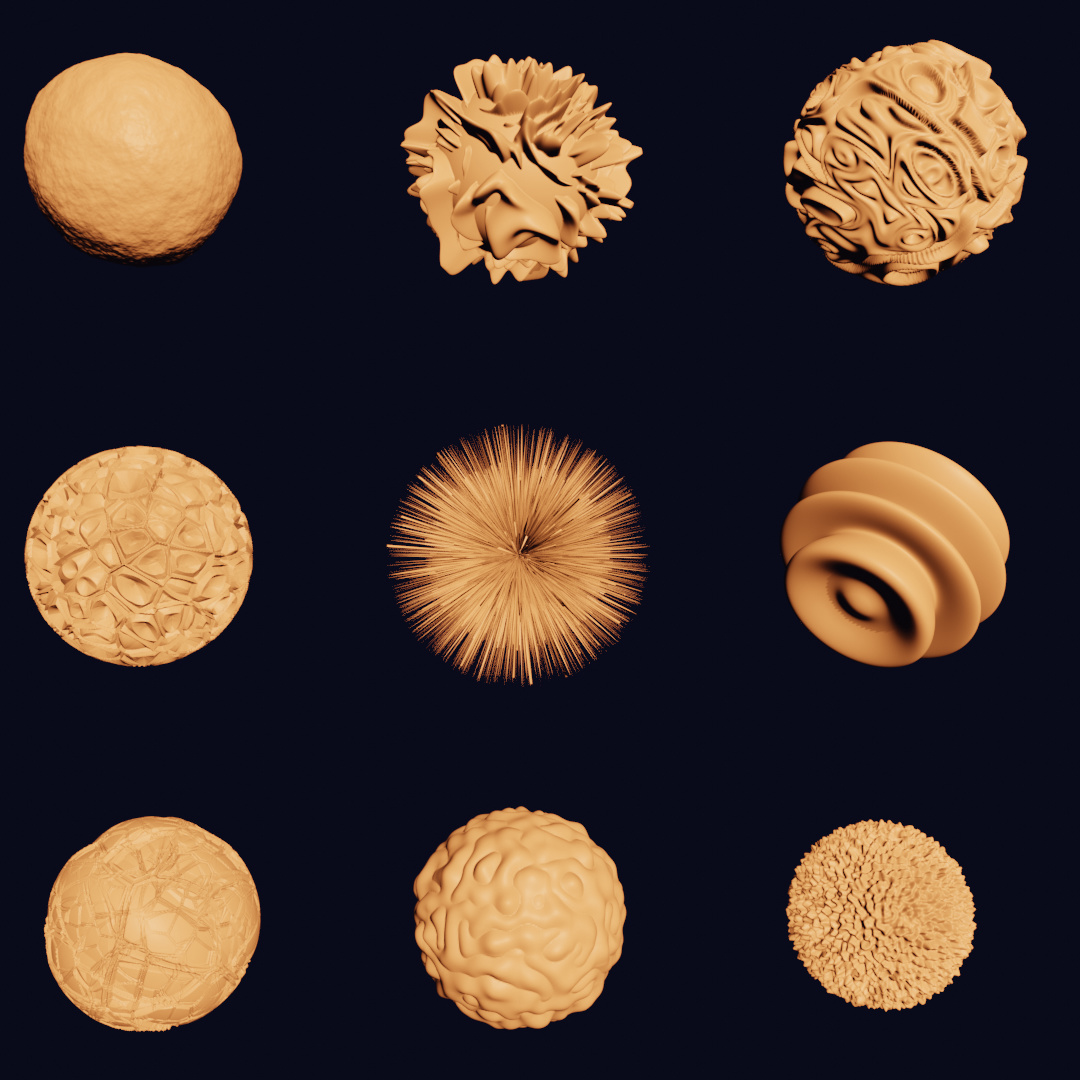
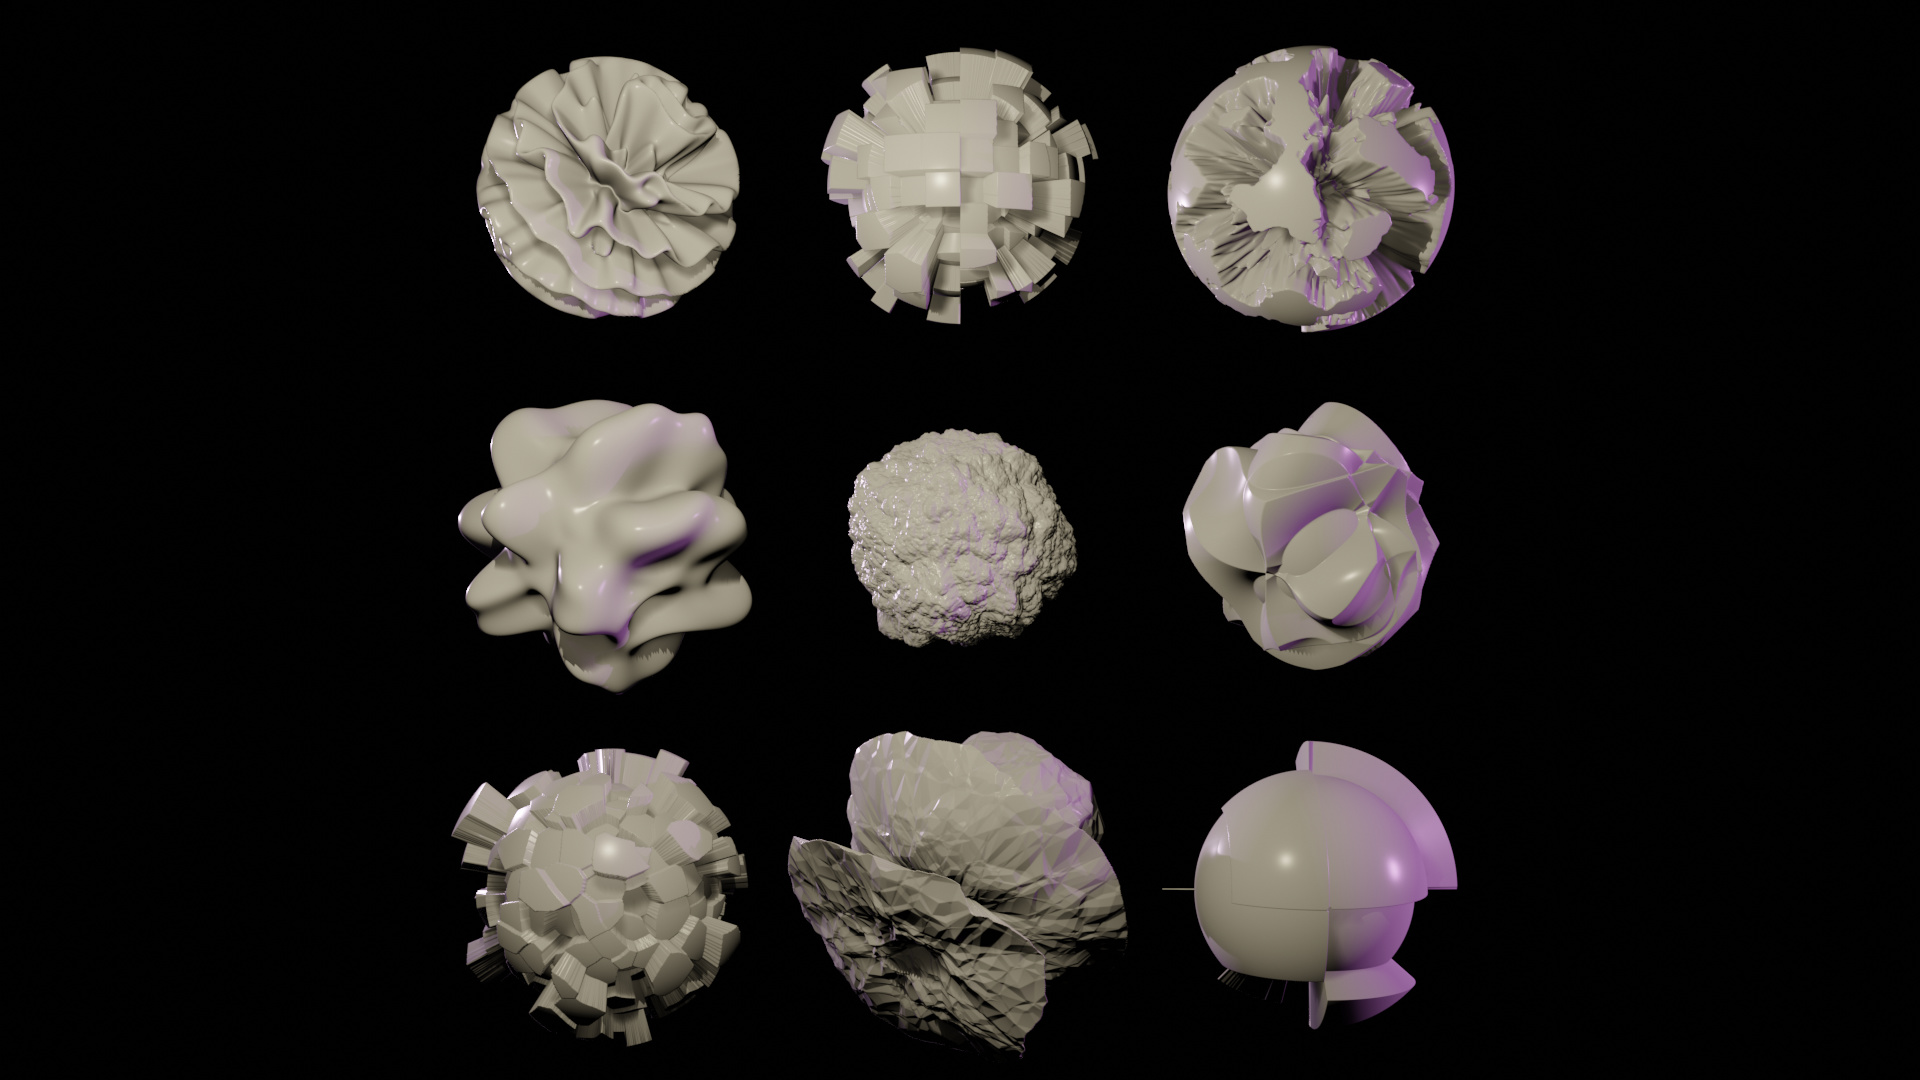
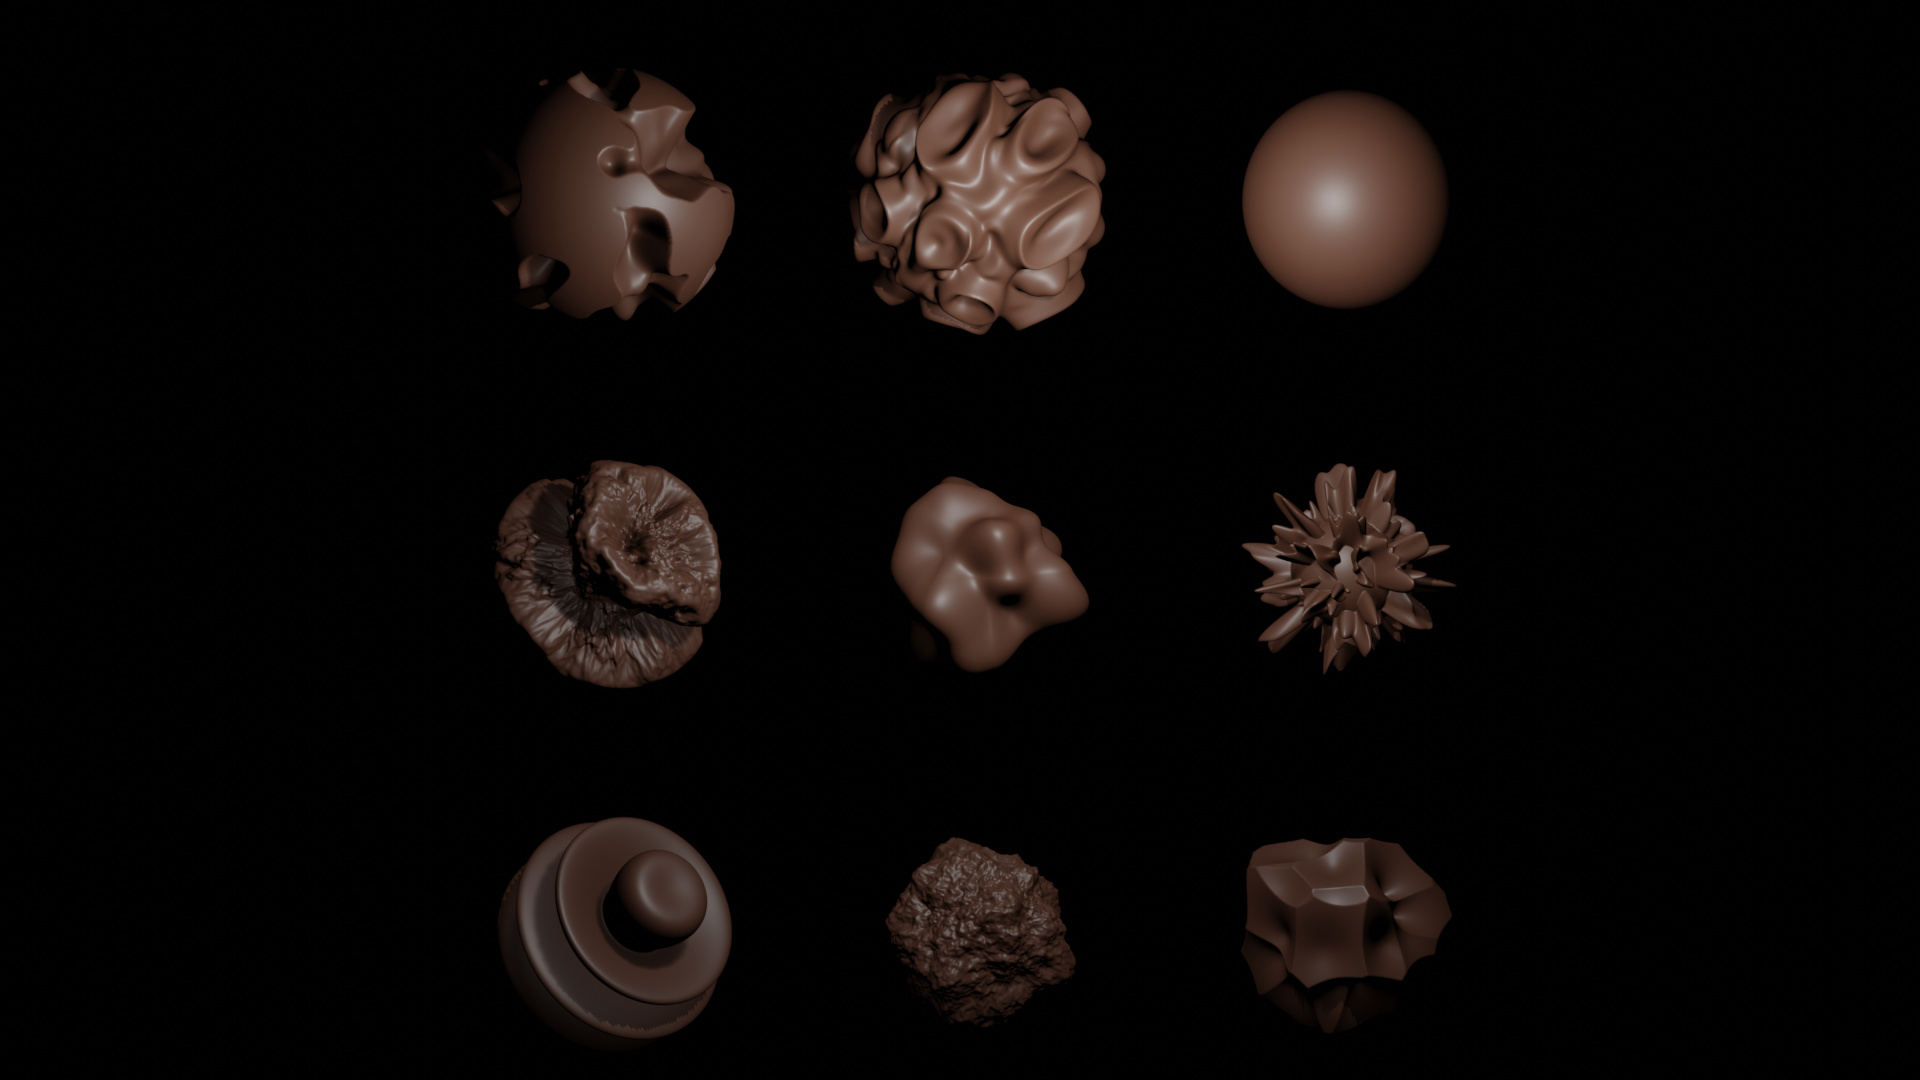
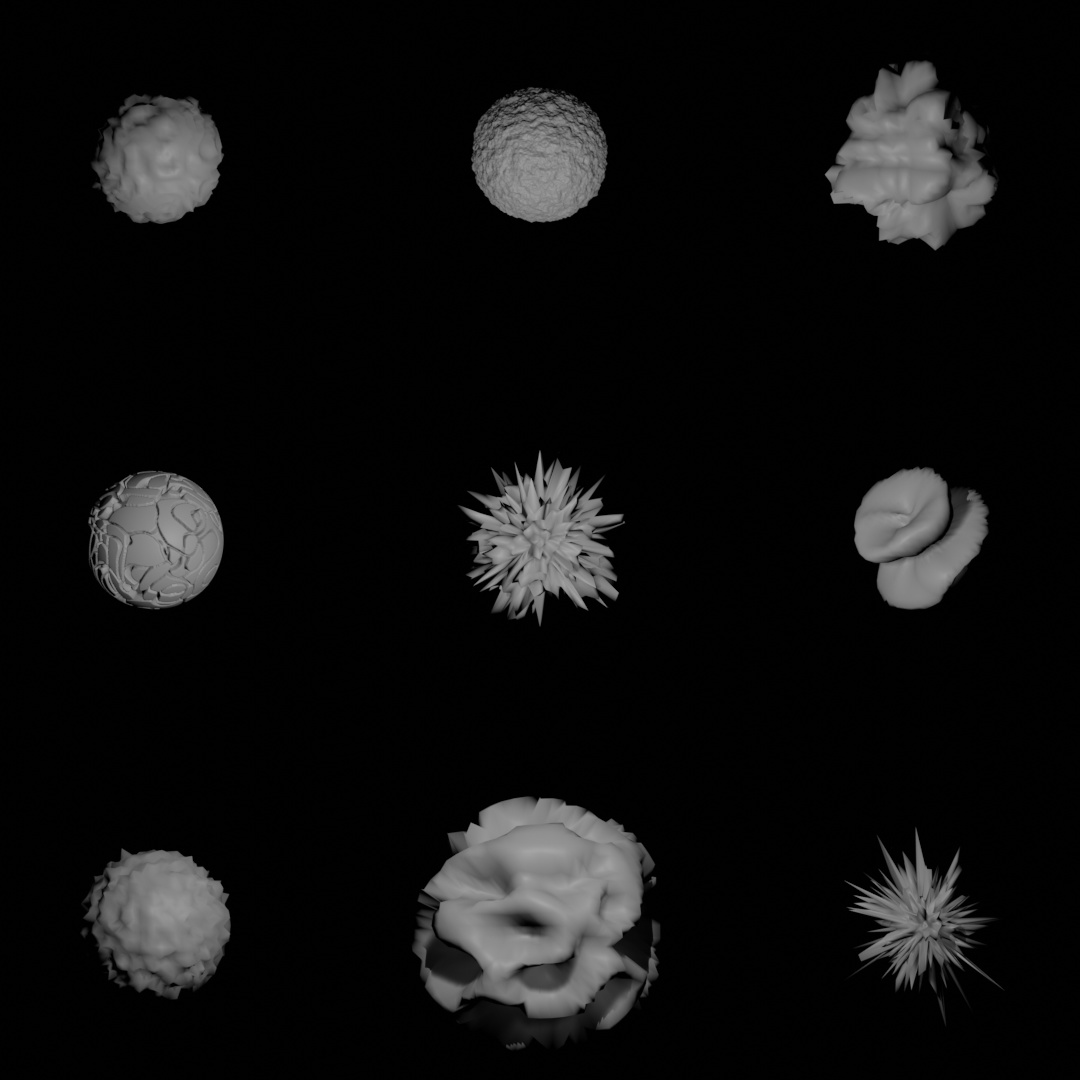
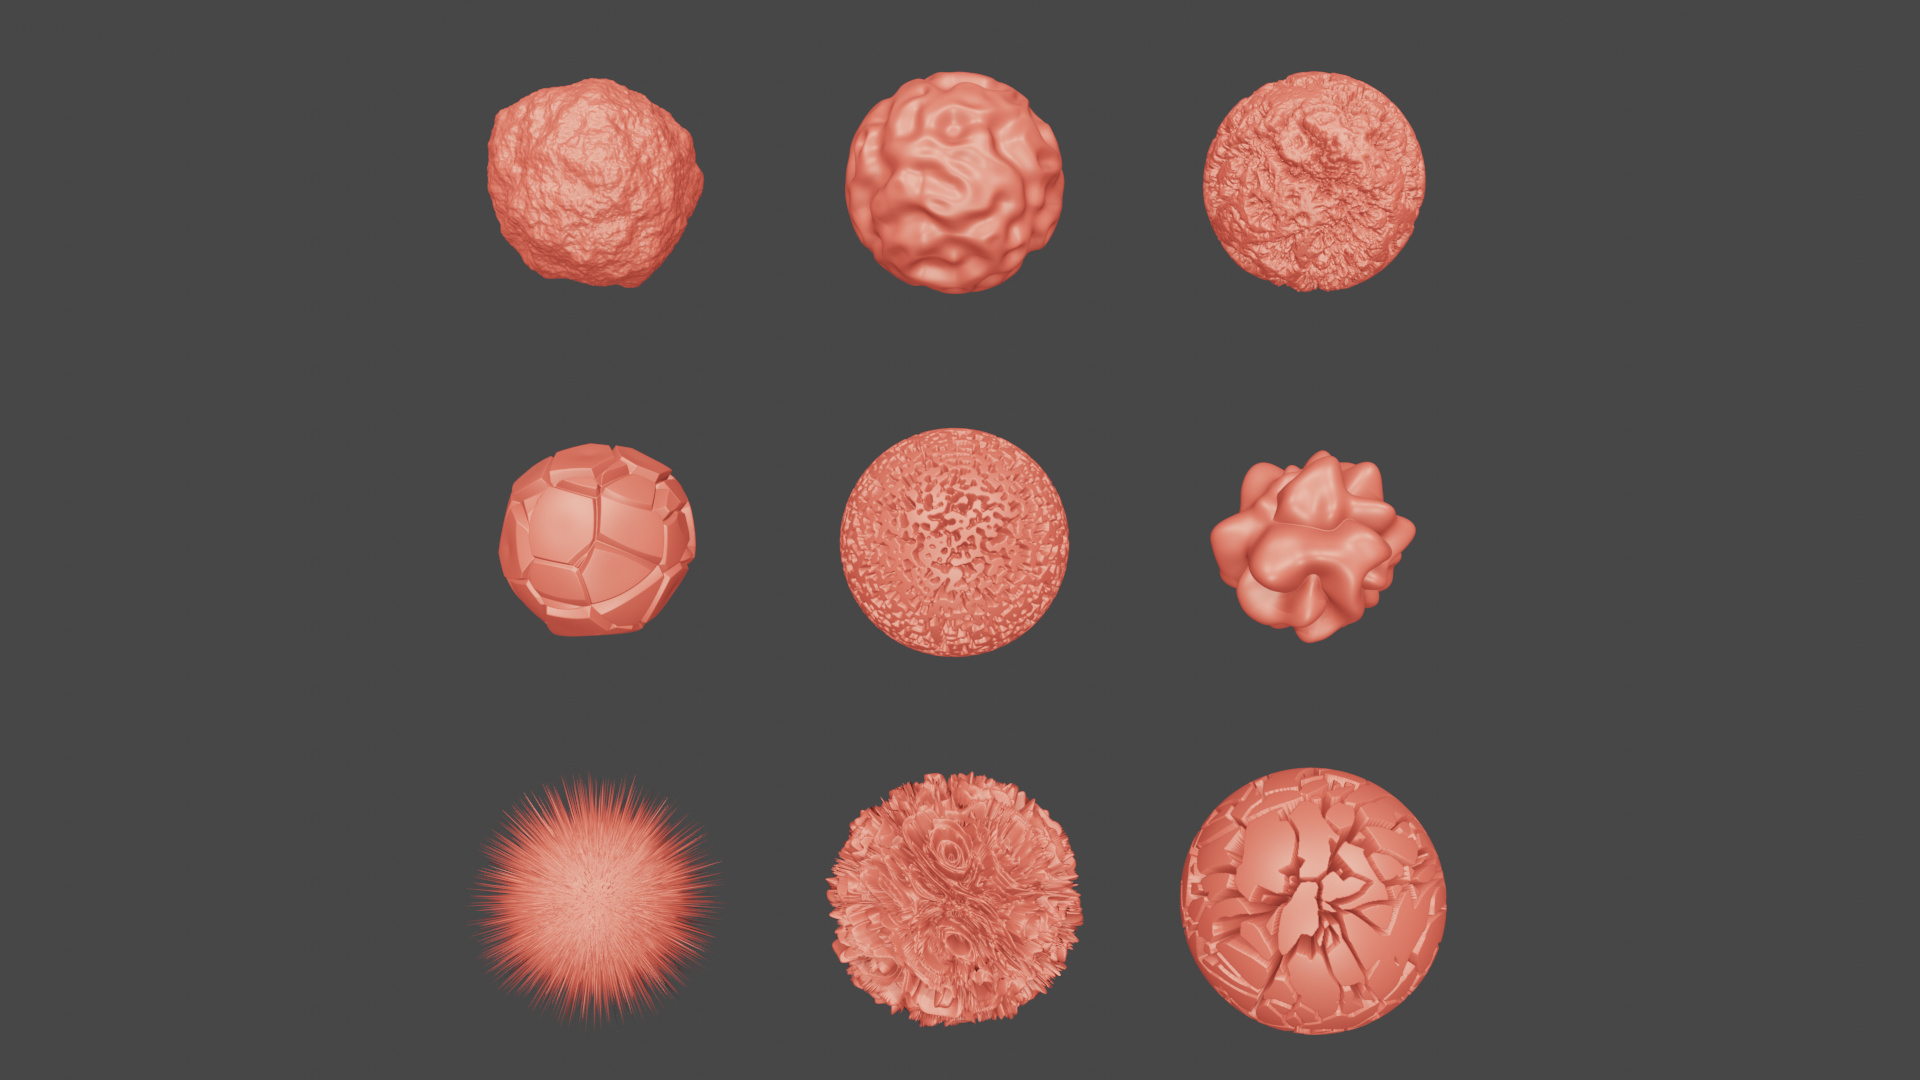
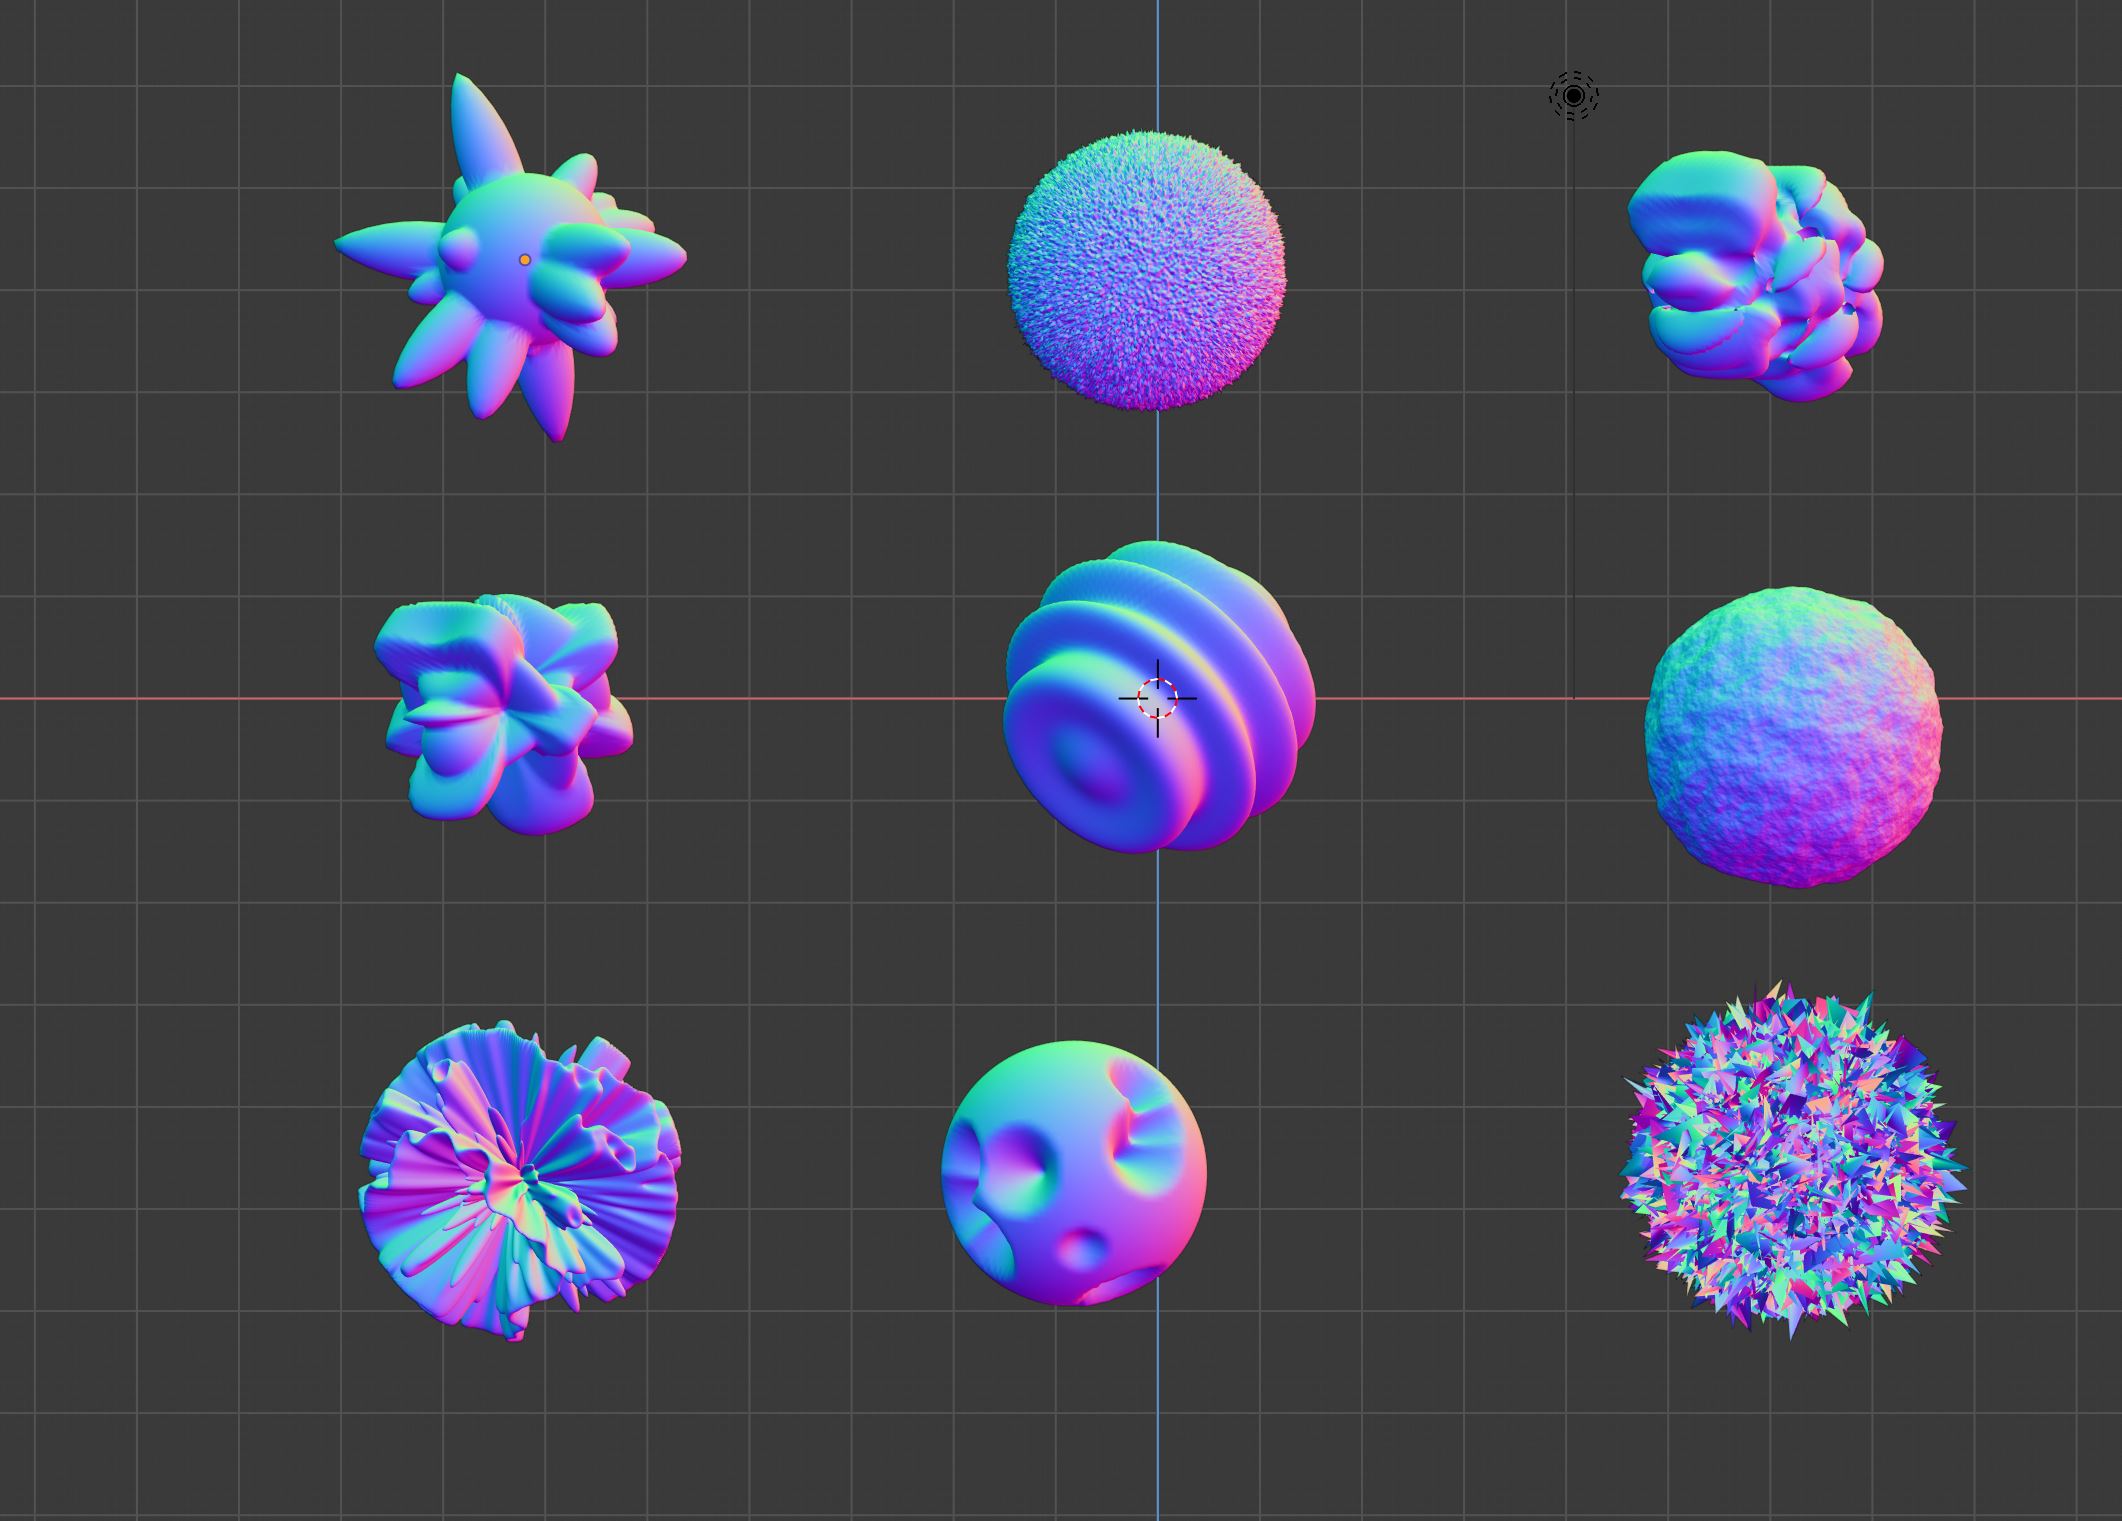
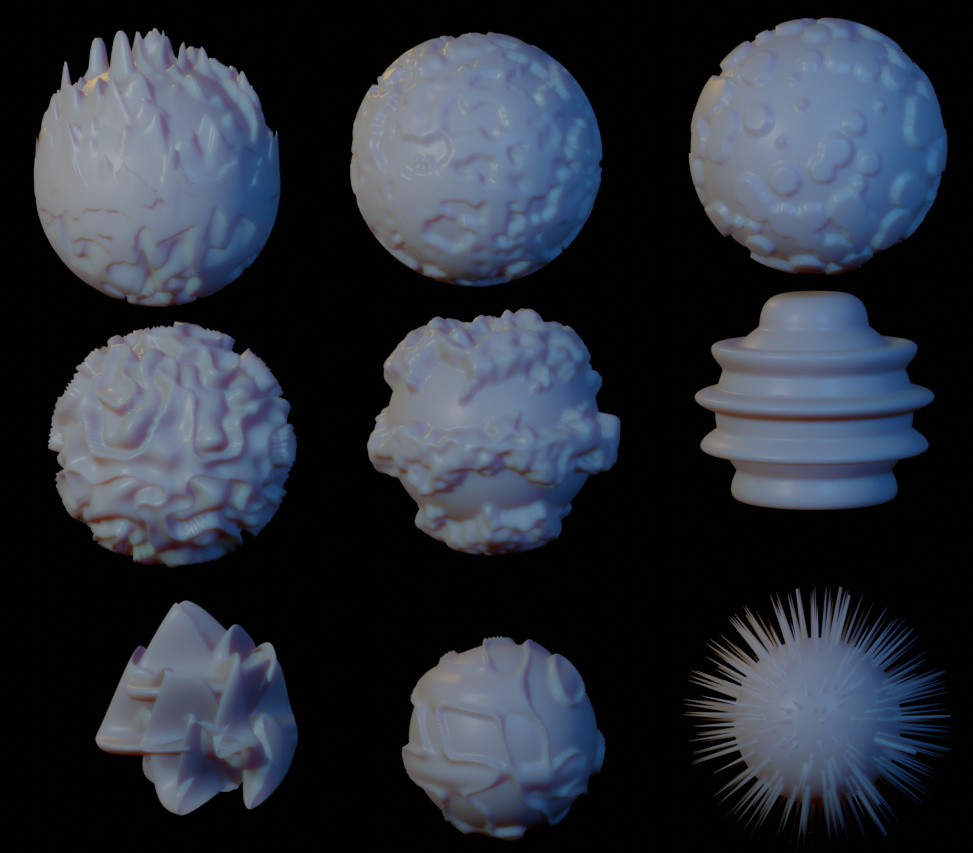
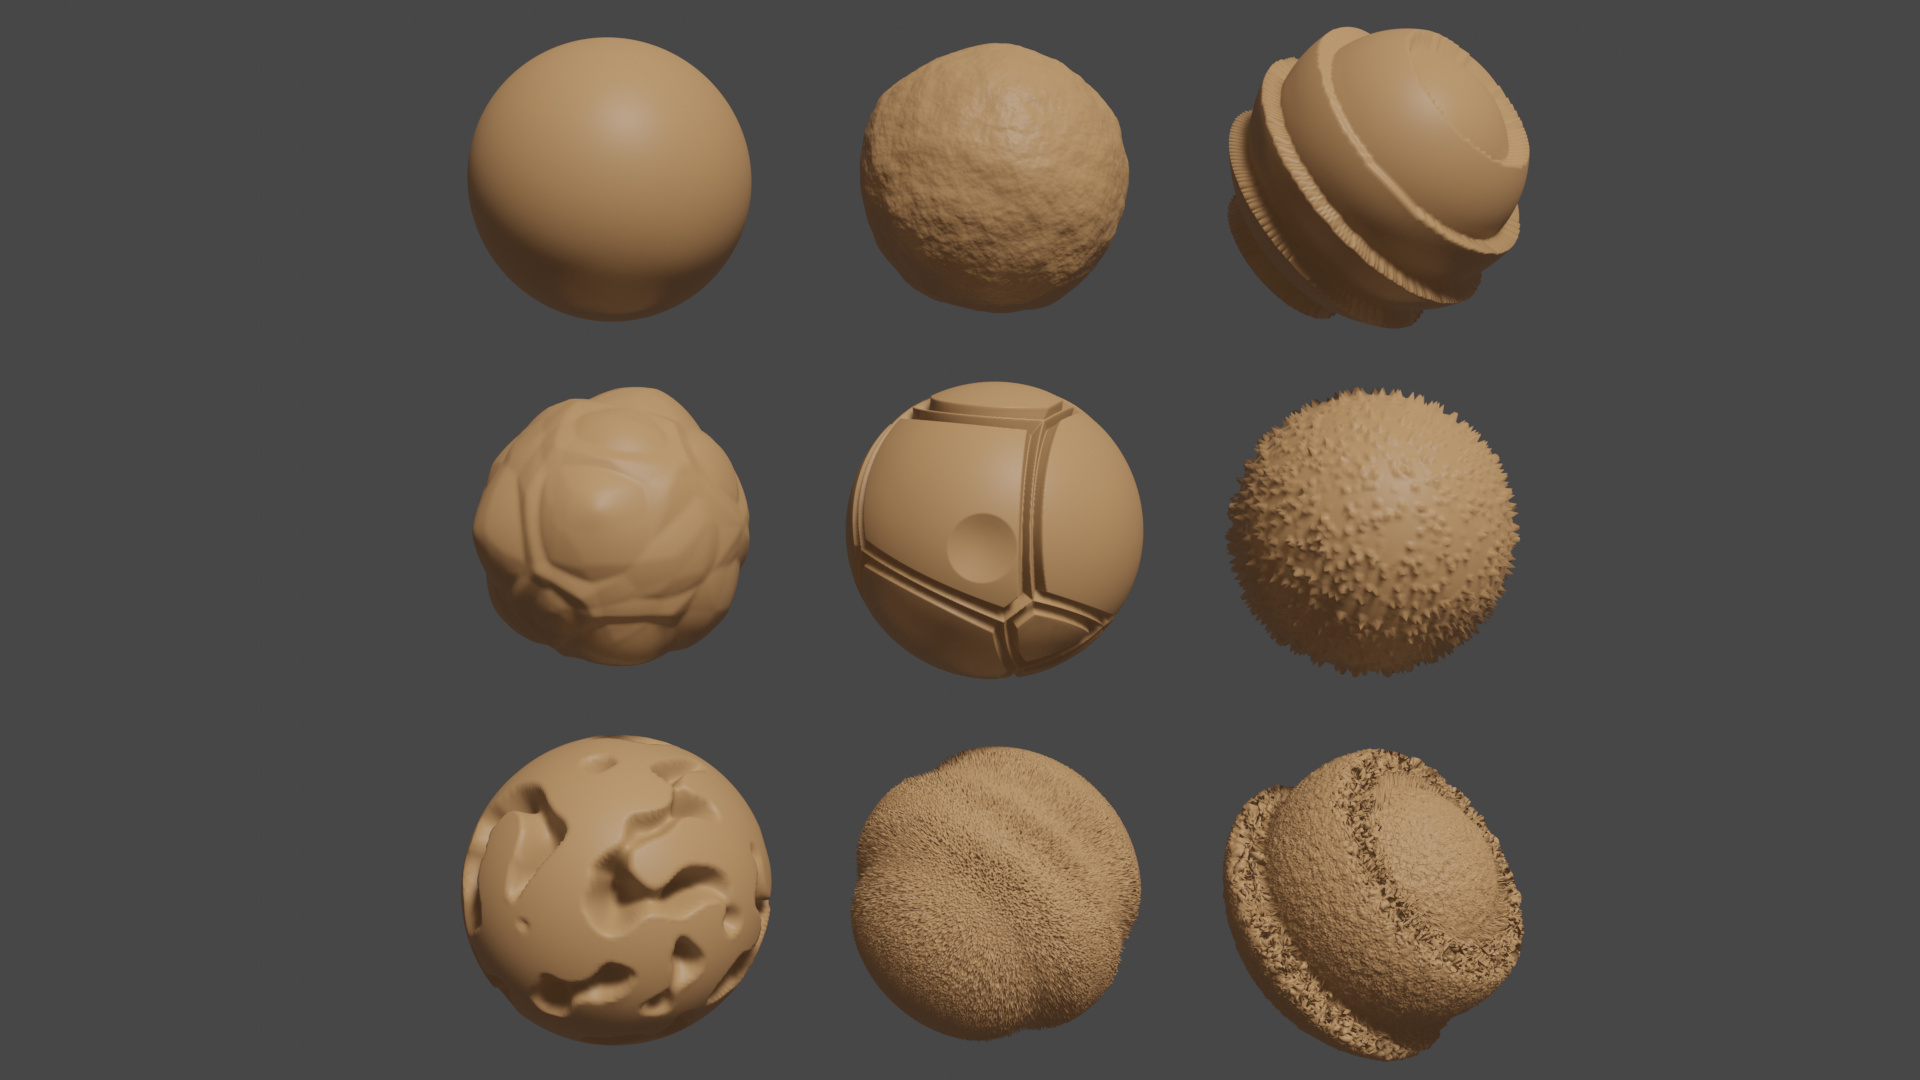
Here are my cube to sphere displaced textures. And every little tweak of the settings made many differences.
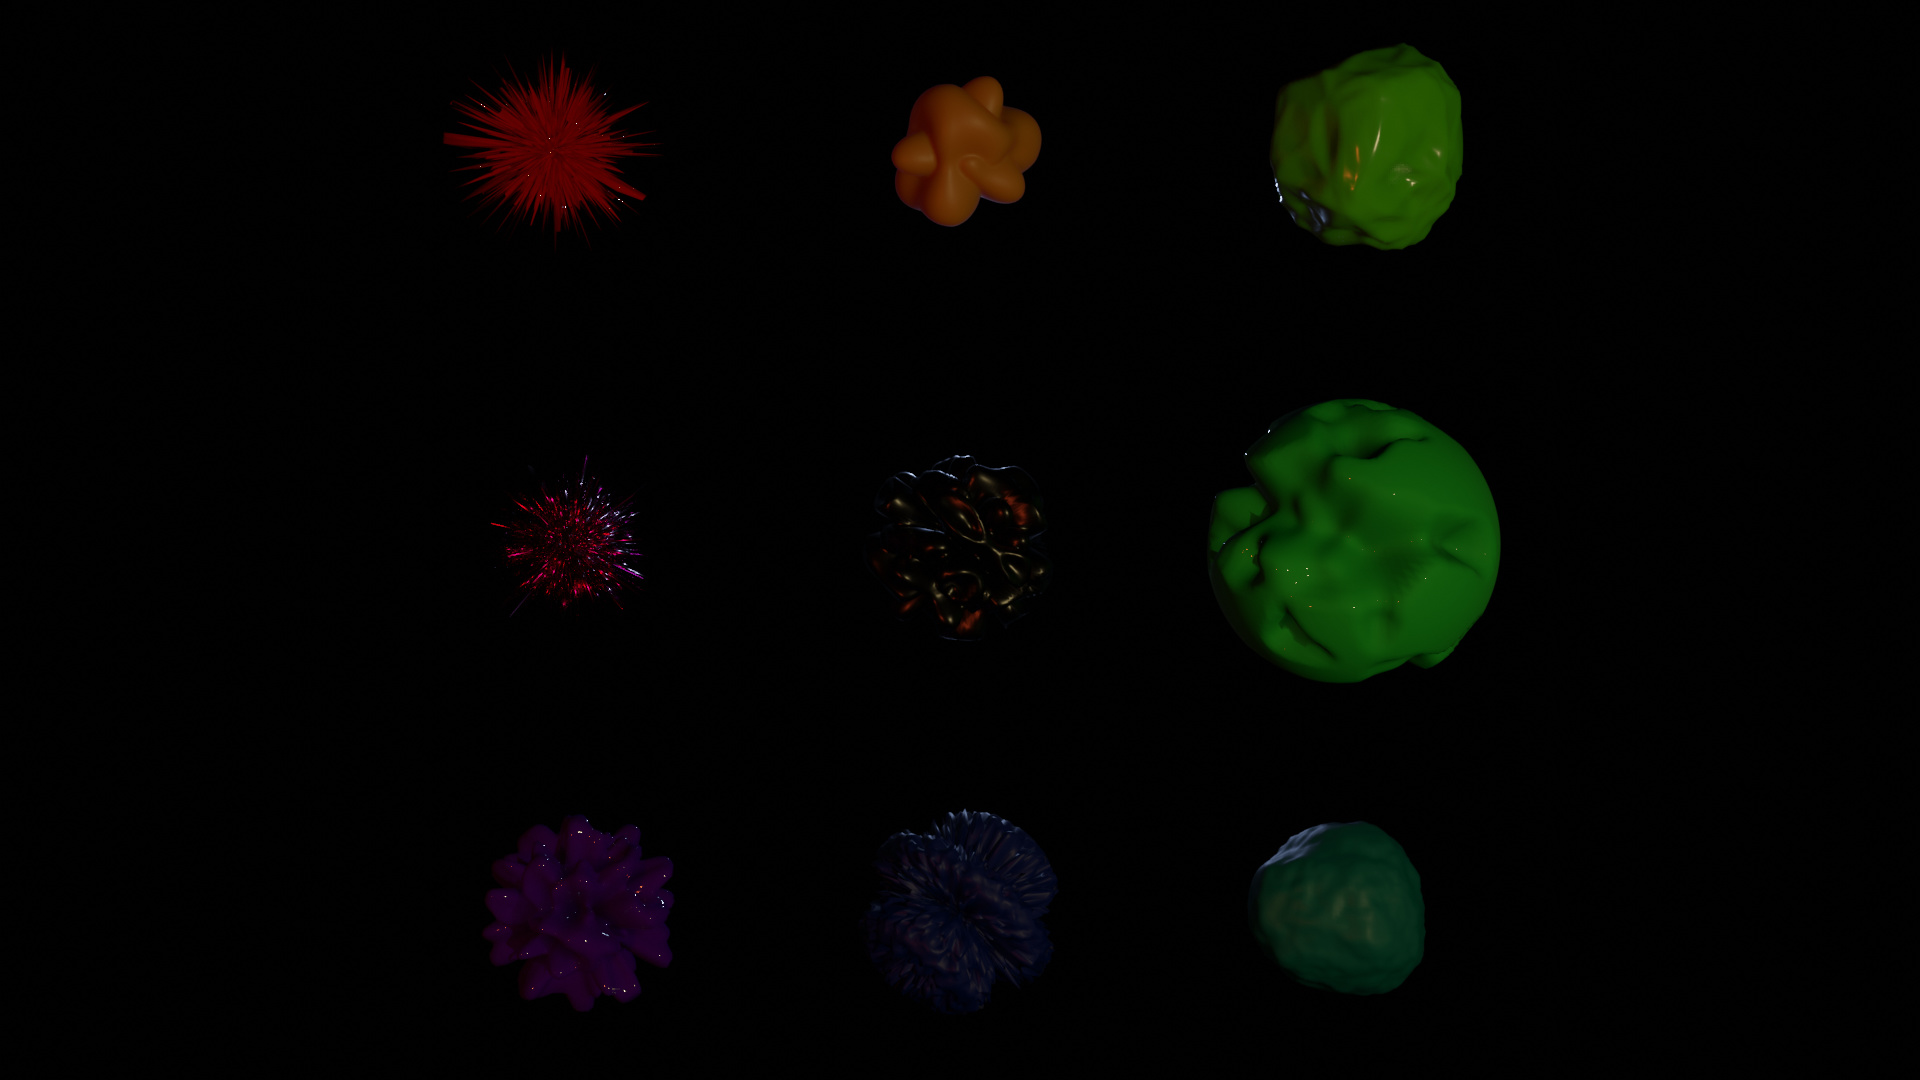
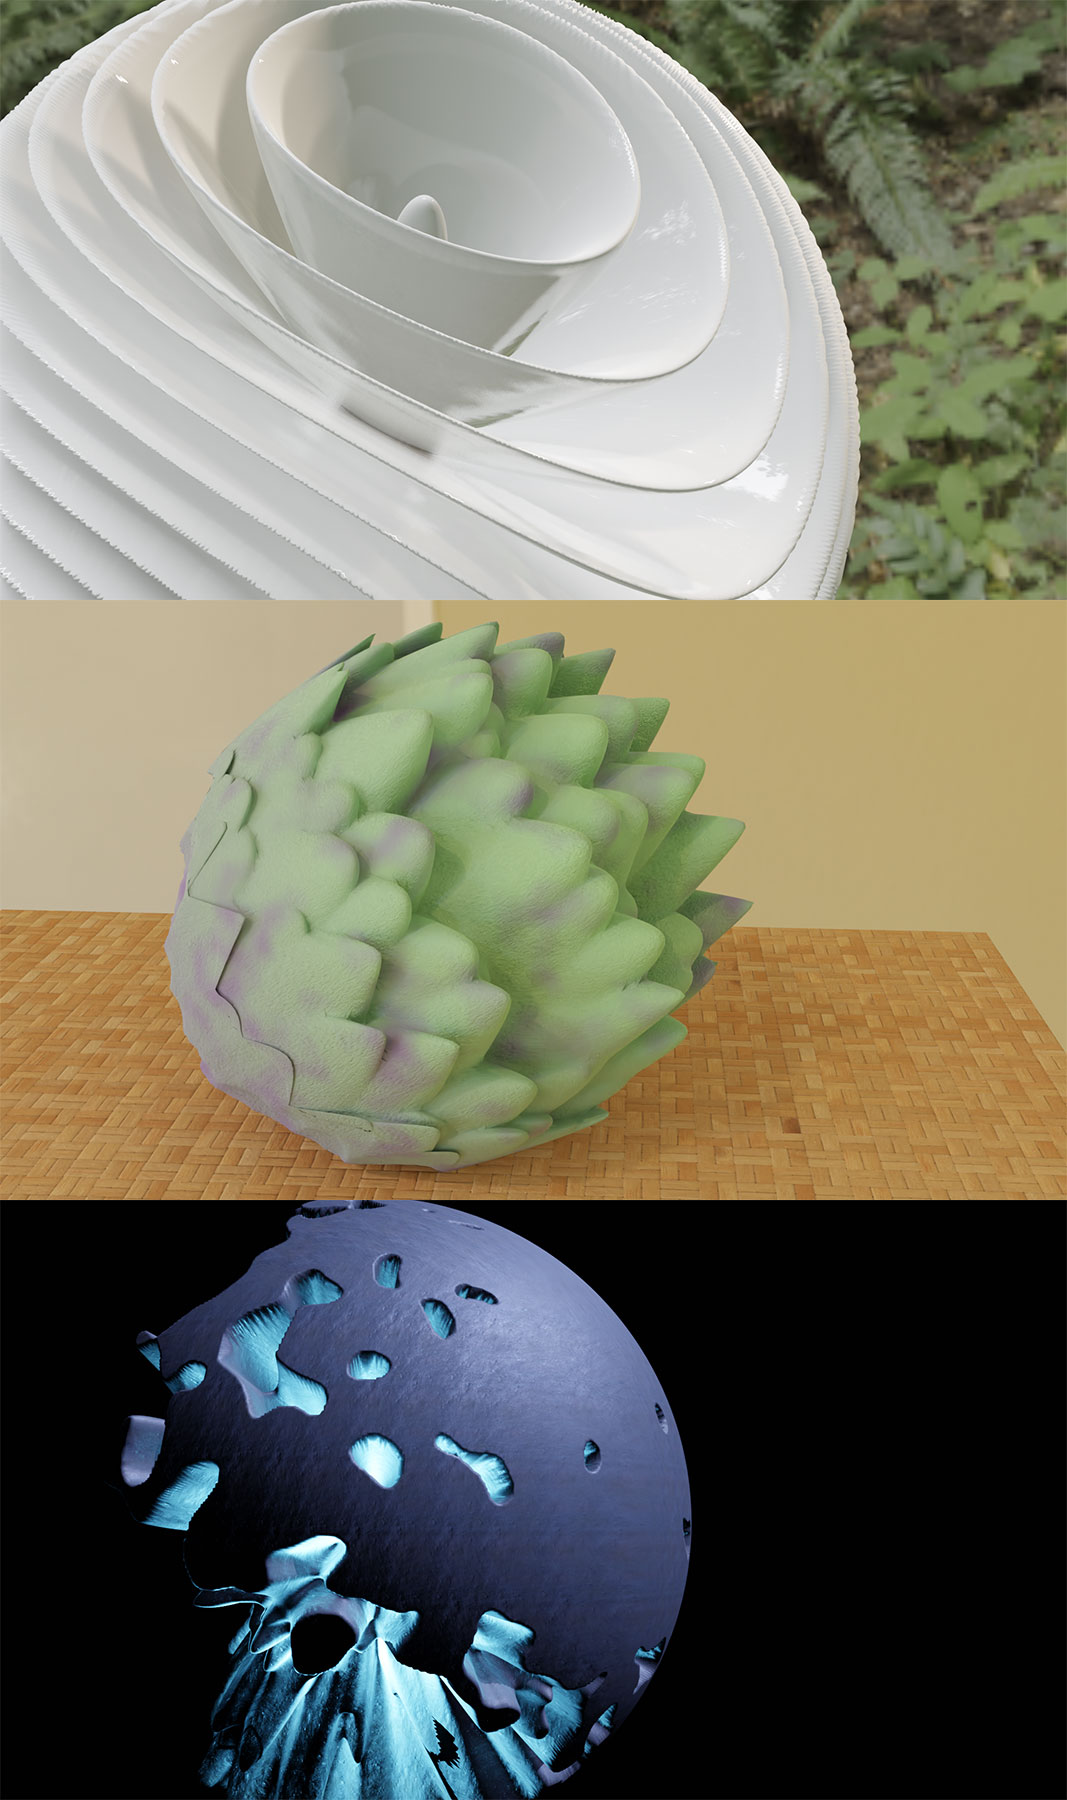
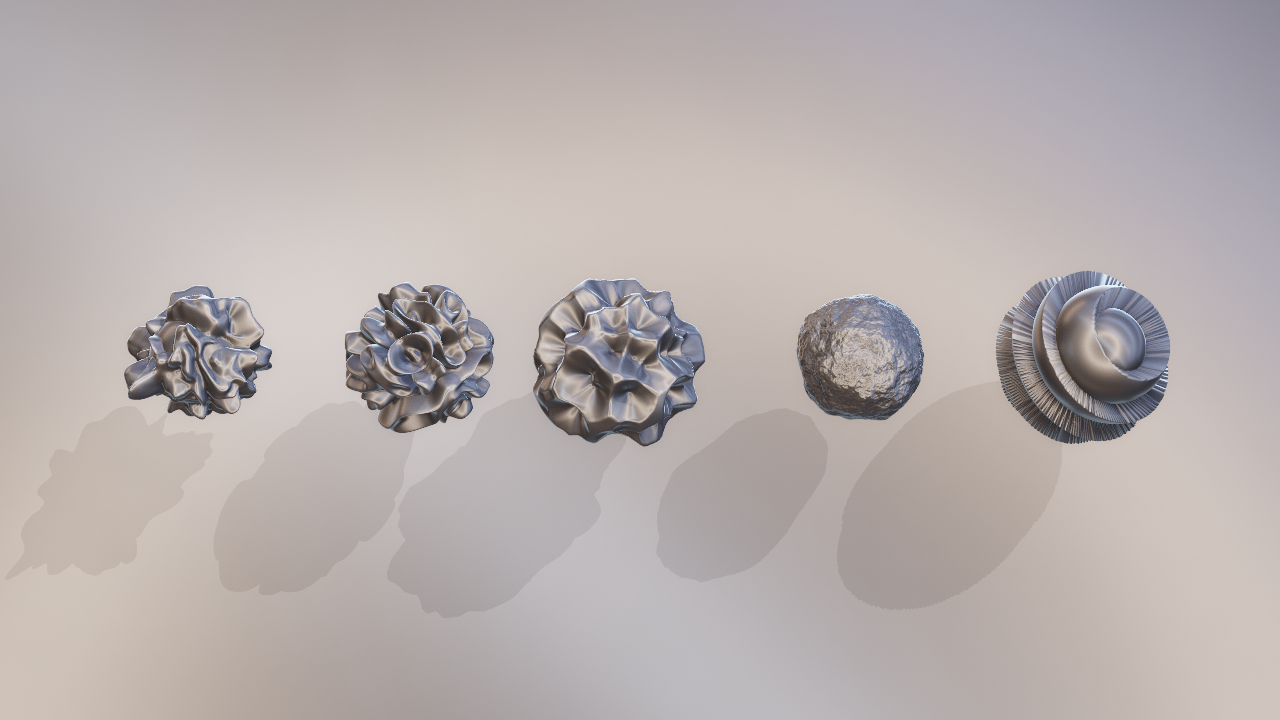
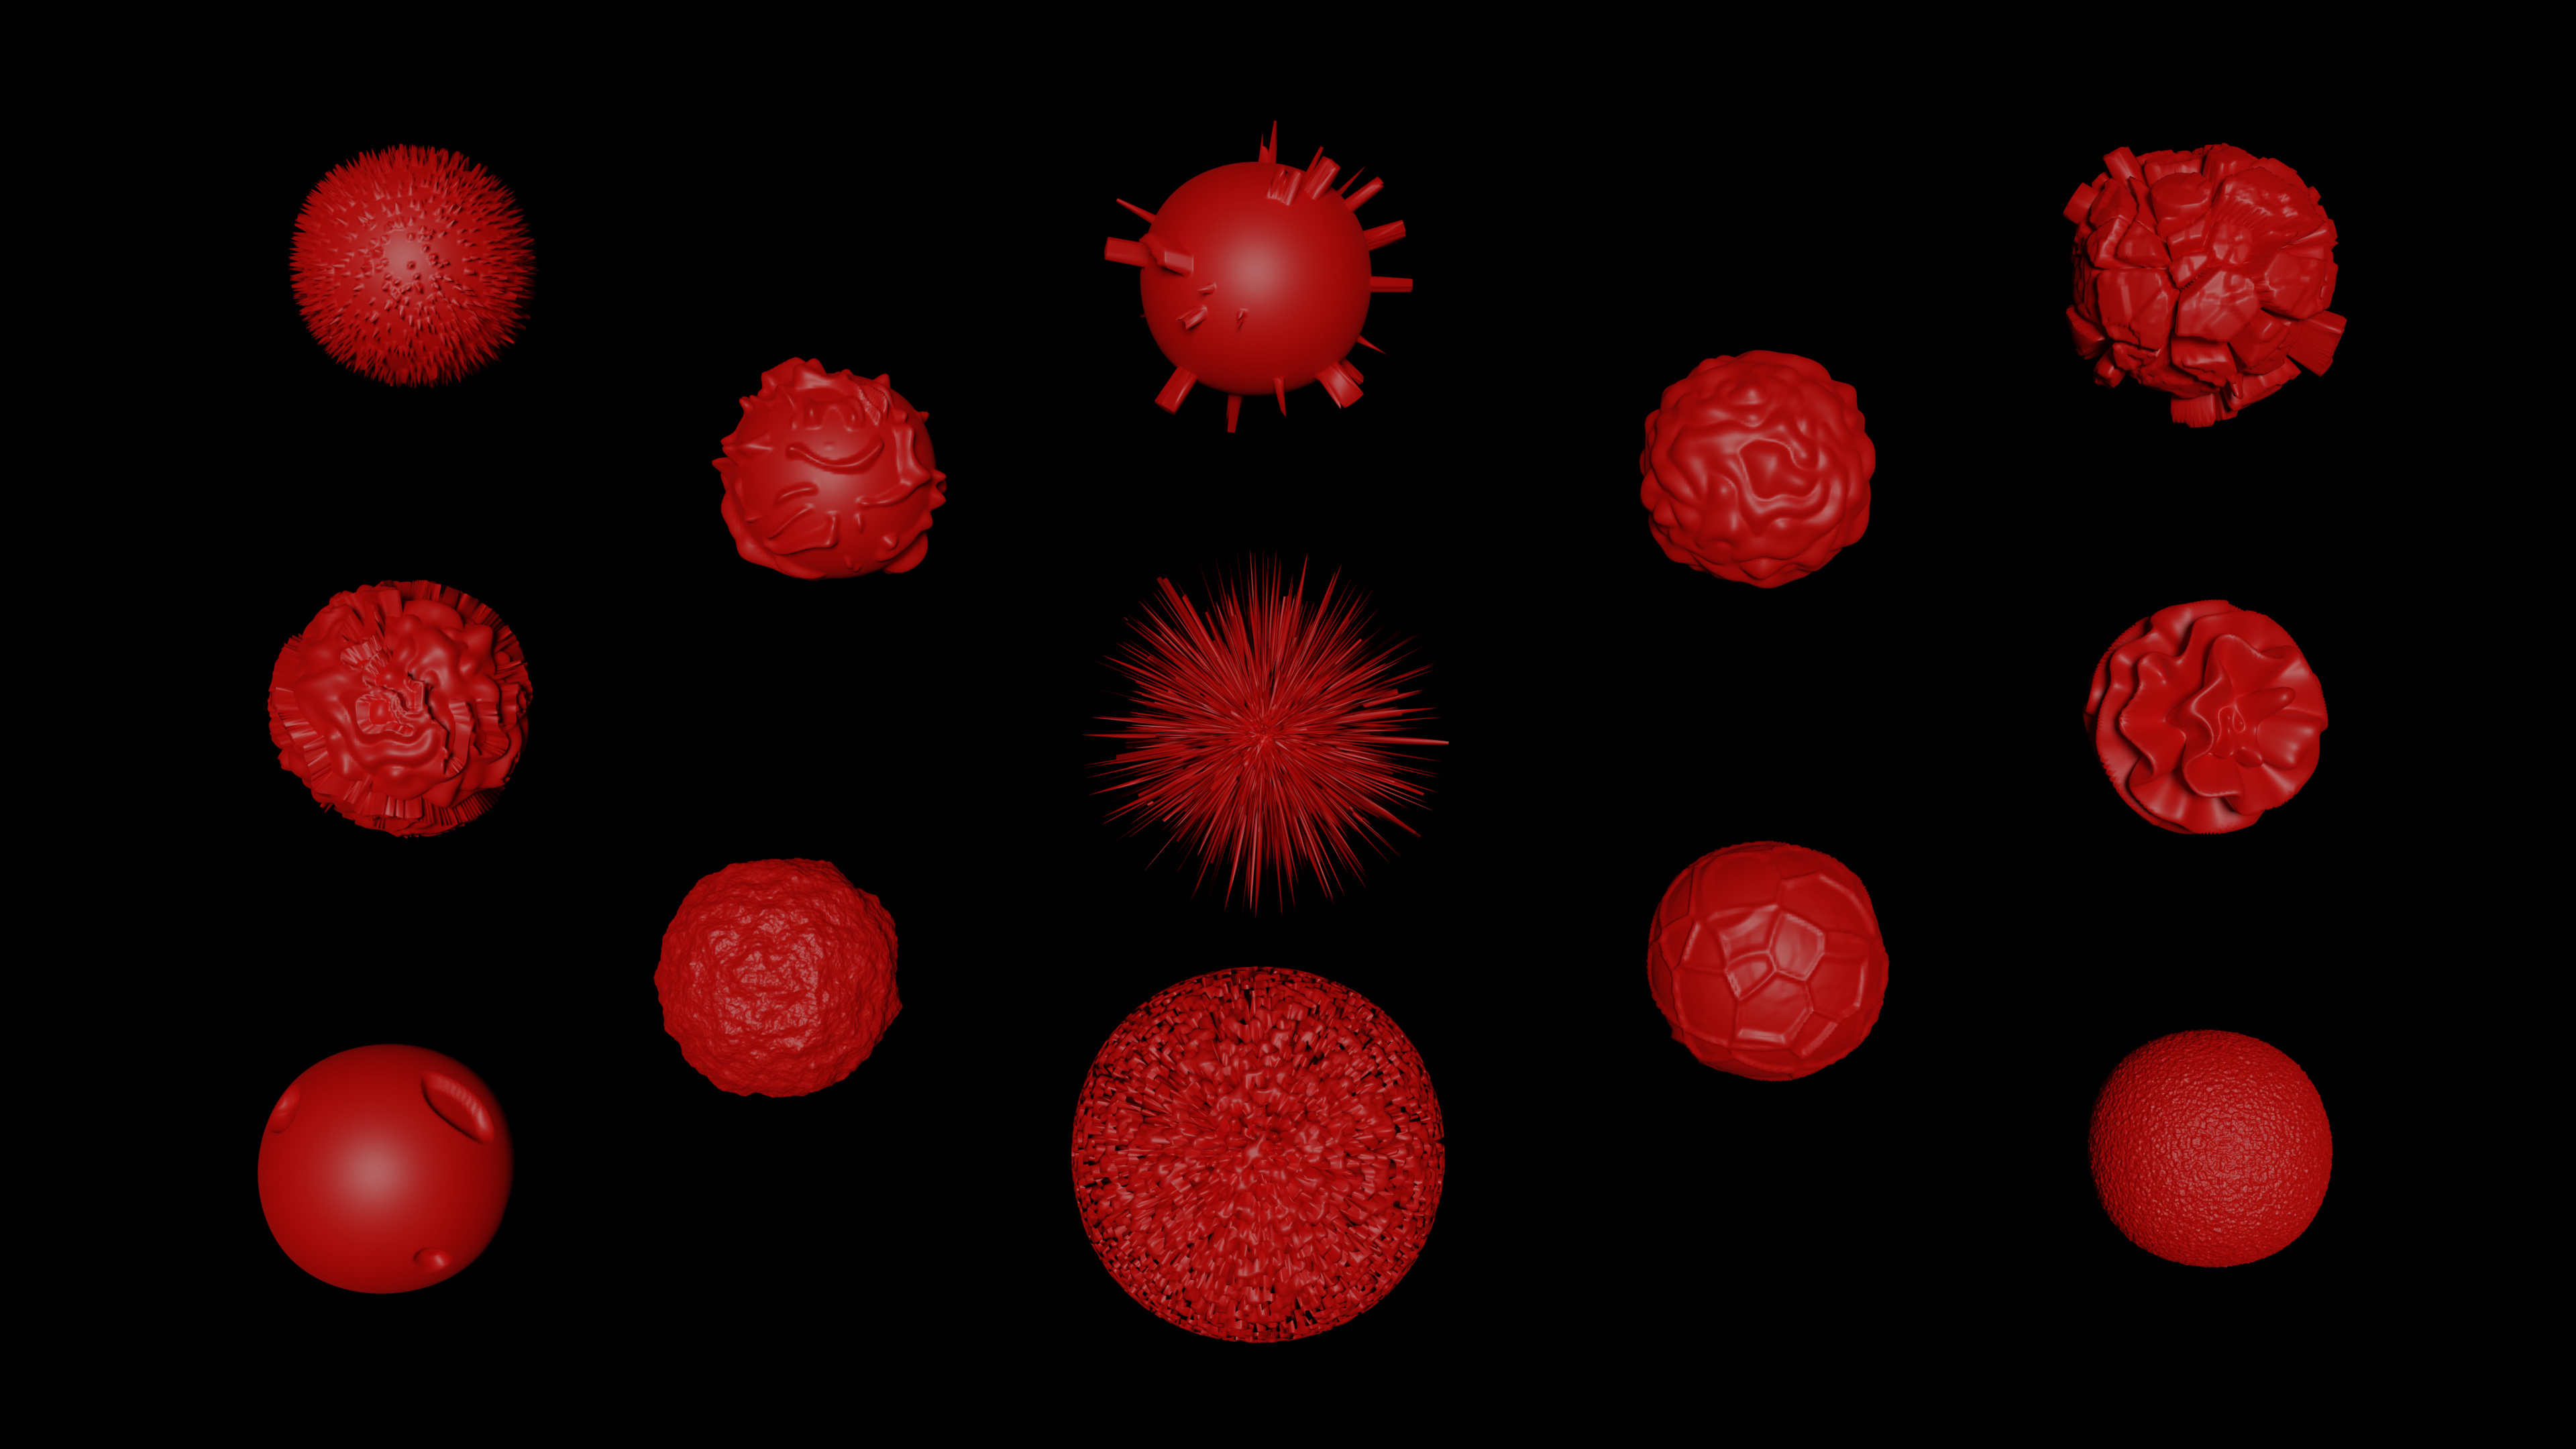
With this challenge I started to ask myself: “Is it possible to complete the fun of playing with modifiers to make a simple finished image that can be shown to friends etc.” Kind of simple efforts to get an instant WOW effect. So used some textures and shaders - both my own and freebies I found around, HDRI maps, lights, camera placement etc. And here what I come up with:
A porcelain fern flower
Art iShock
Space object QN-5931
Photoshop used only to combine objects in one image and minimize the size of upload.
From here: https://docs.blender.org/manual/en/2.80/editors/texture_node/introduction.html
This was sad:
“Note: The texture node system is legacy and will be replaced soon by a new system. Due to this, the manual is not up to date with the latest version of Blender.”
I could not get the texture node editor to do anything, which kinda limits displacement to the flavors available in the texture “Type” drop-down…