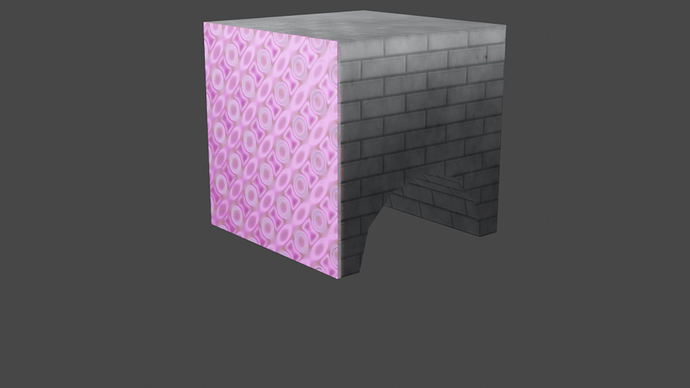
About 'Multiple Materials'!

In this video (objectives)…

  1. You have choice where to control a single material with textures.
  2. Objects can have multiple materials assigned to them

After watching (learning outcomes)…

Be able to able to apply multiple materials to a single mesh object.

(Unique Video Reference: 20_TB_BEC)

We would love to know…

  • What you found good about this lecture?
  • What we could do better?

Remember that you can reply to this topic, or create a new topic. The easiest way to create a new topic is to follow the link in Resources. That way the topic will…

  • Be in the correct forum (for the course).
  • Be in the right sub-forum (for the section)
  • Have the correct lecture tag.

Enjoy your stay in our thriving community!

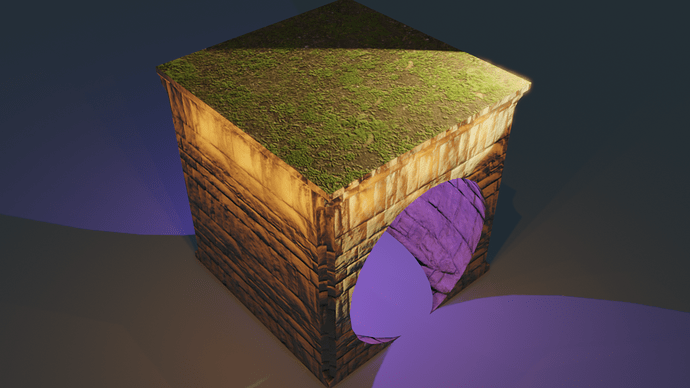
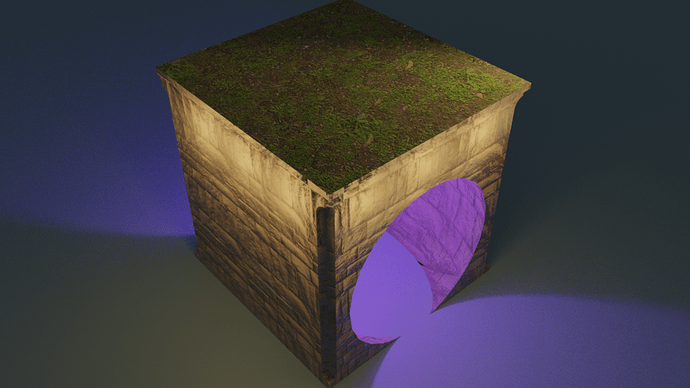
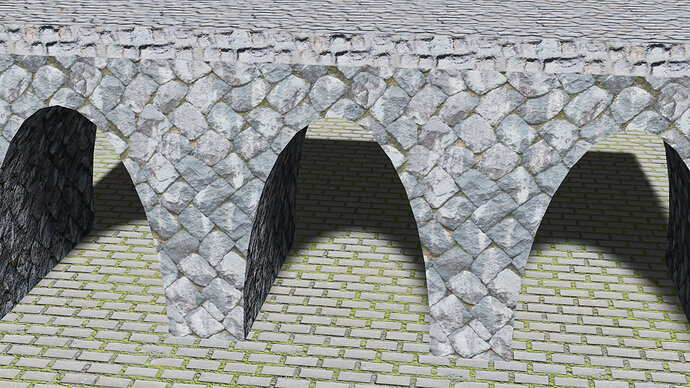
A little grass-ridden pavement on top perhaps?

7 Likes

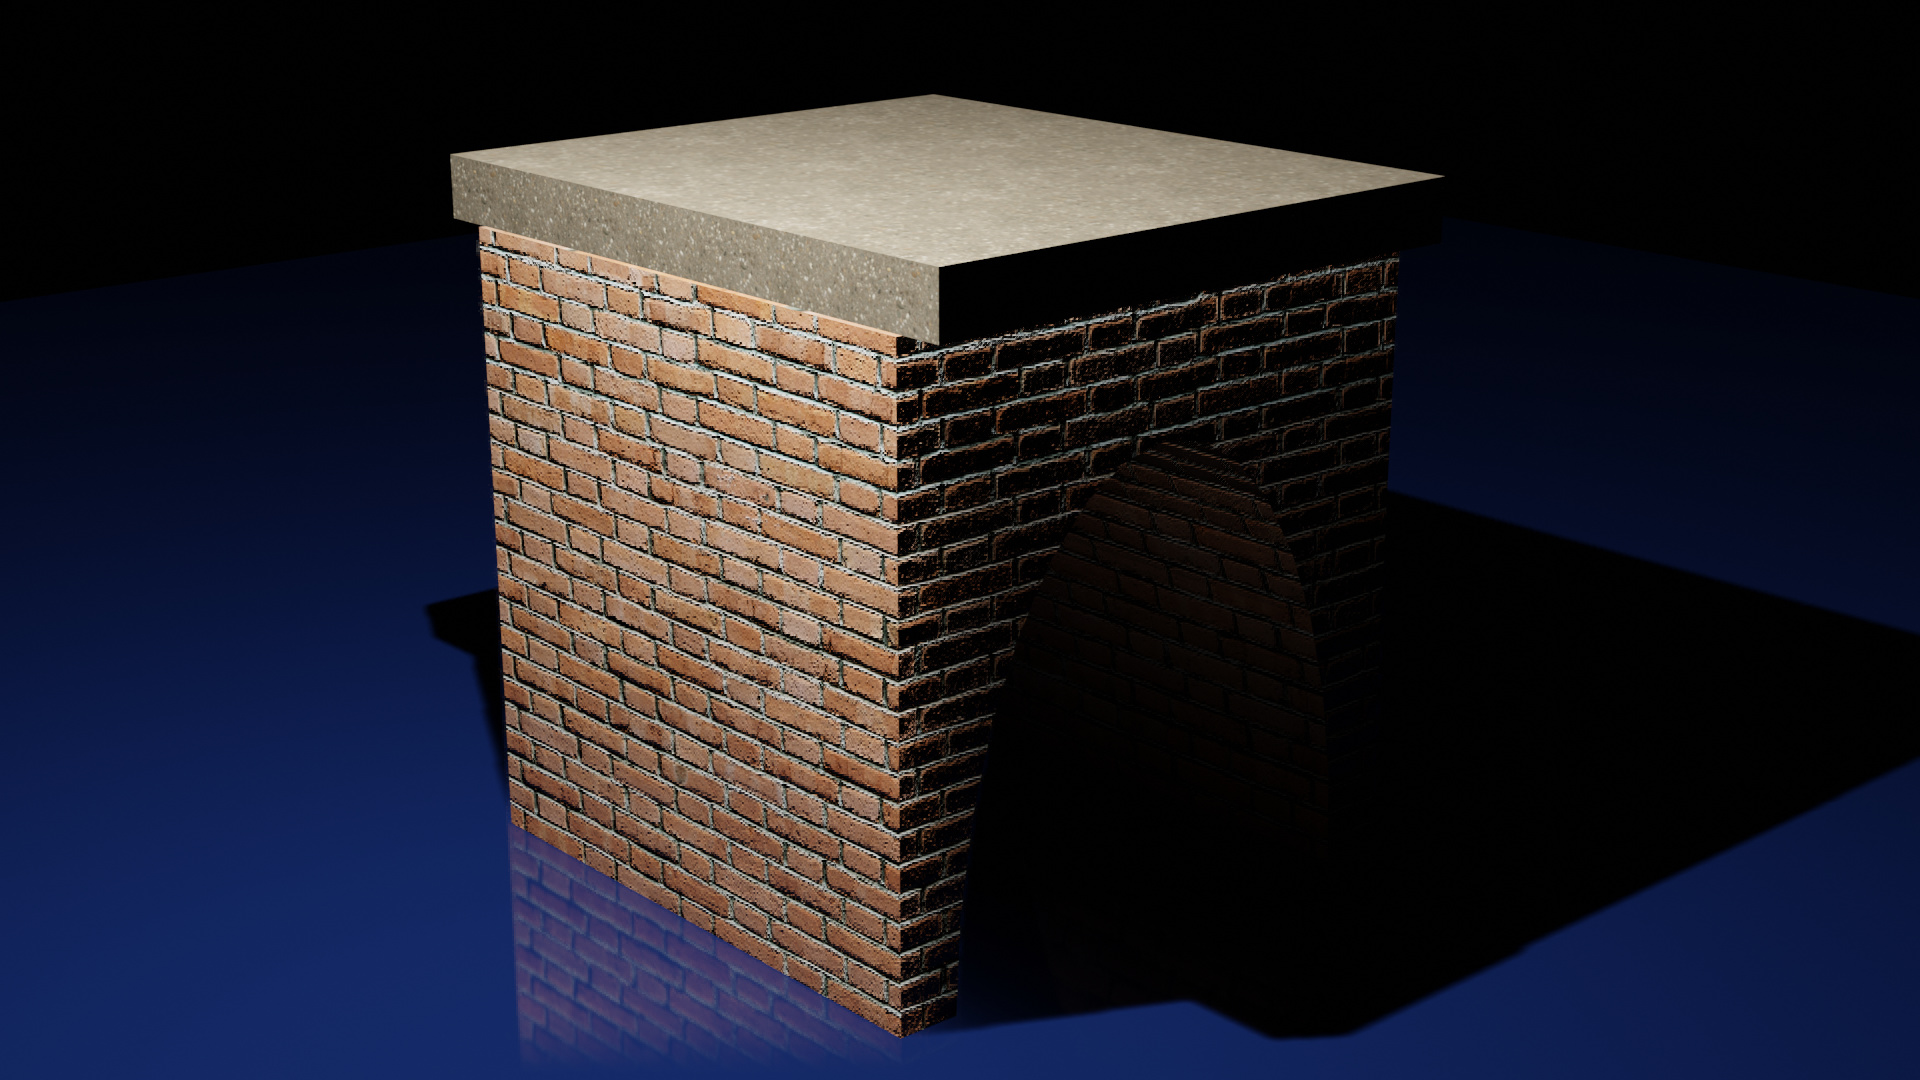
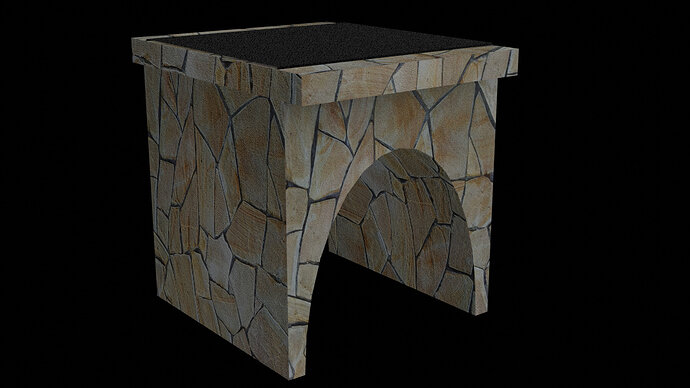
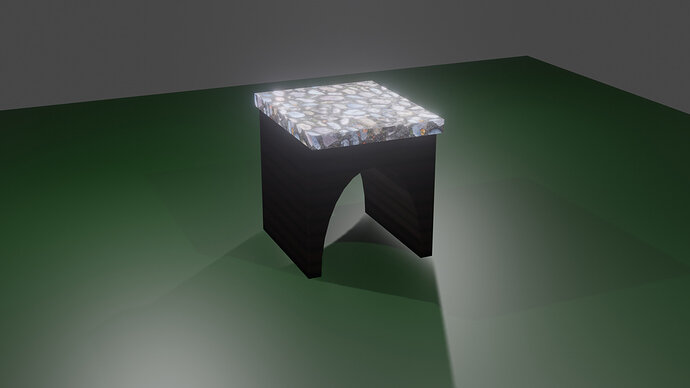
I did not experience any of the problems you had in textures not showing up so it is an issue that may have been resolved in my version (Oct. 14). I put a concrete surface on my Archway to section. I got the texture from Texturehaven.com.

This lecture was pretty easy to understand and very straight forward. I appreciate that! :slight_smile:

Bridge%20Archway%20with%20concrete%20road

3 Likes

4 Likes

Put an asphalt type surface on my challenge from the normal maps challenge. I actually used the cracked earth normal map to put the rough surface imperfections.

6 Likes

I used the Pixar 128 library’s awsphalt textures for the “road” multi%20materials

3 Likes


I found the library, Its for free of the Pixar studios. I couldn’t find asphalt, so I went with there gravel insted.
They offered the 128 images then the 130 images, that is nice of them.
It sucks though the bump map didn’t really do anything , all was configured in blender Bump feature. Shift Cntrl T
didn’t add image Bump. Just the vector Bump

2 Likes

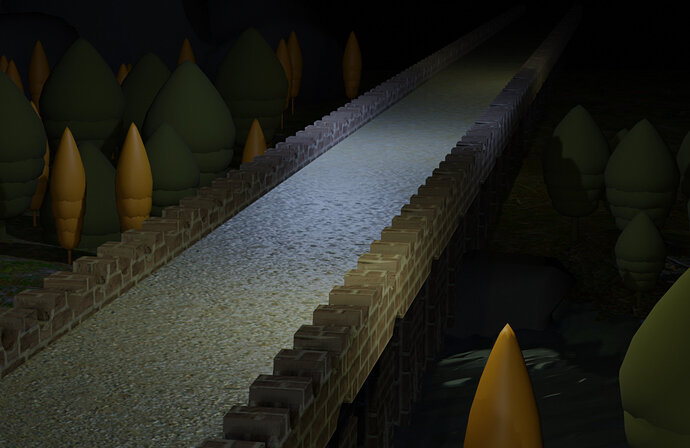
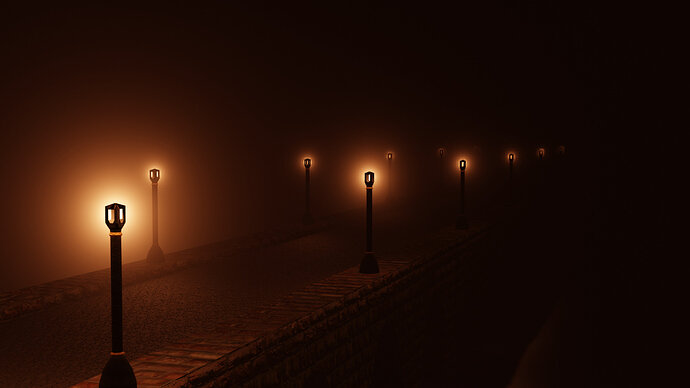
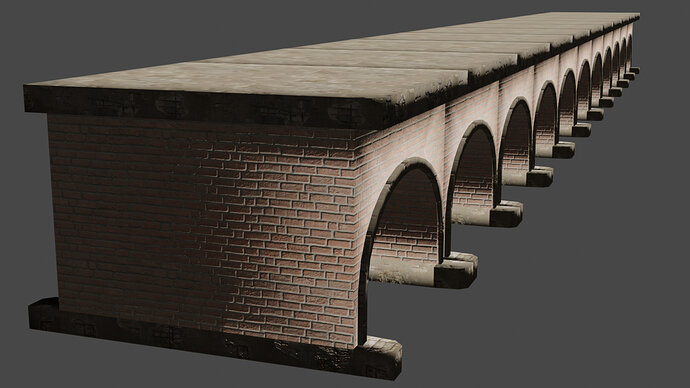
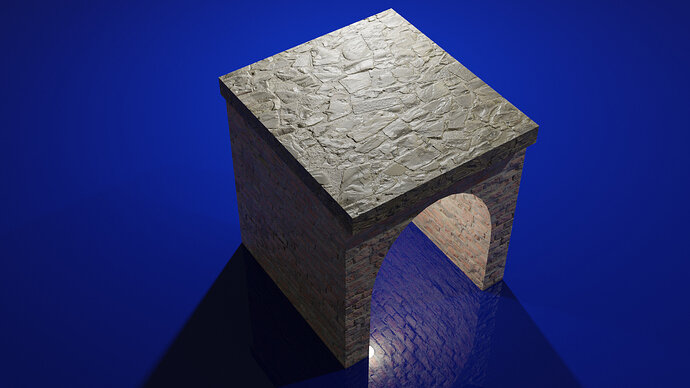
Here is my bridge render.

2 Likes

Shiny! Looking good Marc.

Thanks Mikey, You remembered how much i struggled with this before :slight_smile:
This was a lot easier this time with the base knowledge that you taught me before and i really had to work to get some of the stones to line up. Its not perfect but good enough. These last 5 lectures or so really helped.

I am sure the next 5 are going to be just as helpful too!

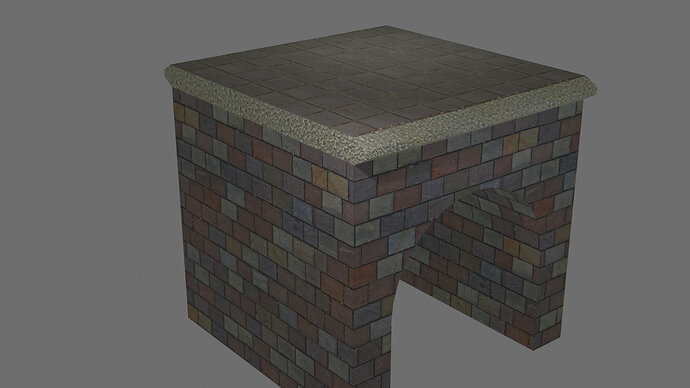
I have still great problems with lighting and texturing.
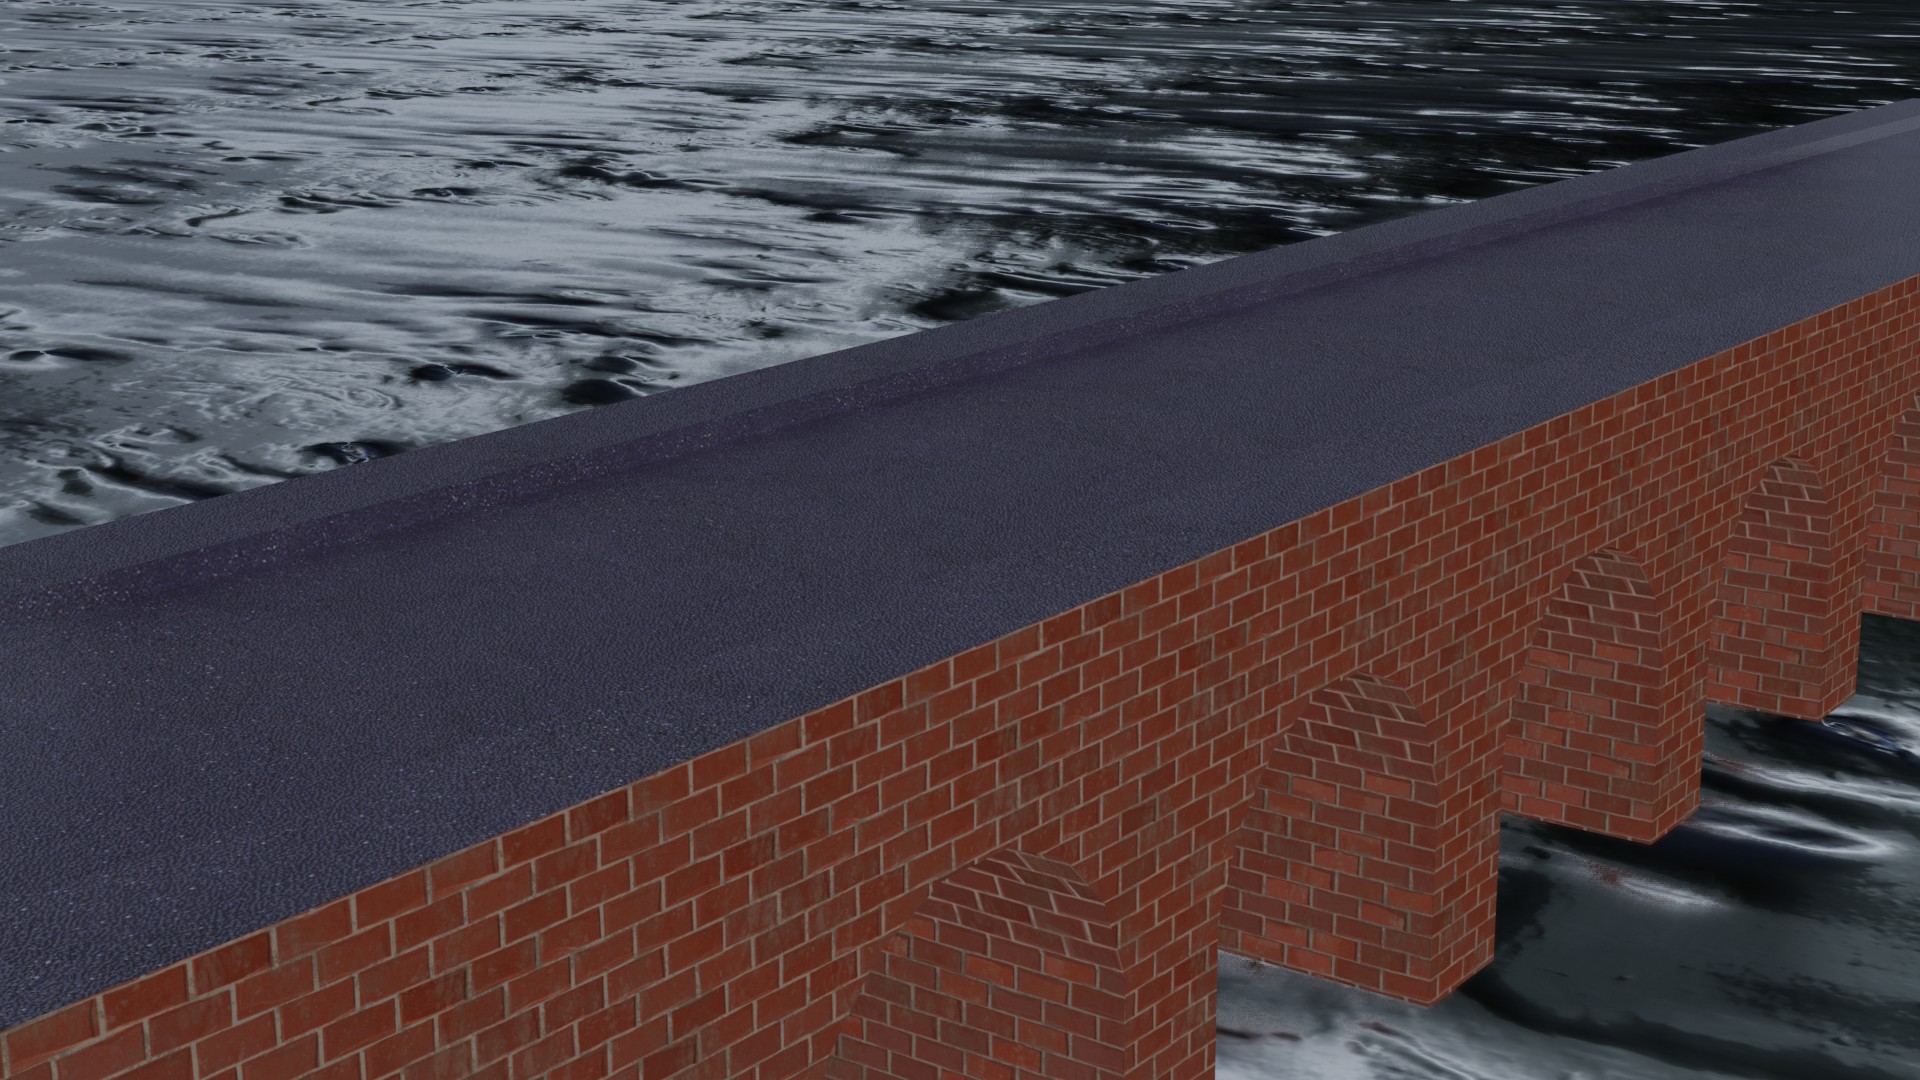
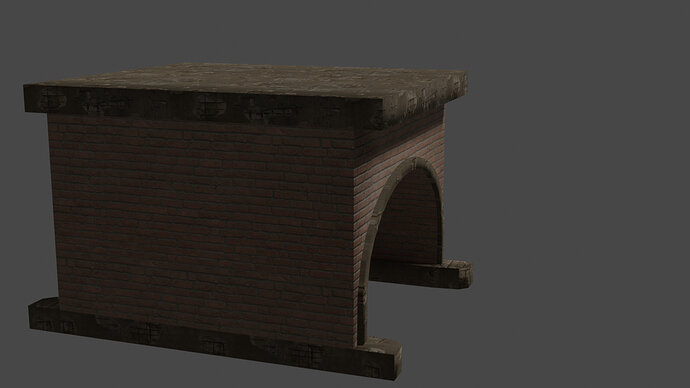
As you can see, the bridge deck is receiving bright sunlight.
But the brick texture has shadows at the top and highlites at the bottom.
As if sun is shining from below.

I started a new .blend file and appended the bridge part. And with the node wrangler a quick set up.
My conclusion is that I still have texturing, UV_mapping problems somehow.
Also the array does not blend. As if the texture is rendered once and copied.

I’m confused at least.

Note: rendered in Eevee, but the same problem for Cycles.

1 Like

Finally solved it. I did a SCALE -1 on the Y-ax (y-ax is front to back in my case).
Still having problems with the array shading continuity.

1 Like

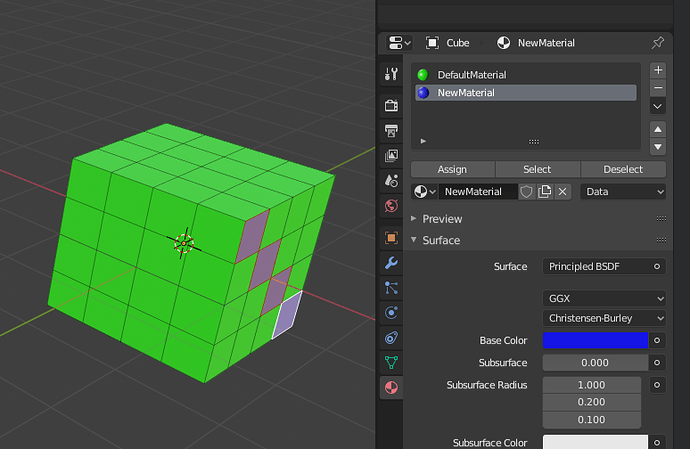
i had a problem adding a third material i couldnt find add new material without it changing all other sides that had the same material to the new material? wierd?

1 Like

Not sure what you want to explain. But in EDIT mode, you connect FACES to MATERIALS. Maybe some of these face share the same material.

yes how can you check this? what happened is that when i added a new material to a selected face it was automatically aplied to all other faces is this a bug in blender?

A mesh object has ALWAYS one material attached to it. Say, it’s basic material.
You need to add a second, third material to make it work.
If you select some faces and assign them to the other material it should work.

  1. Select material
  2. Select faces
  3. press assign button.

yes i knew that already problem was that when i added a new material it overwrote one original material? thx for the help.


Adding textures that way was a hell of a lot easier than filling out the UV outline in Gimp! Lol.

2 Likes

2 Likes

Privacy & Terms