Be able to use a object world position to control our materials
(Unique Video Reference: 15_PW_BEC)
We would love to know…
What you found good about this lecture?
What we could do better?
Remember that you can reply to this topic, or create a new topic. The easiest way to create a new topic is to follow the link in Resources. That way the topic will…
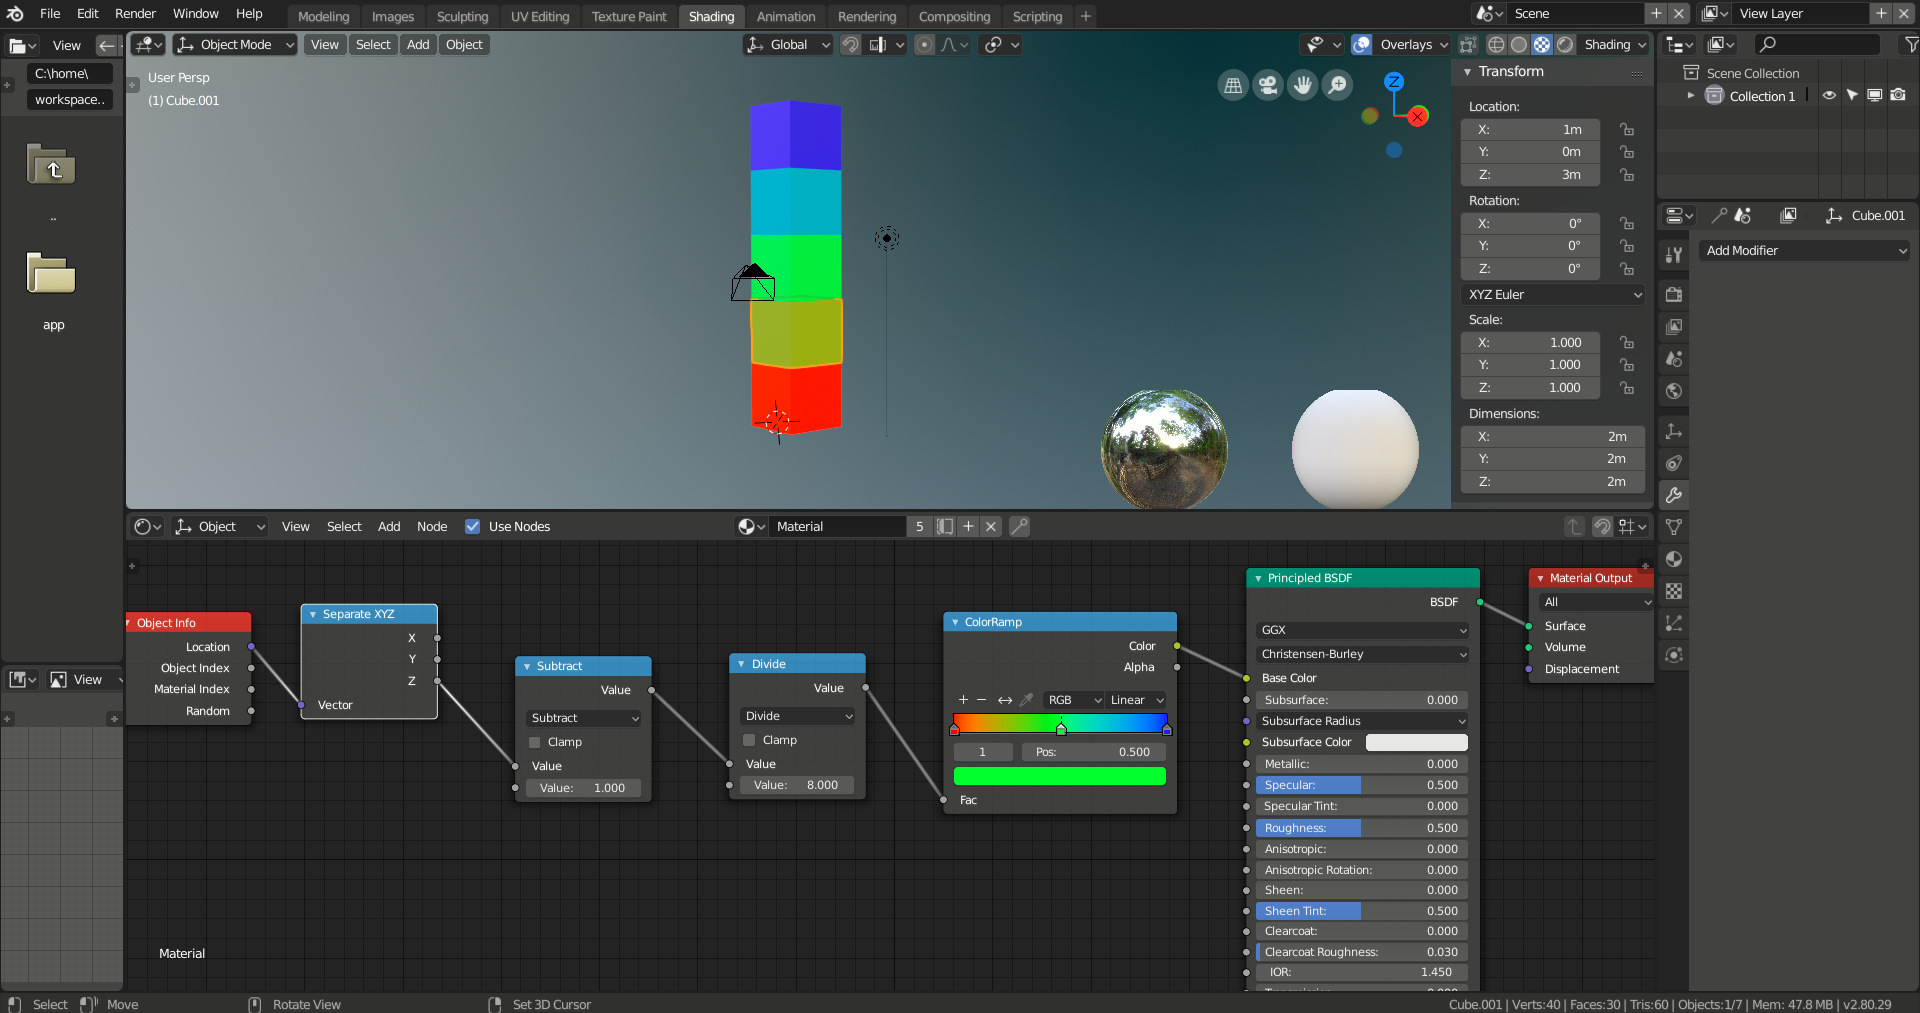
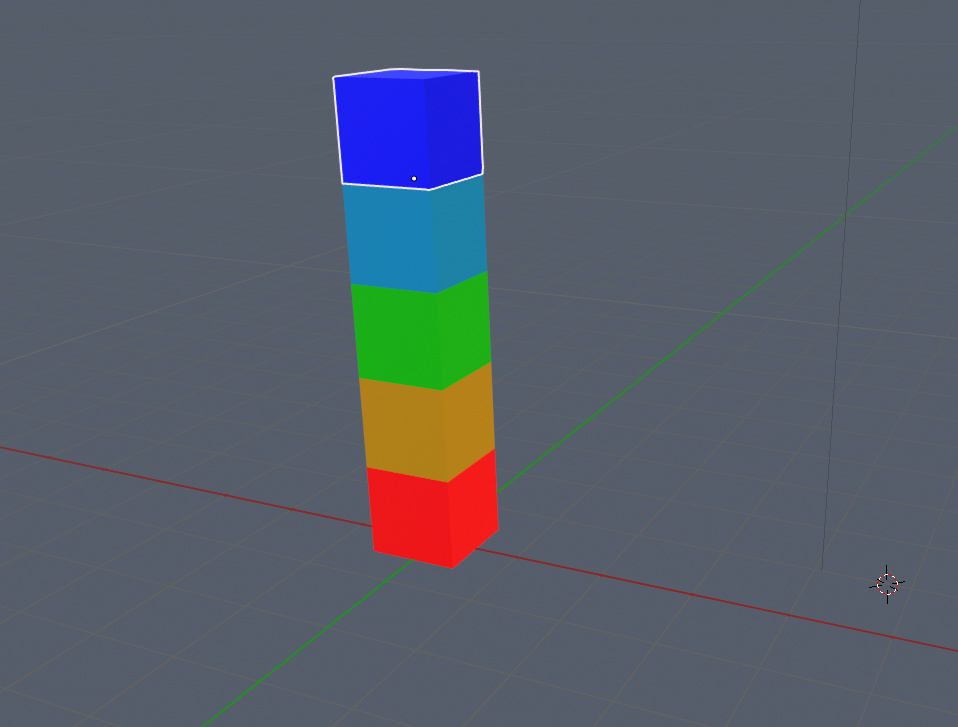
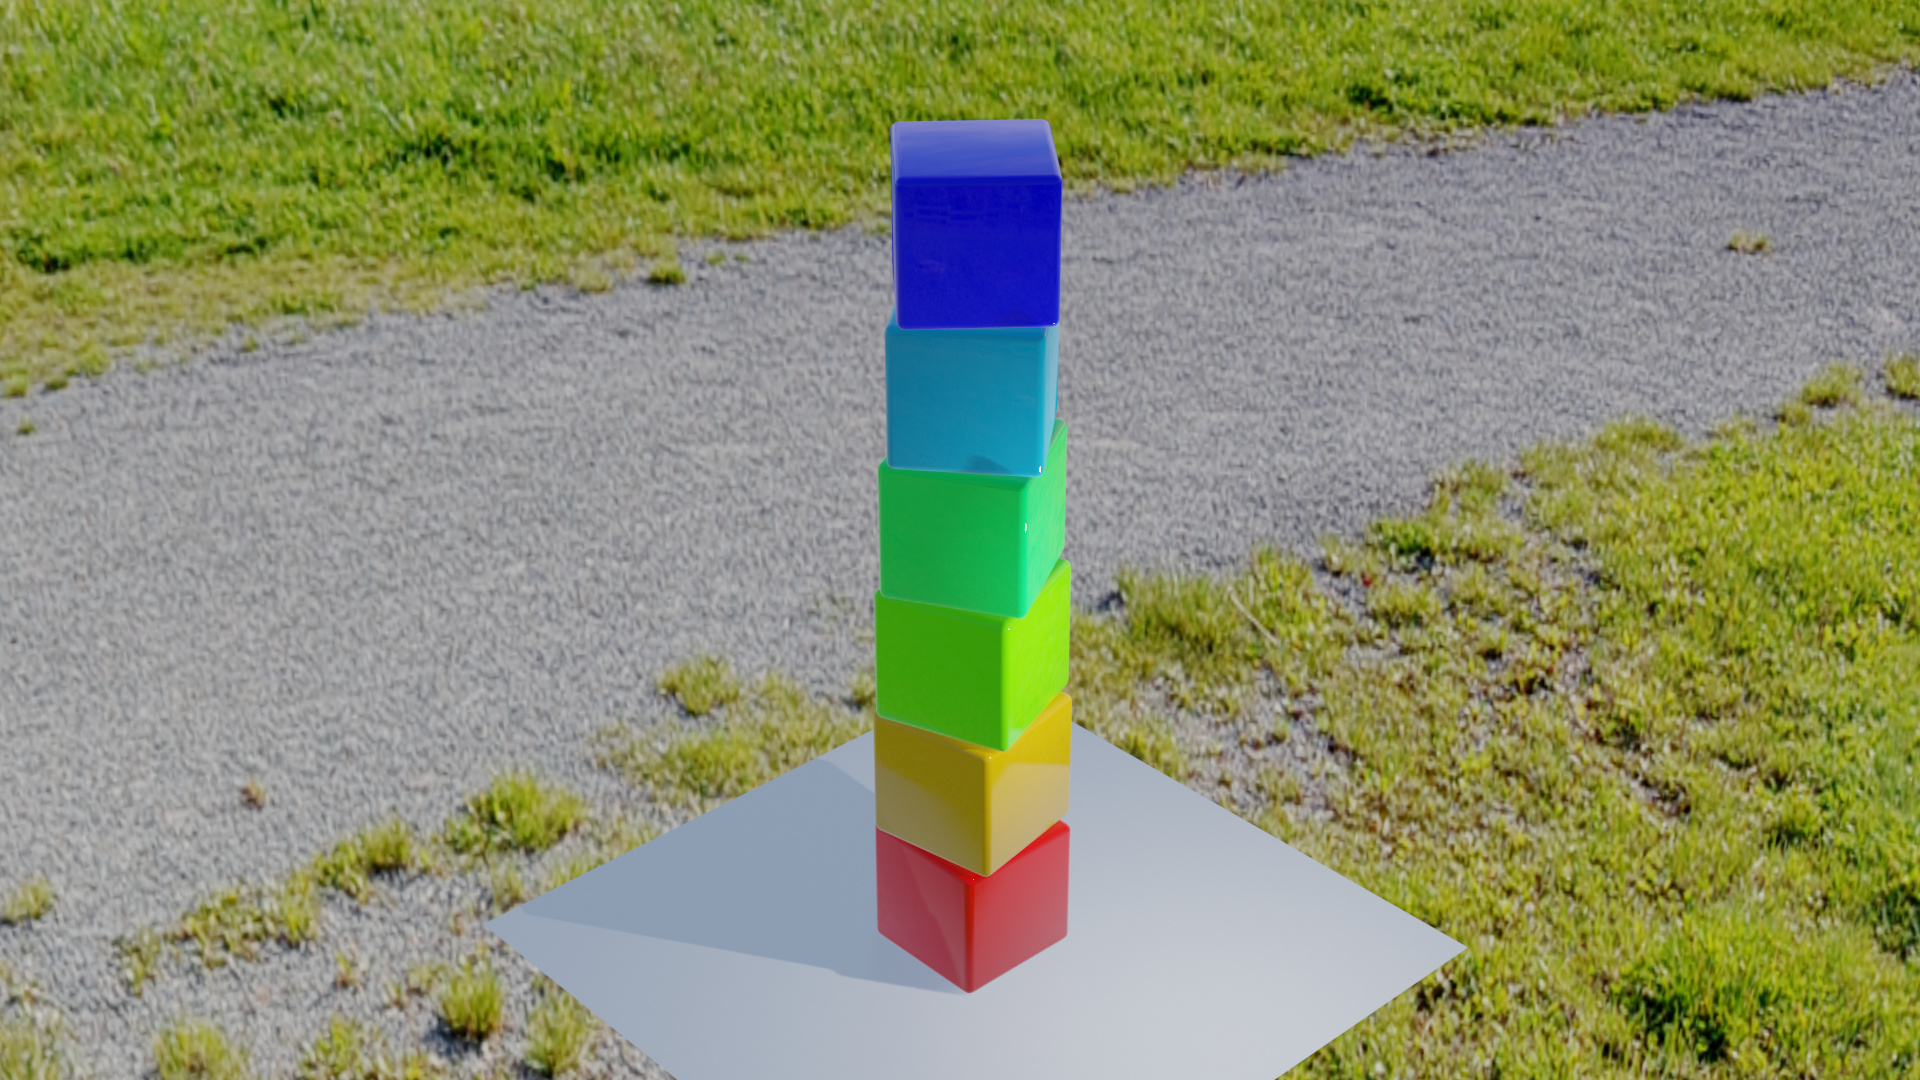
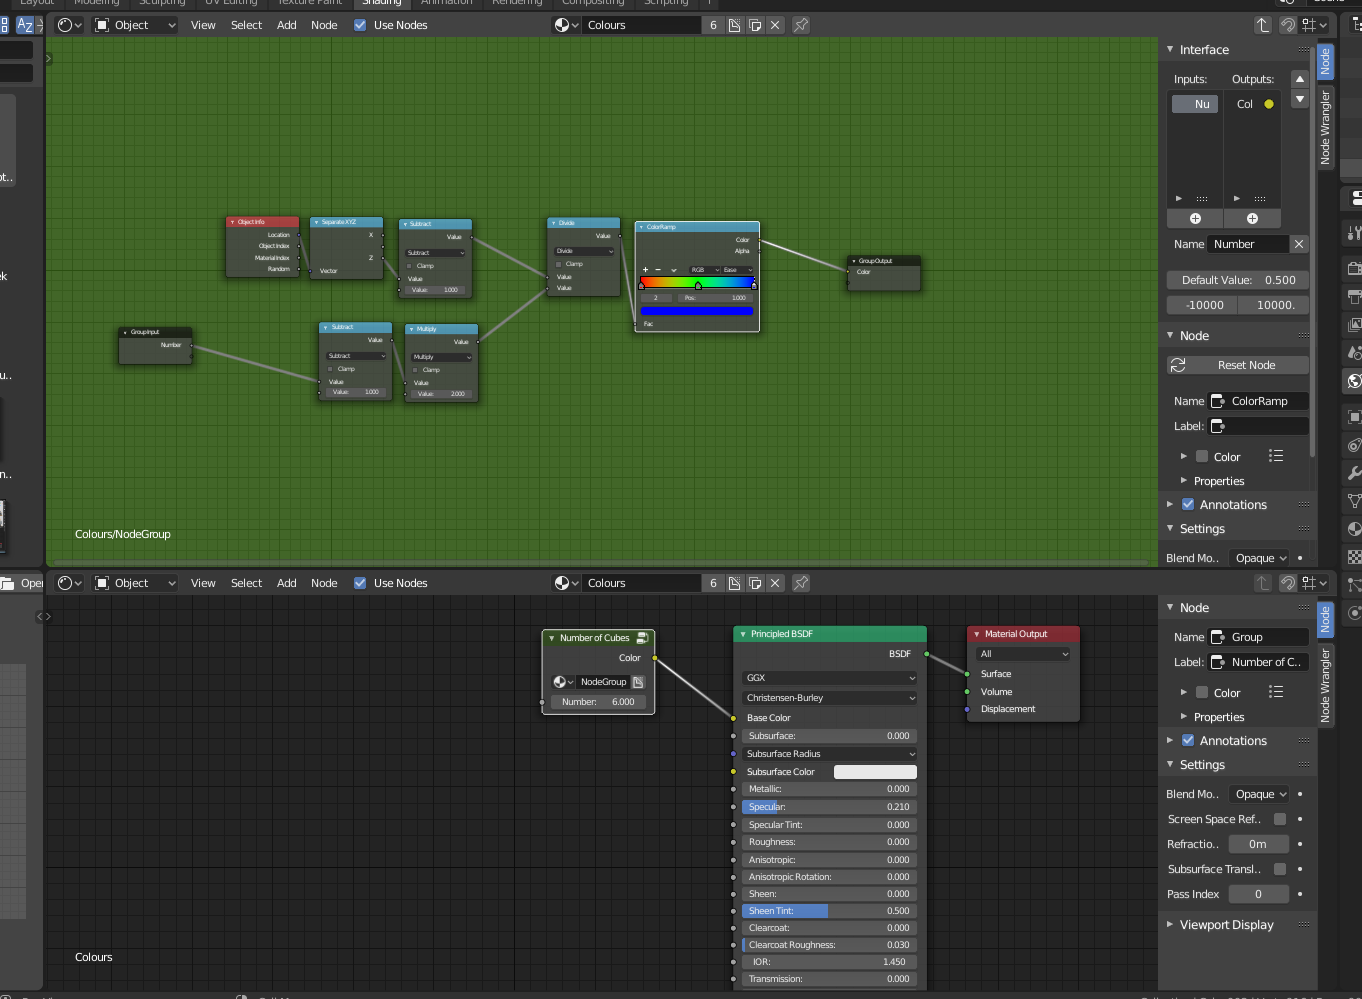
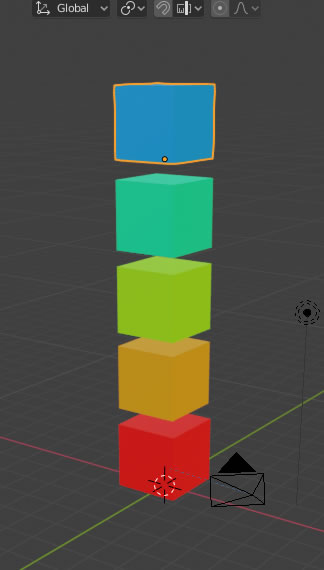
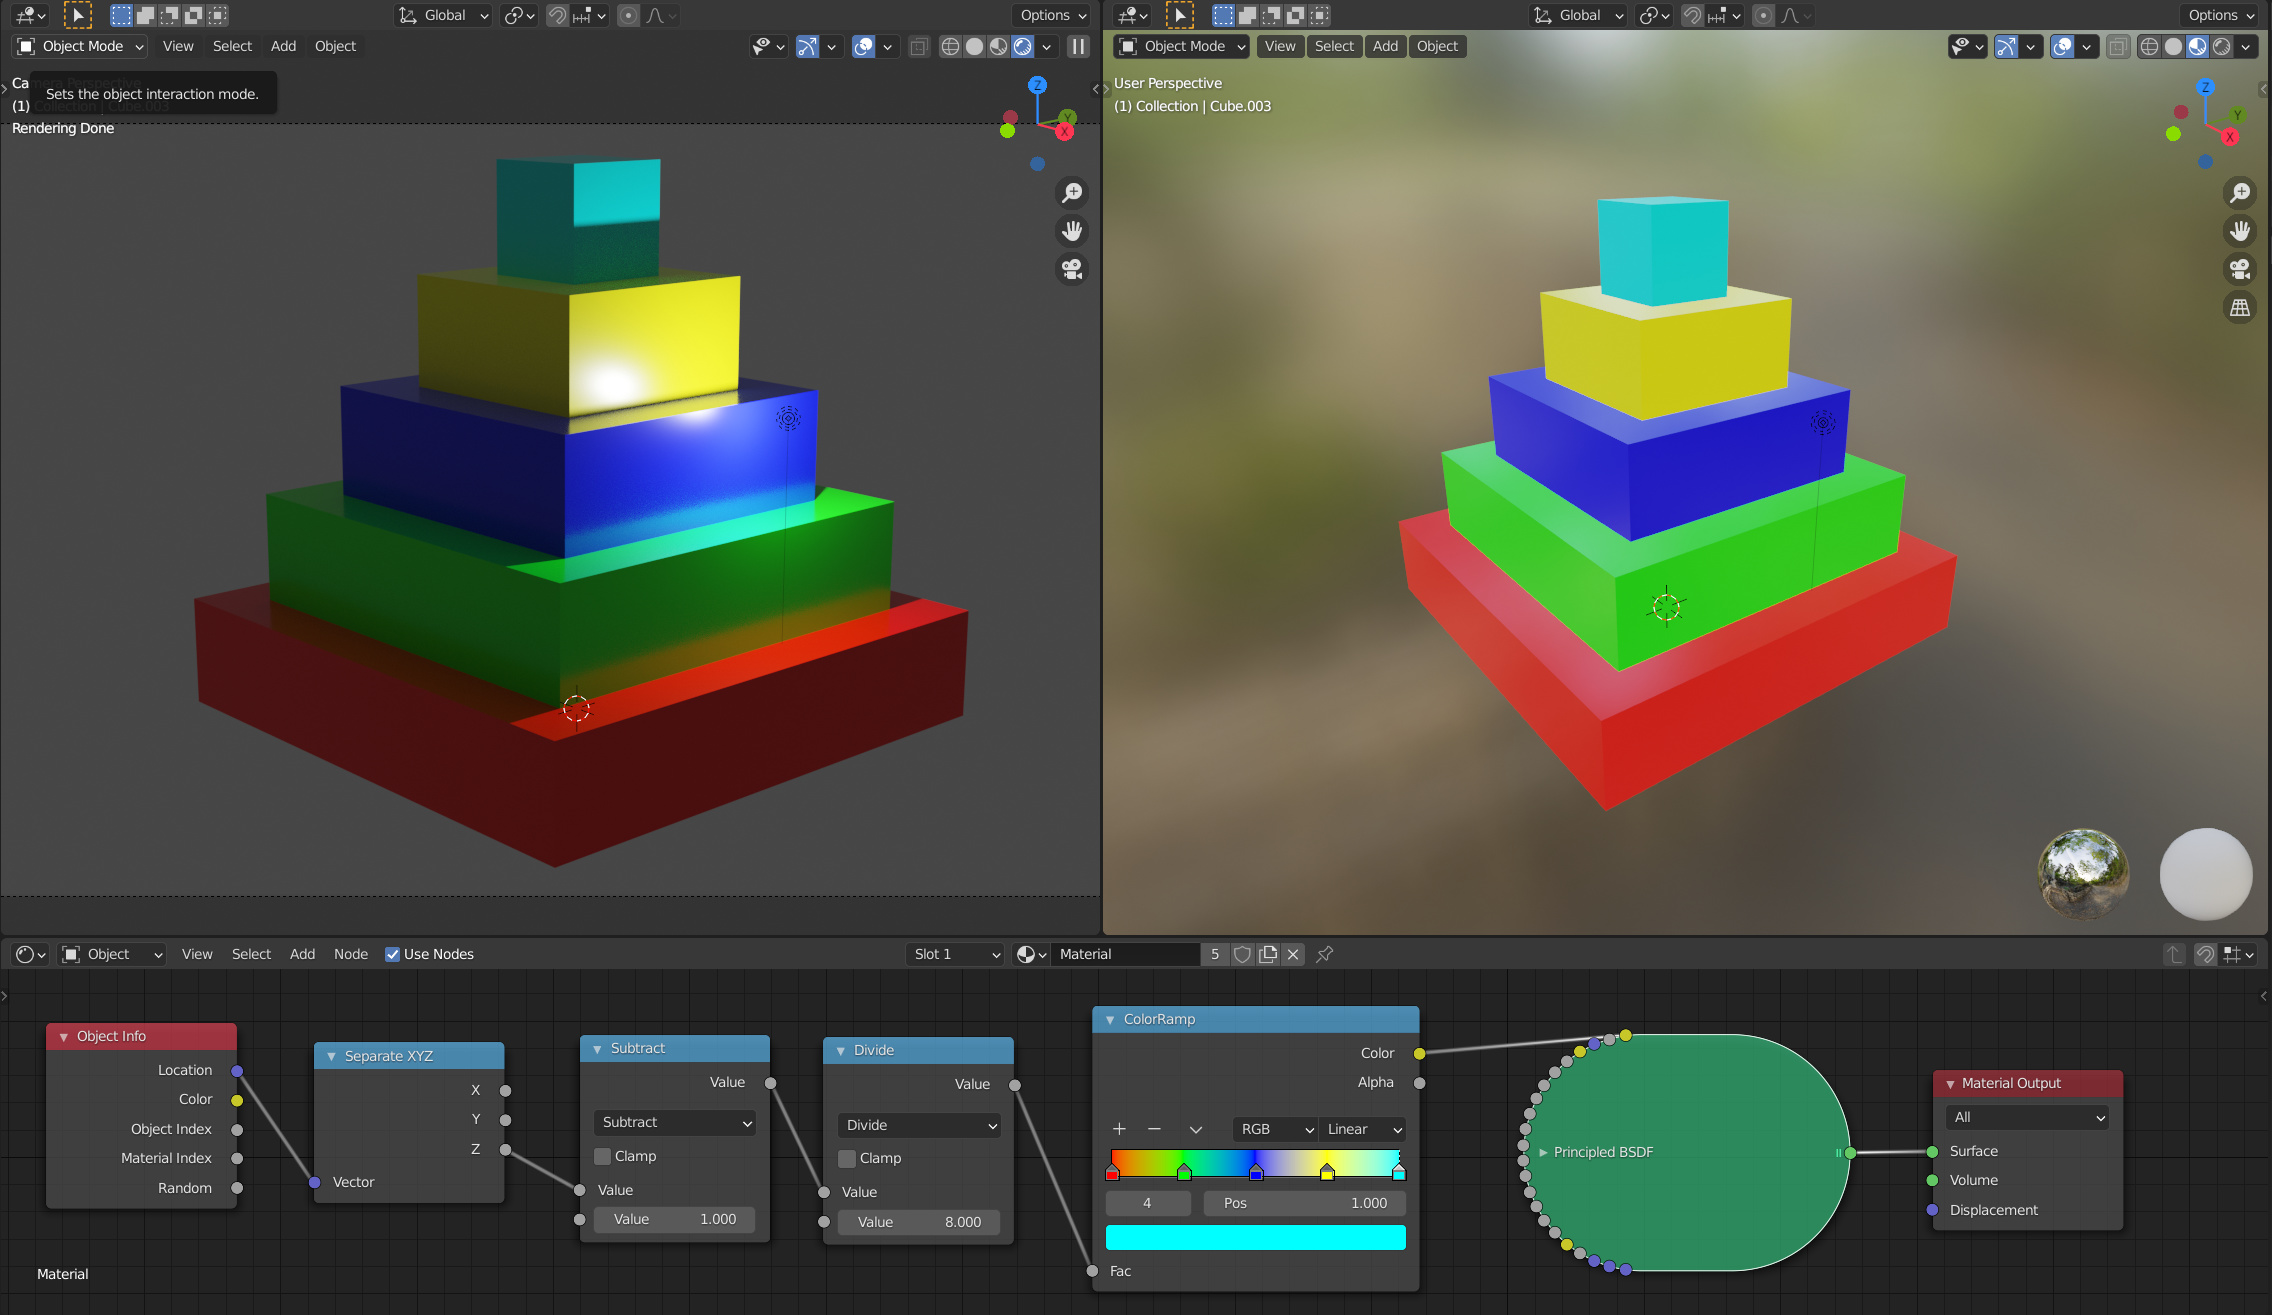
I left my cubes at the default size of 2X2 blender units. I don’t remember you saying to change them to a size of 1 blender unit. So, it made a bit of a challenge in getting the math notes correct. (Well, it wan’t really a very big challenge.) I did separate XYZ to using the Z axis and I did Subtract a value of 1. Then, I divided by 8 (2 blender units per cube. The result looks the same but each cube is 2 blender units in size.
I am not sure what kind of practical use this would be but it was fun to try and figure this out!
This a simple one in terms of the lecture. A combination of another tutorial with “Generated” output from the Texture Coordinates node as learned from this lecture (just default, no other nodes used).
I had some difficulties, because I wanted to work fast.
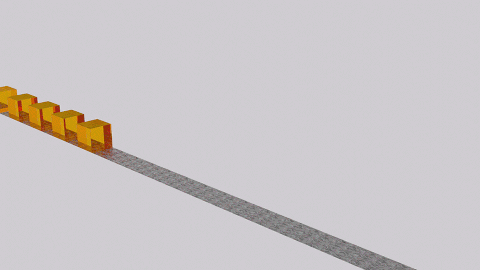
The idea was to build one cube and use the array modifier to duplicate (to be more flexible).
Because the origin of all the cubes (controlling the colour) was the first one. So no colour change at all.
Then I was looking for a solution, like object ID, sequence number or something like that. But nothing. Maybe you know a trick.
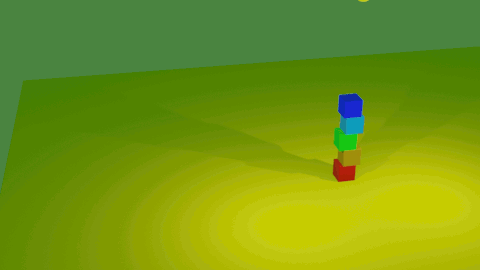
The assignment may have called for stacked cubes but I think your animation does a wonderful job of showing the conceptualization of what you learned in this lesson in an original way. Two thumbs up, I wish I had thought of doing something like that!
I kept it simple with a pyramid. Since I’m an addict to Cycles rendering I added a second viewport with 256 passes (not really real-time anymore) and added reflectiveness for viewer pleasure