About 'Making Buttons'!

In this video (objectives)…

  1. Add mouse over and click effect to our button.
  2. Improve font quality using TextMesh Pro text for the button.
  3. Create 3 scenes, each of which has a button that can be used to load new scenes.

After watching (learning outcomes)… Create nice looking buttons that can be used for awesome functionality.

(Unique Video Reference: 4_UI_CUD)

We would love to know…

  • What you found good about this lecture?
  • What we could do better?

Remember that you can reply to this topic, or create a new topic. The easiest way to create a new topic is to follow the link in Resources. That way the topic will…

  • Be in the correct forum (for the course).
  • Be in the right sub-forum (for the section)
  • Have the correct lecture tag.

Enjoy your stay in our thriving community!

I’ll spend more time skinning the UI when I finish the layout. I added an image, but went mostly with what you had already set up.
image

1 Like

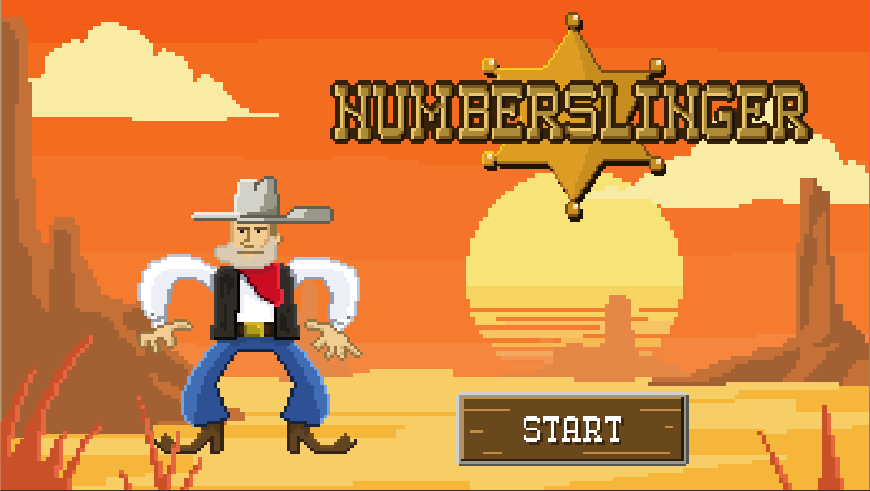
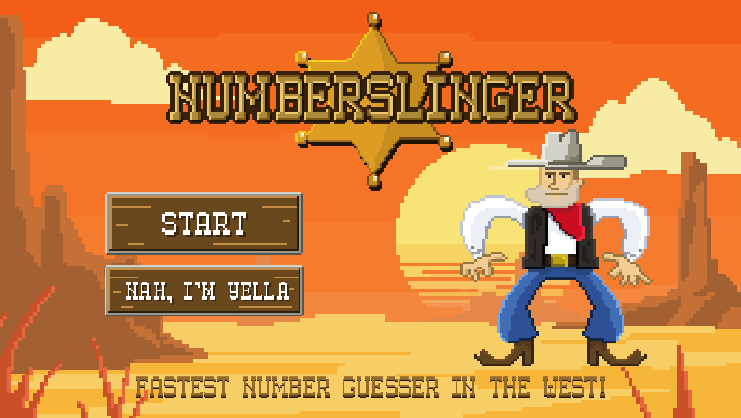
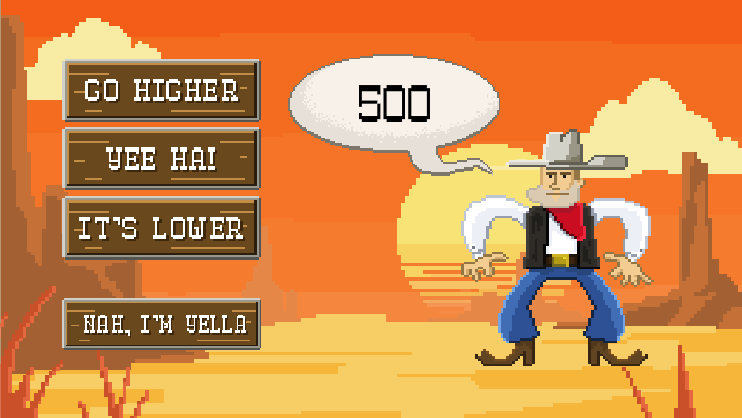
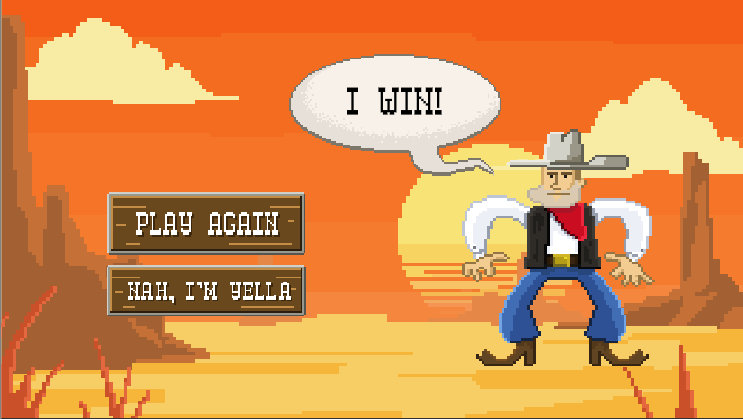
I’ve been experimenting creating my own pixel art. I thought it would be fun to create some custom art for the number wizard game.

7 Likes

A bit of an update…

4 Likes

Really good!

Thanks Rick! I am enjoying the course content!

1 Like

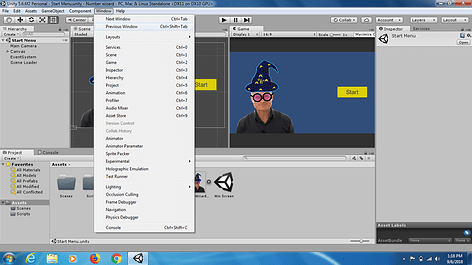
i am not getting package manager in windows menu?

Could you provide a screenshot?

Hi,

Thanks for the screenshot.

If you look at the top of the window it states that you are using version 5.6.6f2 of Unity, but you are working through the remastered version of the course for Unity 2018. As such, there will be lots of new features in the course which are not in your version of Unity.

The course is currently being remastered, if you look at the categories on the forum you’ll notice that they have either “(original)” or “(2018)” on the end of their names. At time of writing, all sections up to Laser Defender have been reproduced for the latest Unity version.

If however you want to use the older version of Unity, you can, the sections are still in the course for the time being I believe, I think they are towards the end of the course now though, e.g. shuffled along.

Personally, I’d just use 2018.

Hope this helps :slight_smile:

Thanks

1 Like

Your elevator music was Speed Racer.:+1:

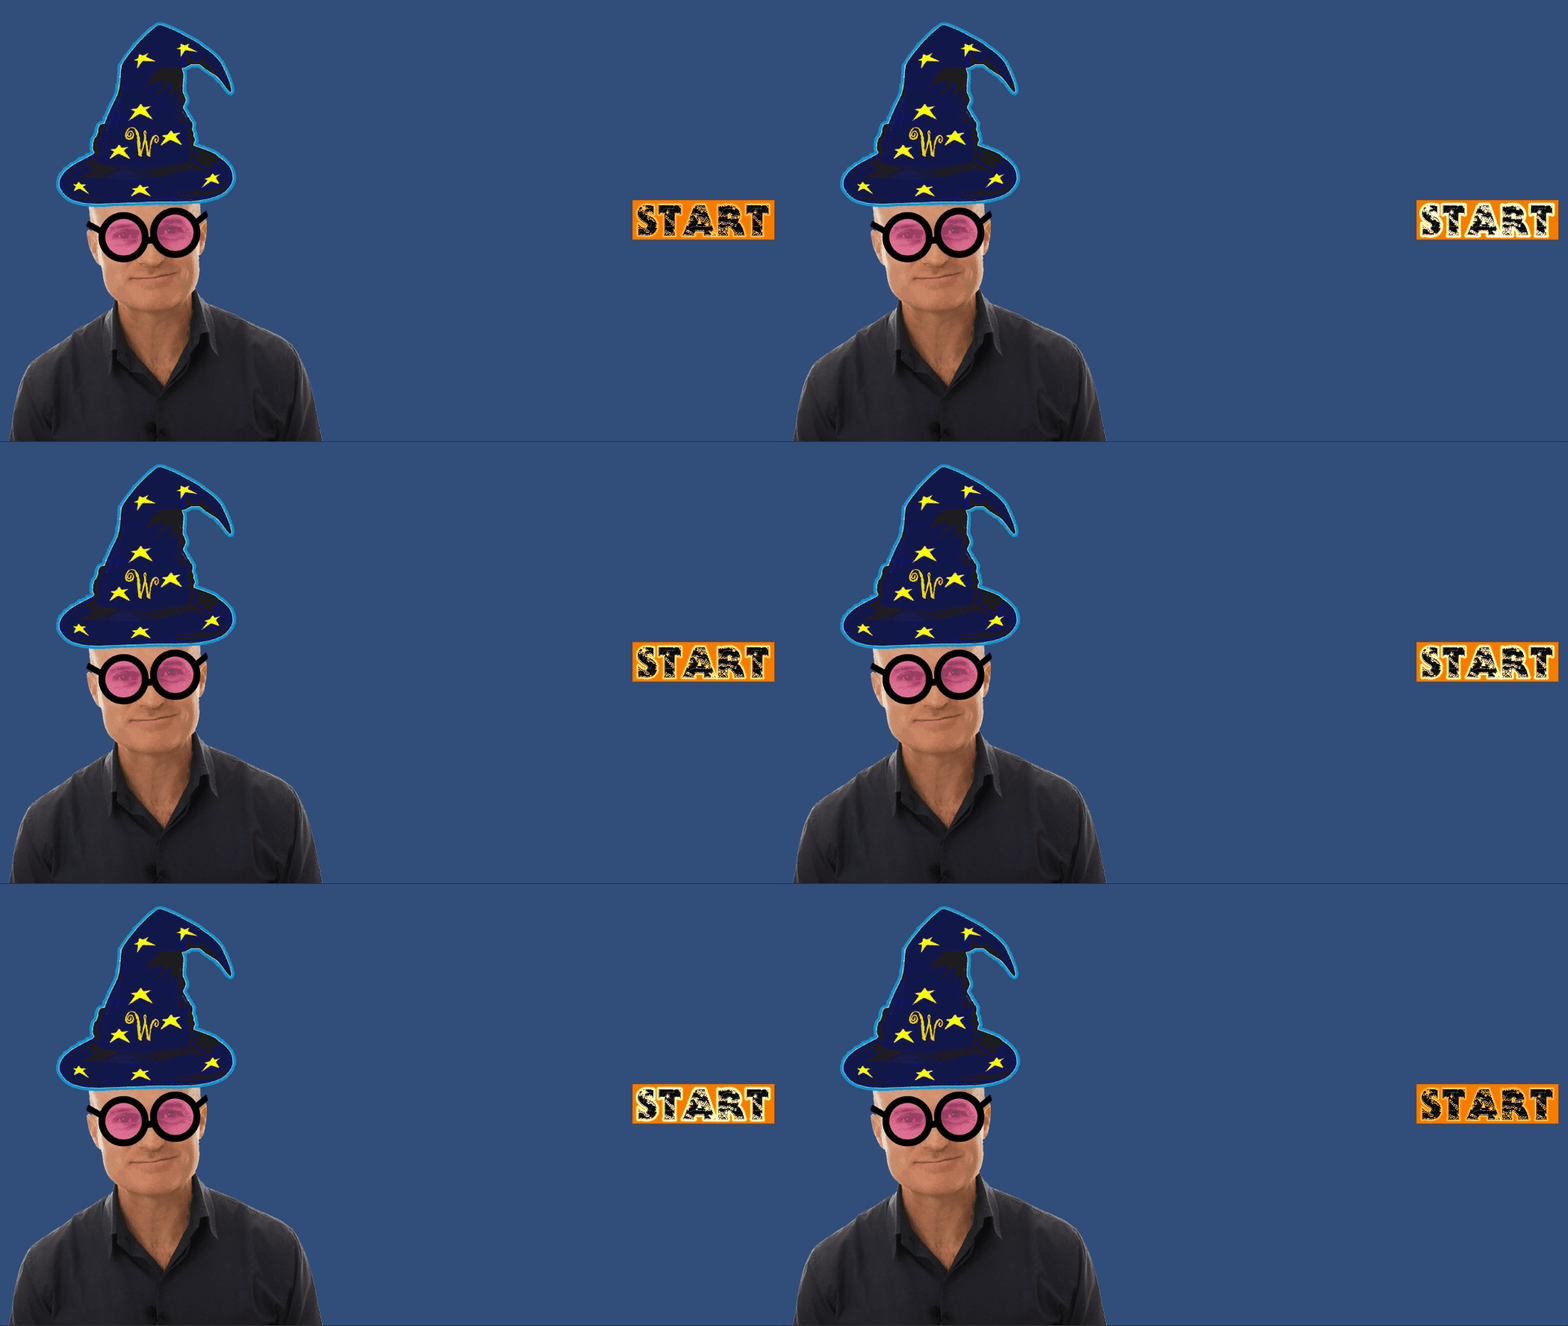
I created a Script that you can attach to your TextMeshPro object inside the buttons that will allow you to make your text glow like this:
GlowingButton
If you are interested create a new Script called GlowText and add it as a component to your TextMeshPro object and use the following code:

using System.Collections;
using System.Collections.Generic;
using UnityEngine;
using TMPro;
 
public class GlowText : MonoBehaviour {
 
    public float glowSpeed = 1f;
    private TextMeshProUGUI myTextMeshPro;
	// Use this for initialization
	void Start () {
        myTextMeshPro = GetComponent<TextMeshProUGUI>();
        myTextMeshPro.fontSharedMaterial.EnableKeyword("GLOW_ON");
        myTextMeshPro.fontSharedMaterial.SetFloat(ShaderUtilities.ID_GlowPower, 0f);
        myTextMeshPro.fontSharedMaterial.SetFloat(ShaderUtilities.ID_GlowOffset, 1f);
        myTextMeshPro.fontSharedMaterial.SetFloat(ShaderUtilities.ID_GlowOuter, 1f);
        myTextMeshPro.fontSharedMaterial.SetFloat("_GlowInner", 0.4f);
        StartCoroutine(MakeItGlow(glowSpeed));
    }
 
 
    IEnumerator MakeItGlow(float speedSeconds)
    {
        bool increasing = true;
        float valueToAdd = Time.deltaTime * speedSeconds;
        float currentValue = 0f;
        while (true)
        {
            if(increasing)
            {
                currentValue += valueToAdd;
            }
            else
            {
                currentValue -= valueToAdd;
            }
            if(currentValue >= 1f)
            {
                increasing = false;
                currentValue = 1f;
            } else if (currentValue <= 0f)
            {
                increasing = true;
                currentValue = 0f;
            }
            myTextMeshPro.fontSharedMaterial.SetFloat(ShaderUtilities.ID_GlowPower, currentValue);
            yield return null;
        }
    }
}

That should do the trick!!!

The higher the value of the public glowSpeed variable the faster the effect will cycle from off through completely on.

2 Likes

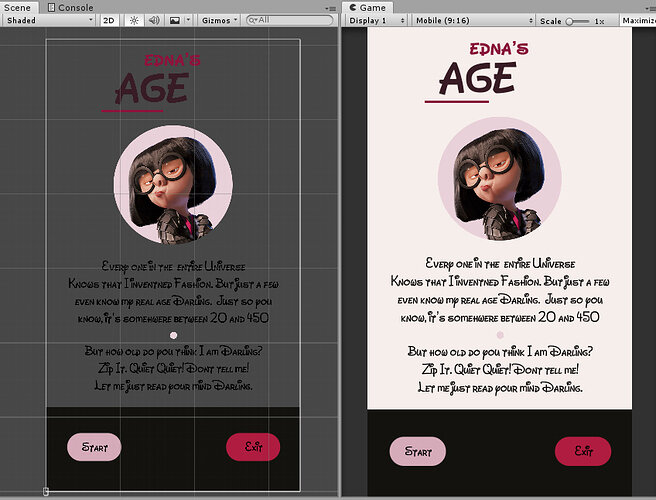
Edna’s Age. Unity UI

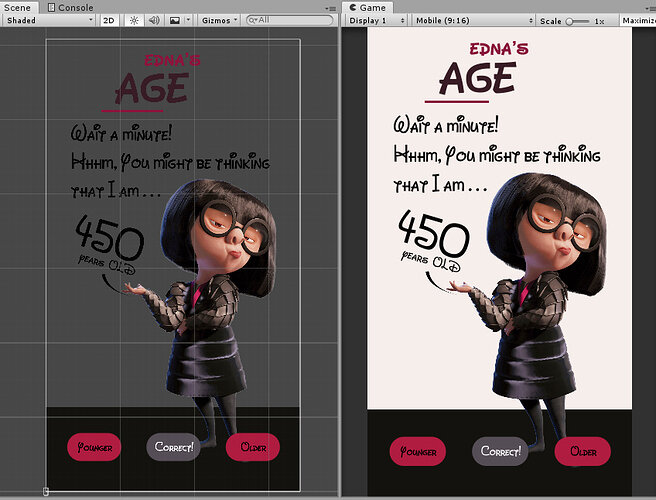
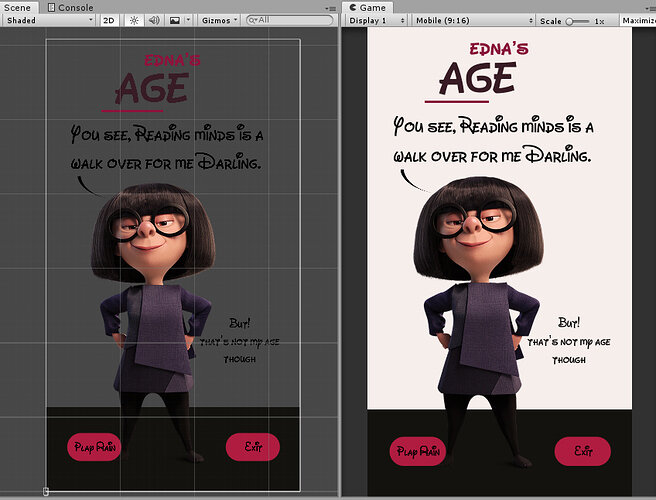
Here is my attempt at translating my earlier Photoshop mockups into the Scenes.

Start-Scene 1


Guess-Scene 2:

You get here on pressing Start from scene 1. Pressing Younger and Older updates the number guessed. Planning on maybe updating text too. :thinking:


Correct-Scene 3:

Edna has guessed your guess of her age. You get here on pressing Correct from Scene 2.


Challenges faced

  • Is it possible to change the anchor point from the center of the game object to the edge (eg. top). Being in the center makes calculating distance from parent container a pain. Any ideas or pointers?
  • Making the buttons rounded was a total pain at first. Found a few tricks where you can use a sliced sprite or some asset tools from the store like Procedural UI Image. Can’t wait to learn how to make such detailed scripts that affect components in the UI. Hope to see much more of such kinda scripting (Scriptable Objects I guess) in the Course. Was super pumped how we created custom State objects in the Inspector earlier in the course.

Be blessed y’all.

2 Likes

Privacy & Terms